
Kali Linux is a Linux distribution based on Debian. It is primarily utilized for penetration testing, security auditing, and maintenance. For this purpose, it supports hundreds of security auditing and testing tools. Using Kali Linux as a host system is not a good choice for students who use Kali for basic testing and learning purposes. In this regard, users can use and run Kali Linux in a virtual machine using any hypervisor tool and this will never affect the original operating system.
Another possible way of using Kali Linux is through Live Kali Bootable USB, but this is not recommended as turning off the Kali from the system removes all the data and processing. However, the Kali virtual machine is executed as a separate host and preserves Kali’s state and data on host system memory.
This blog will elaborate on:
Prerequisites
To install and run Kali Linux on the system without removing the host operating system, the user can create a Kali Virtual machine on the hypervisor tool. For this purpose, the user must fulfill the following prerequisites:
- Hardware Virtualization: To run a virtual machine on the host OS, the user needs to enable hardware virtualization. To check or enable virtualization on the host system, go through our linked “Enable VT-x/VT-d/AMD-v Hardware Virtualization Feature” article.
- Install VMware Workstation: To run Kali Linux using system virtualization (in VM), first, install the “VMware Workstation” hypervisor tool on the system by following the “Install VMware Workstation on Windows” article.
- Download Kali ISO Image: To install and use Kali Linux on a VMware, first, download the Kali Linux ISO image. To do so, navigate to Kali’s official website and download the ISO Kali image by hitting the “Download” button:

The above downloaded Kali’s ISO image will be saved in the Windows “Downloads” directory.
How to Install Kali Linux on VMware?
The VMware Workstation is one of the hypervisor tools that permits us to run Virtual machines to operate different operating systems, Docker Containers, and Kubernetes clusters. To install and use the Kali Linux on VMware’s virtual machine, follow the below procedure.
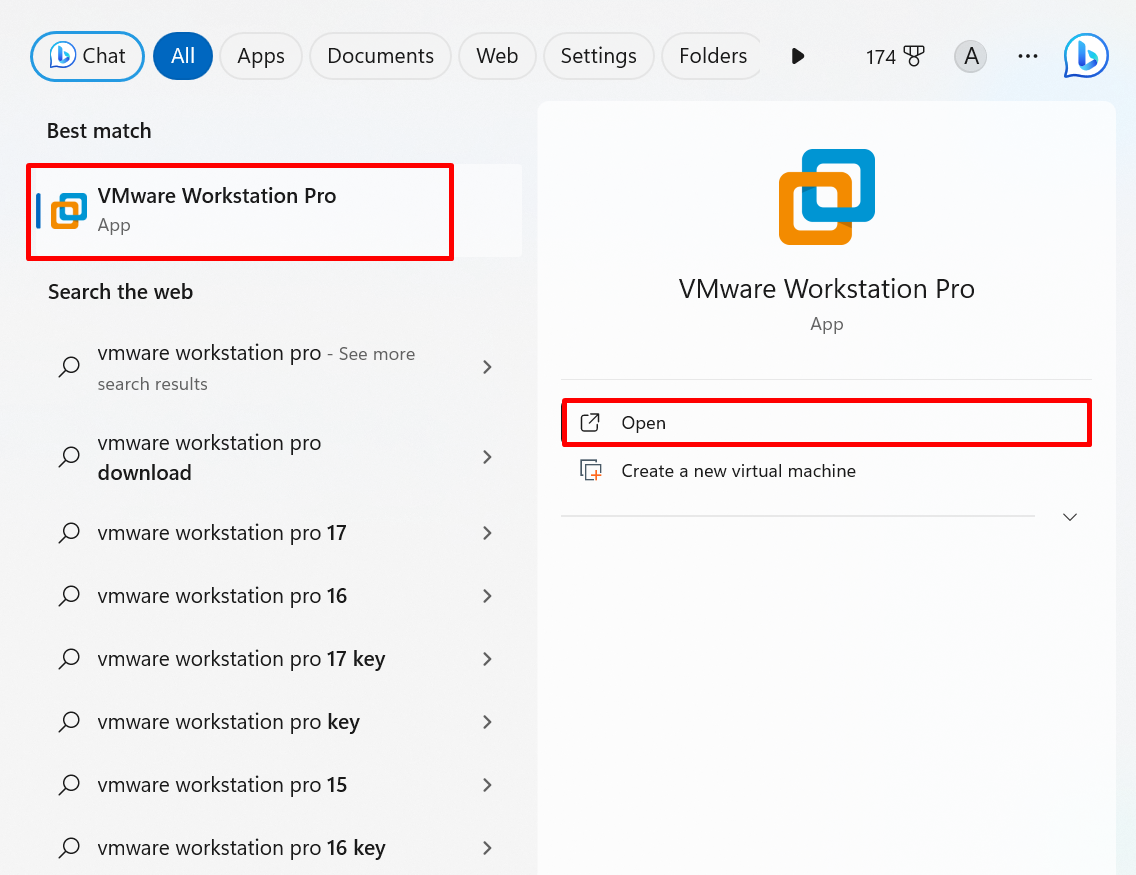
Step 1: Launch VMware
First, launch the VMware Workstation application by searching “VMware” in the Windows Start menu:
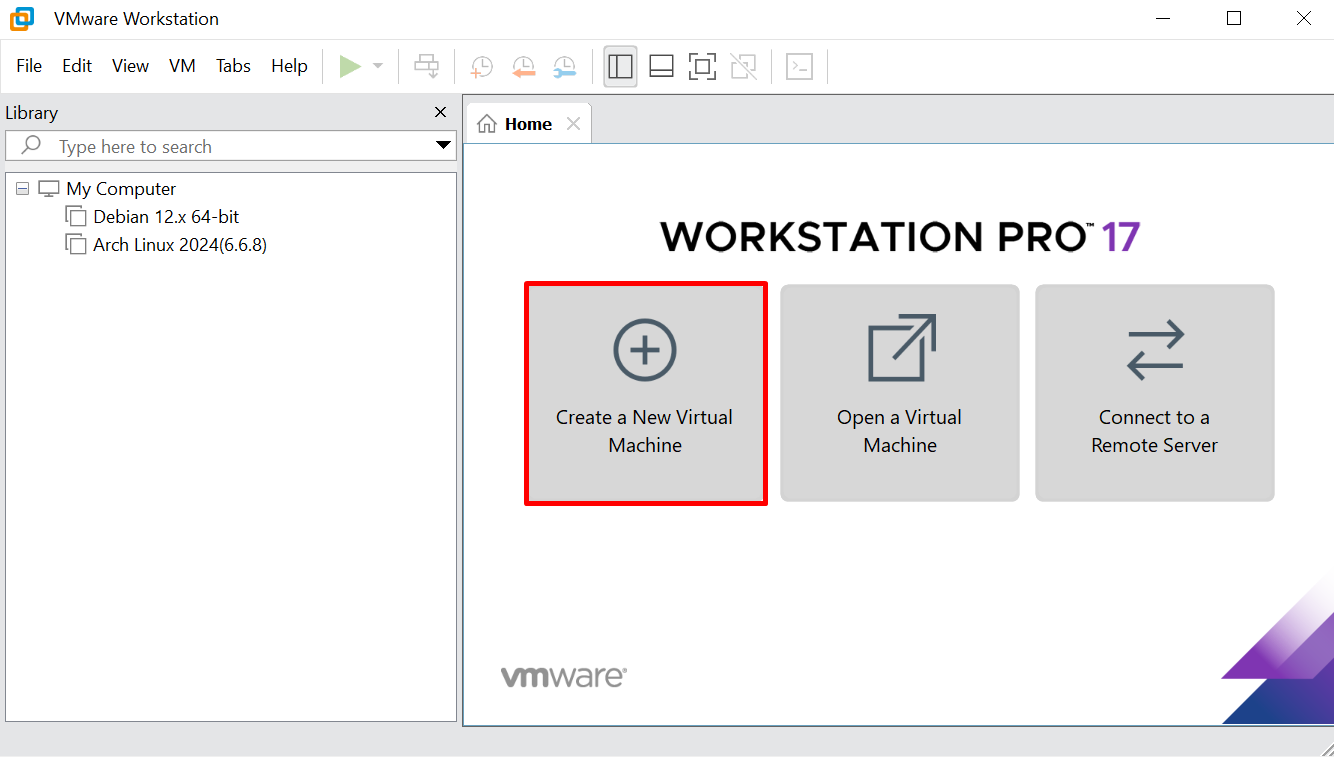
Step 2: Create a Virtual Machine
Click on the below pointed “+” icon to create a new virtual machine:
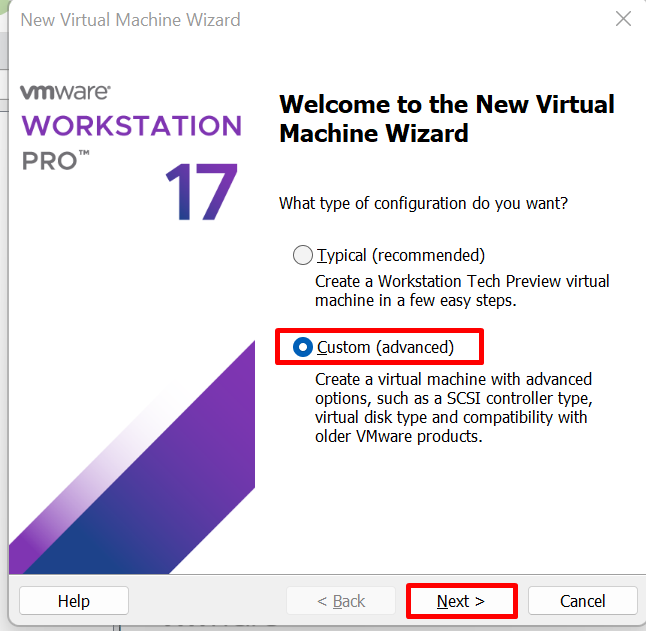
Upon doing so, the “New Virtual Machine Wizard” will appear. Mark the “Custom” radio button to create the virtual machine by using an advanced SCSI controller. After that, press the “Next” button:
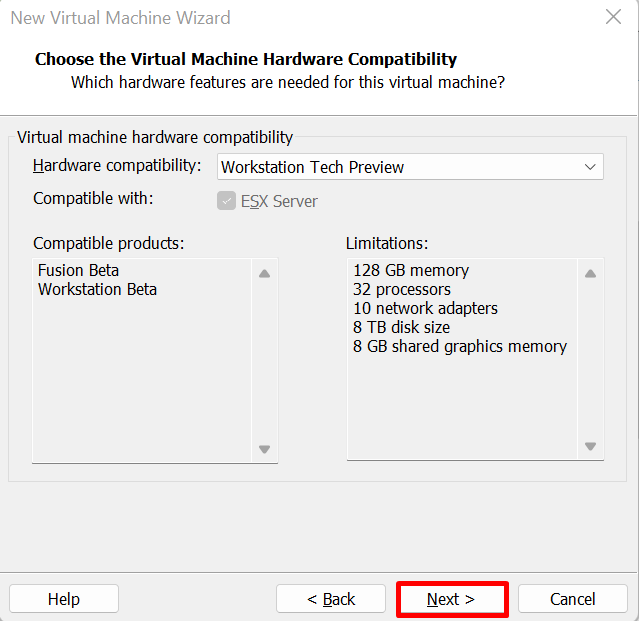
Proceed with the default selected option and press the “Next” button:
Step 3: Provide Kali ISO File
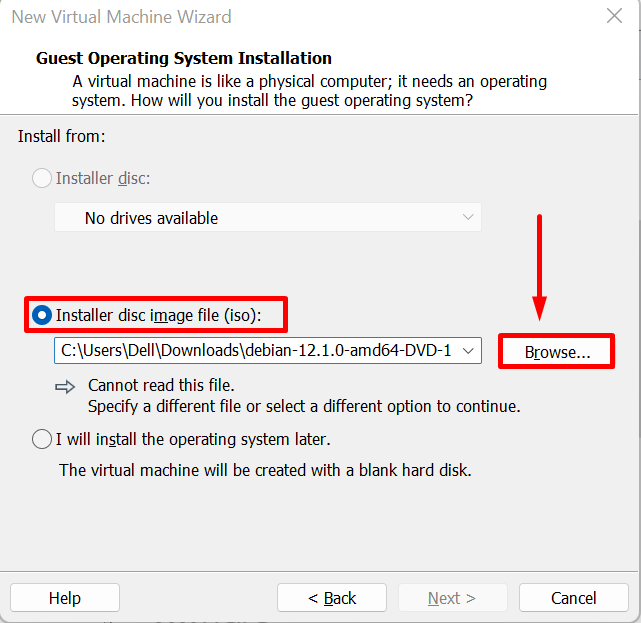
From the installation wizard, first, mark the “Installer disc image file” radio menu. Then, click on the “Browse” button to select the Kali ISO file location:
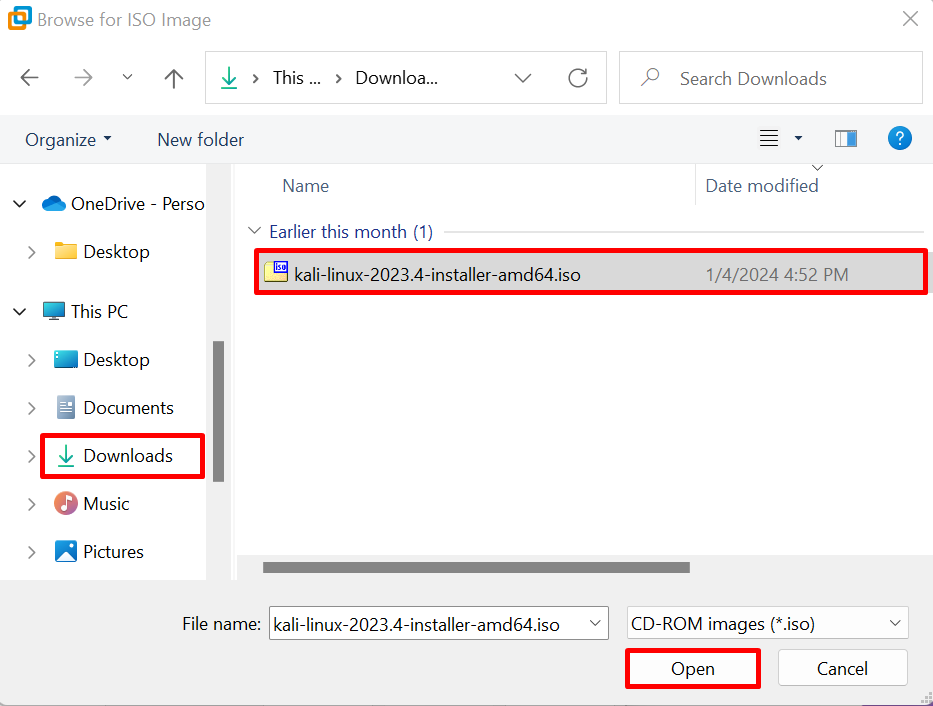
Next, choose the Kali ISO file from the “Downloads” directory and press the “Open” button:
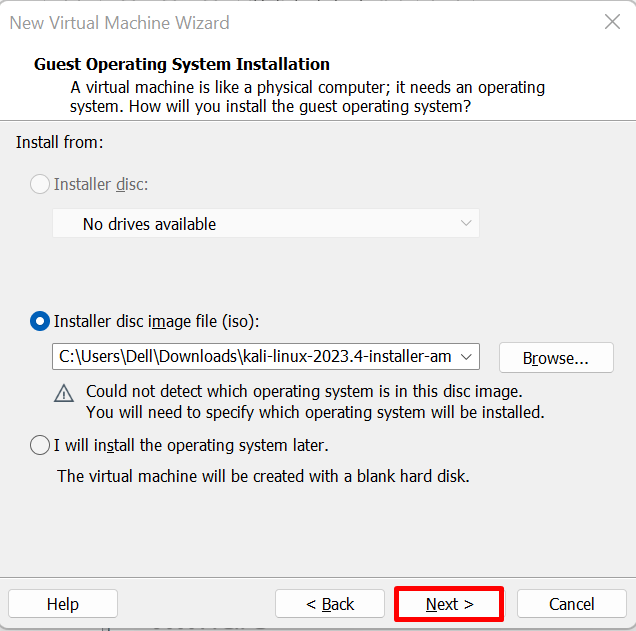
After providing Kali’s ISO image, hit the “Next” button:
Step 4: Set the Guest Operating System
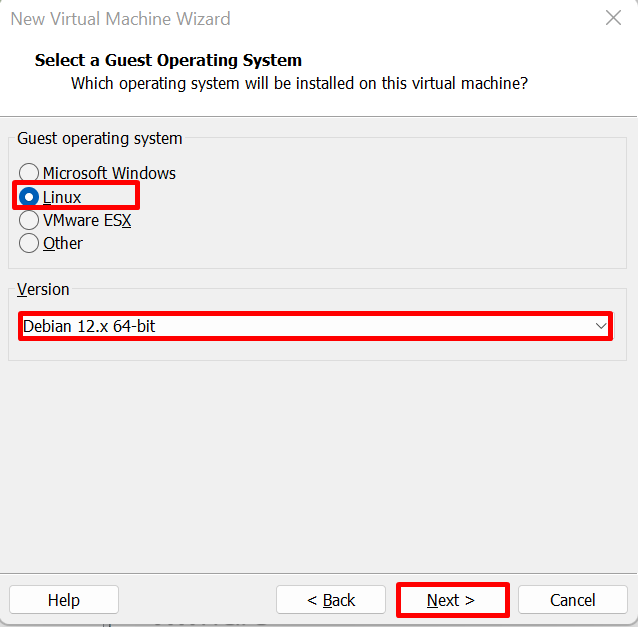
From the next window, choose the guest operating system. For this purpose, first choose the “Linux” and then choose the “Debian 12.x 64-bit” option from the “Version” drop-down menu. To proceed further, press the “Next” button:
Step 5: Set Virtual Machine Name
Set the name of your Kali virtual machine. Then, select the location where VM data will be stored and press “Next” to proceed:

Step 6: Configure Essential Configurations
From the “Processor Configuration” wizard, set the number of processors you want to allocate to the virtual machine. Then, press “Next”. For demonstration, we have assigned “2” processors to the Kali virtual machine:

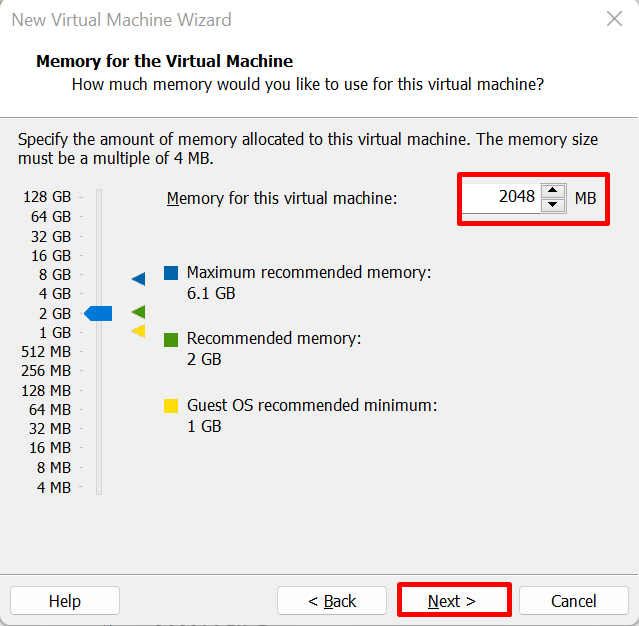
From the next wizard, assign the RAM to the virtual machine. We have assigned “2 GB” RAM:
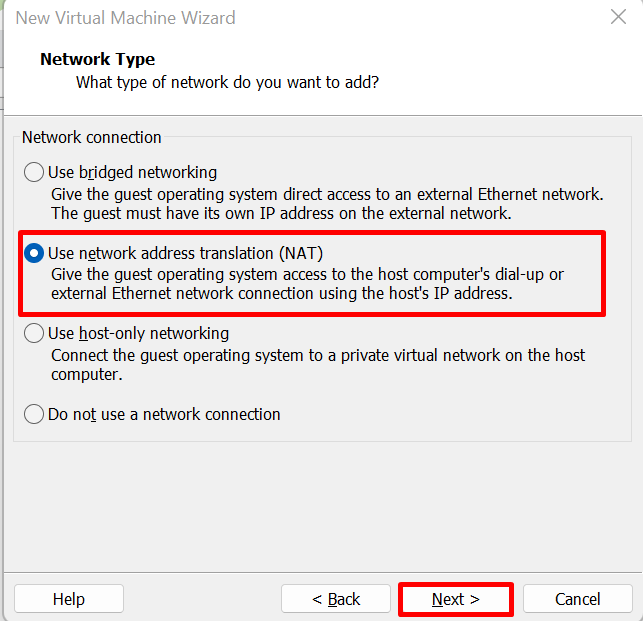
Now, specify the network type. To connect with the system network directly, mark the below-highlighted radio button and hit the “Next” button:
Select the I/O controller from the next wizard. Here, continue with the recommended option and press the “Next” to proceed:

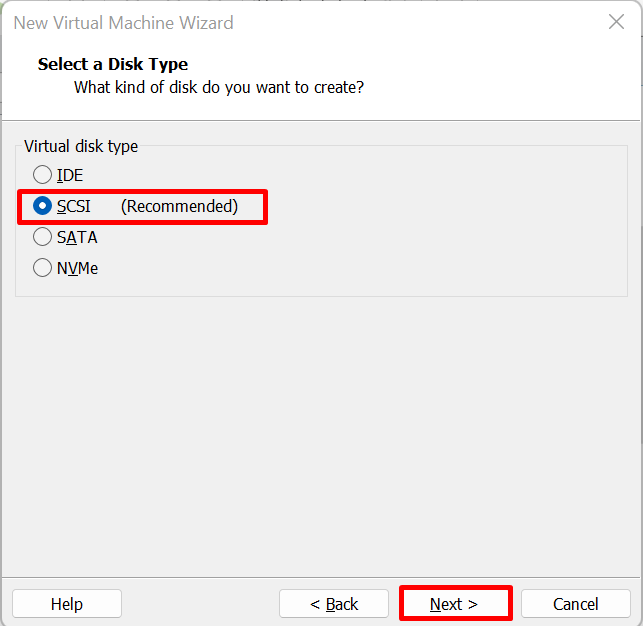
Again, go with the default selected “SCSI” disk type from the “Select a Disk Type” option and click on the “Next” button:
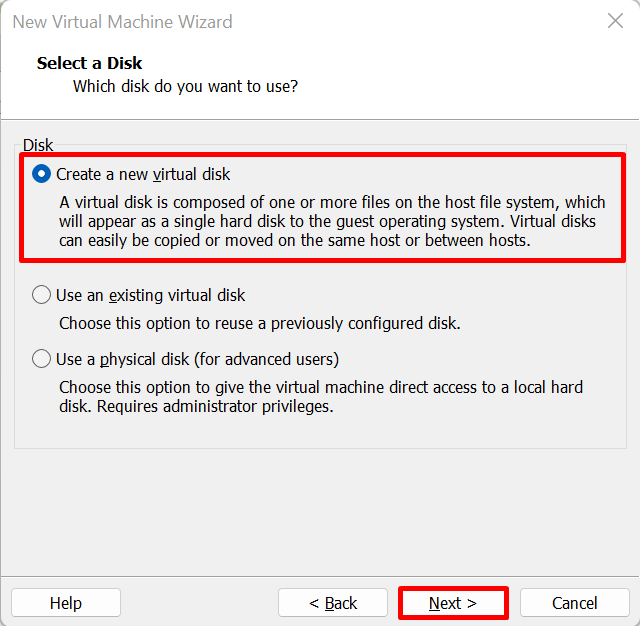
After that, select the “Create a new virtual disk” radio button and hit “Next”:
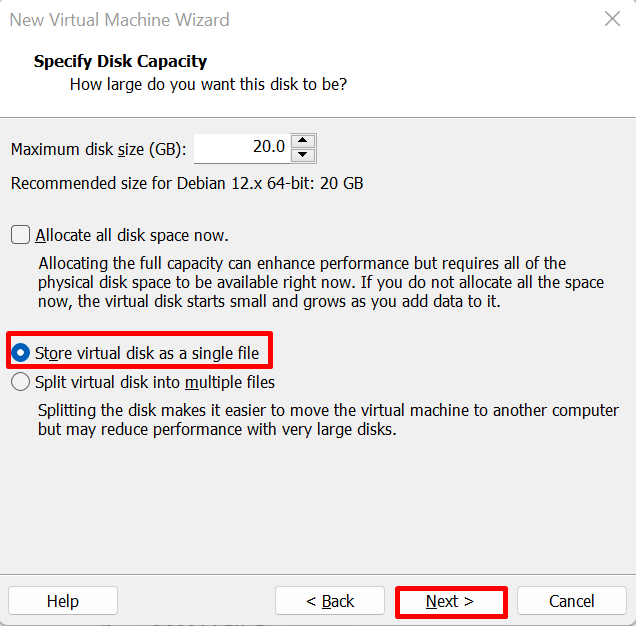
Now, select the disk storage capacity from the “Maximum disk size” menu. Here we have assigned the “20 GB” of disk storage. Then, mark the below-pointed radio button to save the disk data as a single file and press “Next”:
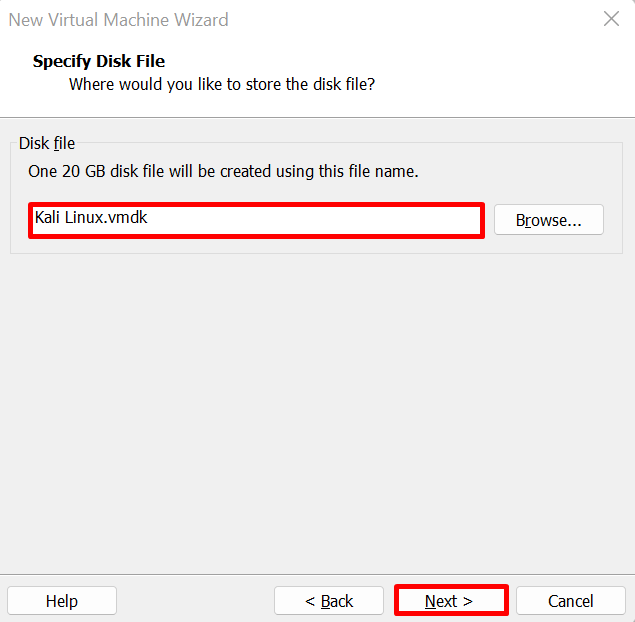
Continue with the default selected location where disk data will be stored and hit the “Next”:
Lastly, review the short summary and press the “Finish” button to complete the virtual machine creation process:

Step 7: Start the Kali Linux Machine
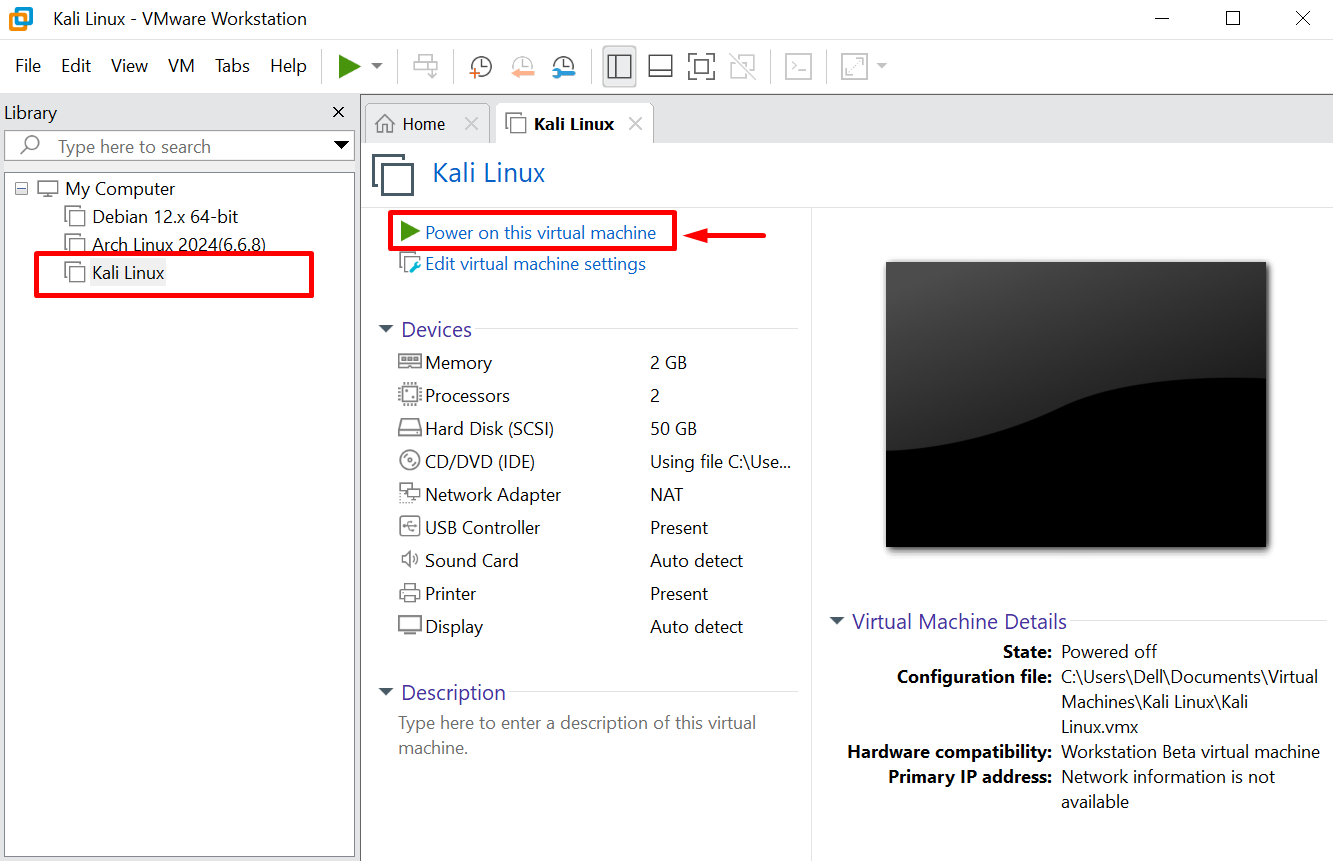
After creating the virtual machine, select the machine and press the “Power on this virtual machine” option or press the green “Play” button to start the Kali virtual machine:
Step 8: Install Kali Linux
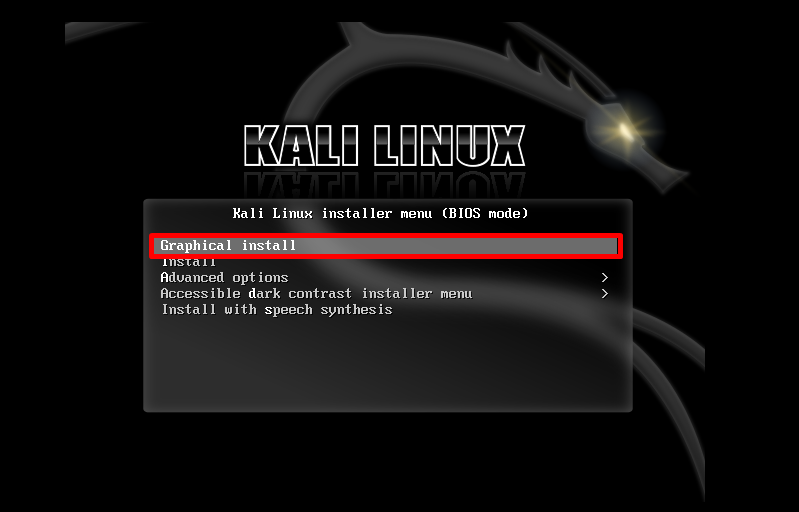
After starting the machine, the “Kali Linux installer menu” will appear. First, press the “Down” arrow key then again hit the “Up” arrow key to select the “Graphical install” option. Now, press the “Enter” key to proceed:
Step 9: Set Language and Region
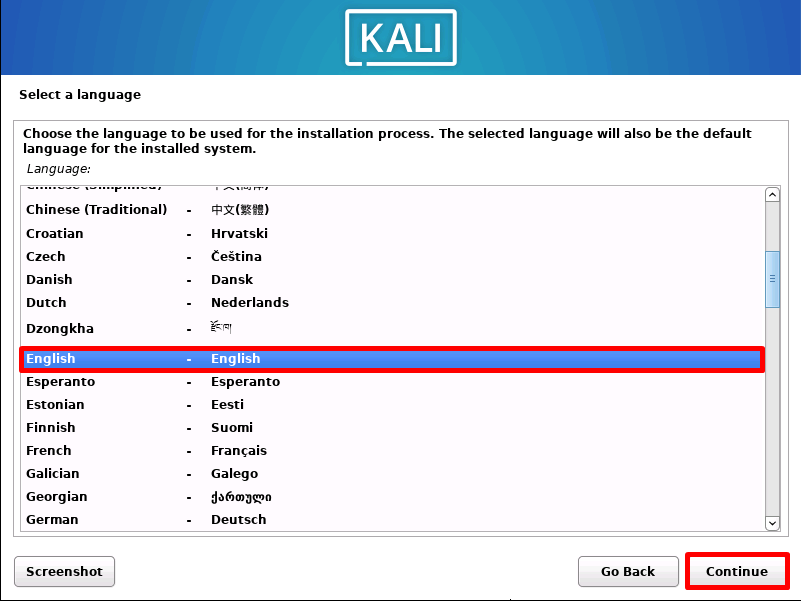
Now, select the “English” language, and hit the “Continue” to proceed to the next step:
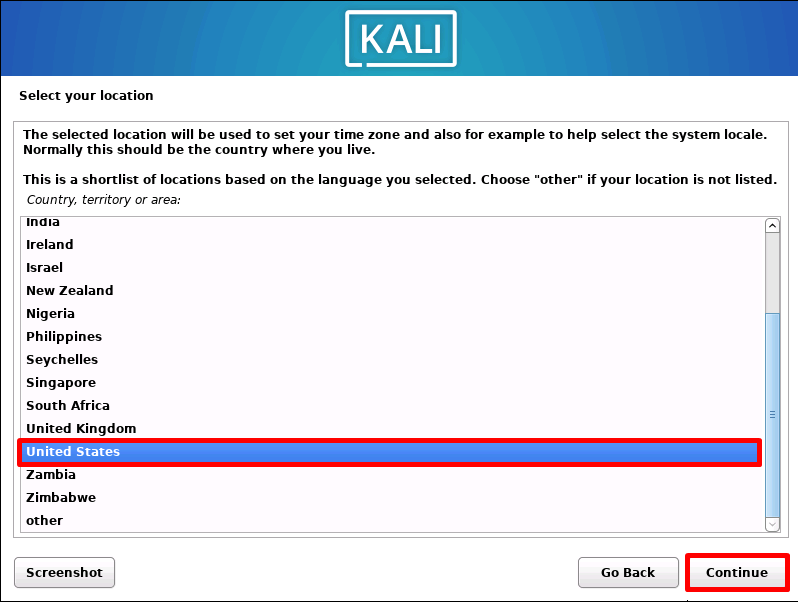
Next, select the location from where you want to use Kali Linux. Setting the location will also help in selecting the correct time zone. After that, press the “Continue” to proceed:
Now, select the keyboard for Kali Linux. For instance, we have selected “American English”:

Step 10: Set Hostname
Set the hostname that will be the name of your network. For demonstration, we have set it as “kali”:

Next, set the domain name. This is usually the part of your internet address. Here, we have set it as “kali”. Then, press the “Continue” to proceed:

Step 11: Create Kali’s User
After completing the host settings, create a new Kali user. For this purpose, first, provide the Kali account name or new user of the account. Here, we have set it as “Kali User”. Now, process the “Continue” to move to the next step:

Now, set the Username of your account that will be used as a login credential:

From the next window, set the password for the new account. After that, retype the password for confirmation and press the “Continue” to proceed:

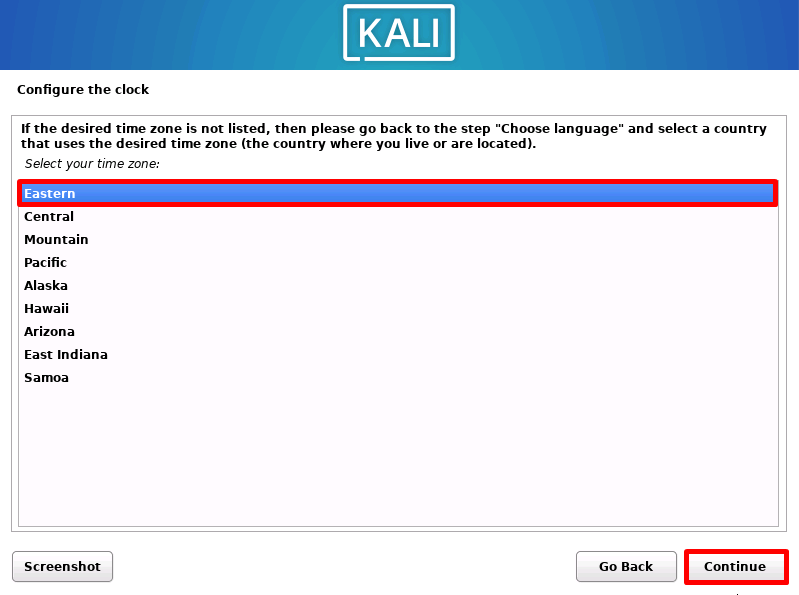
Now, choose the time zone according to your region and click on “Continue” to move to the next step. If the required time zone is not present in the list, move back to the “Select your location” wizard, and choose the correct location:
Step 12: Configure Disk Partition Settings
After selecting the time zone, the Disk partition configuration setting will open. Select the highlighted “Guided use entire disk” option and press the “Continue”:

Click on “Continue” to proceed to the next step:

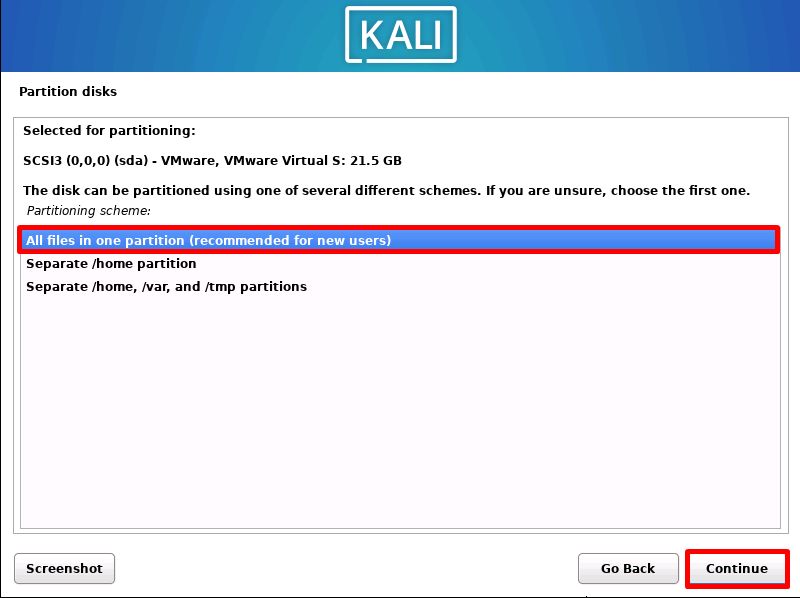
Now, select the Disk partition. For this purpose, use the recommended option and save all files in one partition. Then, hit the “Continue”:
After that, write the changes in the disk by choosing the below-selected option and clicking on the “Continue” button:

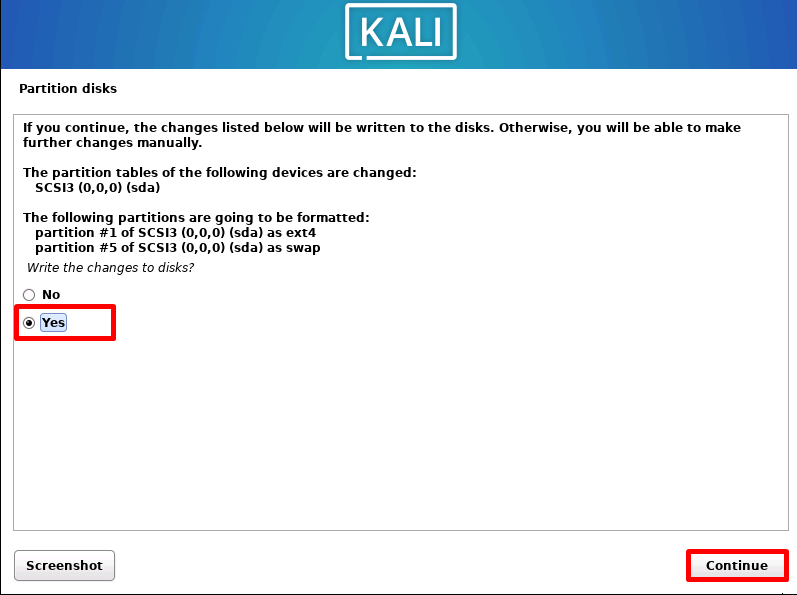
Now, confirm the partition disk changes by marking the “Yes” radio and hitting the “Continue” button:
Step 13: Install Kali Desktop Environment
From the next wizard, choose Kali’s desktop environment and press “Continue”. For this purpose, we have selected the default Kali’s Xfce desktop:

This will start installing Kali’s desktop environment on the virtual machine:

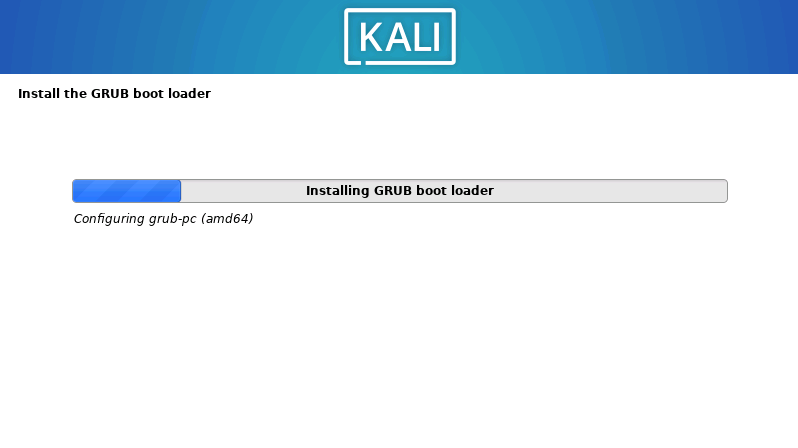
Step 14: Install GRUB Boot Loader
Next, the GRUB boot loader installation will be started. The GRUB boot loader will help you boot the hardware and load the necessary components. It enables us to choose between multiple operating systems:
The next wizard will ask to install the GRUB boot loader. Choose the “Yes” radio button and press the “Continue” to proceed:

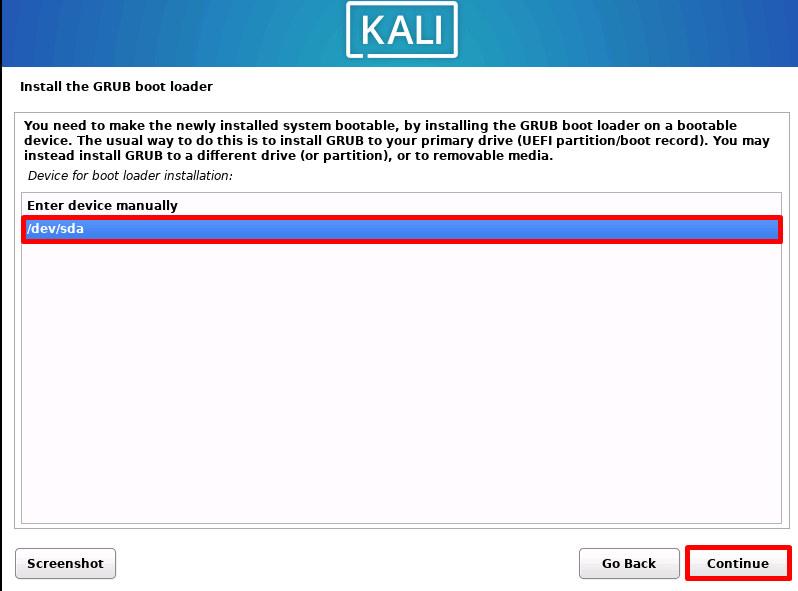
Now, choose the GRUB boot loader location where the boot program will be saved and hit the “Continue” button:
This will start installing the GRUB boot loader and finish the installation process of Kali Linux in the virtual machine:
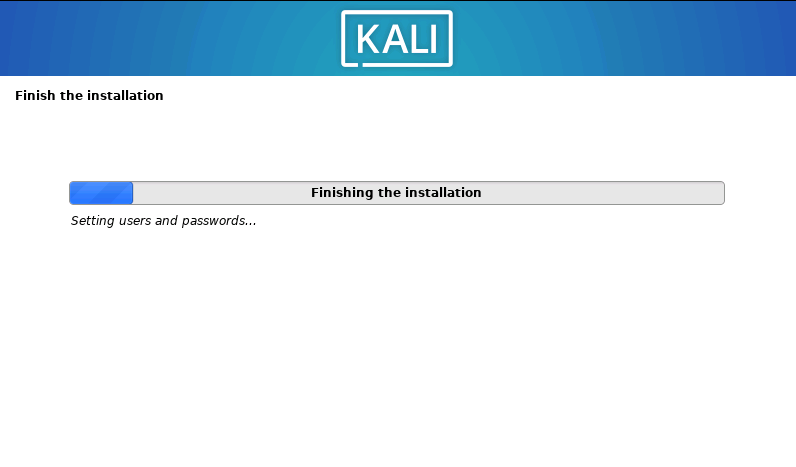
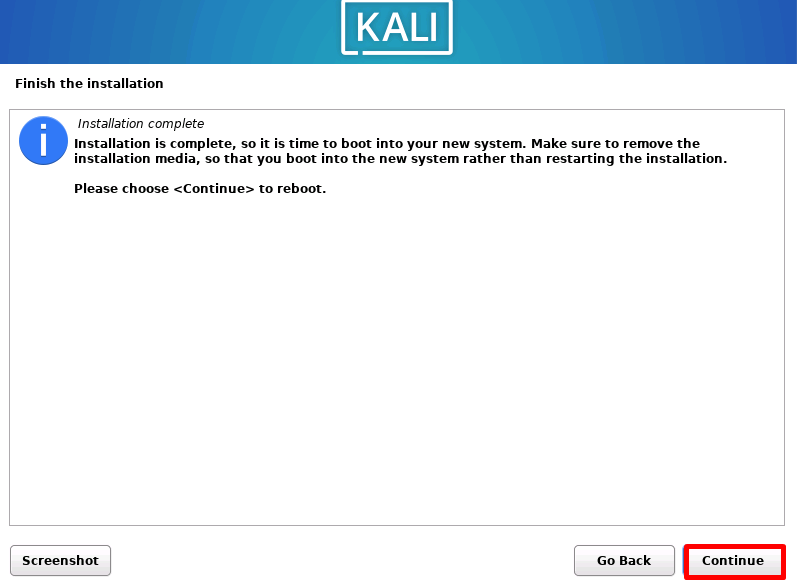
Step 15: Reboot the System
Now, the user needs to restart the Kali virtual machine to save and implement the configurations. For this purpose, press the “Continue” and reboot the system:
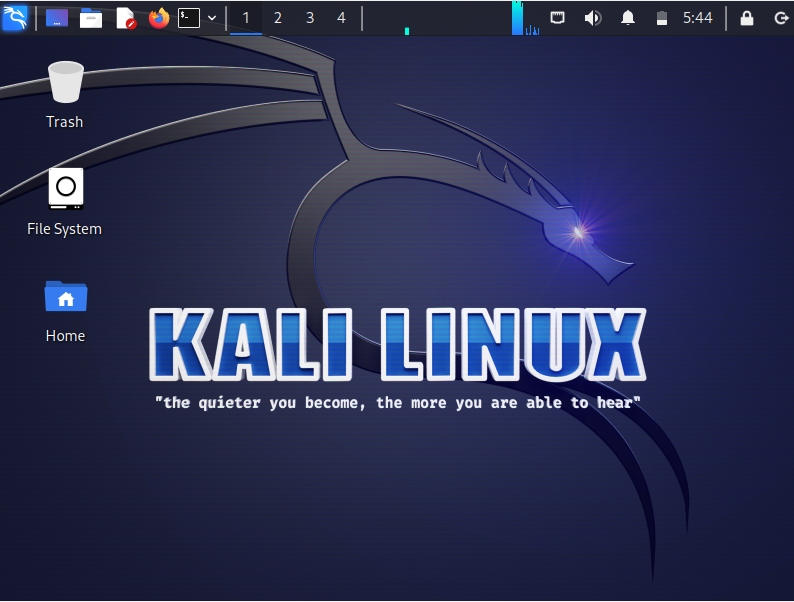
After rebooting, provide the Kali User credentials such as username and Kali user password, and press the “Log In” button:

Here, you can see we have effectively install and opened the Kali Linux a in VMware virtual machine:
We have explained the method to install and use Kali Linux on a VMware workstation.
Conclusion
To install and use the Kali Linux on VMware, first, install the VMware tool on the system. After that, create a new Virtual machine, and provide the downloaded Kali’s ISO image. Then, allocates the additional sources such as processors, disk space, and RAM to the machine and completes the virtual machine creation process. Next, start the machine, follow the on-screen configuration, set the time zone, Kali user, disk partitions, and install the GRUB boot loader. Lastly, restart the system and start using Kali Linux on VMware’s virtual machine. We have covered the procedure to install the Kali Linux on the VMware workstation.