Some significant features of G’MIC are:
- It is cross-platform and available for different image processing applications.
- Comes with different stylish filters.
- Allows morphing images and deformation.
- Comes with colorimetric filters.
- Let’s create color palettes.
Let’s check how to get it for GIMP on Ubuntu.
How to install the G’MIC plugin for GIMP on Ubuntu 20.04 (LTS) & 20.10:
To install G’MIC, it is a must to have GIMP installed on your Ubuntu device. If there is not GIMP, install it first. Then add the repository using the below-mentioned command:

Update the packages list using:
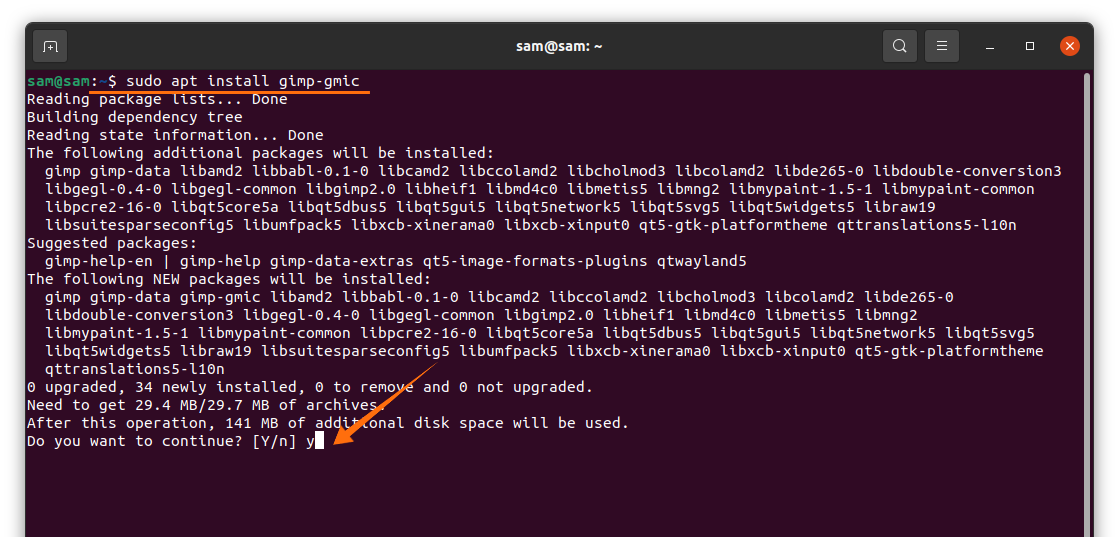
Now, to install the plugin, execute the command:

Press “Y/y” to continue the installation.
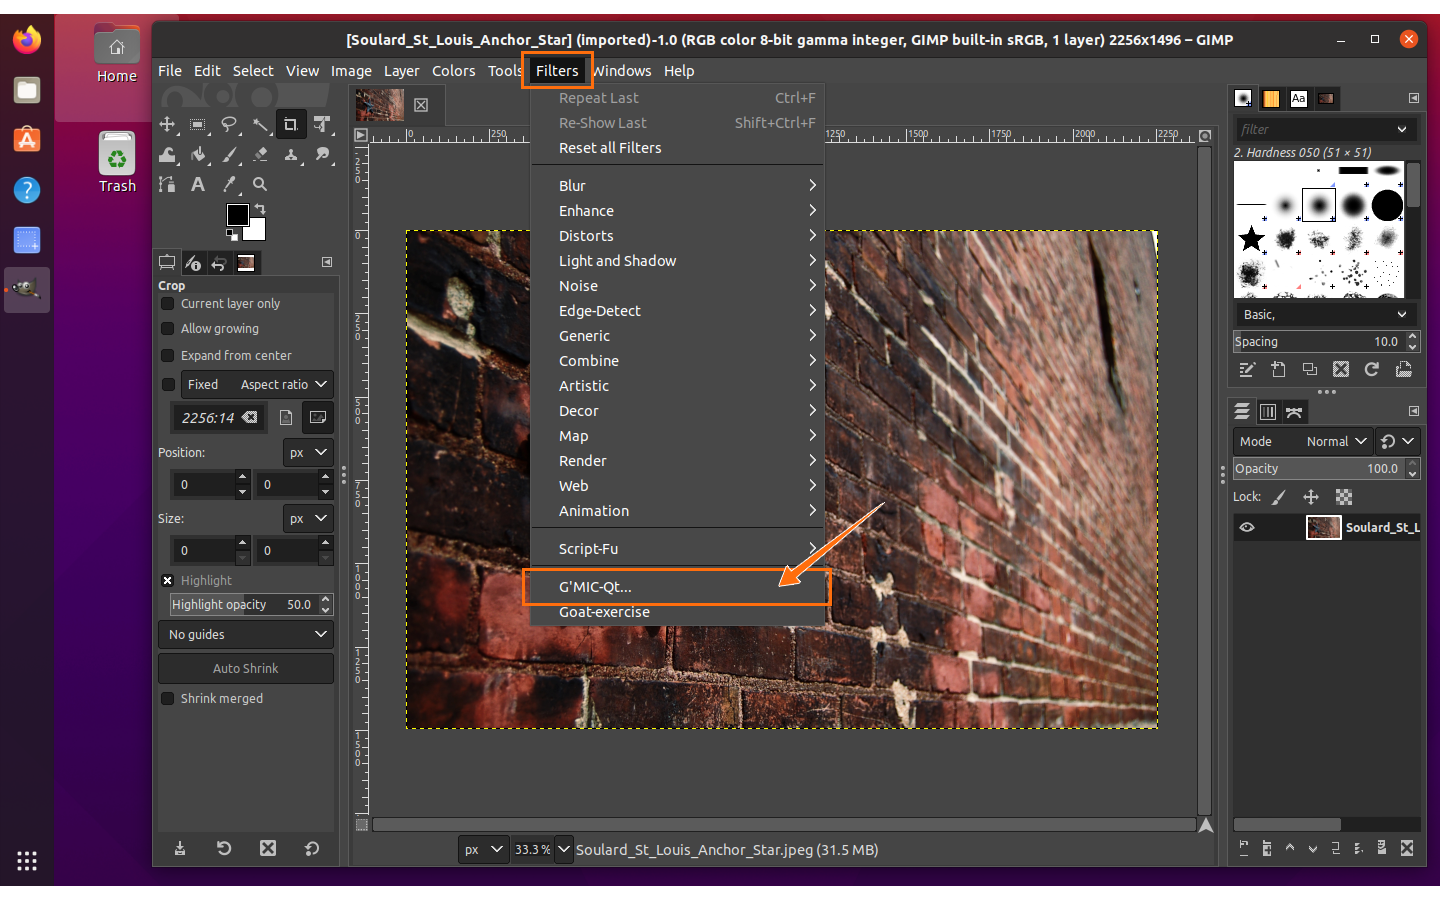
To check it, open GIMP and the click on “Filters” tab:

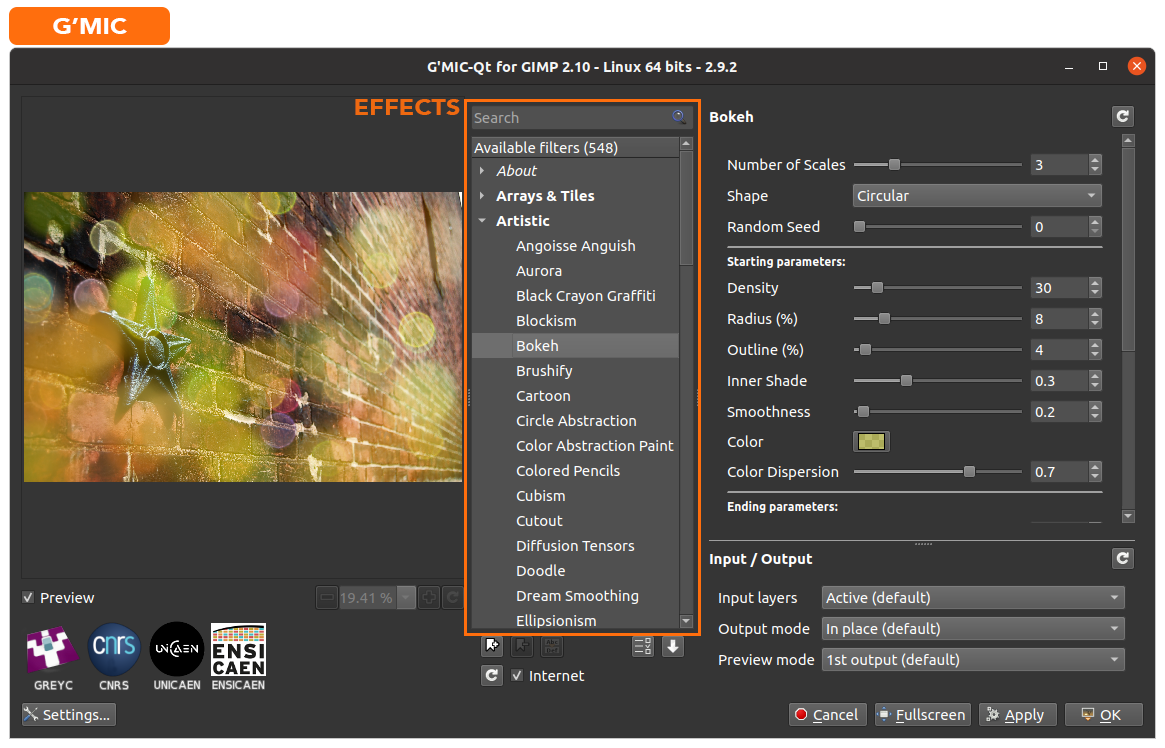
It can be seen at the bottom of the drop-down menu as shown in the above image, open it. There are hundreds of effects and filters, along with an adjustment panel. Any effect can be selected and applied, as shown in the image below.
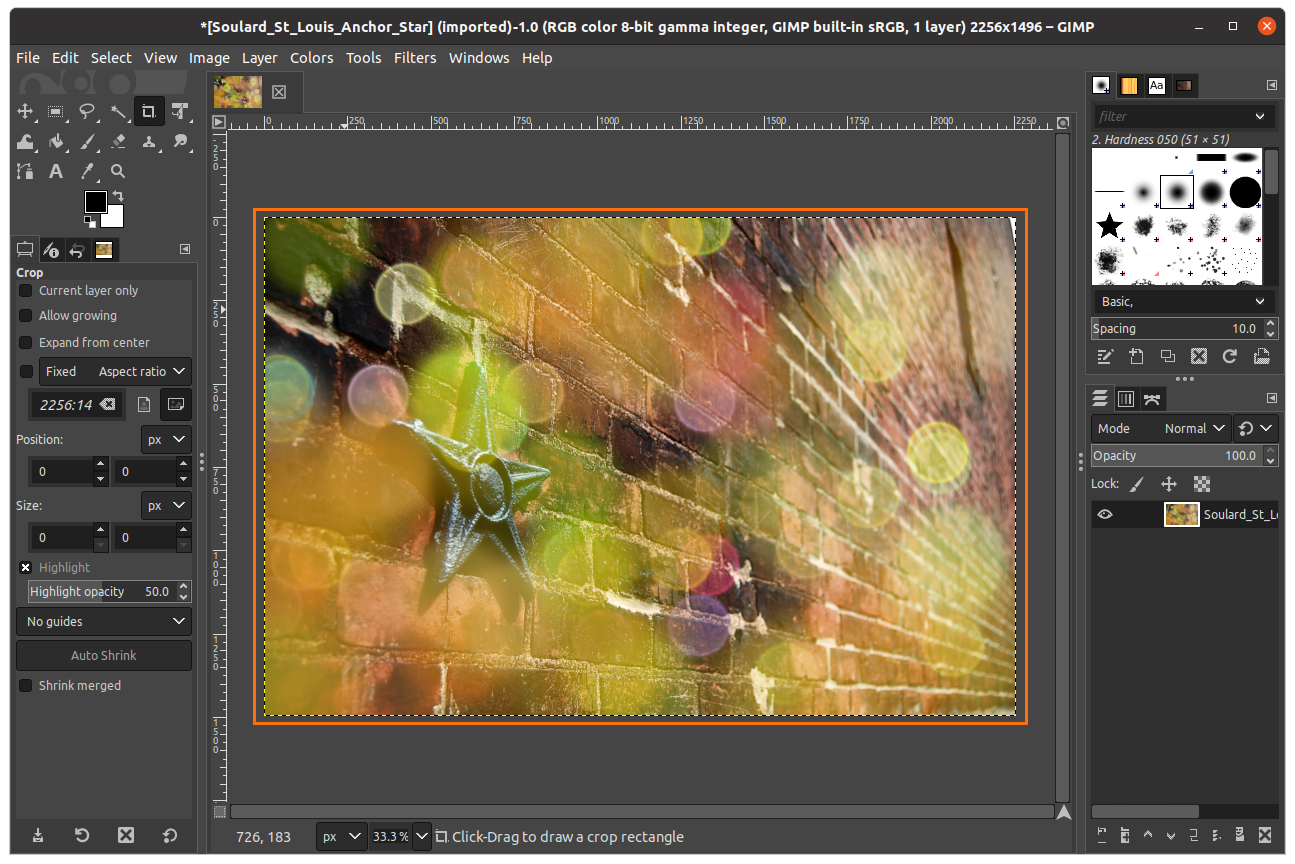
After adding effect and adjusting it, click on “Apply” and then “OK”:
The image can be saved in any format.
Conclusion:
G’MIC is a powerful image-adding framework available from all image manipulating programs such as Krita, Photoshop, and GIMP. It comes with tons of effects such as artistic, black and White, deformation, and even 3D effects with easy-to-use user interface. In this guide, we learn how to install the G’MIC plugin for GIMP.


