GIMP is a powerful image editor that’s free of charge and open-source. It’s a cross-platform tool that’s often compared to Adobe Photoshop. GIMP comes with tons of features and plugins to offer the finest image editing experience.
In this guide, check out how to resize an image using GIMP.
Resizing Image
While GIMP offers a ton of value and power, oftentimes, people find it difficult to operate. It’s understandable as GIMP isn’t the simplest image editor out there. While having tons of features is a boon, it also complicates things for novice users. However, once learned, GIMP is quite powerful.
In image editing, readjusting the dimensions of an image is a common task. For the most part, image resizing is necessary if it’s too large to fit the target job. For example, an image with 1920x1080px resolution needs to be scaled down for the thumbnail.
GIMP offers simple methods to resize an image to the desired dimension.
Resize the Image Using GIMP
GIMP is available for all the major Linux distros. If not installed, then install GIMP snap by running the following command.
Snaps are universal Linux packages that can be installed on any supported distro. Check out the official Snapcraft documentation on how to install snap.

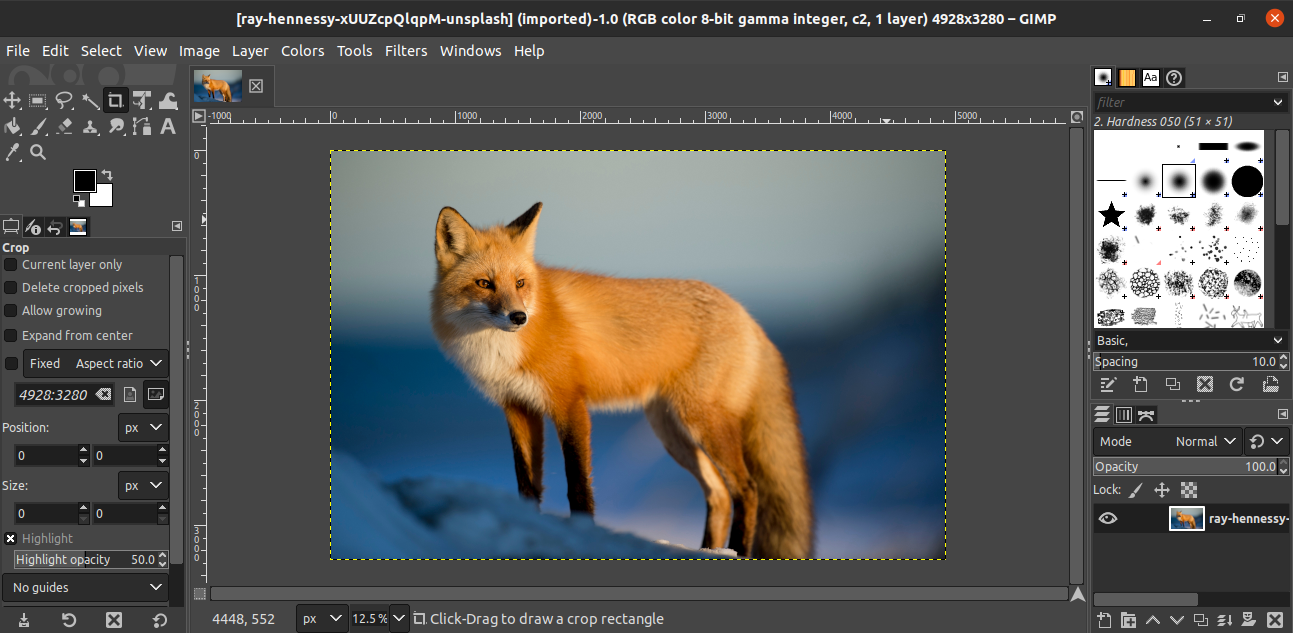
For the demonstration, this image is grabbed from Unsplash. Check it out on Unsplash.
Fixed the image resize
Open the image in GIMP.
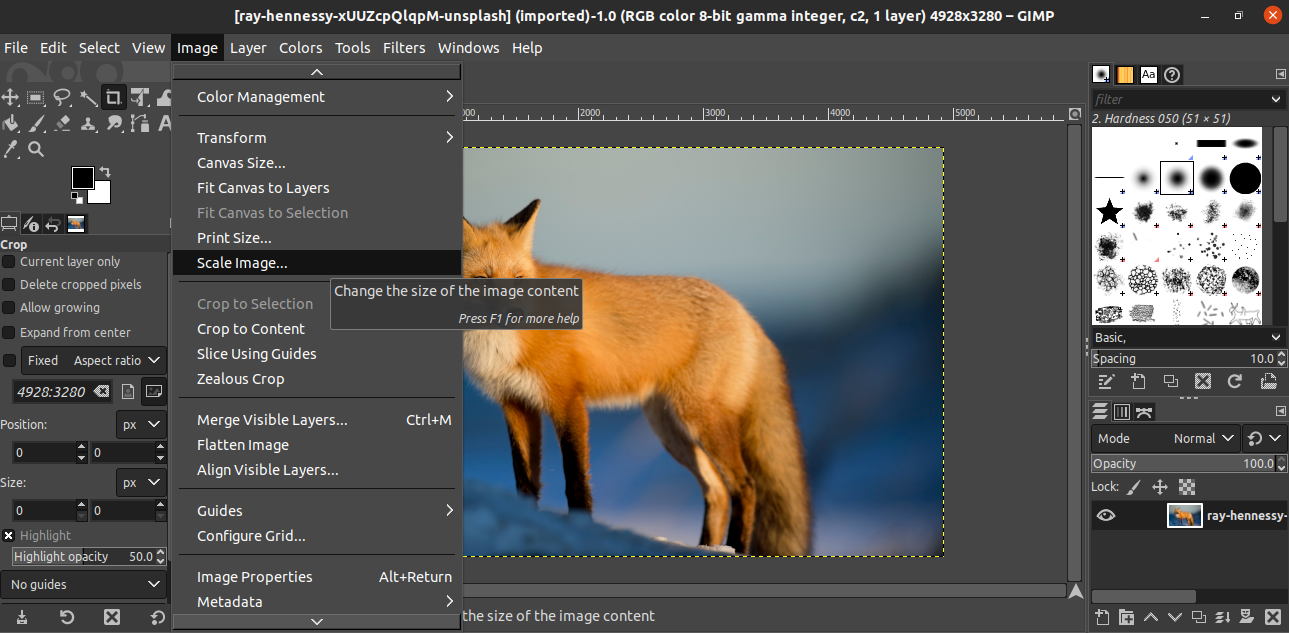
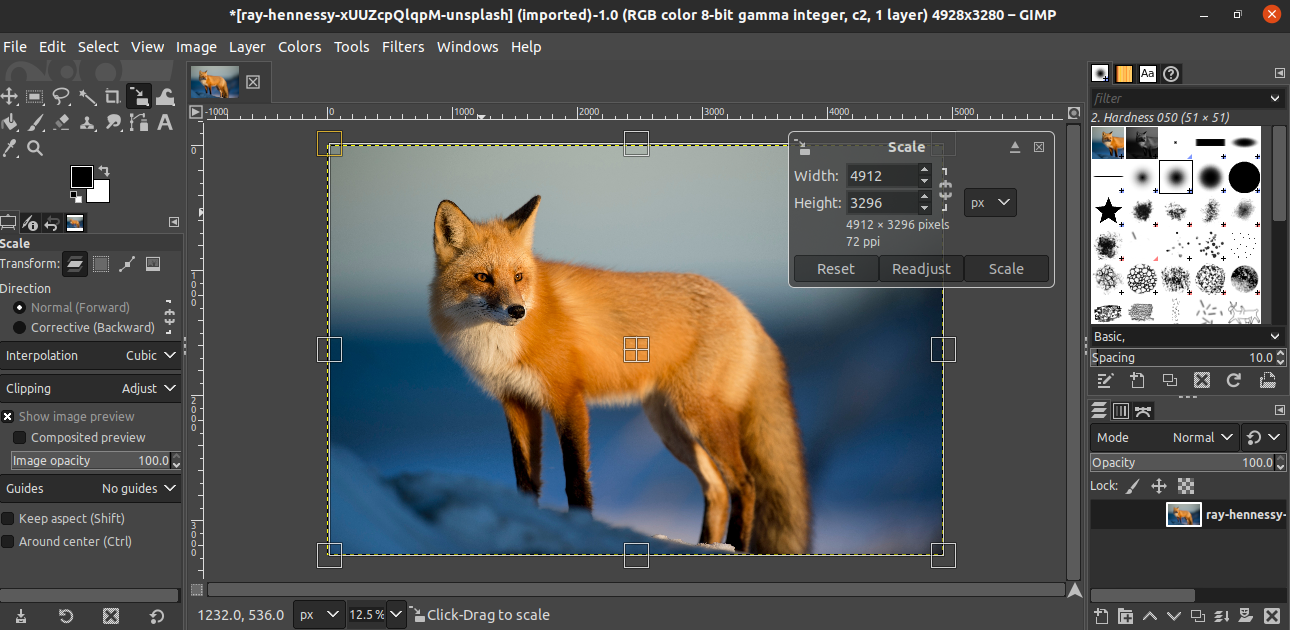
To change the image dimension, go to Image >> Scale Image.
When the dialog box opens up, enter the target image dimension. The link button signifies whether the aspect ratio will be locked/unlocked.
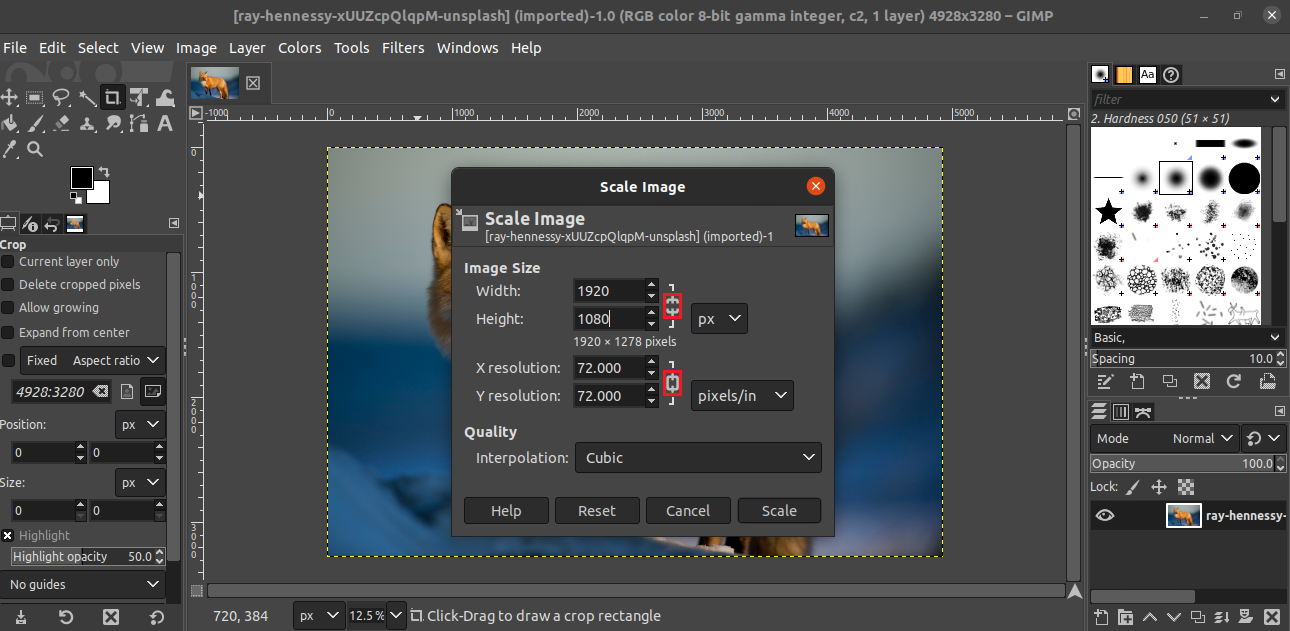
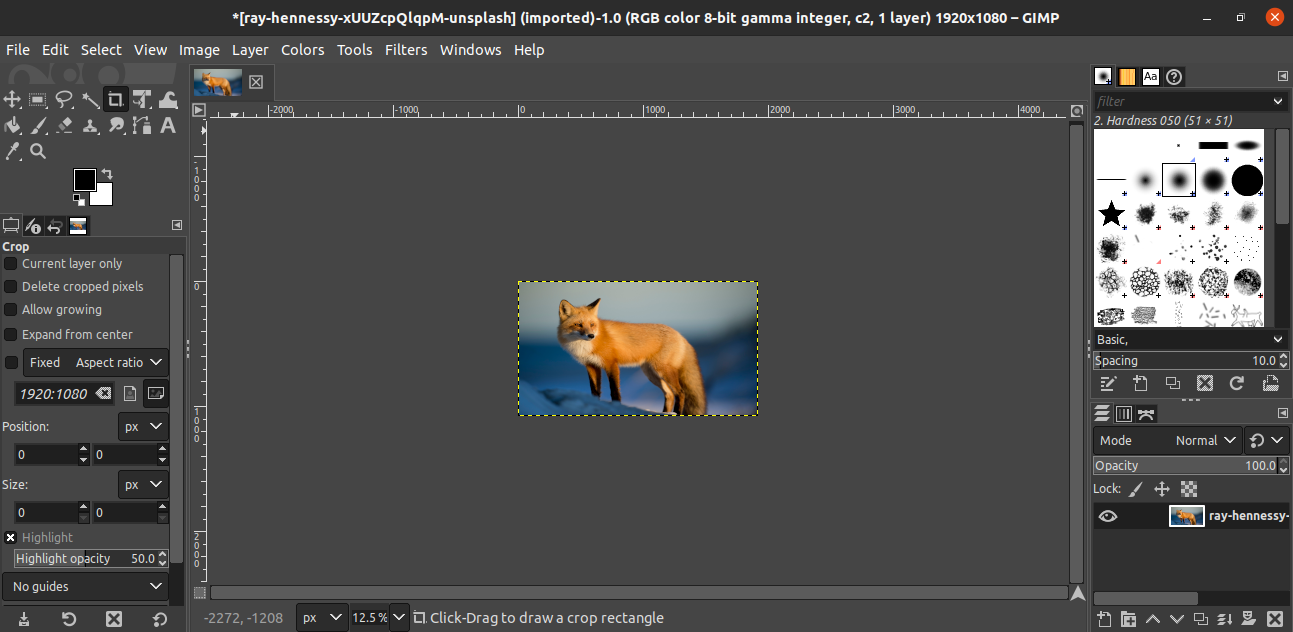
Click “Scale” to apply the change.
Free-hand image resize
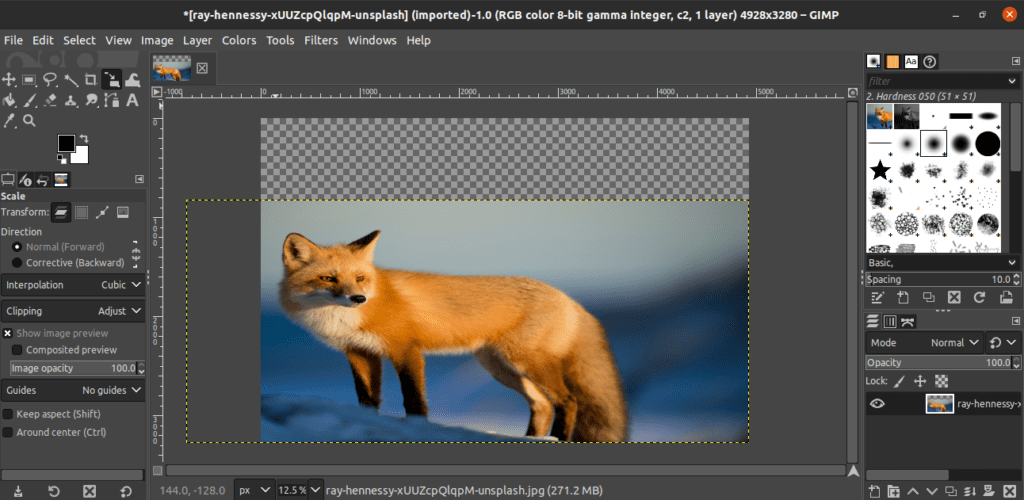
What if there’s no necessity of resizing the image with precision? Then, we can perform a free-hand image resizing. Essentially, it will be dragging the image with a cursor to reshape it.
To do so, open the image in GIMP, and press “Shift + S”. This will start free-hand resizing. Similar to the prior method, make sure to lock/unlock the aspect ratio option.
To apply the changes, click “Scale”.
Saving the image
Once the change is applied, save the image. Go to File >> Save.
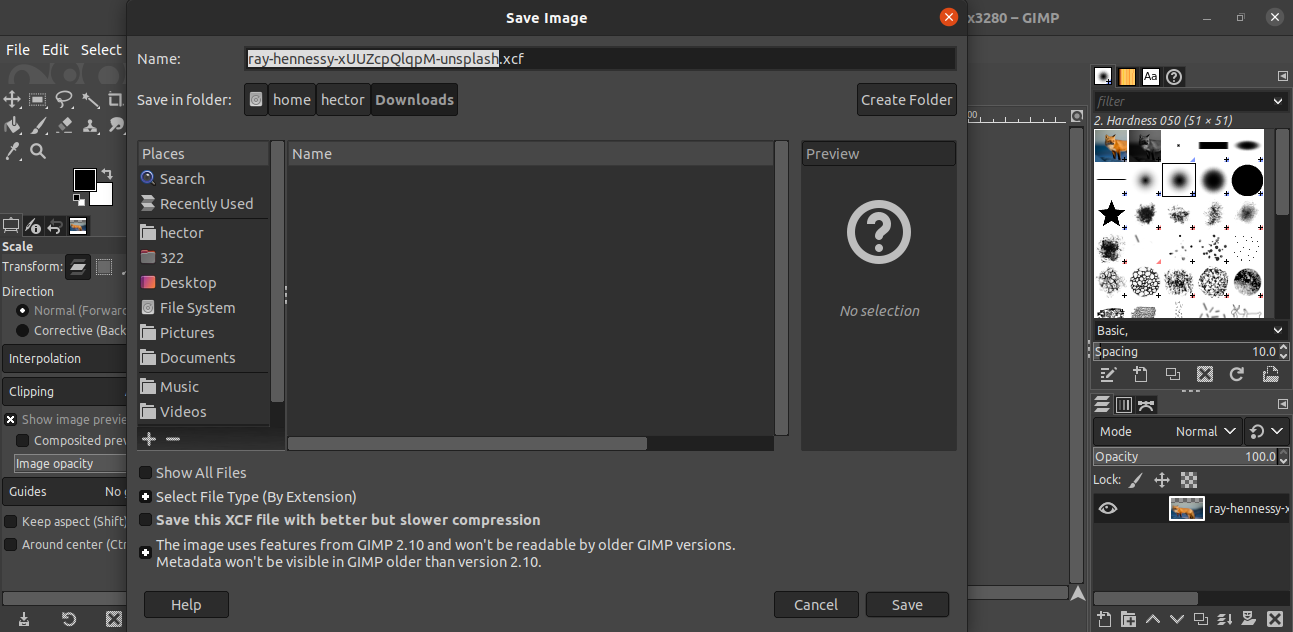
By default, GIMP will save the file in XCF format. Note that an XCF file created by a new version may not work on an older GIMP.
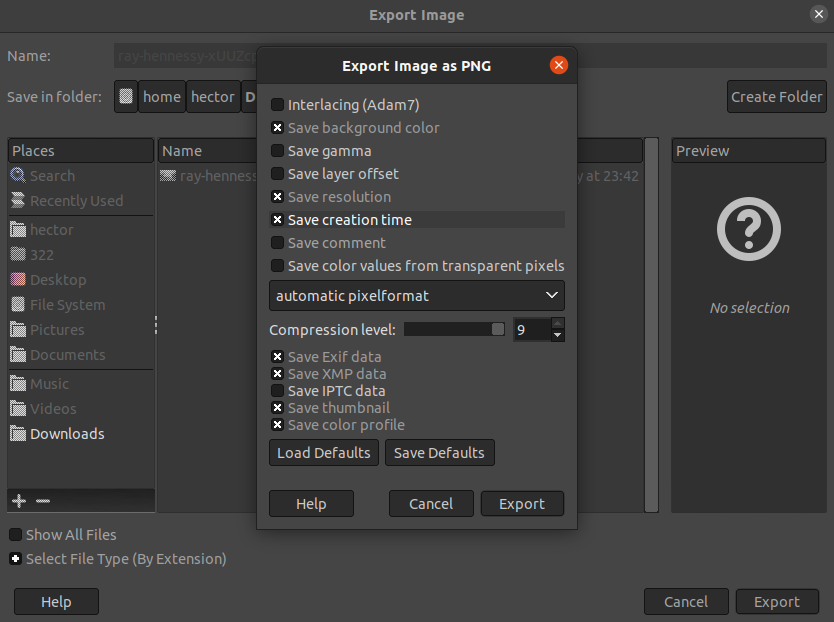
Exporting the image
To export the image in a more convenient format, go to File >> Export as. Alternatively, use the keyboard shortcut “Shift + Ctrl + E”.
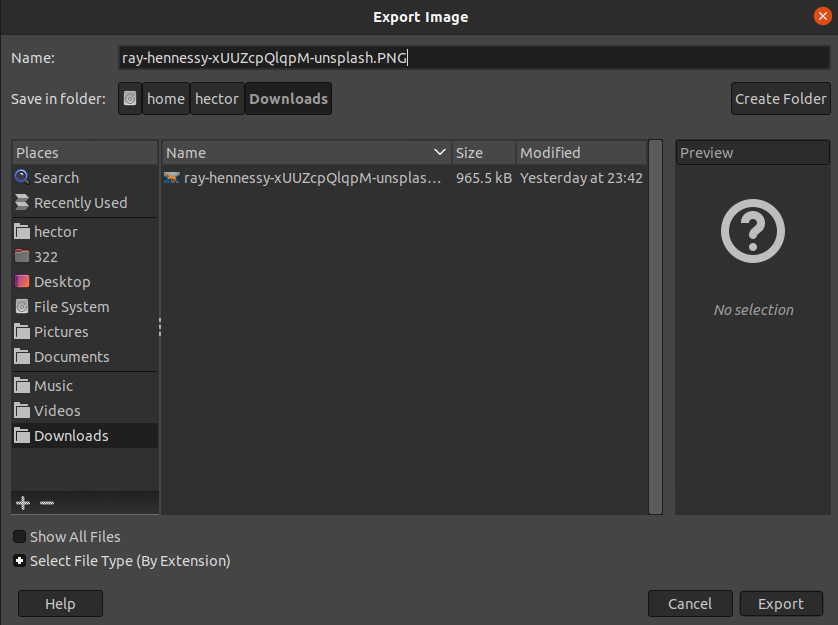
In this example, to save the file in PNG format, change the file extension from the file name to “.PNG”. Click “Export” to proceed.
GIMP will ask what information to preserve. If not sure, then go with the default options. Click “Export” to finish the process.
Final thoughts
Resizing images using GIMP is quite a simple task. Follow the method that suits your needs.
In certain situations, instead of the whole image, only a part of it may be relevant. Check out how to crop images in GIMP.
Happy computing!