GIMP is a powerful software for image editing and related tasks. It comes with tons of basic and advanced features. Often, GIMP is compared to Adobe Photoshop as the FOSS alternative.
As an image editor, GIMP can work on existing images and draw an image from scratch. In this guide, check out how to draw a circle using GIMP.
Drawing a circle in GIMP
Drawing a circle is an essential task for any image editor. In GIMP, the “Ellipse selection” is the tool that will allow us to create a circle.
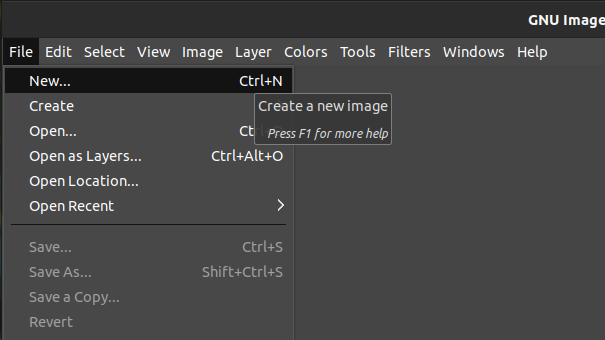
The very first step is to create a new image. From the GIMP main window, go to File >> Menu. Alternatively, we can use the keyboard shortcut “Ctrl + N”. If there needs a circle to be drawn on top of an existing image, create a new layer from Layer >> New Layer. Alternatively, use the keyboard shortcut “Shift + Ctrl + N”.
GIMP will ask for the image properties. It will come with the default values. Change them as necessary.

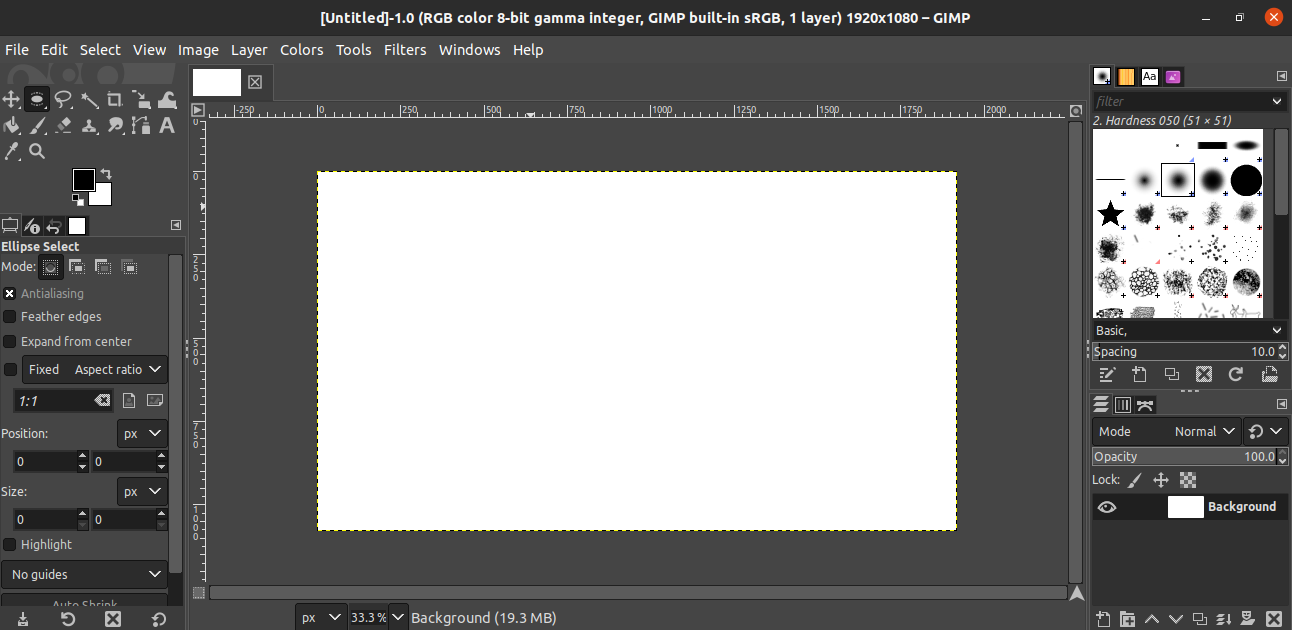
The image is created successfully.
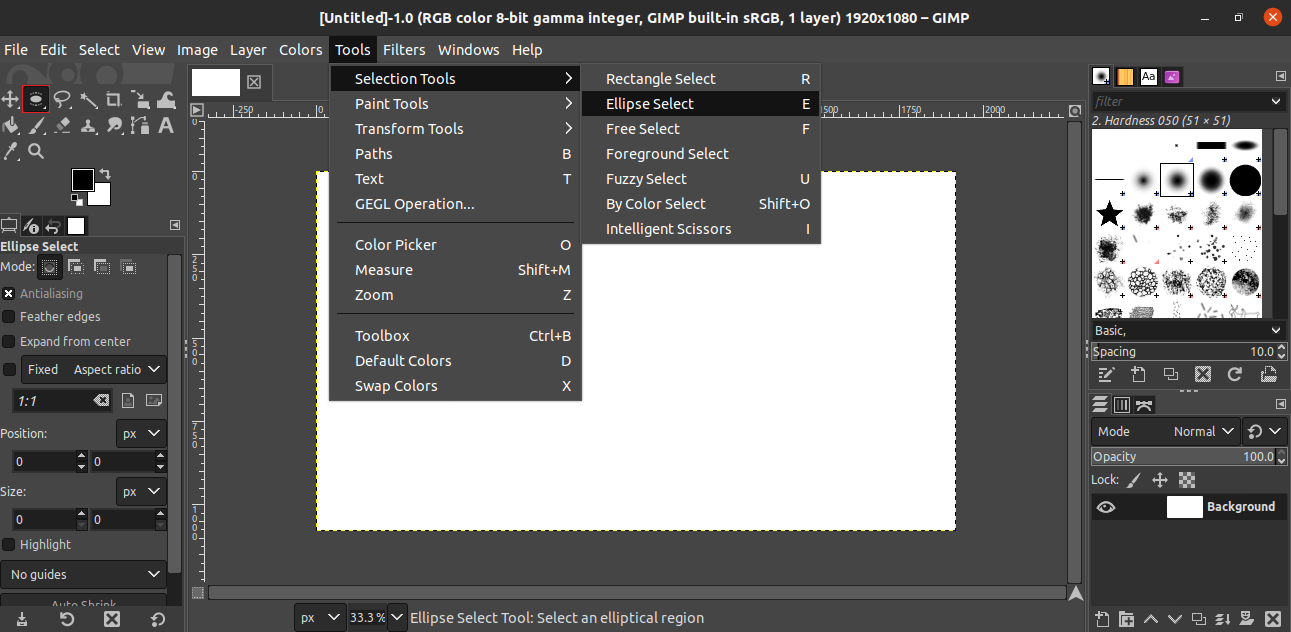
Open the “Ellipse select” tool from Tools >> Selection Tools >> Ellipse Select. Alternatively, select it from the toolbox.
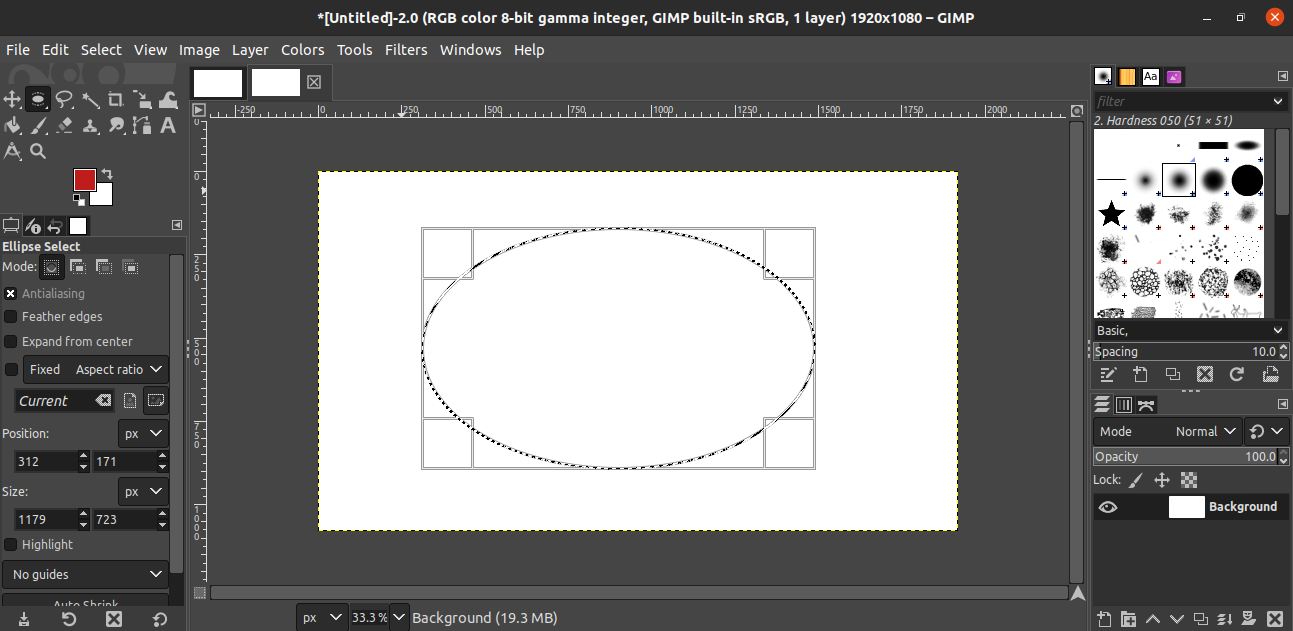
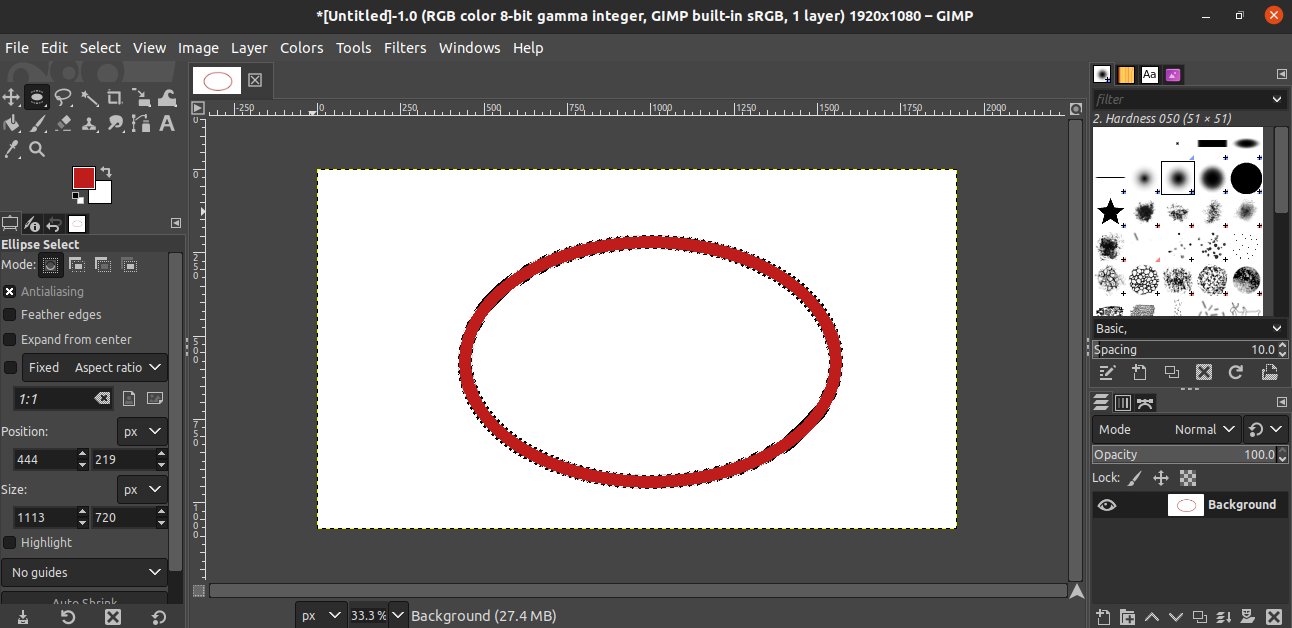
It’s time to draw the ellipse. Click and drag the cursor on the image and start drawing a circle. It’ll look something like this.
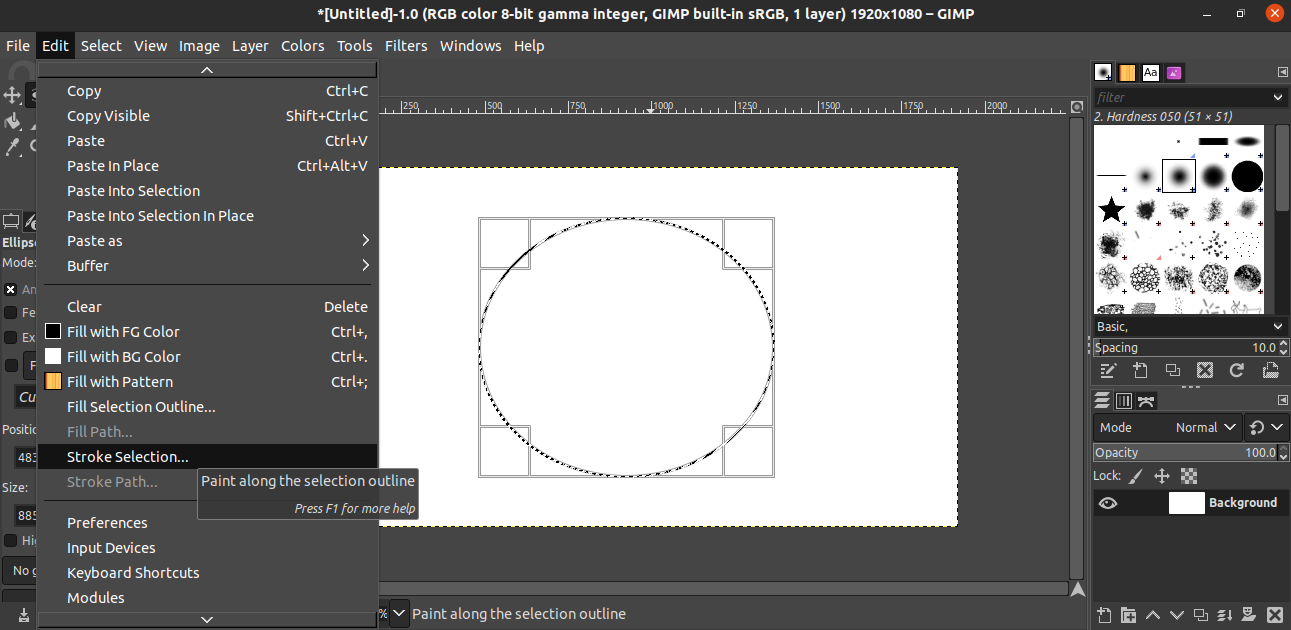
The border of the circle needs stroking to make it solid. To do so, go to Edit >> Stroke Selection.
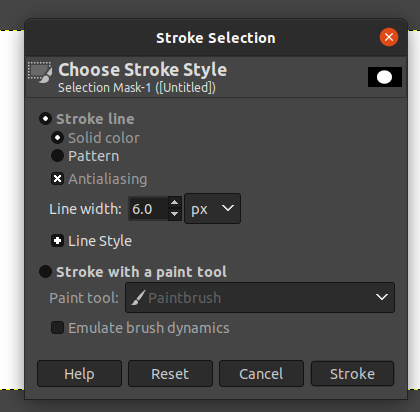
It’ll open a dialog box, asking for the stroke properties. Click “Stroke” to apply the selection.
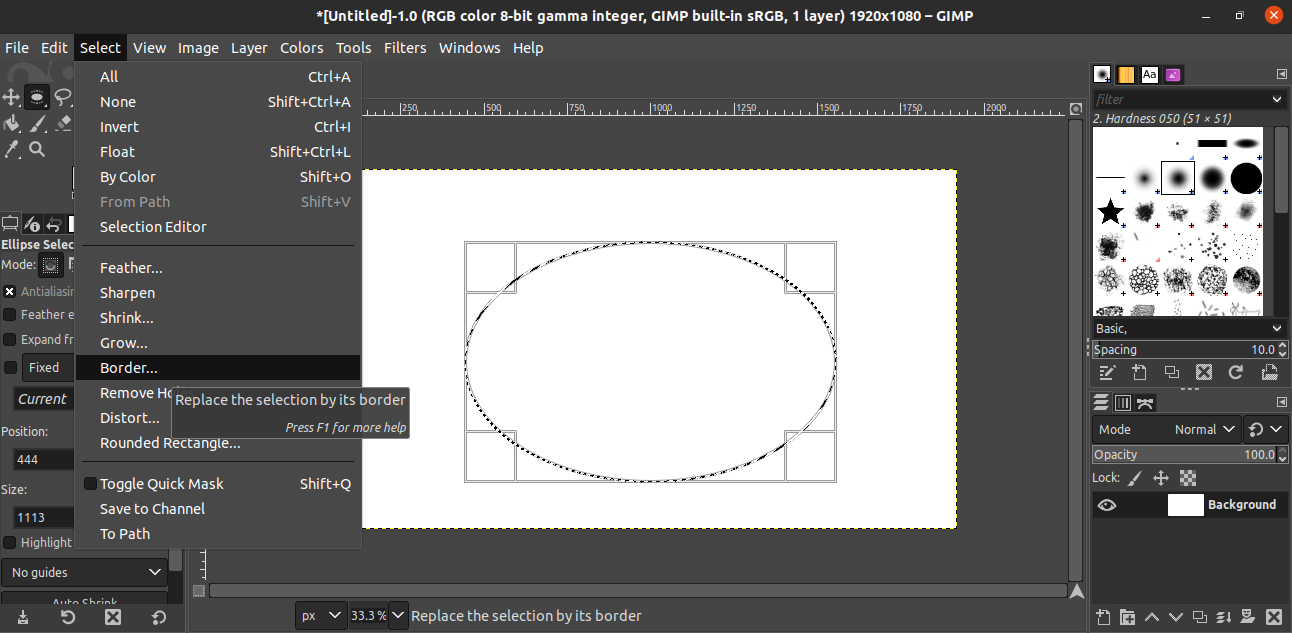
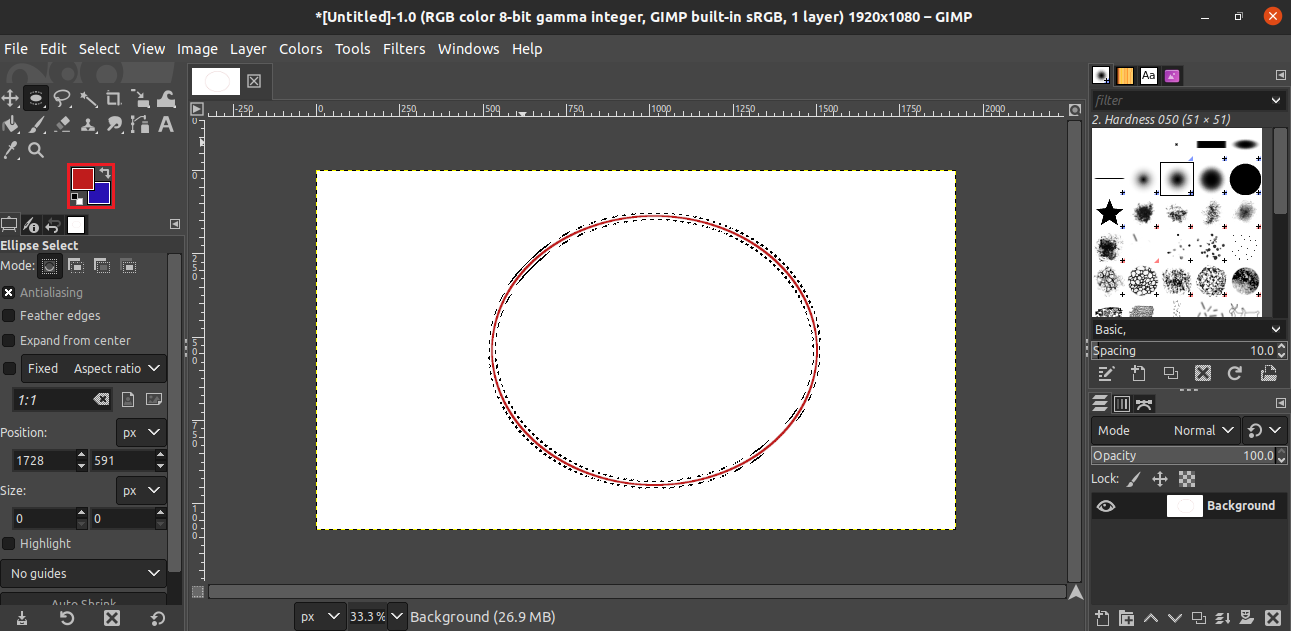
Need to work on the border while keeping the inside of the circle clean? Go to Select >> Border.
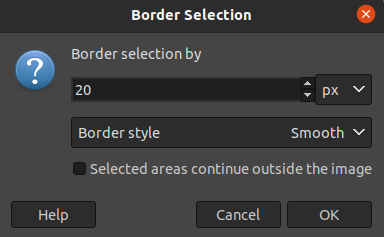
Select the border properties, especially the border width.
The result would look like this.
Filling the circle with color
This is an additional step and may not apply in all situations. In case you want to fill the circle with a specific color, then follow this method.
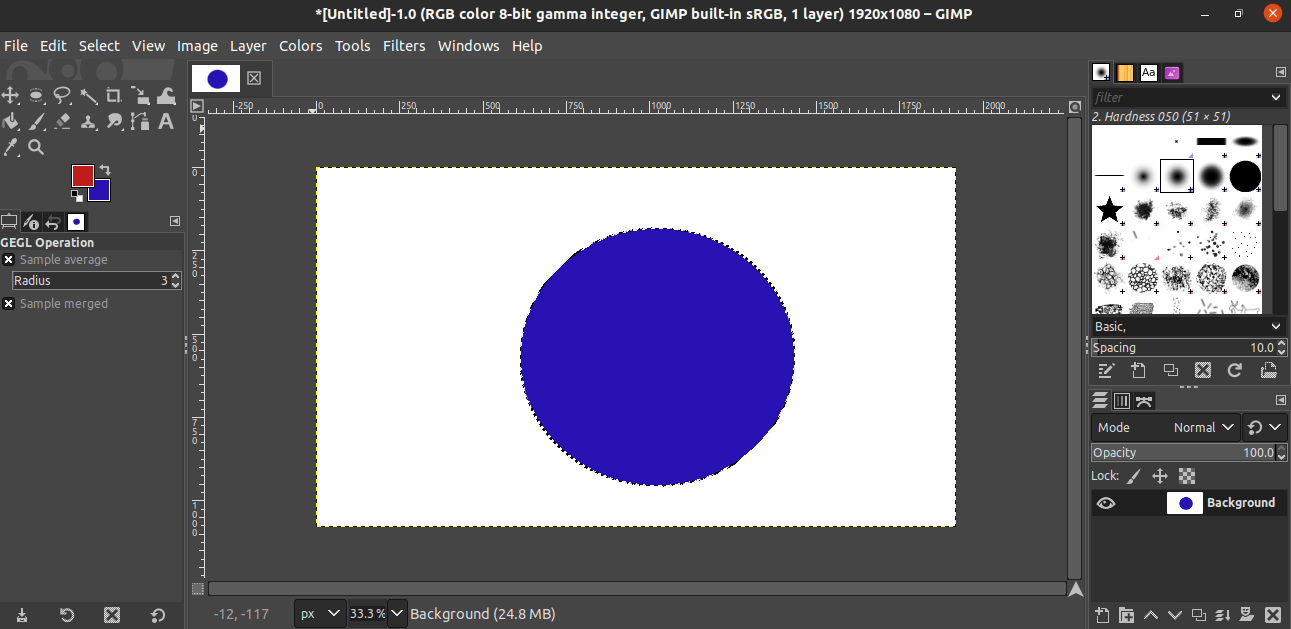
First, select the color from the color selection icon. For example, red is selected as the foreground color, and blue is selected as the background color. Select the right color for the background/foreground.
To fill the foreground of the circle, press “Ctrl + , (comma)”. To fill the background of the circle, press “Ctrl + . (dot)”.
Saving the picture
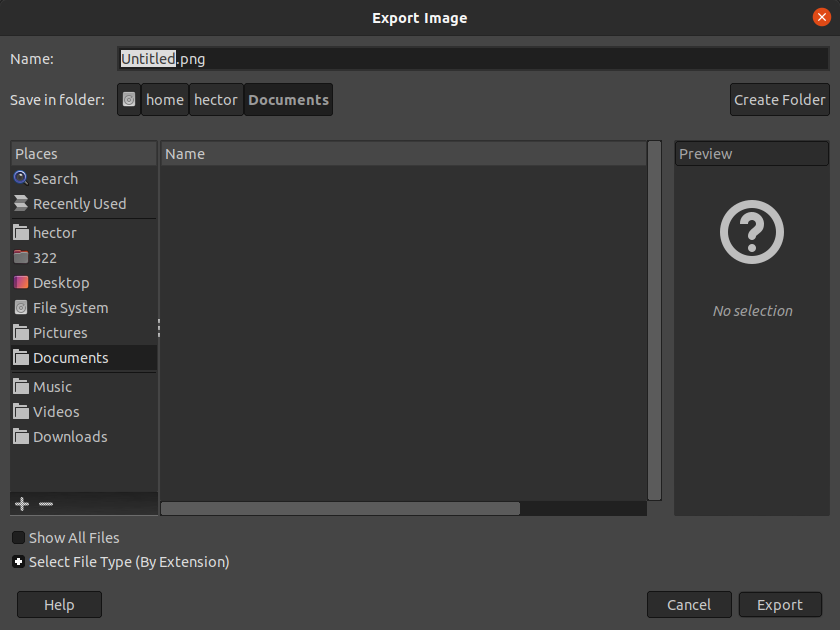
To export the picture, go to File >> Export As. Alternatively, use the keyboard shortcut “Shift + Ctrl + E”.
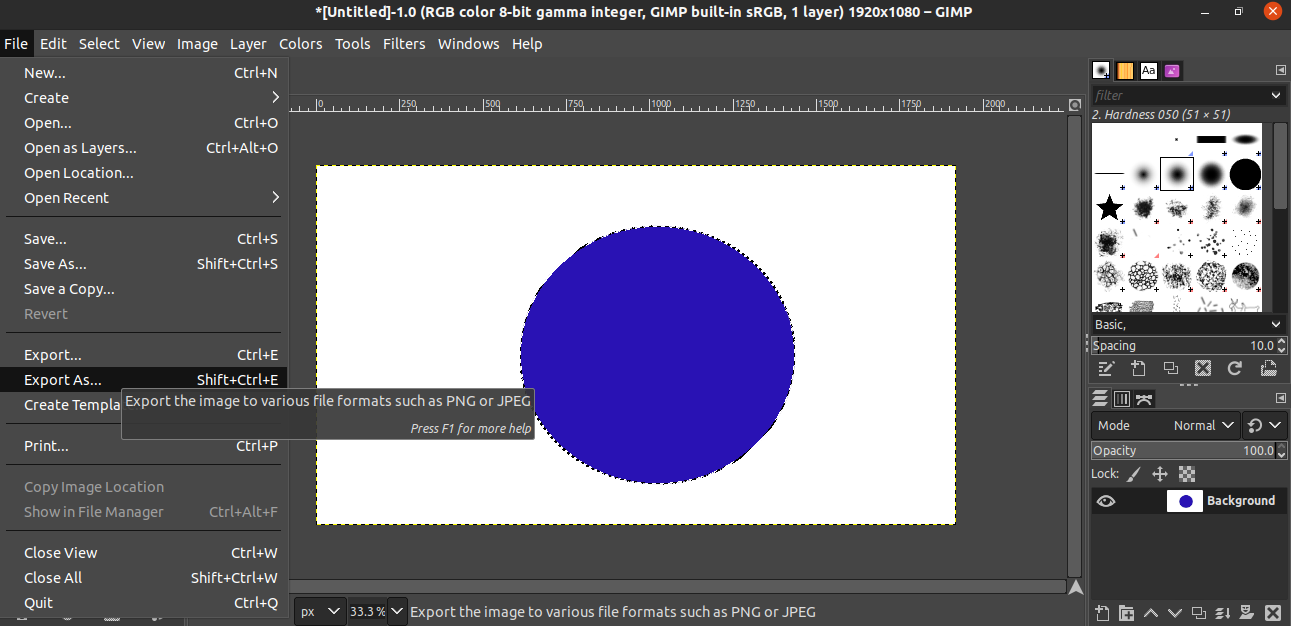
GIMP will ask for the location to save the file. As for the file format, change the file extension in the file name. GIMP will automatically recognize the change and save the file in the desired format.
Final thoughts
GIMP is an awesome tool for drawing images. However, it doesn’t offer you to create a perfect circle. Three’s only the option to draw an ellipse. The best one can do draw a near-perfect circle by hand. The dimension of the circle can be dragged and changed to a seemingly accurate circle. It may require some practice.
Not interested in GIMP? Worry not. There are lots of Photoshop alternatives that you can try. Check out best Photoshop alternatives on Linux.
Happy computing!