With such a wide array of functionalities, OpenCV has found its uses over the years in facial recognition technology, medical imagery, surveillance video, and even in commercial services, such as VFX and motion tracking in the film industry.
This article provides a tutorial that shows you how to install OpenCV 4 on your Ubuntu 20.40 system and how to get the most out of this library by installing the most recommended packages.
We will begin by installing the OpenCV dependencies before installing OpenCV.
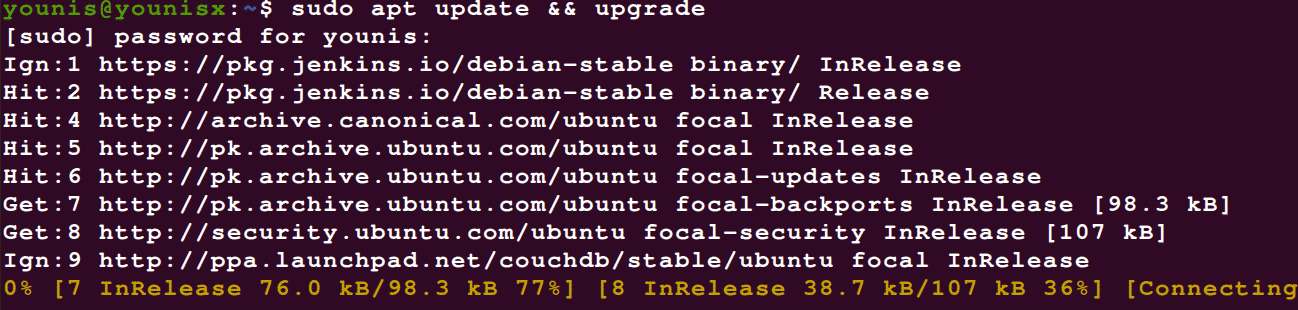
Step 1: Update Your System
First, open the terminal and type in the following to update your system:
Step 2: Download Additional Libraries
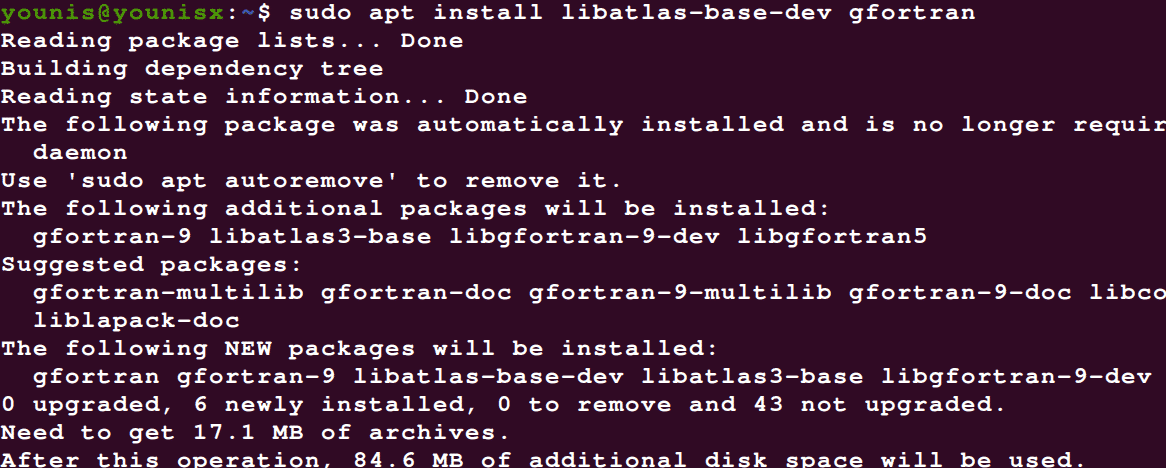
Next, request for and install the developer tools and visual I/O libraries to view and edit image and video files. Use the following commands to do so:


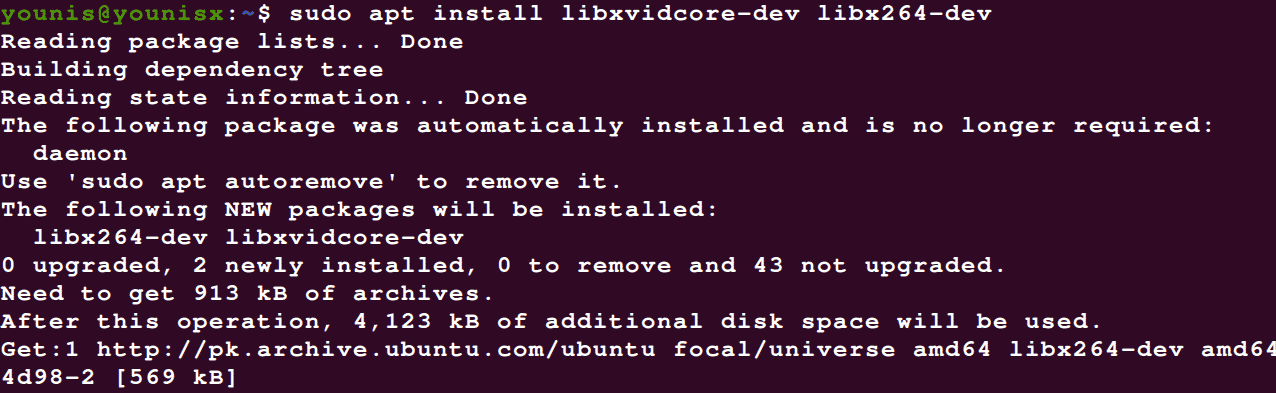
To further enhance OpenCV, install the packages below:
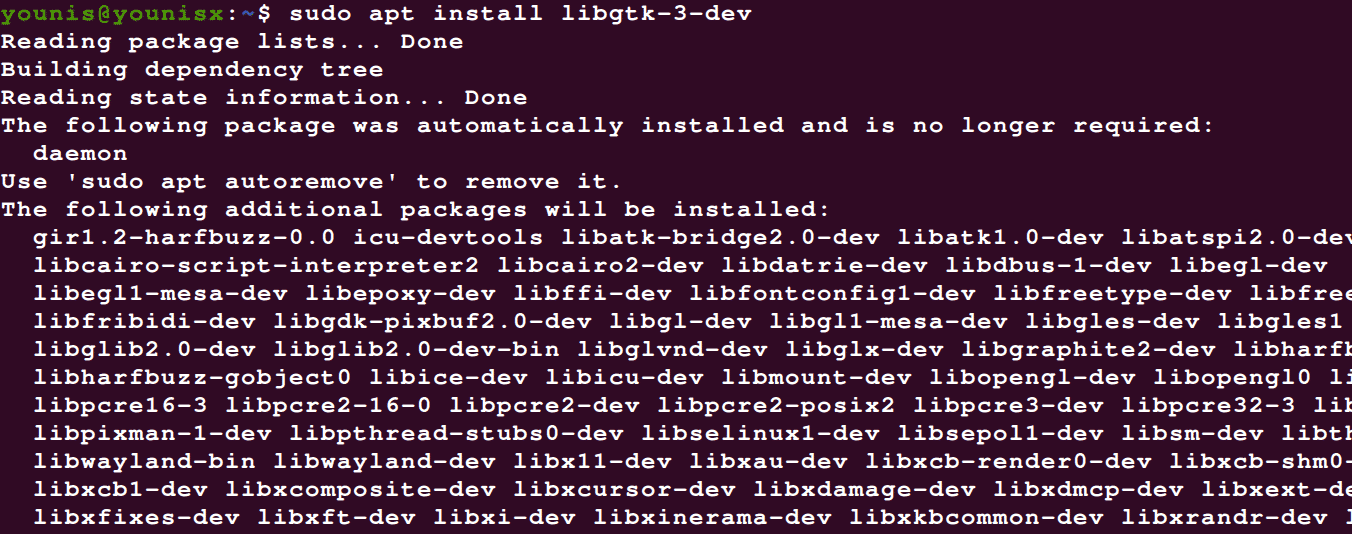
Step 3: Download Gnome ToolKit
Gnome Toolkit (GTK) is a free and open-source widget toolkit that can be used to create GUIs. Type the command below to download the Gnome Toolkit:
Step 4: Install Python 3 Development Headers
Use the following codes to install the Python 3 development headers:

Note: If you could not already tell, we are performing the installation with Python 3 bindings.
With the dependencies installed, we can now move on to downloading OpenCV.
Step 5: Download OpenCV
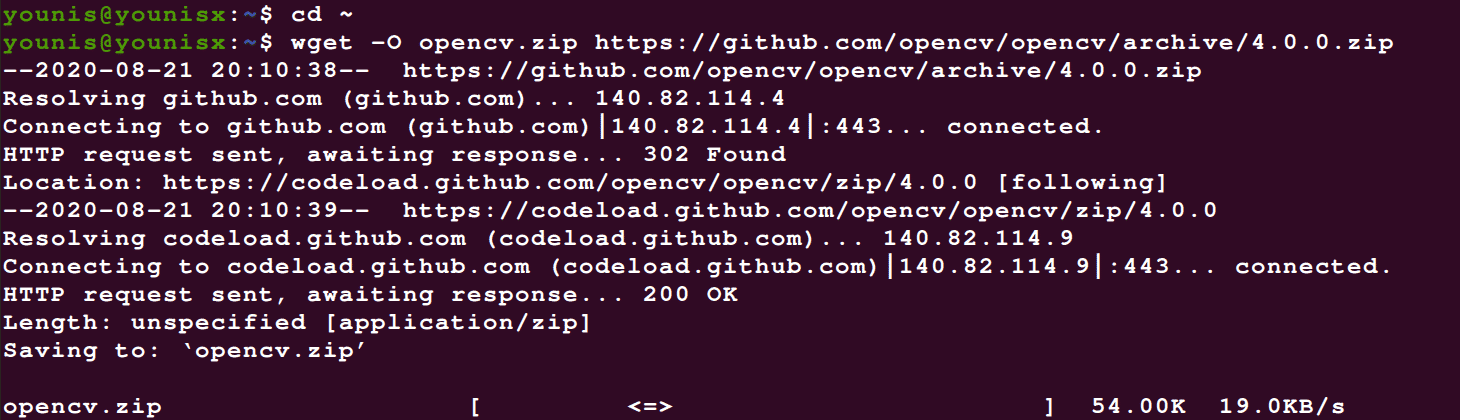
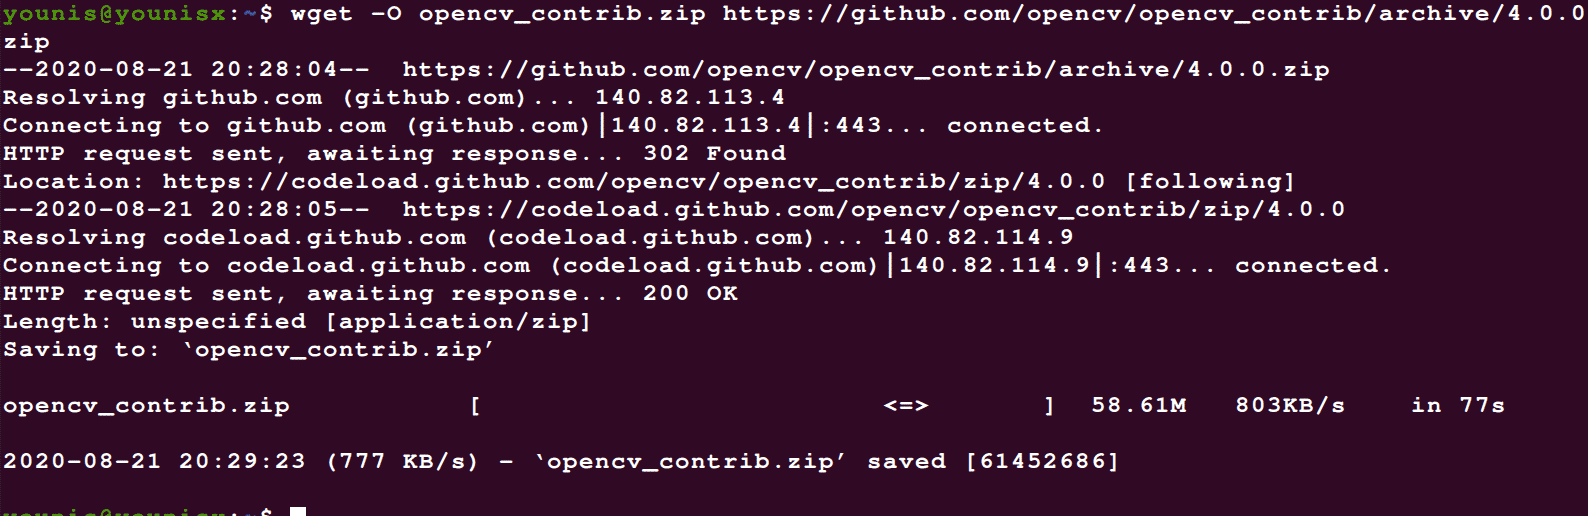
Downloading OpenCV is fairly straightforward. Simply head over to your home folder and download the OpenCV and opencv_contrib, which comes with some mods that add to OpenCV’s functionality. To do so, enter the following:
$ wget -O opencv.zip https://github.com/opencv/opencv/archive/4.0.0.zip
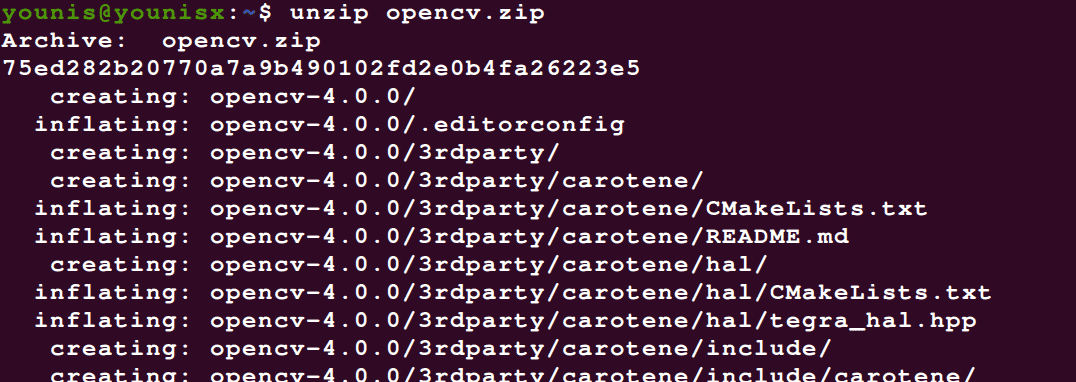
Next, extract the archives with the commands below:

This step is optional. You can choose to rename the directories by entering the commands below:
![]()
![]()
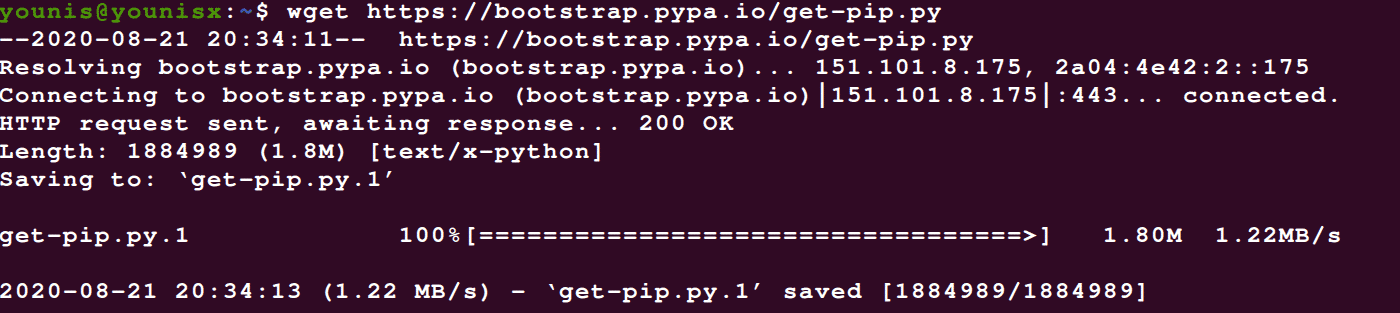
Step 6: Optimize Python 3 VE for OpenCV
In this step, we will install pip. Enter the following commands to do so:

Step 7: Get Used to the VE for Python Development
With a virtual environment, you can work with two parallel software version dependencies.
Here, we will use the virtualenv and virtualenvwrapper packages to navigate the Python virtual environments.
To install the virtualenv and virtualenvwrapper packages and create python VEs with them, enter the following:


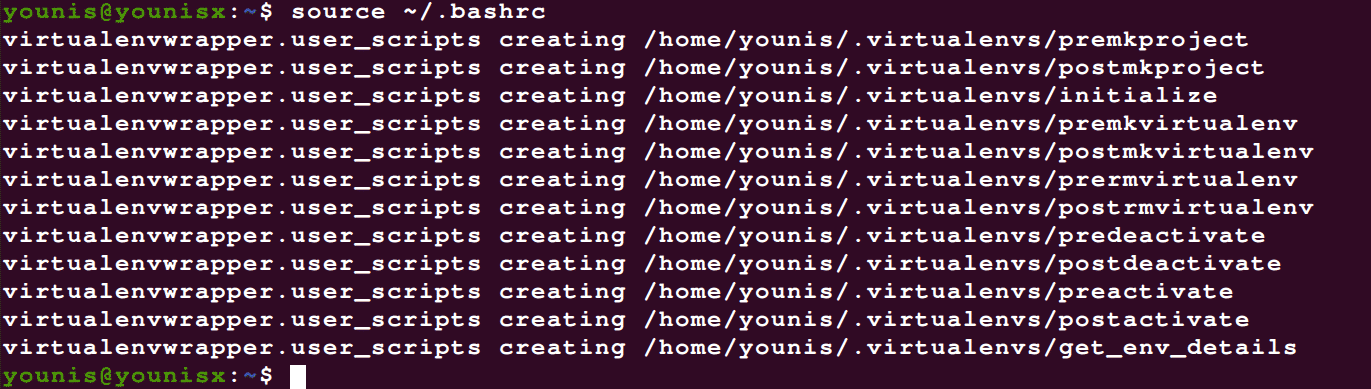
Enter the following code to append your ~/.bashrc file:


![]()
![]()
Now, source the~/.bashrc file with the following:
Step 8: Creating a Virtual Environment
Now, we can move on to creating an OpenCV 4 + Python 3 virtual environment. Enter the following code to create a Python 3 Virtual Environment.
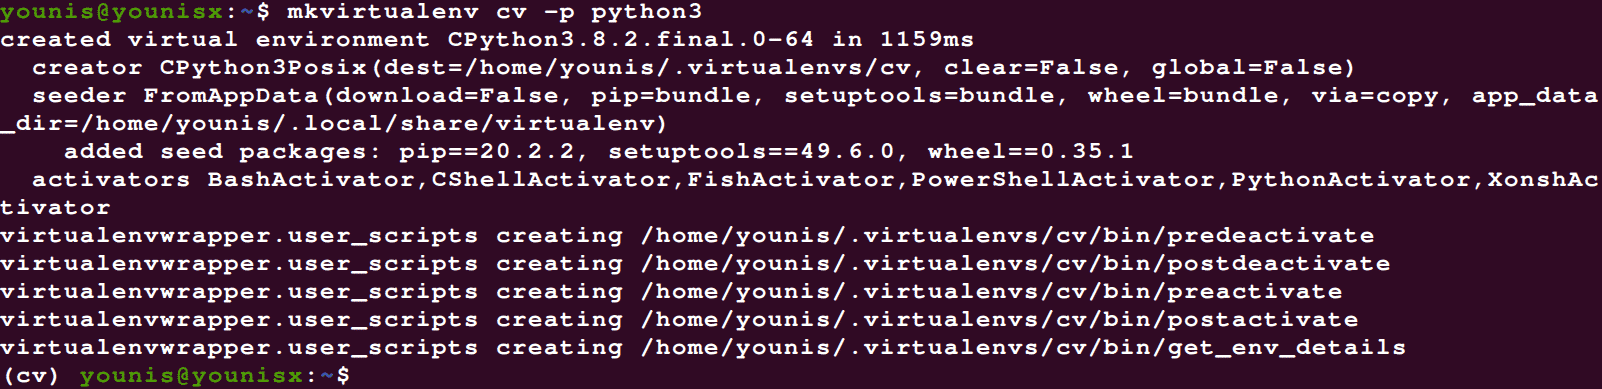
As you can see, we named our VE ‘cv;’ You can give any name to your VE, although it is preferable to keep them short and relevant.
We have created the py3cv4 VE to use with Python 3 + OpenCV 4. To see what VE you are in, enter the following command:

Step 9: Install NumPy
NumPy is a Python library package that adds to it by installing high-level mathematical functions and supporting multi-dimensional arrays and matrices. It is likely to come in handy when you are using OpenCV, so we recommend that you install it. Issue the following command to do so:

Step 10: Link OpenCV 4 with the Virtual Environment
Look up the Python version installed on your system by entering the following:


Now that you know the Python version that you are using, you can rework the site-packages directory.
Step 11: Verifying the Installation
You can check that OpenCV is installed properly and will work without problems by entering the following command:


This activates the virtual environment and runs the Python interpreter linked with the VE you just activated.
Conclusion
And that about wraps it up. This article provided a walkthrough to help you get OpenCV up and running on your Ubuntu system. We looked at various dependencies that add more functionality to OpenCV and showed you how to install these dependencies. We also created a Python 3 Virtual Environment and linked it with our OpenCV install. After following the steps listed in this article, you should have successfully installed OpenCV on your Ubuntu 20.24 server.