JavaScript also interacts with the elements of an HTML page by using the DOM, and in this post, we are going to learn how to access HTML elements with JavaScript and how to change their attributes, classes, and style using JavaScript.
So, let’s first create an HTML page with various elements on it by using the following lines of code:
<div id="changeStyle"><p>Change My Style</p></div>
<div id="changeAttr"><p>Change My Attribute</p></div>
<div id="changeClass" class="myClass"><p>Change My Class</p></div>
</center>
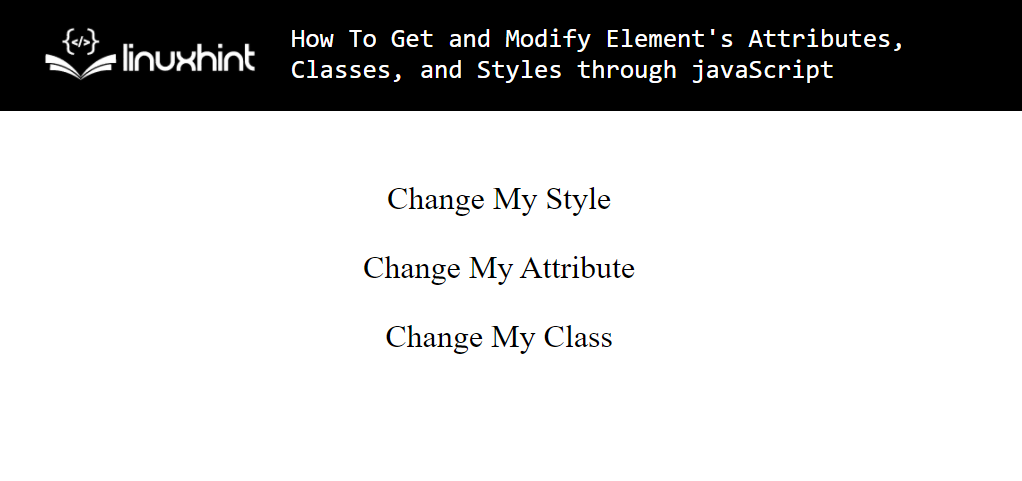
These lines of code will give us the following webpage:
How to get elements in JavaScript
Before we look at how to change elements using JavaScript, we first need to know how to get elements in JavaScript. Well, to get element’s reference, we can use one of the various functions that are provided by JavaScript such as:
- getElementById()
- getElementByClassName()
- getElementByName()
- getElementByTagName()
- getElementByTagNameNS()
They are all pretty easy to use and understand by their name. Suppose we have an element inside our HTML with an ID of “xyz”, to access the data of this element we would use the following line in the JavaScript file or script tag:
Similarly, if we are trying to access an element by using its className we would use the getElementByClassName() function.
Changing Style of an Element
Looking at our HTML file, we know that the div that says “Change my style” has the id of “changeStyle”, so we are going to access that with the following line:
Now, that we have our element reference in the variable “cs” we can access its style function using the dot-operator and from there we can change its different style values. For example, if we were to change the background color to yellow, we would use the line:
After running the HTML file, you will see the following output:
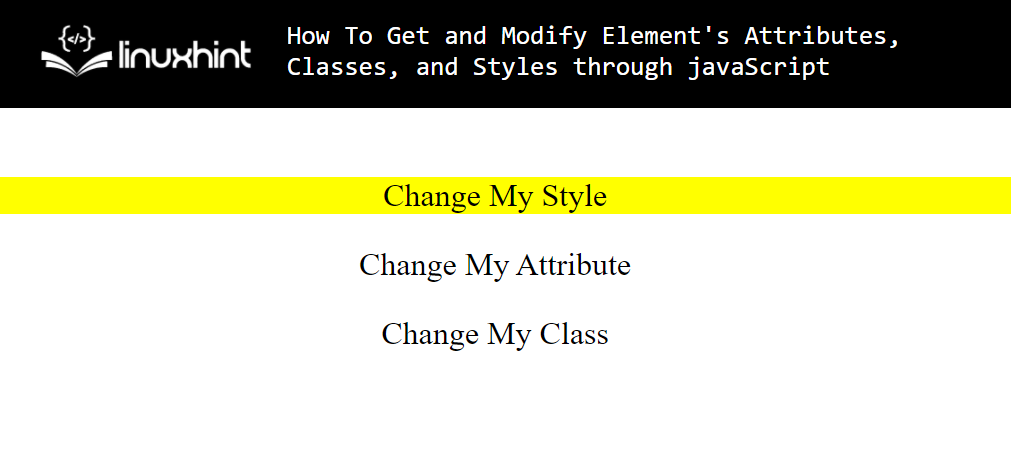
You can see in the picture above as well, that we were able to change the style of the element.
Change the class of an element using JavaScript
We have the element with the id “changeClass” that has a class of “myClass”, to change the class of this element the first thing that we need to do is to refer to this element in JavaScript by using the following line of code:
Now that we have the element reference in the variable “cc” we can access its classes attribute by using the classList() function. To add a new class “newCLass” in the same variable we can use the following line of code:
If you open up the developer’s console and check the class attribute, you will find the following result:
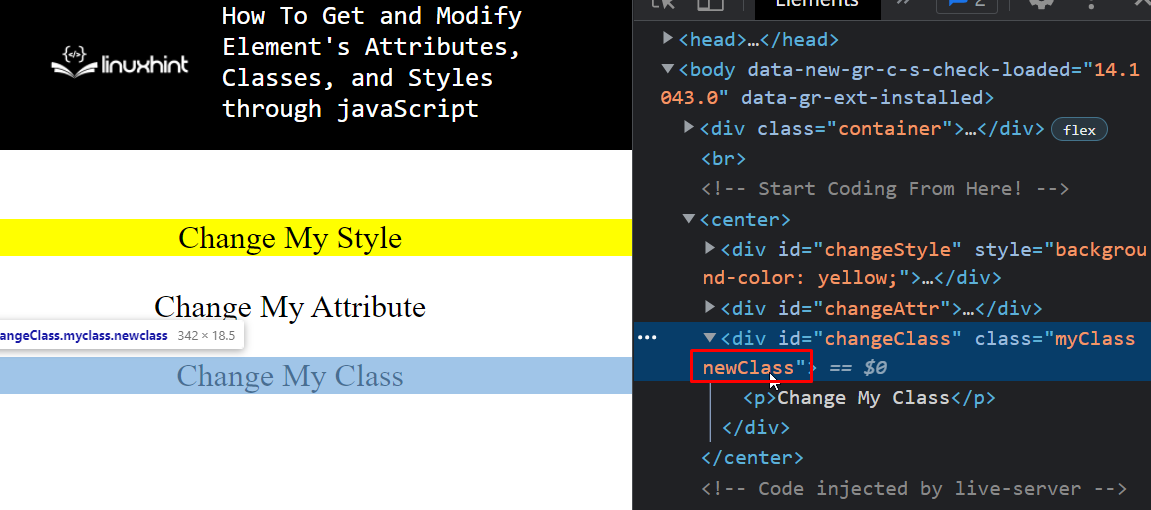
As you can see, you were able to add another class to the class attribute of the element by using JavaScript. If you want to remove an already existing class from the list, you can use the following line of code:
After executing the above line, you will see the following results in the developer’s console:

And there you go; you were able to remove a class from the classes list of an element using JavaScript.
Changing Element’s Attribute
JavaScript has a function called the “setAttribute” which allows the user to change the value of any attribute of the element whether it may be a “Class” attribute or an “id” attribute. For example, to change the class of an element, let’s first point to the element that says “change my attribute, we use the following line of code:
And then we can use the “setAttribute” function like:
Now, we can observe this change in the developer tools like

We can even assign our own attributes to the element by using the function, for example, if we want an attribute of “newAttr” to this element with a value of “done”, we can add that by using the following line of code:
And if we observe the element in the developer console, we can see the following result:
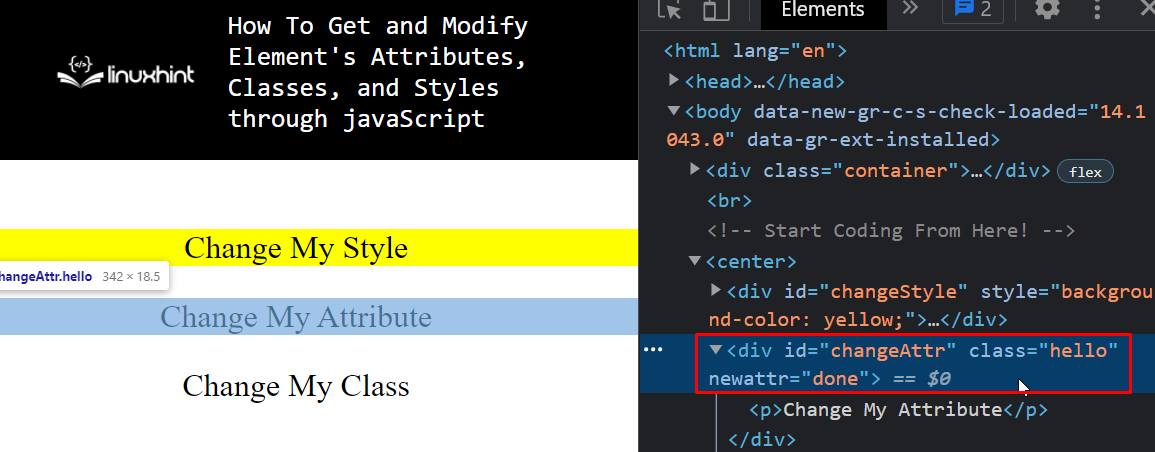
As it is clear in the image above, we were able to add a new attribute named “newAttr” to our element using JavaScript.
Conclusion
JavaScript provides various features and functions that help us modify various properties and attributes of an HTML element. All of these changes to an HTML element are done with the help of the document object model (DOM) as JavaScript interacts with the DOM to alter the properties of an element. Today, in this post, we learned how we can use JavaScript and get a reference to an element and then with the help of that reference how we can change the styling of that element, the class of the element, and how we can alter the attributes of the element. Along with these alterations, we even learned how can we add a new attribute of our choice to an HTML element.