Reading a file and reading its data can be done in multiple ways, but sometimes it is best to use the object\API that is supported by almost all the web-browsers. That is why the FileReader API is one of the most used objects of vanilla JavaScript for reading the contents of a file.
File Reader Object
To create a new file reader object you need to first call the FileReader() constructor using the “new” keyword. After that, you can start using the various functions of this object. To learn more about this constructor you can visit the official documents by the MDN by clicking here.
File Reader methods
The file reader object comes with a lot of different methods that help us parse the data of the file that we are reading. Some of the methods are executed automatically by the browsers and are called the event handler methods, for example, the “onload()” method is automatically invoked once the file reader is done reading the content of the file.
To access the methods of the file reader object you use a dot-operator “ .”. Some of the methods and variables that can be accessed by using the file reader object are::
- object. result: Used to get the contents of the file that was read
- object.readAsText: Reads the content of the file and parses them as a text
- object.abort: Aborts the current read operation
And much more which can be read on their official documentation’s web page.
File reader example
To demonstrate the use of the file reader API we are going to need an HTML web page with an input field of the type=” file”, we can create this using the following line in the HTML file:
This will give us the following web page:
Note: We didn’t use any id or class attribute in the input field as we will be referring to our input field using the query selector.
For the JavaScript code, the first thing that we are going to do is to select the input field using the query selector:
Next up, we are going to add an event listener of “change” on our variable input, that will call a function to load the content of the file using the following line:
}, false);
This function event listener will execute every time the input tag loads a file, we can access the file using the “input.file” array. To display the details of the loaded file we can use the following line:
We get the following output on our console:
Inside the function, we are going to create our file reader object using the line:
The file that I want to read is a text file, so here I am going to use the method readAsText of the file reader object to parse the contents of the files as textual data using the following lines:
Now, we can access the contents of the file we read and parsed by using the reader.result. The onload() method is automatically called when the file reader object is done reading the file, so we can display the content of the file once it is done reading by using the following commands:
console.log(reader.result);
};
The complete code snippet is:
input.addEventListener(
"change",
function (e) {
console.log(input.files[0]);
const reader = new FileReader();
reader.readAsText(input.files[0]);
reader.onload = function () {
console.log(reader.result);
};
},
false
);
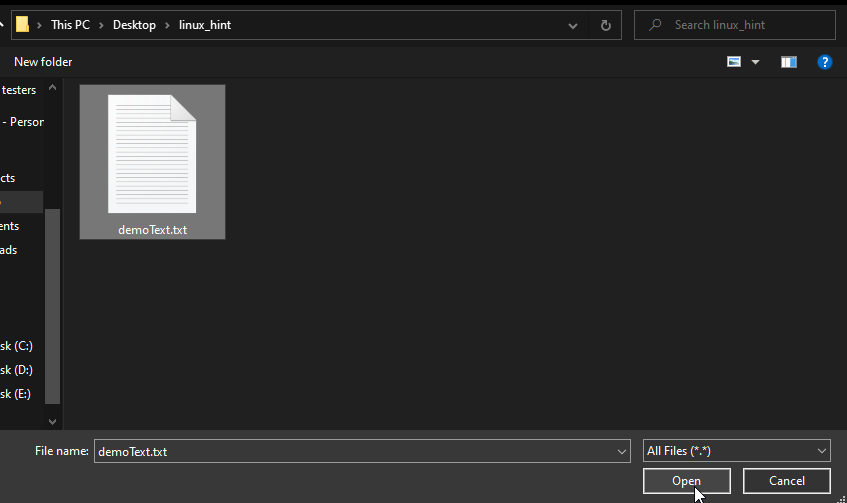
Run the file and select a text file on your local machine like this:
You will observe the following result on your console:
And there you go, you have read the content of the file and printed them out onto the console.
Working with an Image
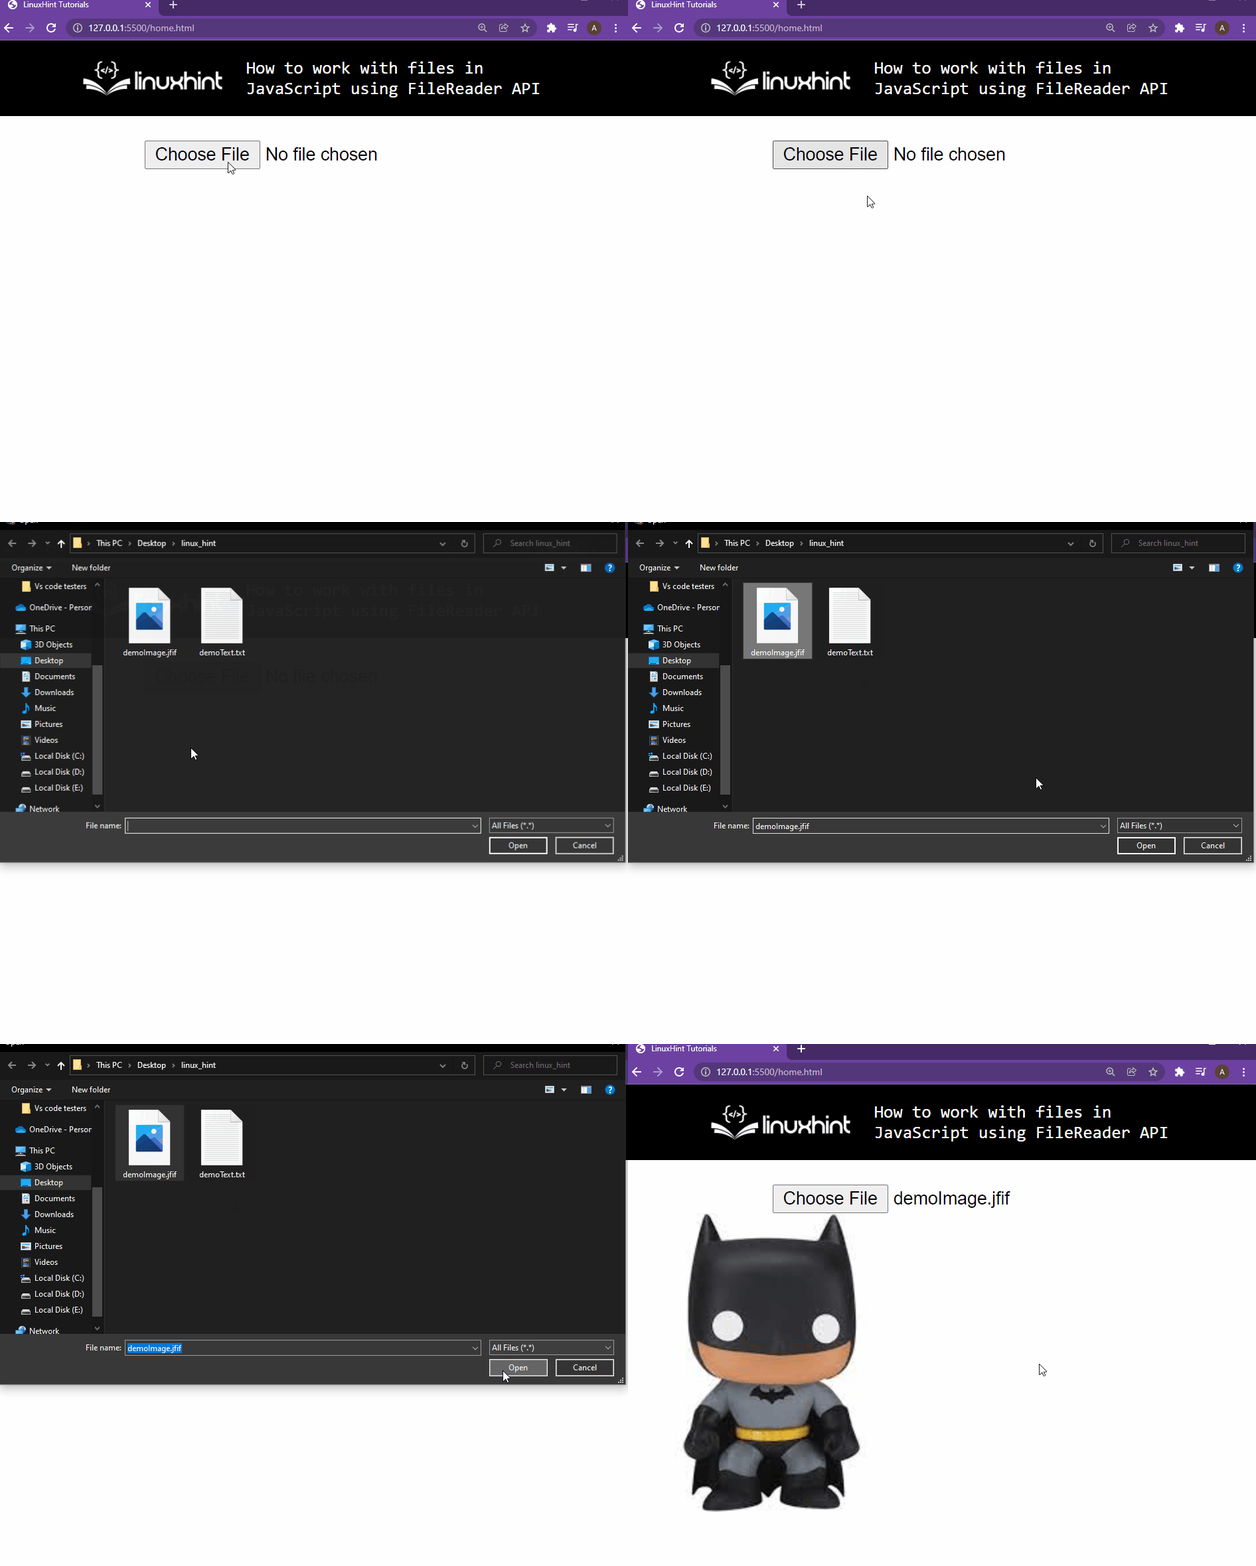
To read an image and to display it onto the console you need to first read the file with the readAsDataURL using the following line:
And to display the image on your web page you need to create a new Image variable inside the onload() function using the following lines:
And then inside this onload function, you are going to set the source of the image variable that we created equal to the result of the file reader object:
And last, we are going to append this image variable to the Document using the following line:
The complete code snippet is:
input.addEventListener(
"change",
function (e) {
console.log(input.files[0]);
const reader = newFileReader();
reader.readAsDataURL(input.files[0]);
reader.onload = function () {
constimg = new Image();
img.src = reader.result;
document.body.appendChild(img);
};
},
false
);
Upon running the file, you will have the following output:
And there you go, now you know how to work with the File Reader API to read files on your local machine
Conclusion
The File reader API comes as a built-in API with vanilla JavaScript and is supported by almost all web browsers. This file reader API returns us a file reader object that we can use to read the content of the file by selecting the parsing method. In this post, we learned about the file reader API, file reader object, and how to use the file reader object to read text files as well as image files. We even displayed the image on the web browser by appending it into the document.


