While creating a form or a questionnaire, there is a requirement to prompt the user at a certain point while filling in an input field. For instance, limiting the number of characters within a field i.e. “Contact No”. In addition to that, for applying a prerequisite condition to fill a particular field, etc. In such case scenarios, enabling/disabling input fields in JavaScript is a very convenient approach for both the developer and user’s end.
This tutorial will explain the approaches to enable/disable input fields using JavaScript.
How to Enable/Disable Input Fields Using JavaScript?
To enable/disable input fields using JavaScript, the following approaches can be utilized in combination with the “disabled” property:
Approach 1: Enable/Disable Input Fields Using JavaScript Using onclick Event
An “onclick” event is used to redirect to the specified function. This event can be applied to invoke the corresponding function for enabling and disabling input fields upon the button click.
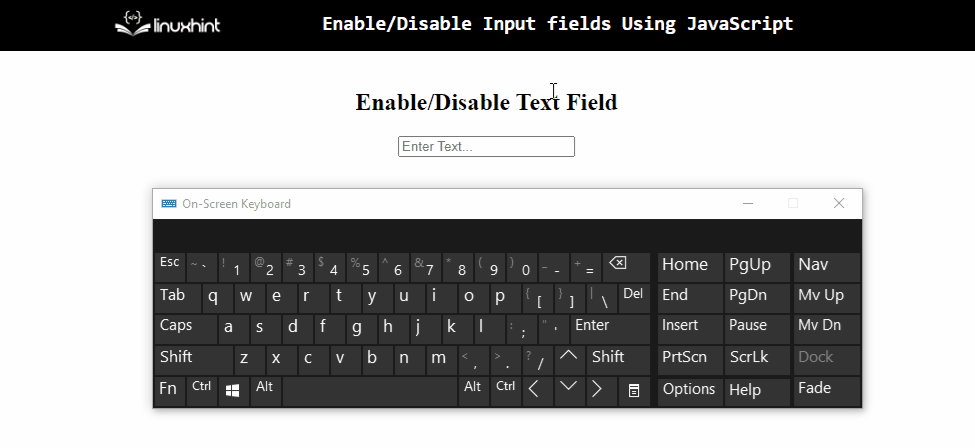
Example
Let’s have a look at the below-stated example:
<h2>Enable/Disable Text Field</h2>
<body>
<input type= "text" id = "input" placeholder= "Enter Text..." >
<br>
<br>
<button onclick="enableField()">Click to Enable Text Field</button>
<button onclick="disableField()">Click to Disable Text Field</button>
</body></center>
In the above-stated code, perform the following steps:
- Include an input “text” field having the specified “id” and “placeholder” values.
- Also, create two separate buttons with attached “onclick” events redirecting to two different functions for enabling and disabling the input fields respectively.
Let’s continue to the JavaScript part of the code:
function disableField(){
let get= document.getElementById("input")
get.disabled = true;
}
function enableField(){
let get= document.getElementById("input")
get.disabled = false;
}
</script>
In the above code snippet, perform the following steps:
- Declare a function named “disableField()”.
- In its definition, access the created input field by its “id” using the “document.getElementById()” method
- In the next step, apply the “disabled” property and assign it the boolean value “true”. This will result in disabling the input field upon the button click.
- Similarly, define a function named “enableField()”.
- In its definition, similarly, repeat the step discussed for accessing the input field.
- Here, assign the “disabled” property as “false”. This will result in enabling the disabled input field.
Output

In the above output, it can be observed that the input field is disabled and enabled properly upon the corresponding button click.
Approach 2: Enable/Disable Input Fields Using JavaScript Using addEventListener() Method
The “addEventListener()” method is used to attach an event to the element. This method can be implemented to disable and enable an input field based on the attached event and the specified “key”.
Syntax
In the above syntax:
- “event” refers to the name of the event.
- “function” points to the function to execute.
- “use” is the optional parameter.
Example
Let’s observe the below-stated example:
<h2>Enable/Disable Text Field</h2>
<input type= "text" id = "input" placeholder= "Enter Text...">
</body></center>
In the above lines of code:
- Include the stated heading.
- In the next step, repeat the method discussed in the previous approach for including an input field having the specified “id” and “placeholder” values.
Let’s move on to the JavaScript part of the code:
let get= document.getElementById("input")
get.addEventListener("keydown", (e) =>{
if(e.key == ""){
get.disabled = false
}
else if(e.key == "Enter"){
get.disabled = true
}
})
</script>
In the above code snippet, perform the following steps:
- Access the input field by its “id” using the “document.getElementById()” method.
- In the next step, apply the “addEventListener()” method and attach an event named “keydown”.
- In the further code, assign the “disabled” property as “false” for enabling the input field.
- Lastly, in the “else” condition, allocate the “disabled” property as “true” for disabling the enabled input field upon pressing the “Enter” key.
Output
From the above output, it is evident that the input field becomes disabled upon pressing the “Enter” key.
Conclusion
The “disabled” property in combination with the “onclick” event or the “addEventListener()” method can be applied to enable/disable input fields using JavaScript. The former approach can be utilized to redirect to the corresponding function to enable/disable the input field upon the button click. The latter approach can be implemented to perform the required functionality based on the attached event and the specified “key”. This article explains how to enable/disable input fields in JavaScript.