Dynamic Import in web pages is done through a feature called import maps. You are going to learn about dynamic load, default build tool behavior, and the use of import maps with a step-by-step example. Let’s get started.
Default Build Tool Behaviour
By default, when you run an HTML webpage and all the scripts which are included inside it are compiled inside one big file. All the external and internal libraries are instantly loaded into the memory(server) and a lot of complexity is added to the project because of loading various external code snippets at the same time.
Previously, JavaScript applications were very simple and basic, but as time passes, the applications are becoming more and more challenging and complex, and that is exactly why loading all the external libraries at the same time even before they are needed is not an efficient solution. That is where dynamic loading and modularity of scripts come in handy.
Dynamic Loading
As the name indicates, it is the process of loading external libraries and scripts only when they are needed, that is at run time. As far as the script of the web application is concerned, dynamic script loading is done by a feature in ES6 called modules in which scripts are divided into smaller components. Similarly, importing is also done at run time using import maps.
To load imports at run time we use a feature called import maps, this feature allows us to override the default procedure of the build tools and lazy load our imports/libraries; lazy loading means to load only when it is required.
To demonstrate dynamically importing external scripts in a Web page, you are going to set up a webpage that performs a simple task, Afterwards, we are going to import an external library/package lodash and use its function to perform the same task
Note: You need a code editor (preferably Vs Code) for this and NodeJs,
Step 1: Setting Up an HTML and a Script file
To demonstrate the use of import maps for dynamic loading we will require NodeJs to be installed on our system, Click here to read the installation of NodeJS.
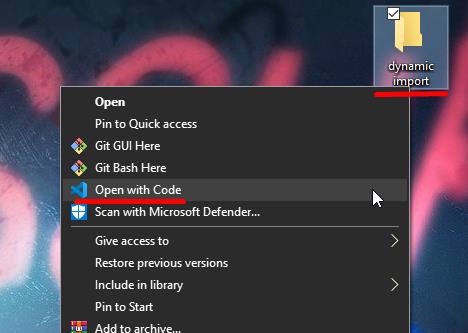
Create a folder on your machine and open that folder with VS Code (or your desired code editor) as shown below:
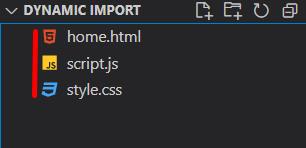
Inside the folder, create an HTML file named home.html and a script file as script.js:
We are going to display some words by using the script file. So, in the HTML file add the following script tag.
Note: we are using the type property and setting it equal to module to notify the browser that this is a modular script.
Now, inside the script file, type in the following lines of code to print text to the HTML web page.
const words = "Linux, Hint, Tutorial!";
const text = document.createTextNode(words);
el.appendChild(text);
document.body.appendChild(el);
To run the file, open the terminal of the VS Code and type “npx serve”, if it is your first time trying the npx serve command then it might install the “serve” package and ask for affirmation, and then it will start the installation:

After that, the npx serve command will show us where is it hosting our HTML webpage, so click on the link as follows:
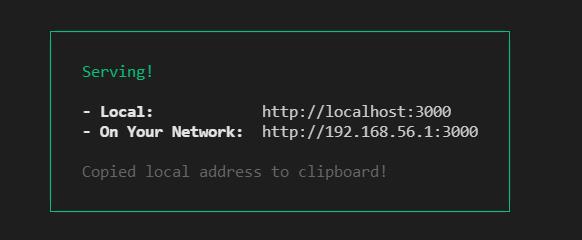
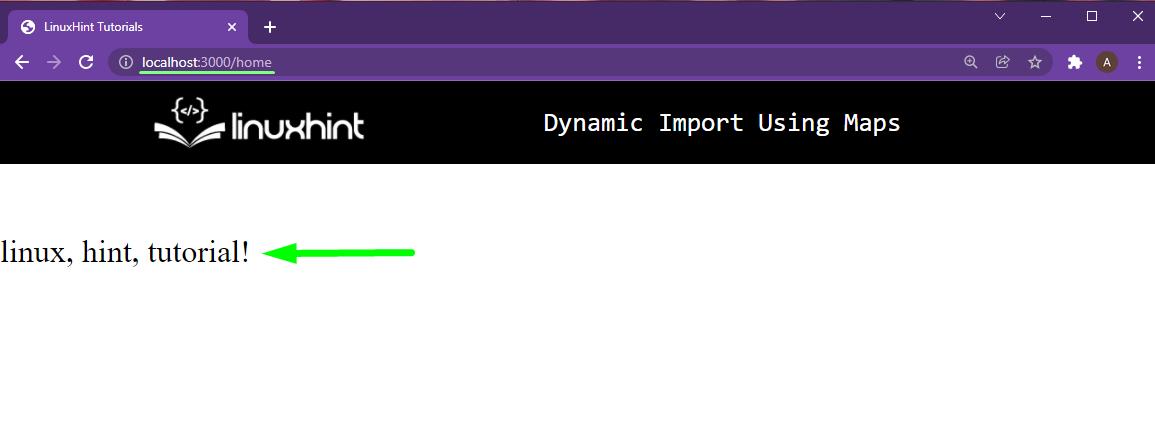
When you open the link http://localhost:3000 you would see the following output:
Step 2: Importing external Library
We are going to import startCase method from the lodash library and use this startCase method to convert our strings in to “start the case” type using the following code:
Note: start the case type means every word will have the first letter in a capital case.
You are going to modify the script file as:
const el = document.createElement("p");
const toDisplay = "linux, hint, tutorial!";
const text = document.createTextNode(startCase(toDisplay));
el.appendChild(text);
document.body.appendChild(el);
As you can see, the code is a little different, we are passing the ToDisplay variable to the startCase function.
Refresh the page and you will see the following error on your developer console:
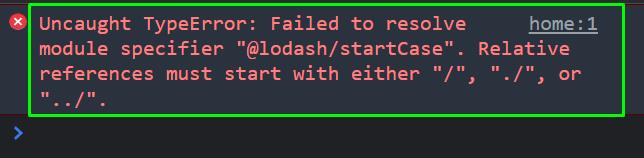
This is because the browser doesn’t know what to do with this import statement at the start of the script
file. The browser is trying to find the lodash package on the local web server, this is also the default behavior of the build tool. To change this we use import maps in HTML files.
Step 3: Using import maps
Import map, is an ES6 feature, it contains a key-value pair, with the key being the name of the import and the value being the location of the import.
The syntax of the import map is:
{
"imports": {
"nameOfImport": "locationOfCode",
"nameOfSecondImport": "secondLocation"
}
}
</script>
For our case, we add the following script tag including the import map:
{
"imports": {
"@lodash/startCase": "https://unpkg.com/[email protected]/startCase.js"
}
}
</script>
Note: The script tag containing the import map must be added before the script tag containing the modular type.
After adding these lines, refresh your web page and you should see the output:
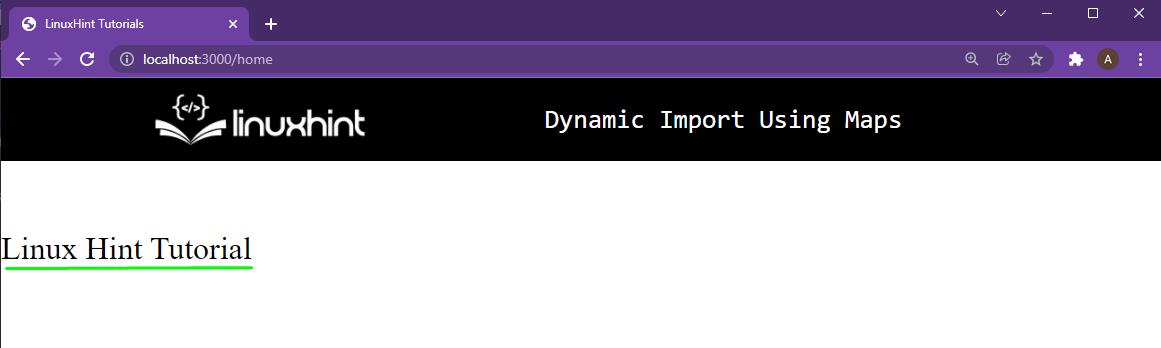
As you can see, the startCase method successfully converted our string words in to “start the case” type. You are now including external libraries dynamically and we can examine the lazy loading in the developer tools of the browser.
Step 4: Examine Lazy Loading
Open the browser’s developer console and head over to the network tab.
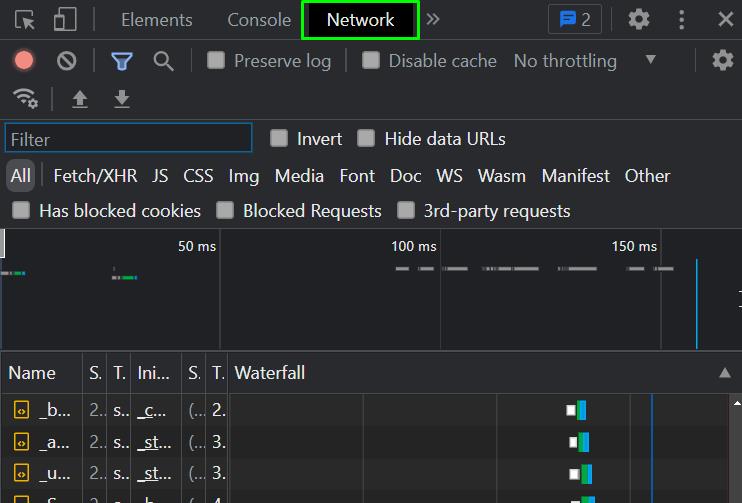
Under the waterfall, you can see which script was loading at what time:
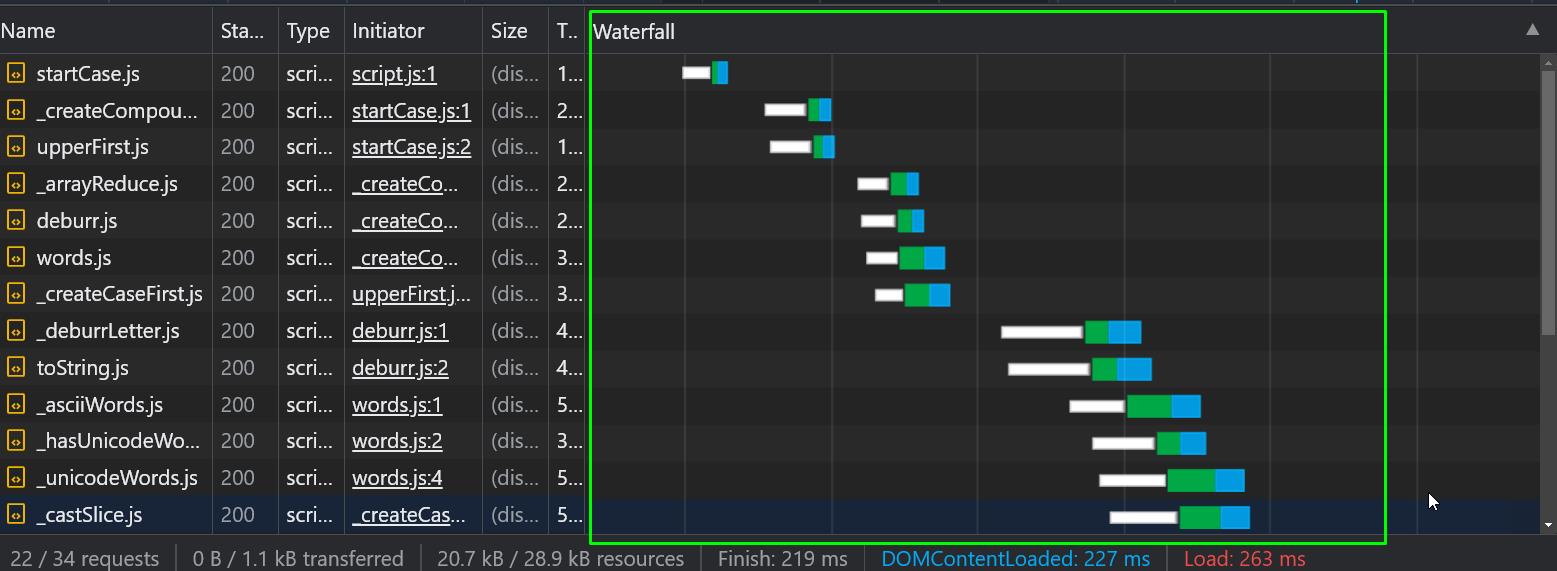
And from here you can clearly see that all of the scripts were not loaded at the start, they were loaded lazily meaning at run time.
Conclusion
In JavaScript, dynamic importing is done by a feature called Import Maps. Dynamic Import means to override the default behavior of the build tools and import external libraries when they are needed at run time because sometimes you need a library on only one part of your web application and not the others. Default build tools will load all the libraries in one big file which will cause an increase in memory consumption. You have learned how to use the import maps to lazy load external libraries with an example and examined it in the developer’s console.