How to define models on Node.js server
Before jumping into Node.js and starting coding related to models, it is important to take a few minutes to think about the data you want to store and its relationships with the different objects. For instance, we were required to create a simple Employee Management system application.
For this purpose, we have already created its React.js front end, Node.js server and built a connection between the server and the MongoDB database. Now, we know that we need to store the information related to the employees such as “employeename”. We also need to store more information about the employees, such as their designation, as there might be multiple employees with the same names.
When you start defining your models on the Node.js server, make sure to create separate models for every “object”. In our “Employee-mern-project” application, our candidates for the models are “employee” and “designation”. An Employee Management system can have other models; however, for the demonstration purpose, we will only create the specified models in our Node.js server.
How to create the Schema to define models on Node.js server
“Mongoose” is a Node.js library that permits the users to access the data from the MongoDB database in an object-oriented fashion. In the next step, you have to create a schema for defining a model. Then, you will register the added model with the help of “Mongoose”. After doing so, you can use the defined models throughout the application.
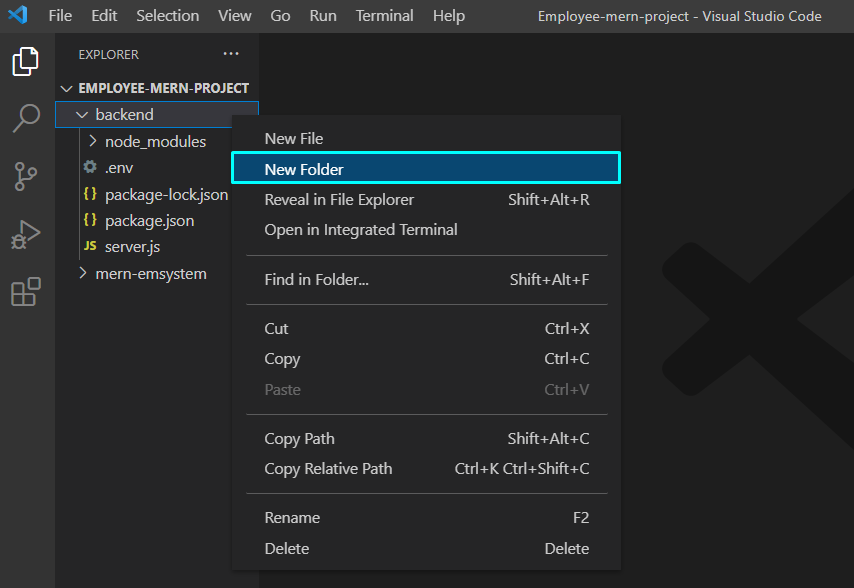
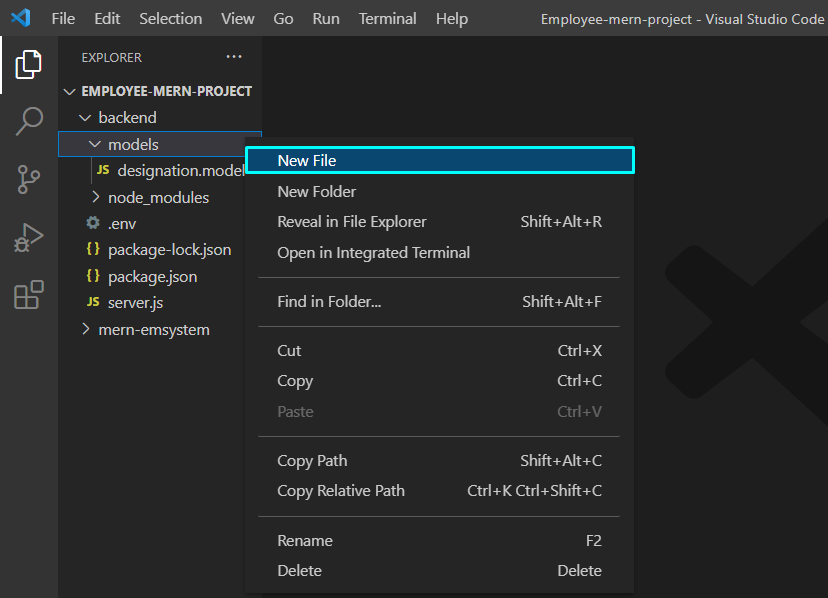
Now, we will select the Node.js server folder, which is “backend” in our case, and from the drop-down menu, we will click on the New Folder option:
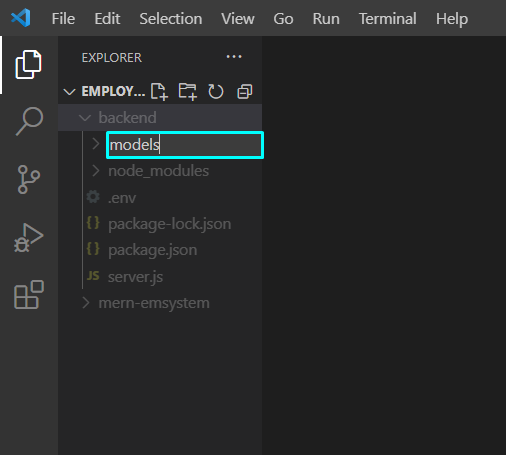
Now, we will name the newly created folder as “models”. This “models” folder is created to store the “employee” and “designation” models in it:
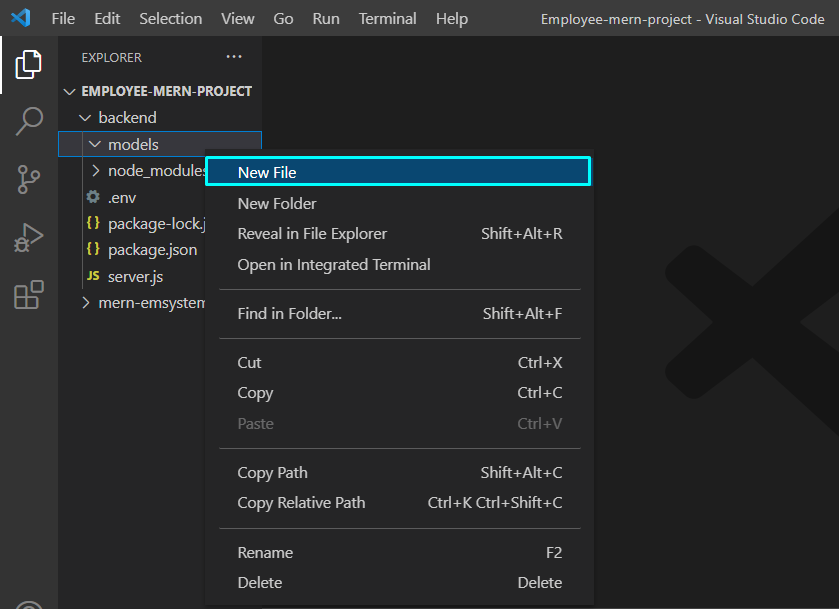
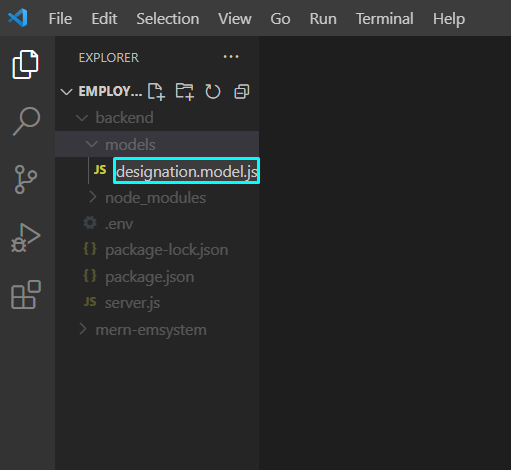
In the next step, we will create a new JavaScript file in the “models” folder and will name it “designation.model.js”:
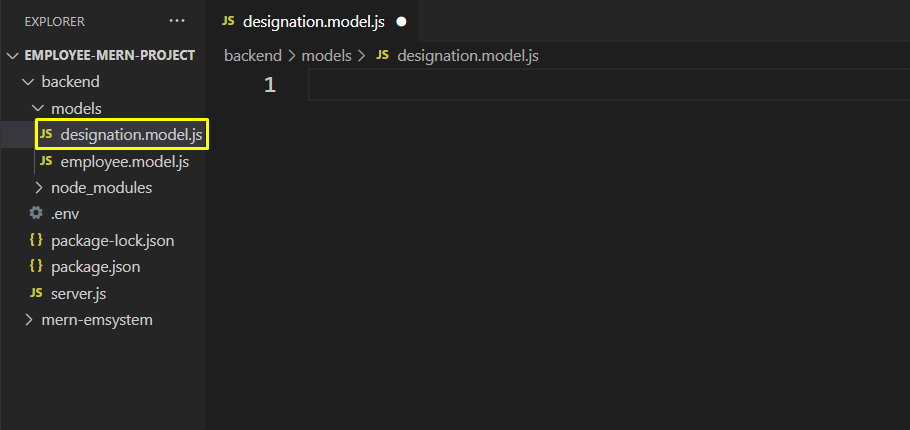
Now, add the following code in the “designation.model.js” file:
const Schema = mongoose.Schema;
const designationSchema = new Schema({
employeename: { type: String, required: true },
designation: { type: String, required: true },
date: { type: Date, required: true },
}, {
timestamps: true,
});
const Designation = mongoose.model('Designation', designationSchema);
module.exports = Designation;
The added code will create a designation schema having three fields, “employeename”, “designation”, and “date”. Also, the “timestamp: true” option will create “createdAt,” and “updatedAt” fields for the “designations” model and these fields will be automatically updated when the “designation” model changes:

To create an “employee” model, we will add another file in the “models” folder:
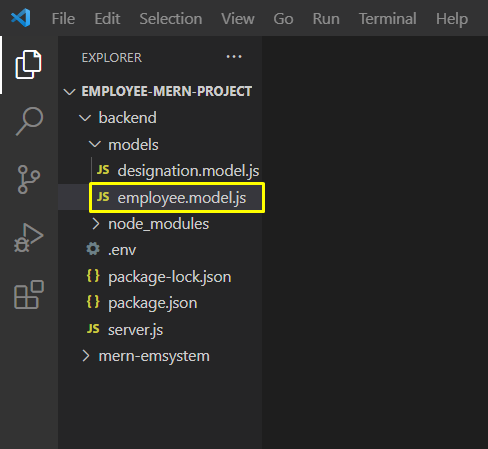
As you can see “employee.model.js” JavaScript file is now created:
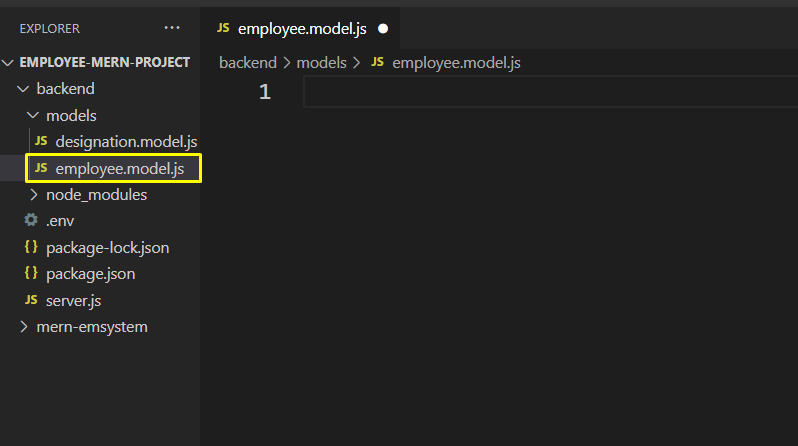
To create an “employee” model, add the following code in the “employee.model.js” file:
const Schema = mongoose.Schema;
const employeeSchema = new Schema({
employeename: {
type: String,
required: true,
unique: true,
trim: true,
minlength: 5
},
}, {
timestamps: true,
});
const Employee = mongoose.model('Employee', employeeSchema);
module.exports = Employee;
Our “employee” schema only comprises a single field called “employeename”. We also have added some validations such as the employeename is required, it must be unique and at least five characters long. Also, white space at the end of the employeename will be trimmed off:

Press “CTRL+S” to save the added code, and the created models are all ready to use!
Conclusion
The model you define in the Node.js server is an abstraction of the data in your MongoDB database, which is represented as a document. Because of this abstraction, you may use the “Mongoose” schemas to construct a blueprint of how you want the added data to look and behave. This write-up demonstrated how to define models on the Node.js server. Moreover, the procedure of creating Schemas for defining models is also provided.