Are you getting bored of the terminal’s appearance? Being a Linux user, you must not. And if you are thinking so, then this guide will surely revolutionize your thoughts about the terminal. In this guide, we have compiled a procedural demonstration of customizing your terminal.
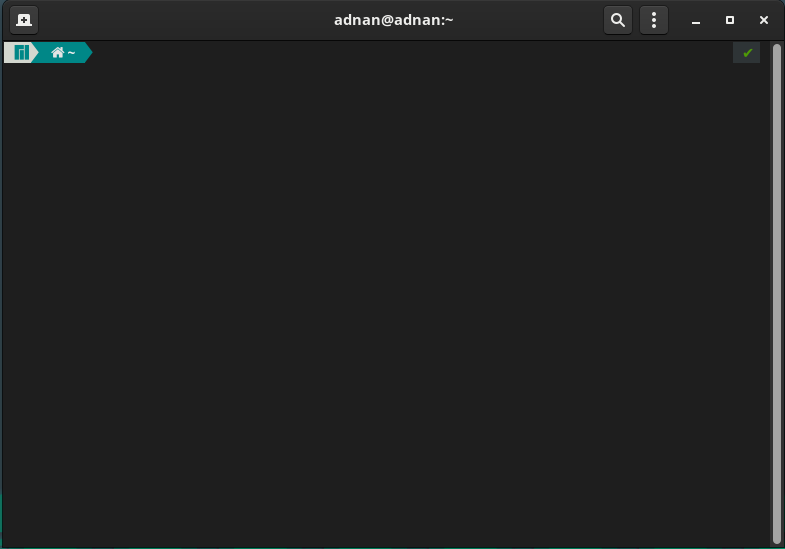
Firstly, fire up the terminal:
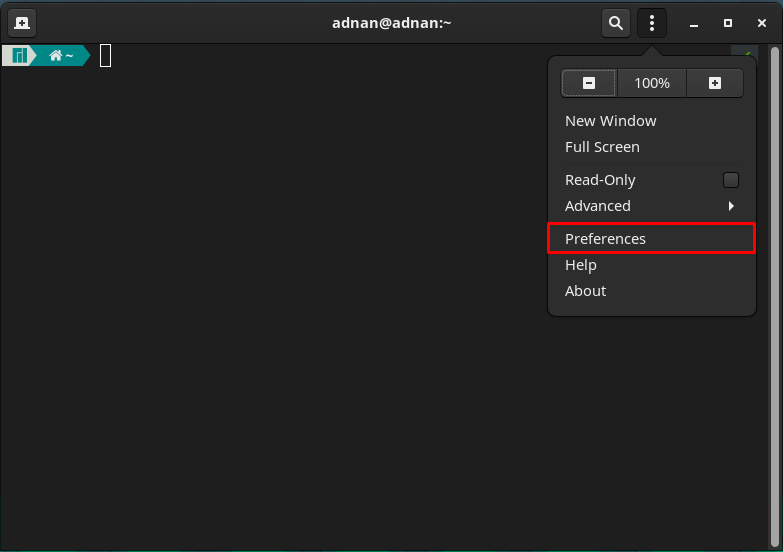
Navigate to three dots on the menu bar:
Here you will notice some general customization options like zoom in and zoom out the current display, switch to full-screen mode, read-only mode of the terminal, and many more.
Click on the “Preferences” option to have detailed support of customization.
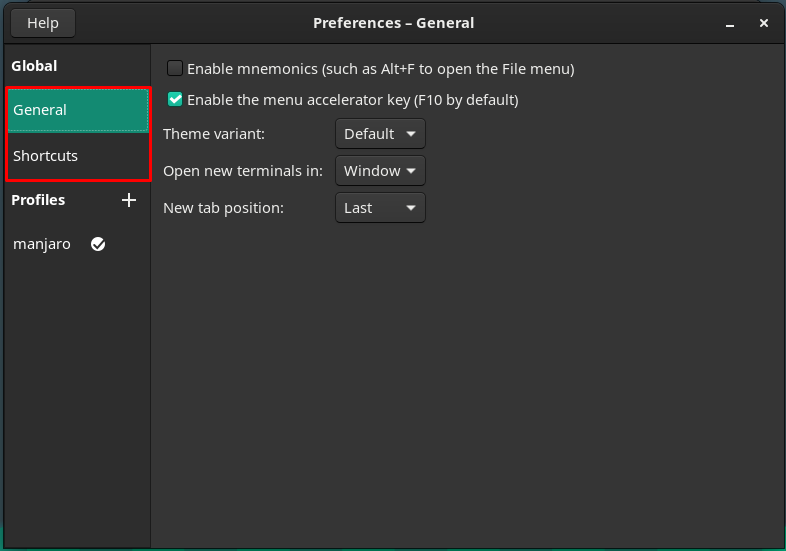
The time you click on the “Preferences“, you will experience the following interface.
On the left pane of the “Preferences” window, you have noticed two primary categories, named Global and Profile.
Global : This category contains two secondary options named General and Shortcuts.
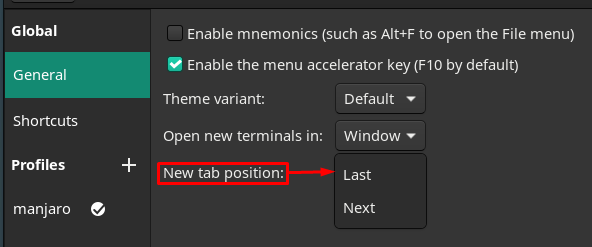
The “General” option contains the following options.
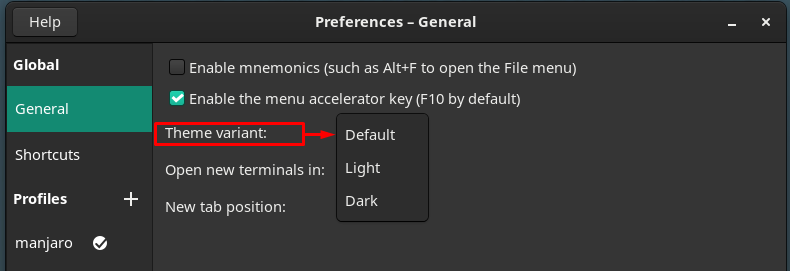
“Theme variant” of terminal: You would find here the Default option that comes by default. In contrast, you can also opt for a Light or Dark interface of the terminal.
Change the new terminal tab opening: the new terminal can be opened in a new tab, or a dedicated window can also be used.
Alter the position of the newly created terminal tab: If you open a new terminal window, it would be opened either at the “Last” position or the “Next” tab to the current one.
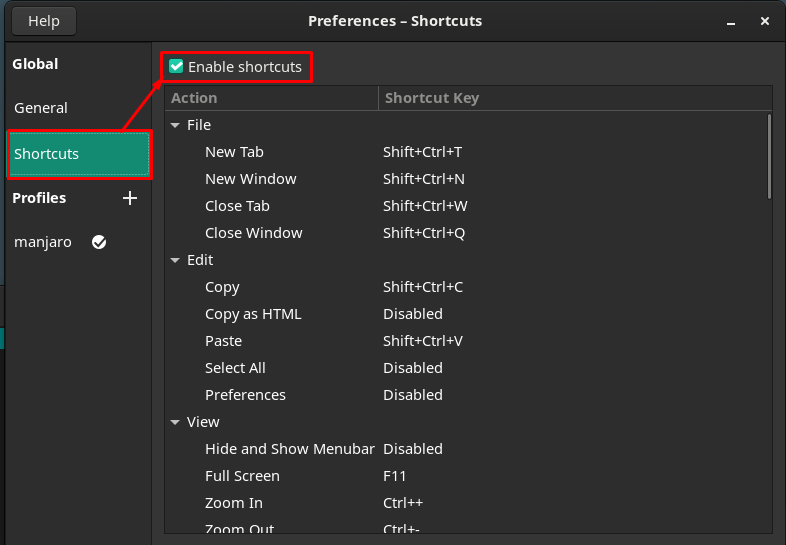
Moreover, the “Shortcuts” option from the window’s left pane contains several keyboard shortcuts that are quite helpful and make your tasks easily manageable. Make sure you have enabled these shortcuts:
Moreover, you can customize these shortcuts by double-clicking any shortcut keys and then pressing the keys you want to set for the shortcut. For instance, the “New Tab” is currently set to “Shift+Ctrl+T“.
We have assigned a new key to “New Tab,” It is now set to “Ctrl+T“.
Profiles : This category is the core part of the customization of your terminal, where you can choose the default profile or customize your own.
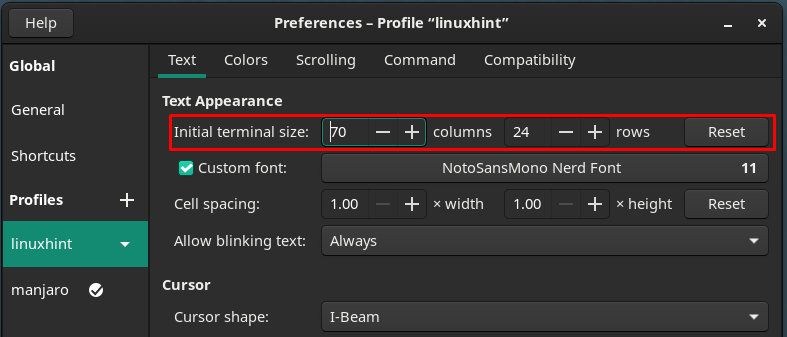
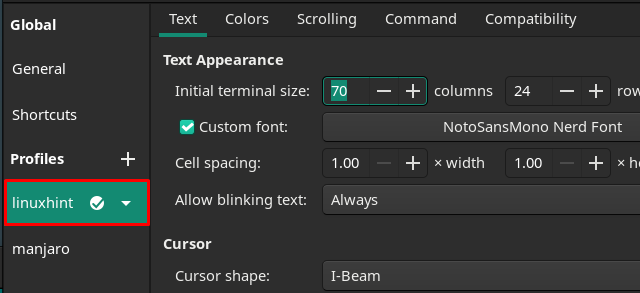
Let’s make a new profile by clicking on the “+” option. We have named “linuxhint” to our new profile.
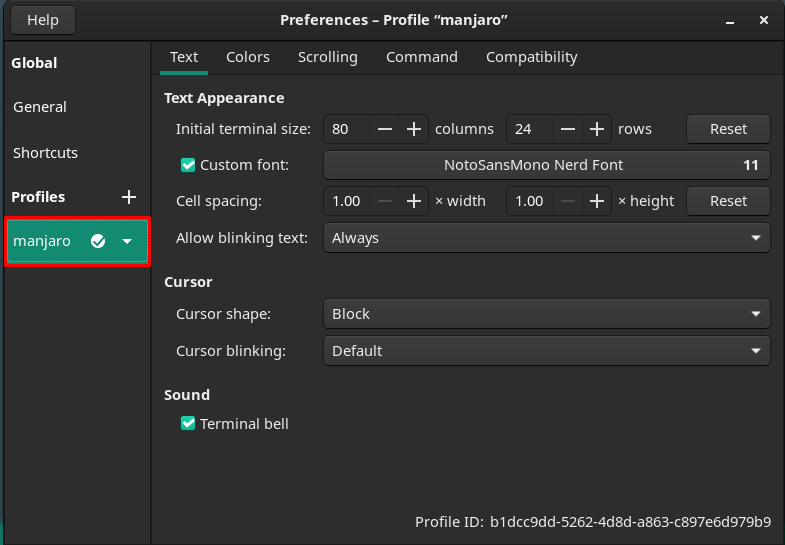
The window’s right pane contains several customizations, and each customization is referred to the options on the menu bar.
Text related customization
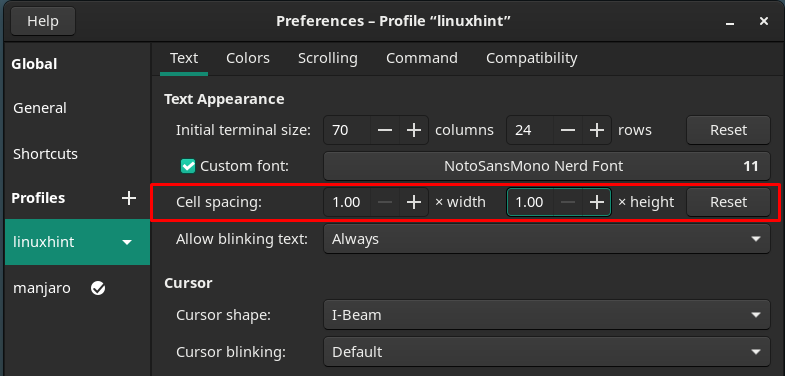
The first option on the menu bar is related to the text related changes; you can perform the following text associated modifications for your terminal:
Change the size of the terminal by altering the number rows and columns.
You will experience a new window that contains the fonts-related customizations. Like one can change the size, style of the fonts.
Cell spacing options, I would recommend keeping them as default. Because manipulating them will unsettle the alignment. As cell spacing is used to have extra space for the texts.
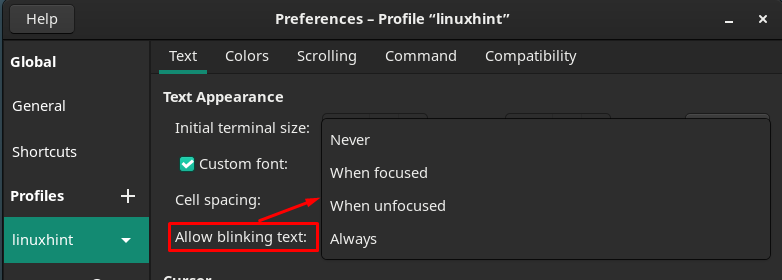
The blinking text options can be set to either of the provided options in the context menu as shown in the image below:
Moreover, the cursor shape and the blinking of the cursor can be modified as well.
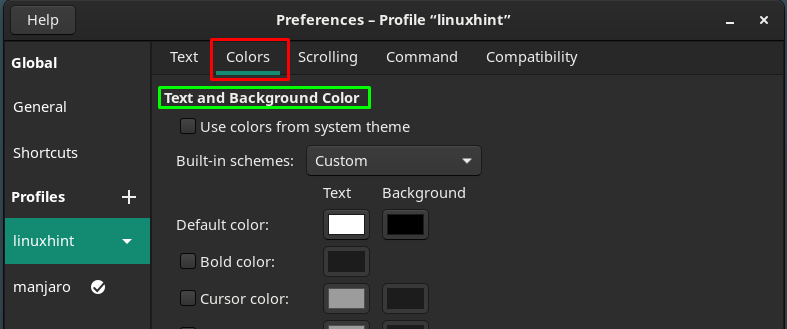
After that, head towards the “Colors” option on the menu bar to customize the colors related settings.
The colors of text and background can be changed from the provided options. The text color
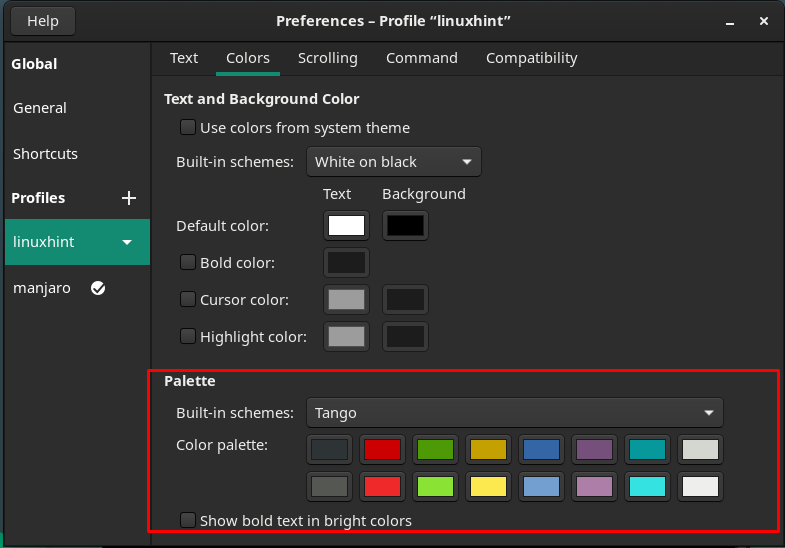
Moreover, a “Palette” scheme can also be changed to have a better aesthetics of text and color schemes.
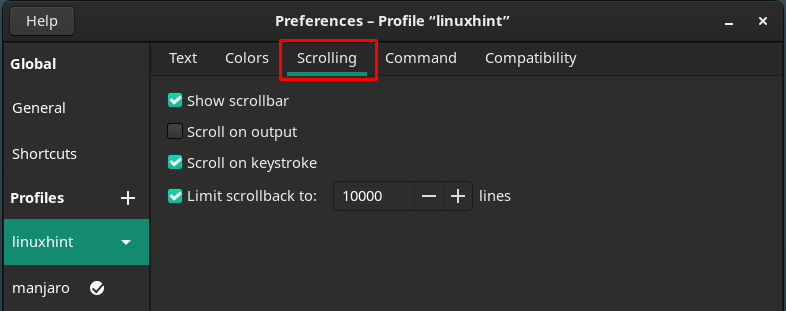
The next major category is related to “Scrolling“, you can customize the scrolling-related actions, such as Show scrollbar, Scroll on output, Scroll on keystroke. You can also limit the scroll back to a specific number of lines.
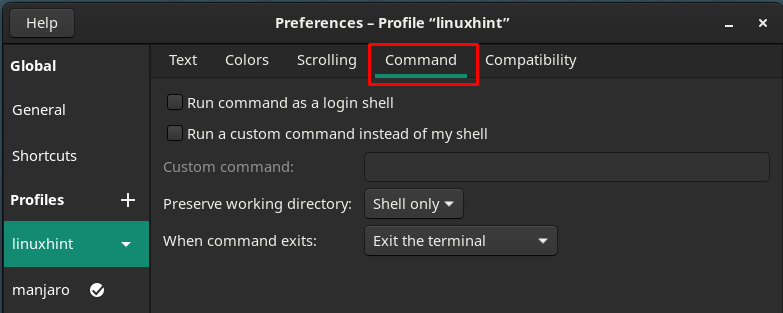
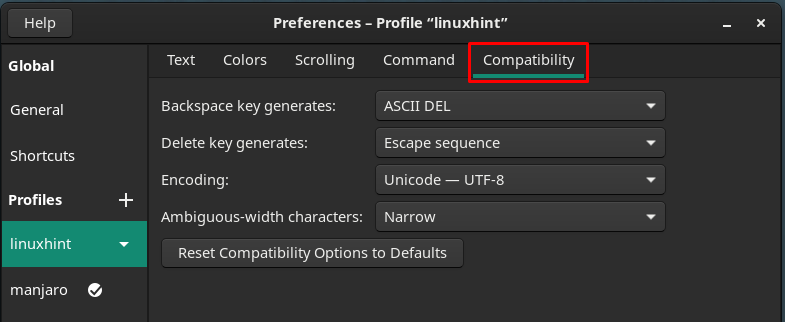
The other minor customizations can be performed by navigating to “Command” and “Compatibility” options placed on the menu bar.
The Command section contains the settings that are related to the action of the terminal on commands. For instance, you can change the settings of what the terminal should do after executing a command:
Where the “Compatibility” option in the terminal can be used to customize the settings of what a backspace and delete keys should do inside the terminal.
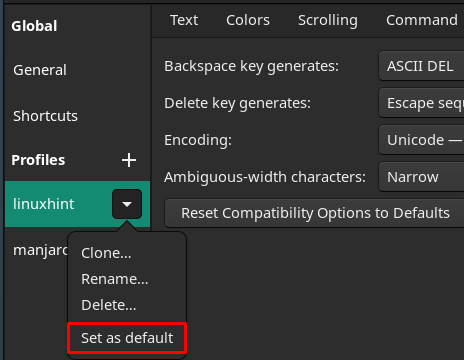
As soon the new profile is customized successfully, you can make it default by clicking on the profile linuxhint and then opting for “Set as default“.
After performing this step, the default icon will be placed in front of the “linuxhint” profile.
After setting the default profile, the default profile settings will be loaded whenever you open the terminal.
Conclusion
As far as the use of the terminal is concerned, its interface and aesthetics must be appropriate for the users. And this aesthetic choice varies from user to user. In this article, we have performed all the possible customizations related to the terminal of Manjaro. Interestingly, you can create a new customized profile of the terminal. With the help of this guide, you can create your profile with detailed customization support.

