This blog will discuss the procedure for creating stickers for Discord.
How to Create Stickers for Discord?
An image in PNG format less than or equal to “512KB” in size is required to use as Discord stickers. If its size is larger than the specified size, use any software or online tool for file compression. For instance, we will use the Kapwing online editor for creating stickers for Discord.
To follow the same approach, follow the given steps.
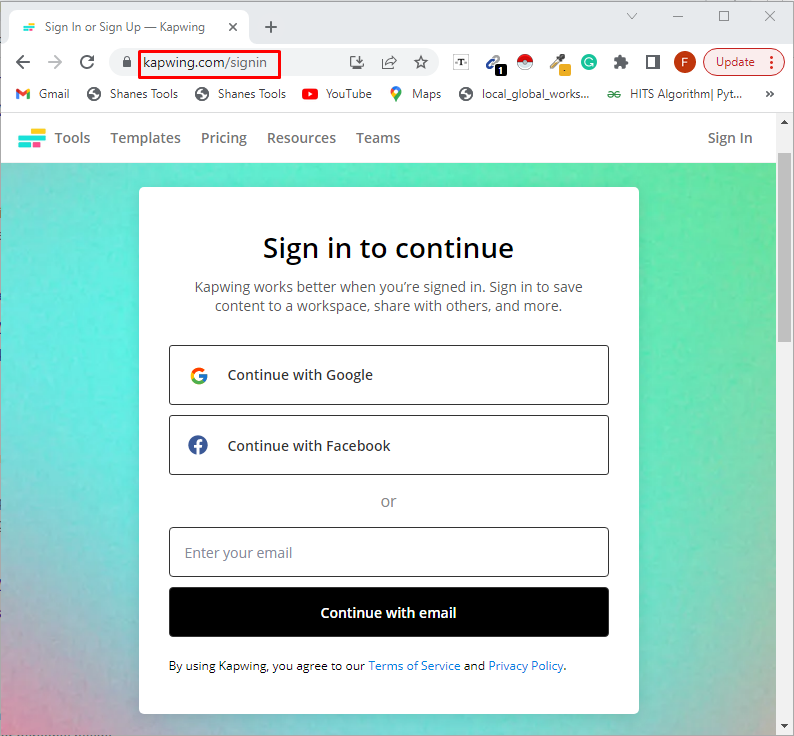
Step 1: Sign-in to Kapwing
Kapwing has made it possible to resize the image, add text, and change the background colors. To begin, you simply need to sign in or create an account first:
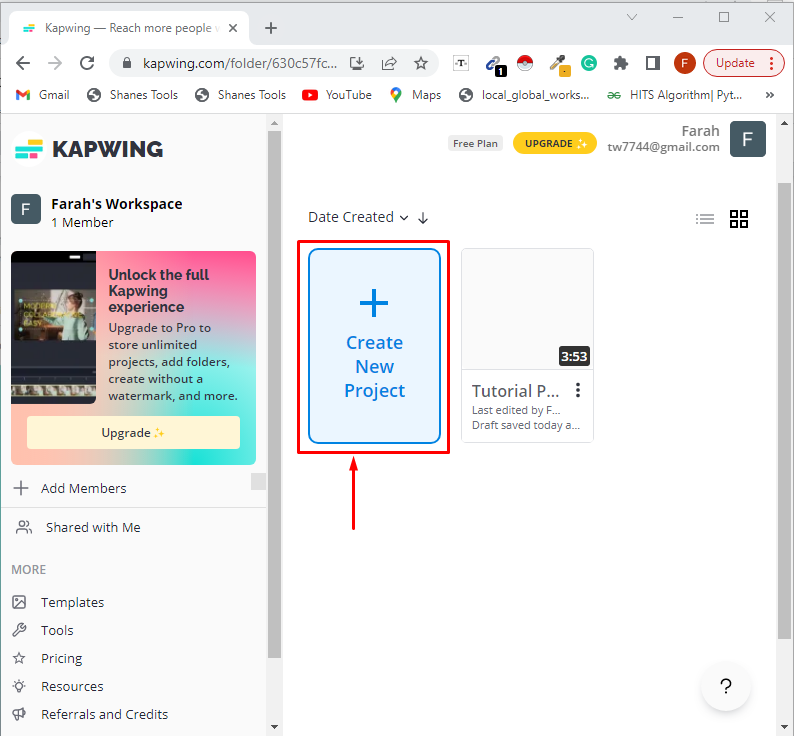
Step 2: Create a New Project
After signing in, create a new project:
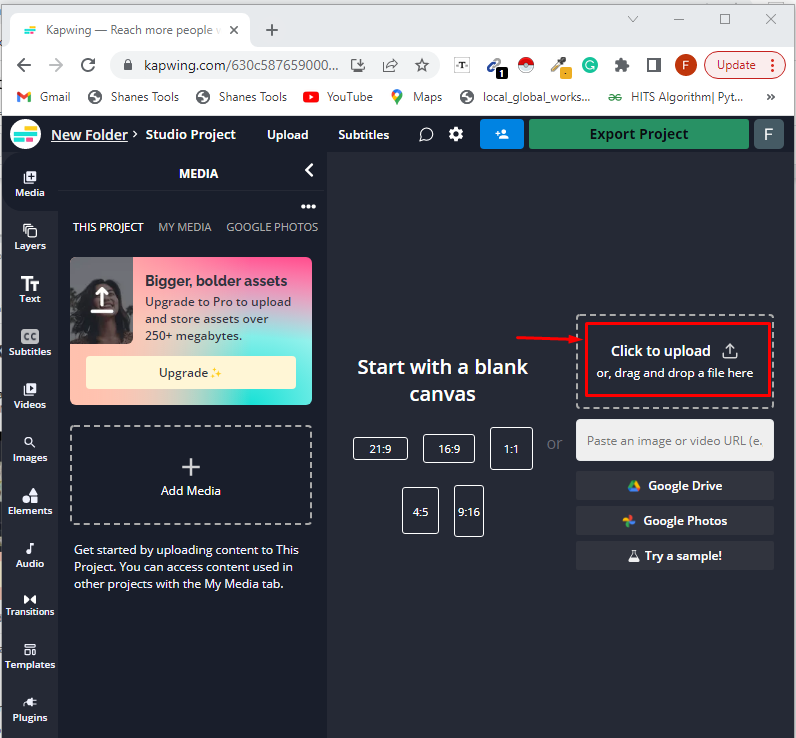
Step 3: Upload an Image
Then, upload or drop the selected image to create a sticker:
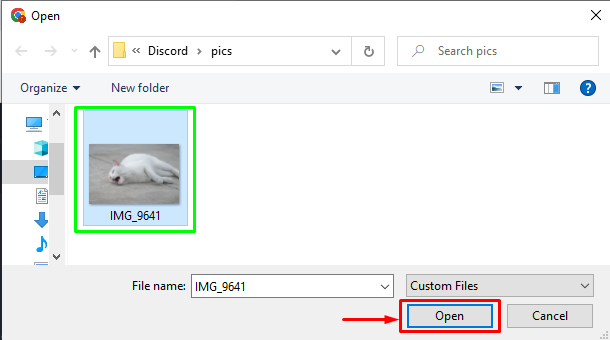
Select the picture and click on the “Open” button:
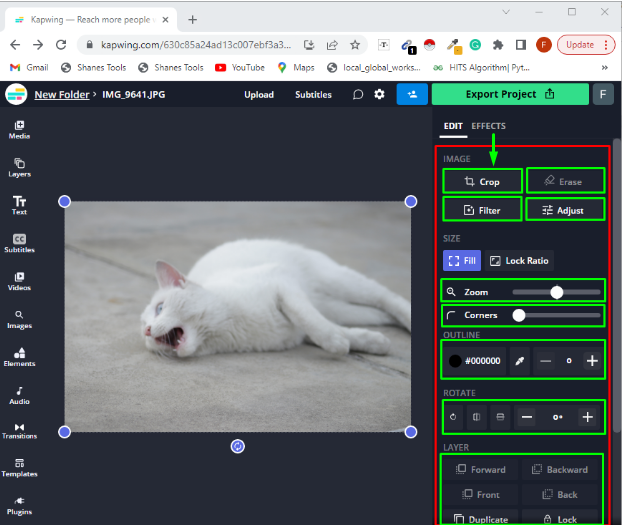
Step 4: Customize Sticker
Kapwing also offers some features for editing the image, such as crop, adjust, zoom, and so on. Here, in our case, we will crop the image and then proceed further. To do so, click on the “crop” button:
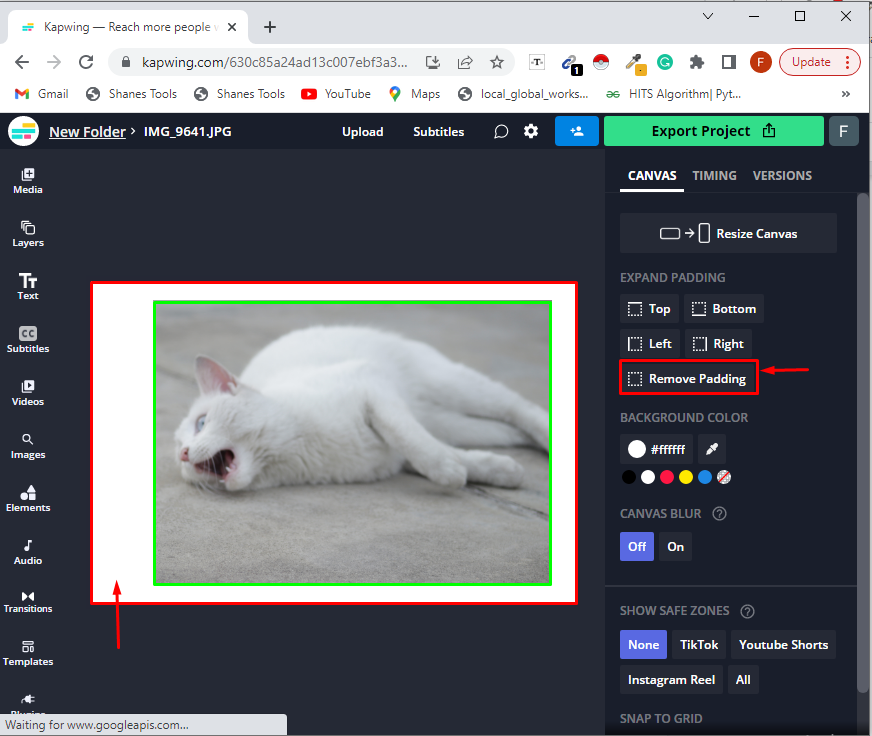
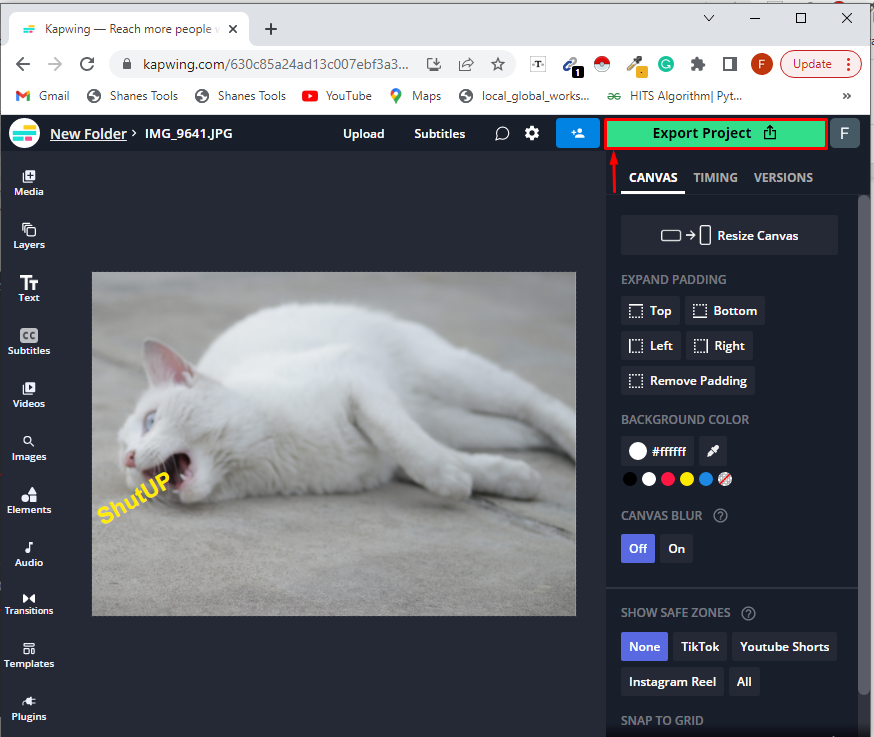
After cropping, we will remove the white area shown below between the green and red patches. For this, we will select the “Remove Padding” button:
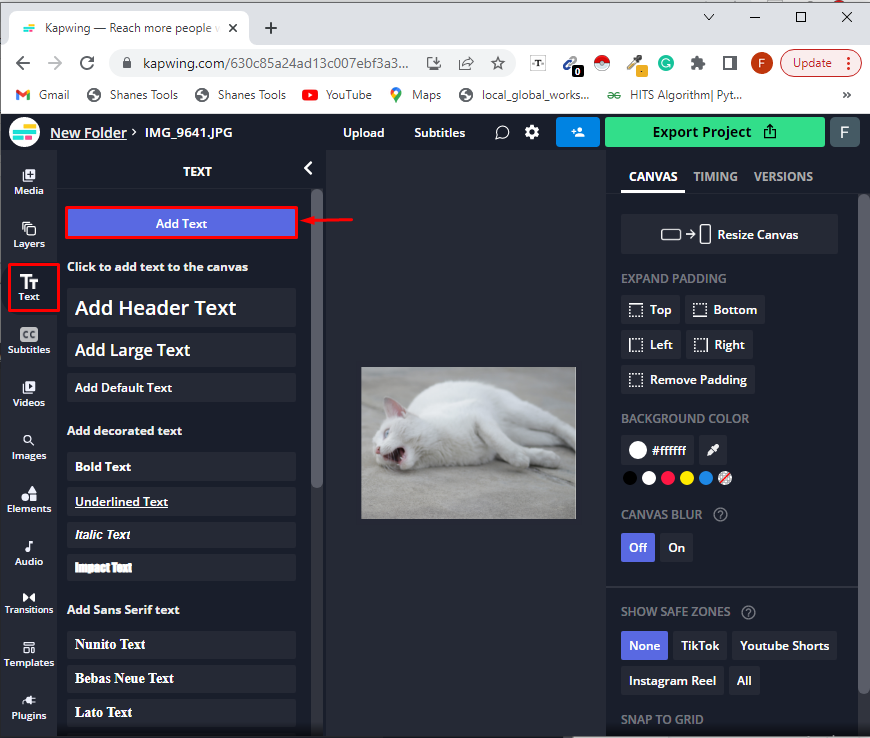
For adding text to a sticker, click on the “Add Text” button:
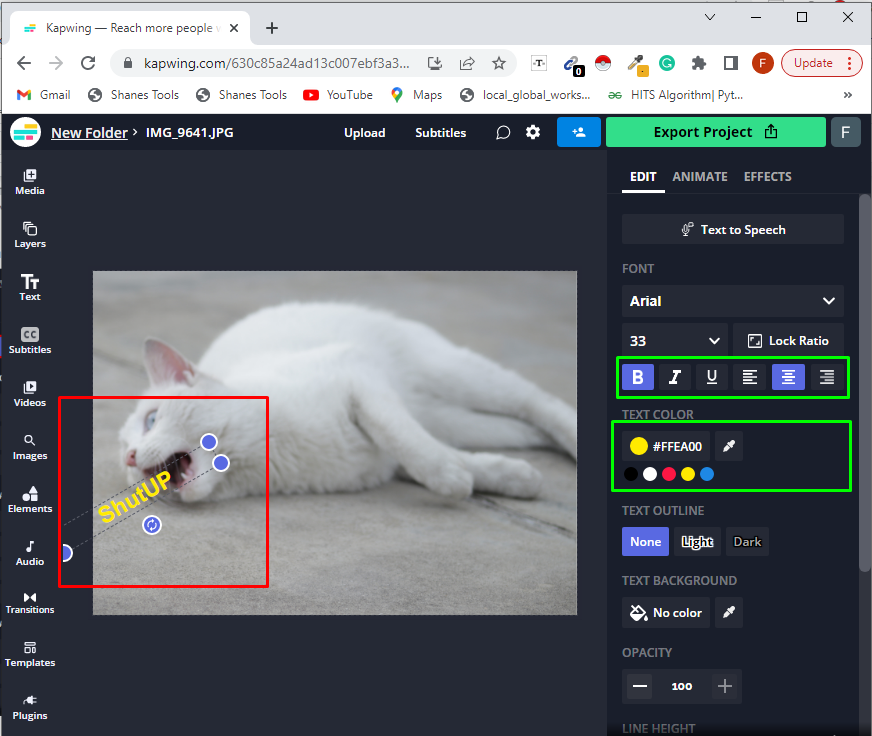
You can also utilize some other editing features available, such as making text bold, and setting its alignment and color:
Step 5: Export Sticker
Export the created sticker by clicking on the “Export Project” button:
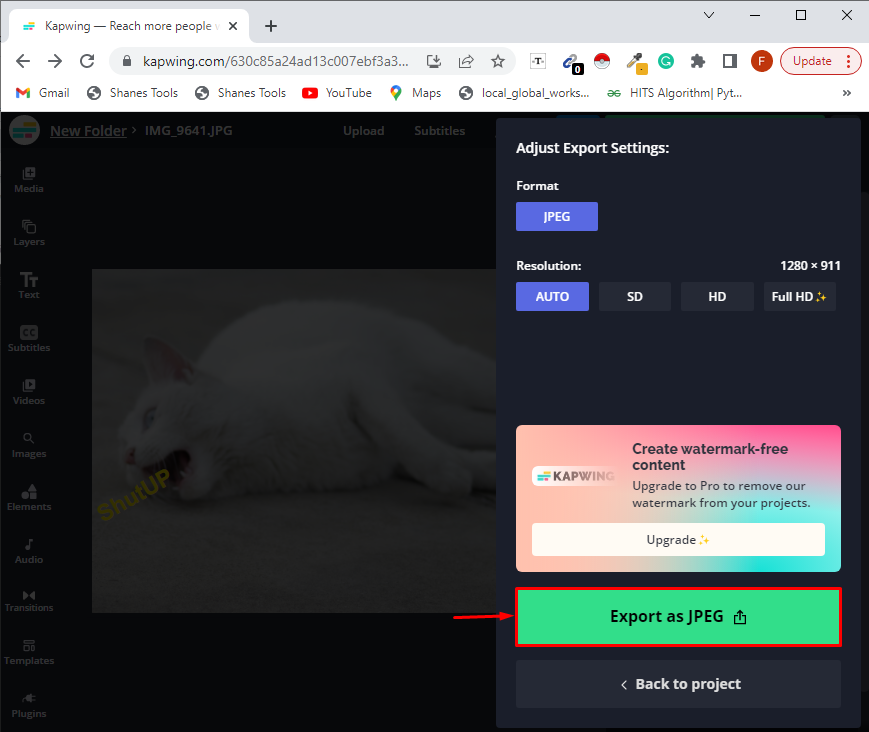
Click on the “Export as JPEG” button to export the sticker in JPEG format:
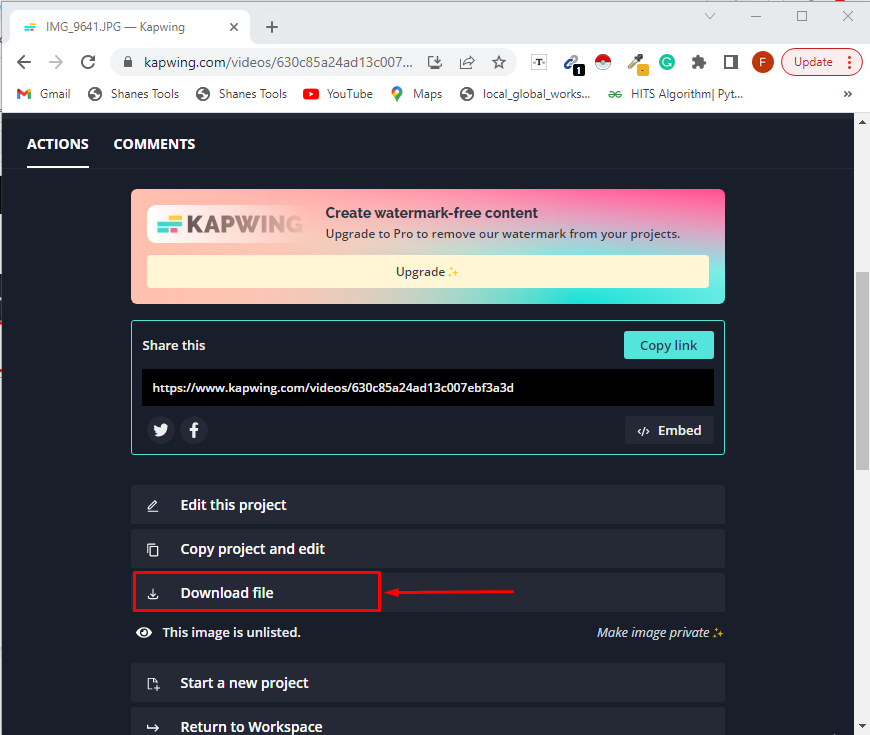
Click the “Download file” tab:
Step 6: Open Sticker
Open the downloaded sticker file:

As you can see, the sticker is successfully created using an image:

Step 7: Change Sticker Format
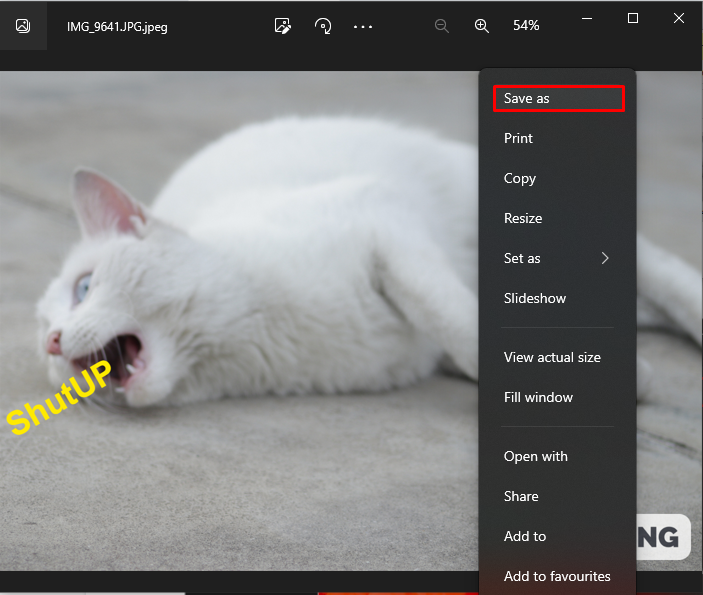
Open the sticker JPEG image and save it as a PNG because Discord permits to use of a sticker having PNG or APNG format.
For the specified purpose, right-click on the image and select “Save as” option:
Next, select the “.png” format:

Lastly, hit the “Save” button:

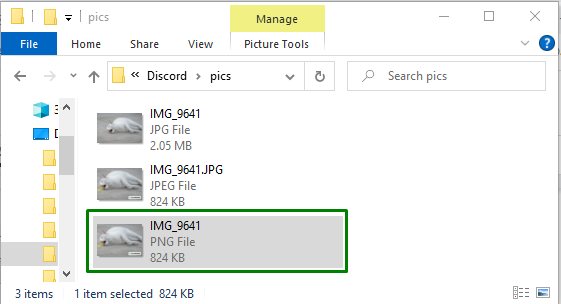
Now, the image is in a PNG format. However, its file size is larger.
Note: To add a sticker on Discord, the file must be of “512KB” size:
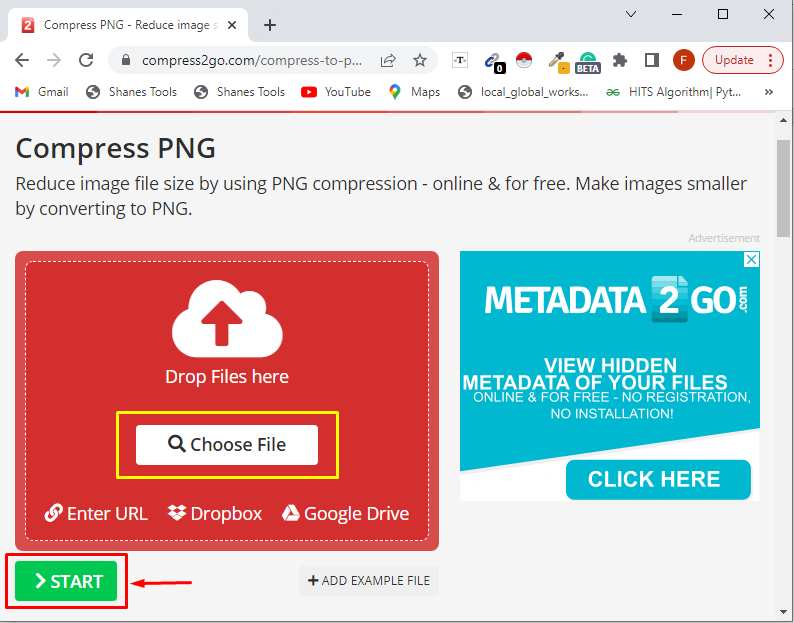
Step 8: Compress Sticker File
Compress the sticker file using Compress PNG. Click on the “Choose File” button and then hit the “Start” button:
After doing so, the size of the created sticker will be reduced to “447KB”:
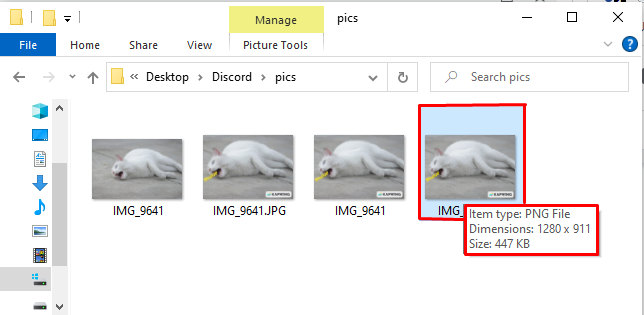
Now, the created sticker is all ready to use on Discord.
Conclusion
For creating a sticker for Discord, the requirement is to have an image in a PNG format and a size less than or equal to 512KB. If the sticker file size is greater than the specified one, use any software or an online tool such as Kapwing to reduce it. In this blog, we discussed the procedure of creating a sticker for Discord.