This blog will demonstrate the way to check/mark an HTML radio button element using JavaScript.
How to Check a Radio Button With JavaScript?
To check a radio button with JavaScript, use the “checked” property/attribute of an HTML radio button. It is a boolean value attribute utilized to return the checked state of a radio button.
Syntax
To set the values use the following syntax where we set the value of the attribute to “true” or “false”.
Example 1: Check a Radio Button by Clicking on the Button
Create a radio button:
Create a button that will check the radio button by clicking on it:
Define a function “checktheRadio()” that will trigger on the button click. Get the reference of the radio button and set the “checked” property to “true”:
document.getElementById("agree").checked = true;
}
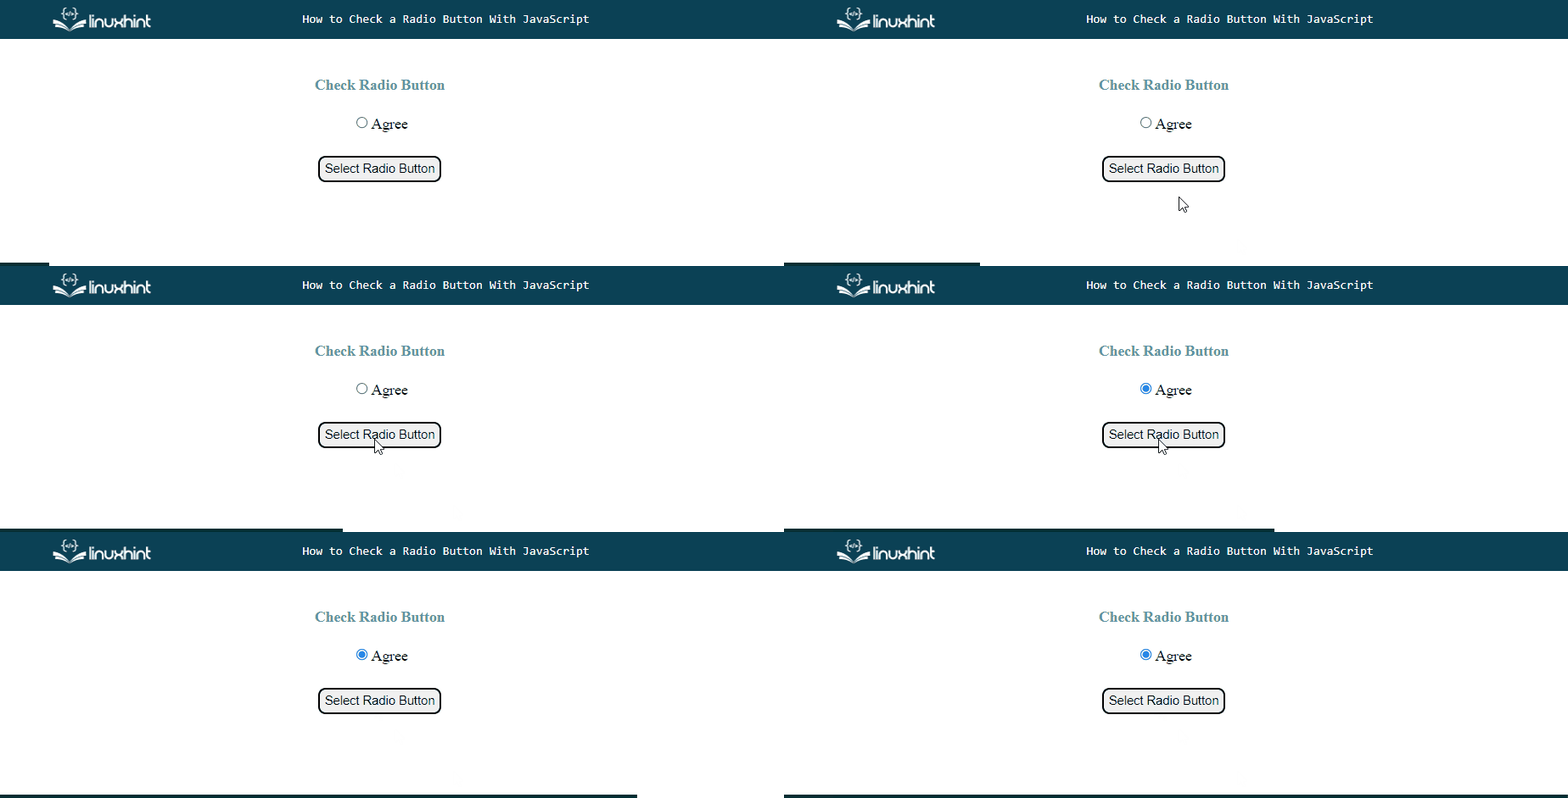
Here, you can see that the radio button has been successfully checked by clicking the “Select Radio Button”:
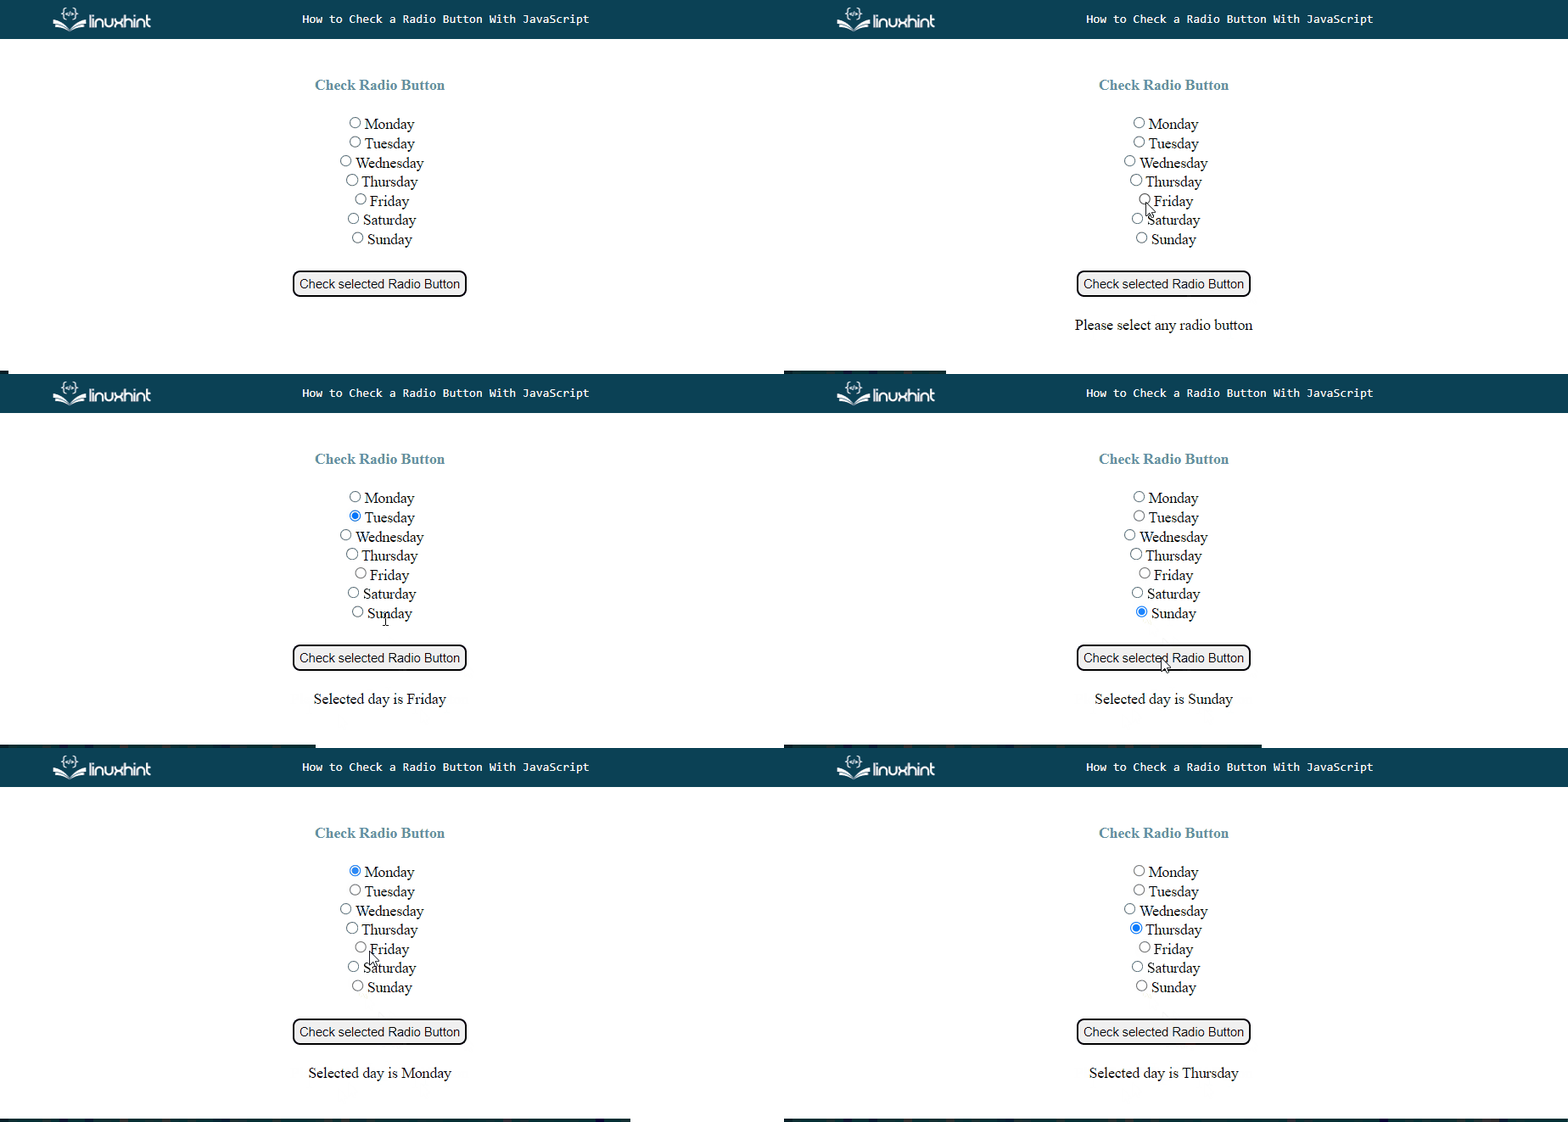
You can also use the “checked” property to get the value of the selected radio button.
Example 2: Get the Value of the Selected Radio Button
In an HTML file, create a group of radio buttons that indicates the days of the week:
<input type="radio" name="week" value="Tuesday">Tuesday <br>
<input type="radio" name="week" value="Wednesday">Wednesday <br>
<input type="radio" name="week" value="Thursday">Thursday <br>
<input type="radio" name="week" value="Friday">Friday <br>
<input type="radio" name="week" value="Saturday">Saturday <br>
<input type="radio" name="week" value="Sunday">Sunday <br><br>
Create a button by attaching an “onclick()” event that will call the function “check()”:
Create a <p> tag to get the selected radio button’s value:
In JavaScript file, first, get the references of the radio buttons, button, and a <p> tag “getElementById()” and “querySelectorAll()” methods:
const radioBtn = document.querySelectorAll('input[name="week"]');
const selectedValue = document.getElementById("value");
Define a function named “check()” that will check the radio button’s “checked” property, get their values and display them on the web page. It gives a boolean value “true” if the radio button is checked and “false” if there is no one is checked:
let day;
for (const radio of radioBtn) {
if (radio.checked) {
day = radio.value;
break;
}
}
if (day){
selectedValue.innerText = `Selected day is ${day}`;
}
else
selectedValue.innerText = `Please select any radio button`;
}
Output
That’s all about checking a radio button with JavaScript.
Conclusion
For checking a radio button with JavaScript, use the “checked” property of the HTML radio button. It gives and sets the boolean value “true” and “false”. It is utilized for both setting and getting the value of the radio buttons. This blog demonstrated the procedure to check a radio button with JavaScript.


