This manual will demonstrate the technique to verify if the checkbox is checked or not.
How to Check if Checkbox is Checked Using JavaScript?
To determine if the checkbox is checked, use the “checked” property. As we know, each element contains a few characteristics that allow Javascript to control it in certain ways and the checkbox’s checked property is one of these. The checked property gives the boolean value true or false when a checkbox is selected.
Example 1: Using onclick() Event For Checking if Checkbox is Checked
We will first create a checkbox attaching the “onclick()” event that will invoke the user-defined “boxChecked()” function to check whether the checkbox is checked or not:
<input type="checkbox" id="Checkbox" onclick="boxChecked()"> I Accept all the terms and conditions.</input>
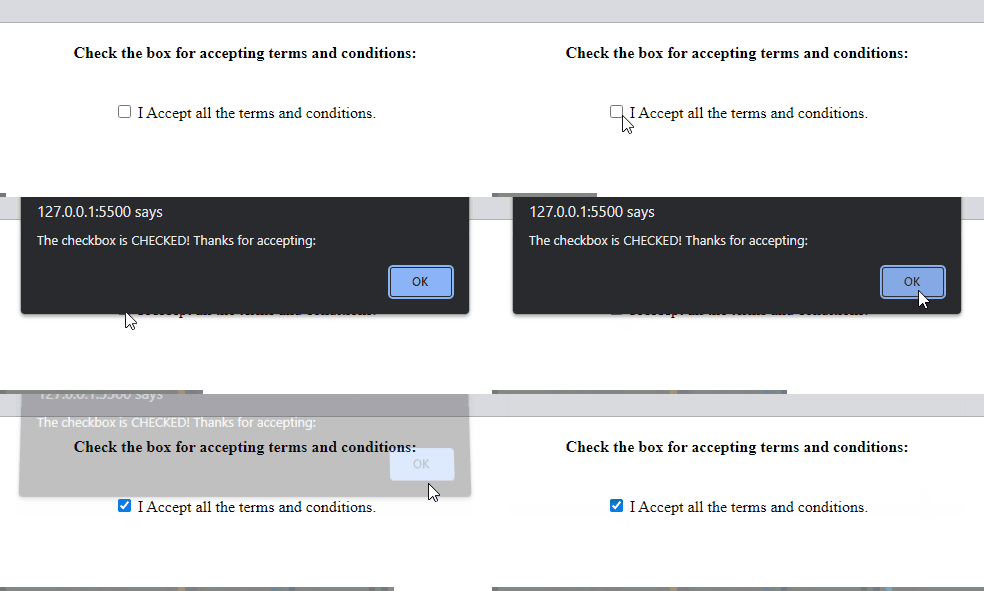
In the JavaScript file, we will define a function named “boxChecked()”, which will first fetch the checkbox’s id using the “getElementById()” method and then apply the checked property in such a way that the checked returned value is set to “true” if it is marked as checked. Then, an alert will be shown with the message “The checkbox is CHECKED! Thanks for accepting:”:
var checkBox = document.getElementById("Checkbox");
if (checkBox.checked == true){
alert("The checkbox is CHECKED! Thanks for accepting:");
}
}
The corresponding output is shown below:
Example 2: Using addEventListener() Method For Checking if Checkbox is Checked
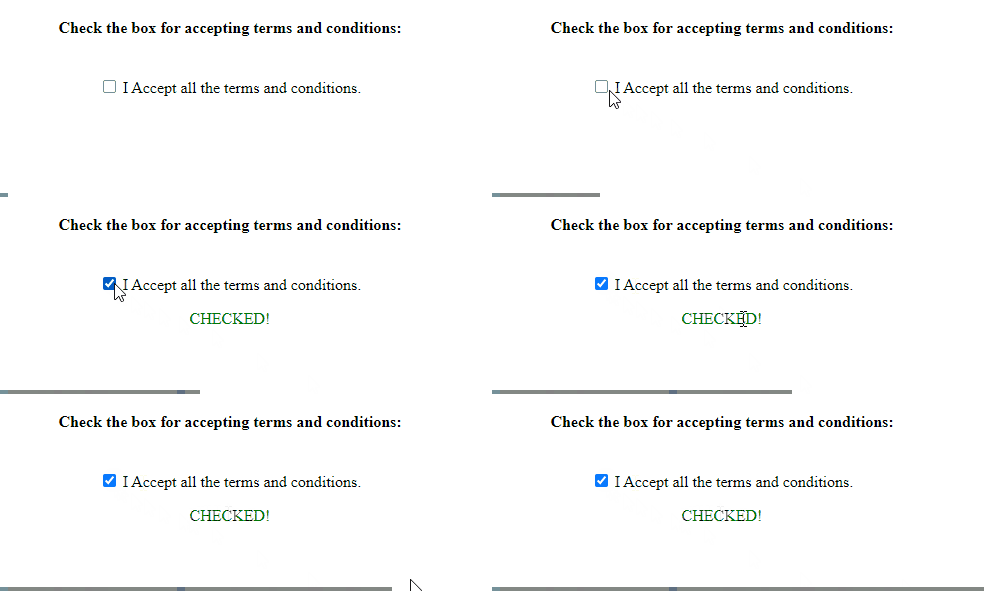
Here, we will create a checkbox without an onclick() event. Then, we will add a paragraph, and its display is set as “none” until the checkbox is unchecked. In the other case, when the checkbox is marked as checked, its added text will be displayed in green color:
<p id="text" style="color: green; display: none;">CHECKED!</p>
You can also verify whether the checkbox is checked or not without using the onclick() event. Here, we will use another method called “addEventListener()” with the “querySelector()” method using the checkbox’s checked property. This will work in such a way that the querySelector() method will first select the first element matched with the added id, and then the addEventListener() method will associate the “click” event with it:
document.querySelector('#Checkbox').addEventListener('click', (event) =>{
if(event.target.checked){
text.style.display = "block";
}
})
It can be seen that, when the checkbox is marked, the added content is displayed in green color:
Everything you need to know about how to determine if a checkbox is marked or not has been provided to you.
Conclusion
To determine if the checkbox is checked, utilize the checkbox’s “checked” property. The checked property outputs a boolean value true if it is checked; else, it gives false. For the verification, you can use two different procedures; one is the onclick() event, and the other is addEventListener() method. In this manual, we have described the procedure to verify whether the checkbox is checked or not using JavaScript.


