The button can be created in two ways: one is using the “<button>” tag and another is through the “<input>” tag with the type as “button”. Once it is created, its content/text can be easily modified with the help of the JavaScript built-in properties.
This guide demonstrates all the possible approaches for changing the button text in JavaScript.
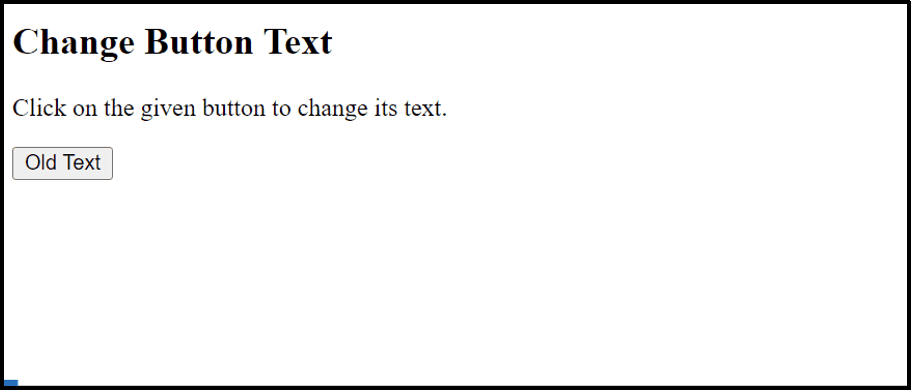
HTML Code
Before moving on to the methods, go through the given code:
In these code lines:
- The “<h2>” tag defines the subheading.
- The “<p>” tag refers to the written paragraph statement.
- The “<button>” tag creates a button with an assigned id “btn” as well as an attached “onclick” mouse event to execute the “demo()” function upon button click.
Note: This HTML code is followed in the first two approaches of this guide.
Method 1: Applying the “innerHTML” Property to Change the Button Text
The “innerHTML” property can be associated with the HTML elements to return the text written inside the starting and ending tags of the specified HTML element. It is also compatible with the “<button>” tag which helps in customizing its content. Let’s see it practically.
Example
Go through the below-given JavaScript code:
const button = document.getElementById("btn").innerHTML = "New text";
}
According to the above code snippet, the function “demo()” uses the “document.getElementById()” method that accesses the added button using its id “btn” and changes its text with the help of the “innerHTML” property.
Output

As seen, the given button text changes upon the button click.
Method 2: Applying the “innerText” Property to Change the Button Text
The “innerText” property is another useful approach that displays the text information written between the tags. It also assists the users to modify the specified HTML element text. In this method, it is applied to change the “<button>” tag text.
Example
Overview of the following code lines:
function demo(){
const button = document.getElementById("btn").innerText = "New text";
}
</script>
Here, the “document.getElementById()” method is associated with the “innerText” property that changes the existing text of the button tag whose id is “btn”.
Output
As analyzed, the “innerText” property changes the “<button>” text from “Old Text” to “New text” successfully.
Method 3: Applying the “textContent” Property to Change the Button Text
Apart from “innerHTML”, and the “innerText” properties, the “textContent” property is also effective to add and retrieve the text content of the desired element/node and all of its descendants. In this method, it is utilized to change the text content of the added button.
Example
Go through the following code:
function demo(){
const button = document.getElementById("btn").textContent = "New text";
}
</script>
In these code lines, the “textContent” property is applied to change the text of the “<button>” element fetched using the “document.getElementById()” method.
Output

The outcome changes the given “button” text upon the button click.
Method 4: Applying the “value” Property to Change the Button (<input type= “button”>) Text
The above-discussed properties are only applicable to the “<button>” tag. However, if the “button” is created through the “<input>” tag with the specified type as “button”, then only the “value” property can change its text.
It is because the “<input>” corresponds to an empty tag and does not contain the “innerHTML”, “innerText” and the “textContent” properties.
Example
In the below HTML code, a button is created with the help of the “<input>” tag with the type as “button”, value as “Old Text”, and an attached “onclick” event that redirects to the function “demo()”:
JavaScript Code
Now, follow the below-given code:
function demo(){
const button = document.getElementById("btn").value = "New text";
}
</script>
In the above code block, the “document.getElementById()” method fetches the button via its id “btn” and then modifies its text using the associated “value” property.
Output

Here, the output confirms that the value of the given button has been changed upon button click.
Conclusion
JavaScript offers the “innerHTML”, “innerText”, and “textContent” properties to change the text of the button (created with the help of the “<button>” tag). On the other hand, it provides the “value” property to change the button text in the case where the button is created using the “<input>” tag. This guide provided all approaches for changing the button text in JavaScript.