This article will demonstrate the procedure for changing the mouse pointer using JavaScript.
How to Change the Mouse Pointer Using JavaScript?
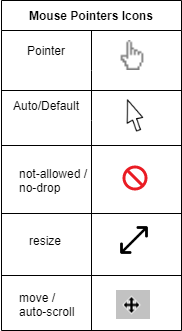
For changing the mouse pointer, use the “cursor” property in JavaScript. There are multiple predefined cursor types accessible in JavaScript. A few of them are “pointer”, “not-allowed”, “default”, “resize”, and “move”. The icons of these commonly used mouse pointers are shown in the below table:

Syntax
Follow the given syntax to change the mouse pointer to use the “cursor” property:
Here, the “value” is the predefined name of the cursor:
Example 1: Change the Mouse Pointer Using getElementById() Method
Change the mouse pointer on a specific text, use the JavaScript “cursor” property with the “getElementById()” method, which will fetch the element with the help of its assigned id.
Syntax
Use the following syntax to change the mouse pointer on a specific text:
Here:
- “id” is the element’s assigned id that is used to fetch the specific element.
- “cursor” is the JavaScript property to change the mouse pointer.
In HTML file, create an unordered list where, the mouse pointer changes on the hover of text:
<ul>
<li id="pointer">Pointer</li>
<li id="move">Move</li>
<li id="not-allowed">Not-allowed</li>
<li id="progress">Progress</li>
<li id="col-resize">Column-resize</li>
<li id="cell">Cell</li>
<li id="text">Text</li>
<li id="wait">Wait</li>
<li id="zoom-in">Zoom-in</li>
<li id="zoom-out">Zoom-out</li>
</ul>
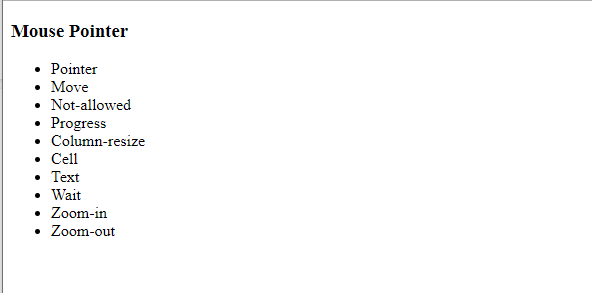
The output shows the unordered list where the mouse pointer will change when the mouse hovers over the list items:
Now, in <script> tag, fetch the list items with the help of their assigned id and then change the mouse pointer using “cursor” property:
document.getElementById("move").style.cursor = "move";
document.getElementById("not-allowed").style.cursor = "not-allowed";
document.getElementById("progress").style.cursor = "progress";
document.getElementById("col-resize").style.cursor = "col-resize";
document.getElementById("cell").style.cursor = "cell";
document.getElementById("text").style.cursor = "text";
document.getElementById("wait").style.cursor = "wait";
document.getElementById("zoom-in").style.cursor = "zoom-in";
document.getElementById("zoom-out").style.cursor = "zoom-out";
document.getElementById("default").style.cursor = "default";
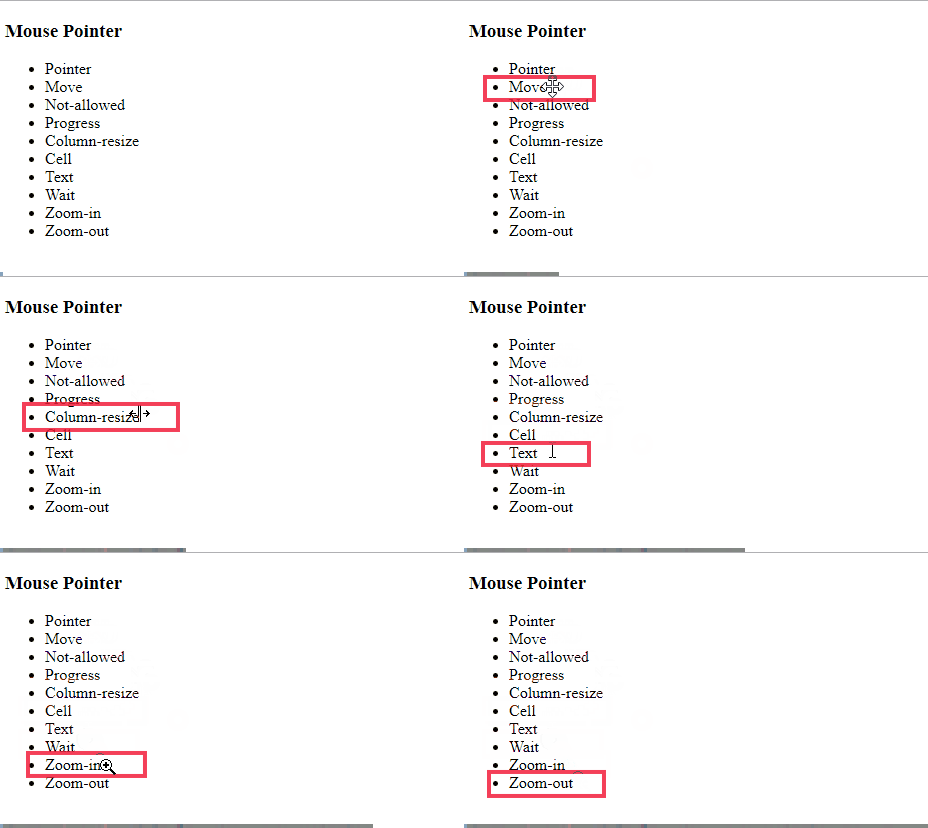
Output
Example 2: Change the Mouse Pointer Using querySelector() Method
In the following example, change the mouse pointer on any element without assigning an id, by utilizing the “querySelector()” method. It takes an argument “selector” that is the HTML element where the cursor/pointer will change when the cursor will hover over it.
Syntax
Follow the given syntax to change the mouse pointer on a specific element:
Create a button and attach an “onclick” event with it, which will call the function named “clickToLoad()”:
<button onclick="clickToLoad()">Loading</button>
Define a function “clickToLoad()”, change the mouse pointer on a button click using the JavaScript “cursor” property with “querySelector()” method by passing a “button” as a selector:
document.querySelector("button").style.cursor = "wait";
}
The output shows a “progress/wait” cursor on the button click:
Example 3: Change the Mouse Pointer Using getElementsByTagName() Method
Here, apply the mouse pointer on an element using the tag name with the help of the “getElementsByTagName()” method. It will set the mouse pointer on the element without an onclick event.
Syntax
To set the mouse pointer on elements using a tag name, use the below-given syntax.
Create a button using the HTML button tag:
Call the “getElementsByTagName()” method by passing the tag name “button” and setting the index 0 which indicates apply it only to the first button on the web page:
The output indicates that when the cursor comes to the “Warning” button, the cursor will change:
Conclusion
To change the mouse pointer, the “style.cursor” property changes the value in JavaScript. It sets the mouse cursor while the pointer is on the specified element. You can use this property with different JavaScript methods including, getElementById() method, querySelector() method, and the getElementsByTagName() method depending on the situation. This article demonstrated the procedure to change the mouse pointer using JavaScript.


