This write-up will discuss the procedure for changing the HTML elements using JavaScript. Moreover, the examples related to the usage of innerHTML property will also be demonstrated in this article. So, let’s start!
Syntax of innerHTML JavaScript property
Here, “element” is the HTML element you have selected to change its content, and “value” is the content we will set.
Example 1: Changing HTML Elements using JavaScript
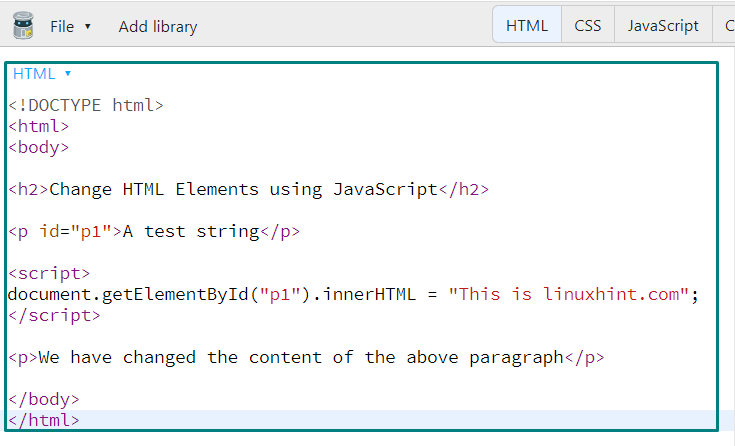
This example will show you how to use the “innerHTML” JavaScript property to modify an HTML element’s content. Firstly, we will add a heading element with the <h2> heading tag and a paragraph with the <p> HTML tag:
Now, we want to change the content of the “<p>” element having the id “p1”. To do so, we will utilize the “document.getElementById()” method to get the specified element. After that, we will set the content of our <p> element to “This is linuxhint.com”:
document.getElementById("p1").innerHTML = "This is linuxhint.com";
</script>
<p>We have changed the content of the above paragraph</p>
</body>
</html>
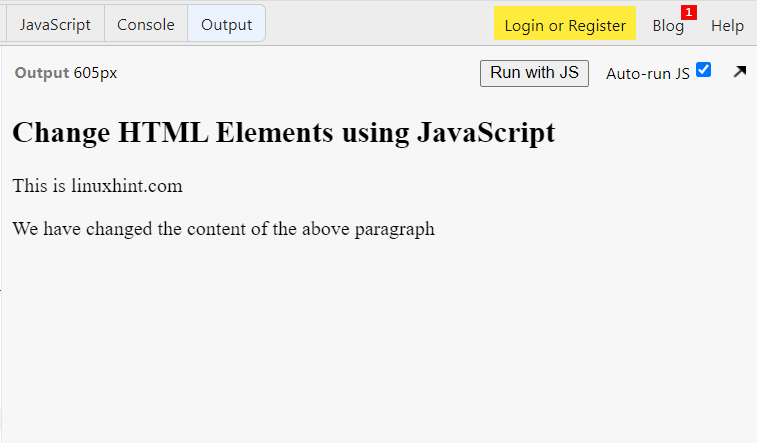
Execute the above-given program in your favorite code editor or any online coding sandbox; however, we will utilize the JSBin for this purpose:
Check out the below-given output, which we got from executing the above-given program:
Example 2: Changing HTML Elements using JavaScript
In the previous example, we have changed the content of the paragraph element. Now, we will write a JavaScript program for modifying the content of the heading HTML element.
As you can see, we have added a heading with the <h1> tag with id “id1” having the content “The Old JavaScripT Heading”:
In the next step, we will create an element variable that will invoke the “document.getElementById()” method to get the heading element with the id “id1”:
const element = document.getElementById("id1");
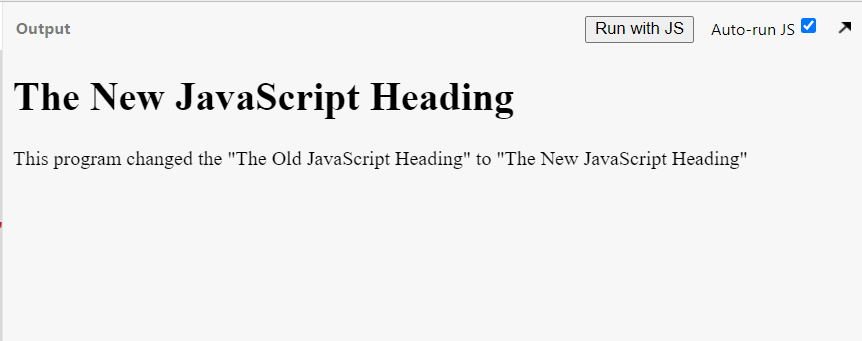
Then, we will change the HTML element content to “The New JavaScript Heading”:
</script>
<p>This program changed the "The Old JavaScript Heading" to "The New JavaScript Heading"</p>
</body>
</html>

The below-given output signifies that the content of the heading HTML element is changed now:
Example 3: Changing HTML Elements using JavaScript
You can also change the content of the multiple HTML elements at once. To demonstrate you how to do that, we will add three HTML elements, a heading with the <h1> tag, a paragraph with the <p1> tag, and a content division HTML element with the <div> tag:
<html>
<body>
<h1>Change HTML Elements using JavaScript</h1>
<p id="p1">This is the first p element.</p>
<div id="div1">This is the first div element.</div>
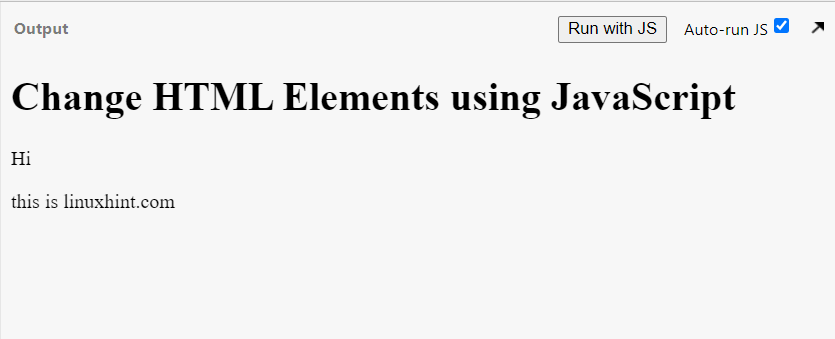
Now, we will change the content of the paragraph element with the id “p1” and content division element with “div” id:
document.getElementById("p1").innerHTML = "Hi";
document.getElementById("div1").innerHTML = "this is linuxhint.com";
</script>
</body>
</html>

Have a look at the output of our JavaScript program:
Example 4: Changing HTML Elements using JavaScript
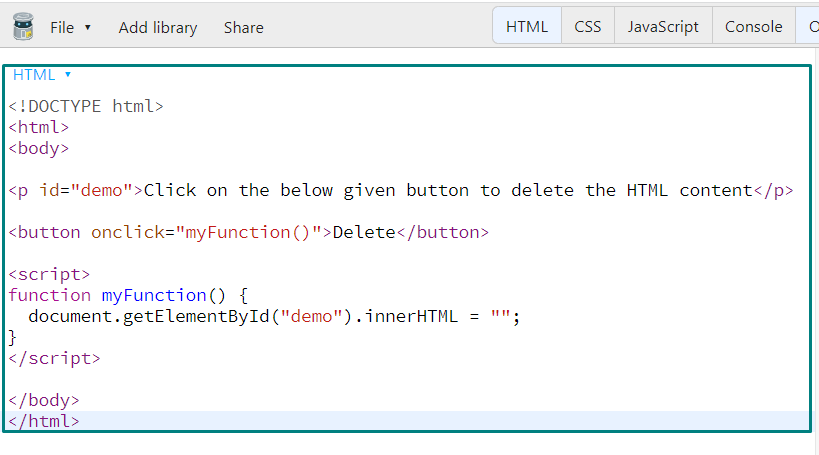
You can also delete the content of an HTML element by utilizing the JavaScript “innerHTML” property. In the following JavaScript code, we have added a paragraph element with the “demo” id:
<html>
<body>
<p id="demo">Click on the below given button to delete the HTML content</p>
In the next step, we will add a button and attach a “onClick” event listener to it. When we will click the “Delete” button, it will invoke the “myFunction()” method to delete the content of <p> HTML element:
Lastly, we will define the “myFunction()” method as follows:
function myFunction() {
document.getElementById("demo").innerHTML = "";
}
</script>
</body>
</html>
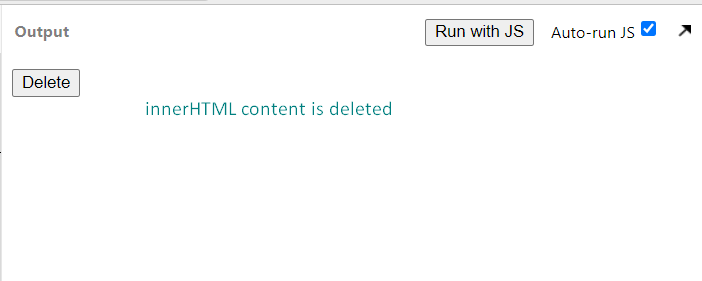
Execution of the above-given program will show you the following output. Click on the “Delete” button to delete the content of the paragraph HTML element:

As you can see, the “innerHTML” property of the <p> HTML element is now set to blank:
Conclusion
The innerHTML HTML DOM property is utilized for changing the content of the HTML Elements in JavaScript. It can also be used to write the dynamic HTML on the HTML document, such as links, comment forms, and registration forms. This write-up discussed the procedure for changing the HTML elements using JavaScript. Moreover, examples related to the usage of innerHTML HTML property are also demonstrated in this article.