Keeping track of all coins is hectic, especially when tracking them from an application or server. But now you can quickly build your cryptocurrency price ticker if you have a Raspberry Pi device.
This article shows you the method to build a Cryptocurrency price ticker from Raspberry Pi so that you can get information about different cryptocurrencies’ prices and their trends on your system monitor.
Build a Cryptocurrency Price Ticker Using Raspberry Pi
To start building your cryptocurrency price ticker, you should install the Raspberry Pi system on your Raspberry Pi device. If you are new to the Raspberry Pi device, you can follow the guidelines here to install Raspberry Pi OS on your device.
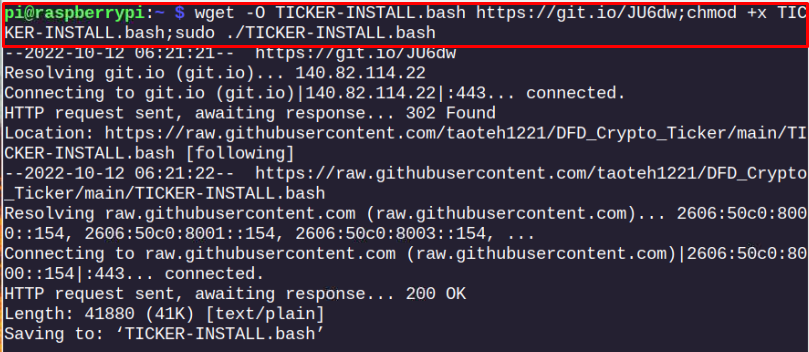
After completing the installation of the Raspberry Pi system, open the terminal and apply the following command to initialize the begin installing cryptocurrency price ticker through the script.
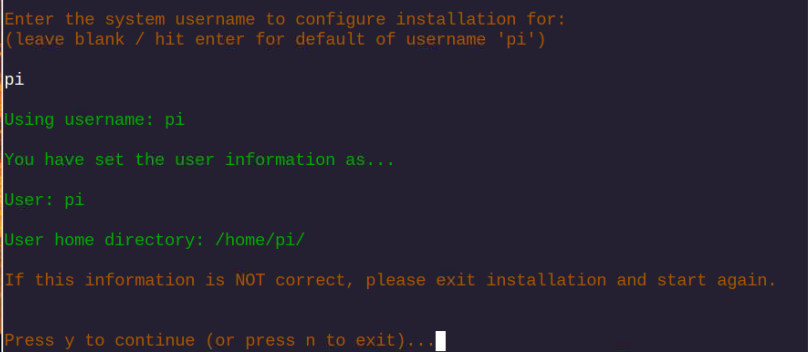
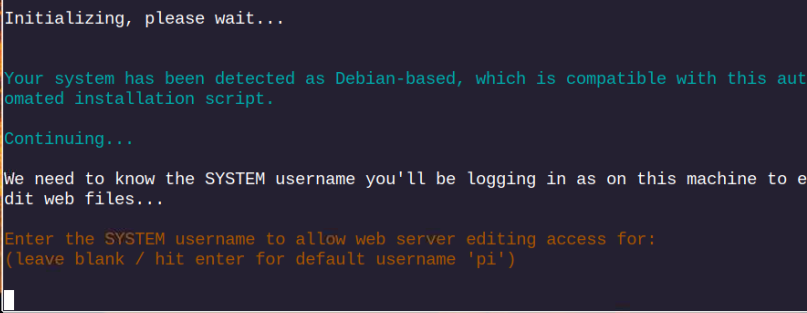
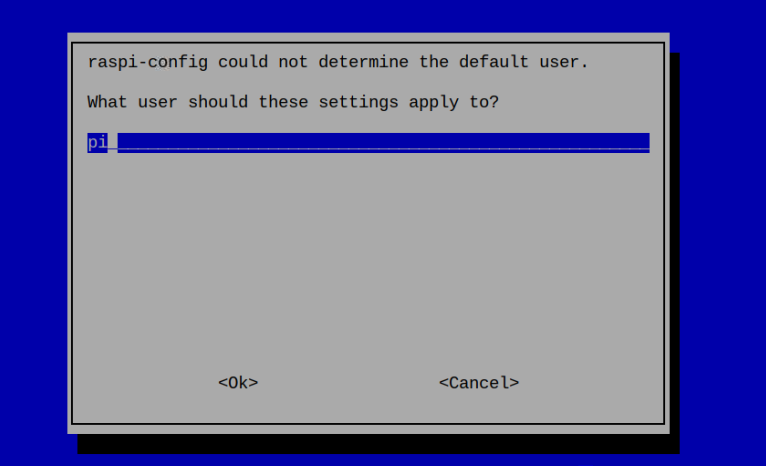
Provide your Raspberry Pi username when it asks you during the installation process.
You should also provide some confirmation of whether to go with the current installation process, and in all cases, you should reply by entering “y”.
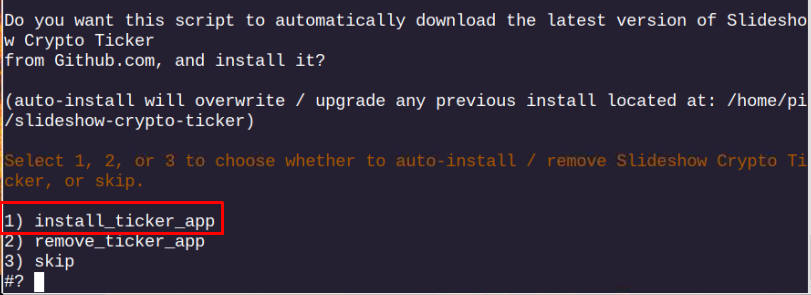
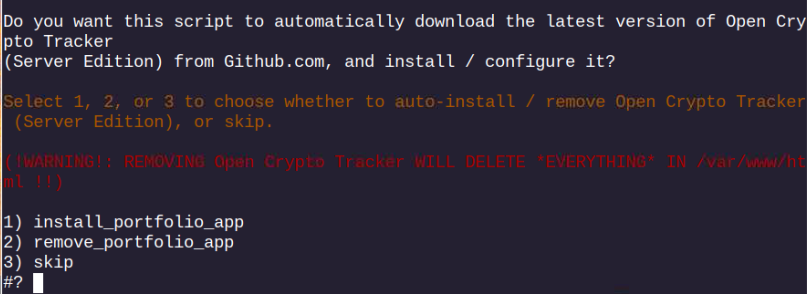
Next, you must enter “1” to install the ticker application on your Raspberry Pi system.
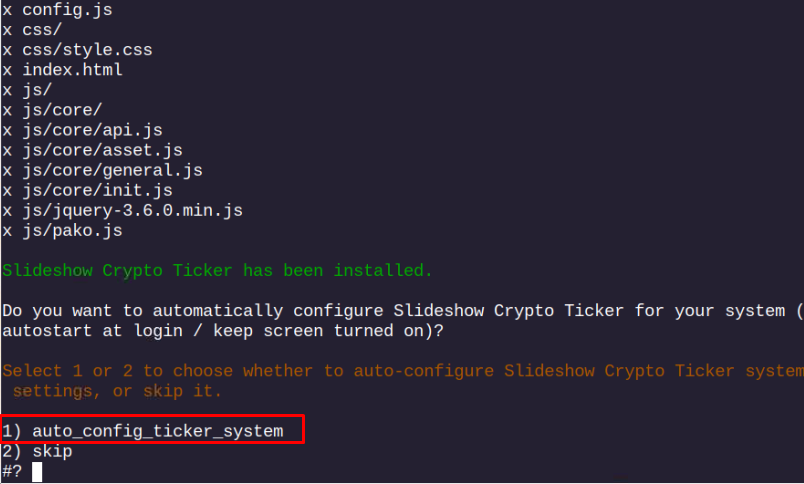
During the installation, you must select the “1” option again to autoconfigure the ticker on your Raspberry Pi system.
Within the configuration, you must select the browser that can be used to render the ticker and you can go with the Chromium one as recommended by the installation process.
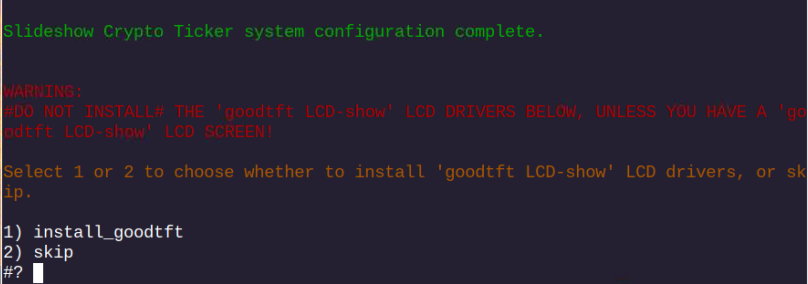
You may be asked to install the goodtft LCD driver and it’s up to you whether to perform the installation or not. You can go with accepting the installation as you may need this in future at some point.
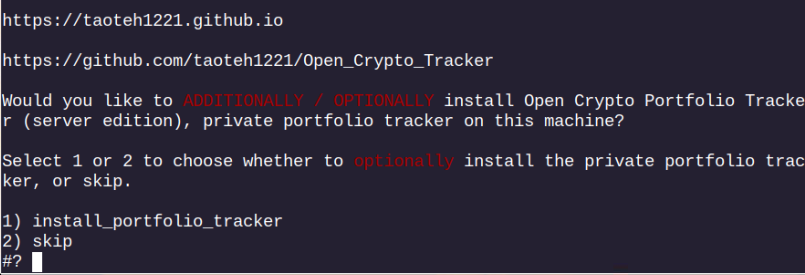
Further, you can also install a Portfolio tracker which is an additional feature for cryptocurrency that helps you track your profit and loss in crypto. You may skip the installation if you don’t want to install it.
The installation process may ask you for your username again, and you can go with the default one by pressing the enter button.
Press the enter button again to go with the default option.
Continue the installation process by entering “y”.
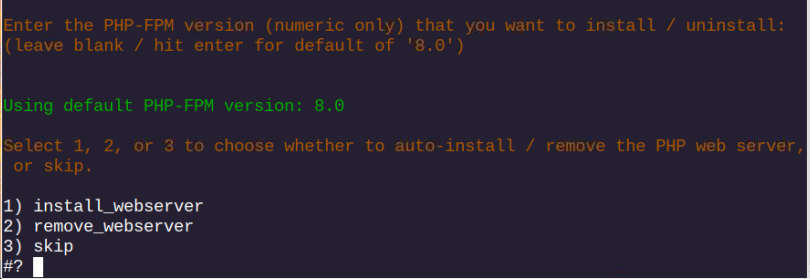
The installation script may give you an option to install a web server, and it’s better to go with option “1”.
Leave the next option blank by pressing the enter button.
Enter option “1” again to install the Portfolio app on your Raspberry Pi system.
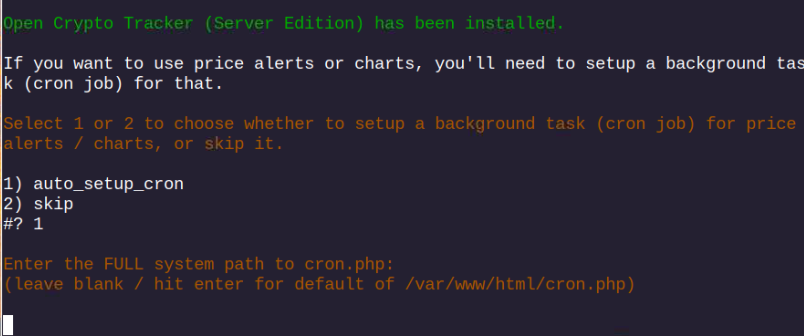
You should also set up a cron job on your Raspberry Pi system that allows the cryptocurrency ticker to start at boot. To set up a cron job, you must enter option “1” again.
You can also choose the time interval according to your choice for running the application on your Raspberry Pi system.
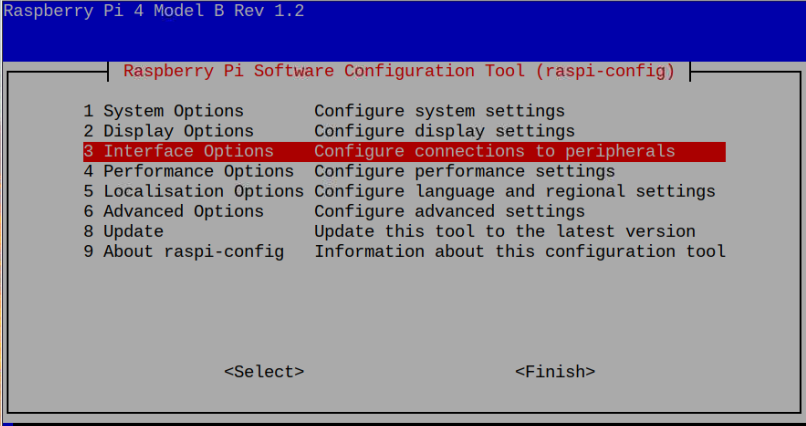
Next, you just need to do one final setup that requires setting up SSH service on your Raspberry Pi system, and you can choose option “1” to go with it.
Provide a Raspberry Pi username and press enter button, and then enable the SSH service from the Interface Option.
Press the Esc button from the keyboard and reboot your device from the command line using the “reboot” command.
When your device reboots, you will see the Cryptocurrency price ticker on your system screen that shows you information about different crypto coins with their pricing and upward and downward trend.
At this point, you have set up the Cryptocurrency price ticker on your Raspberry Pi device successfully, and if you want to close it, you can do so by pressing the “ALT+F4” button from the keyboard.
Conclusion
Building a Cryptocurrency price ticker on Raspberry Pi is beneficial since it allows users to keep track of crypto coins pricing and trends. You can set it up easily on your Raspberry Pi device from the installation script provided in the above guidelines. The installation script needs to be executed in the terminal. It requires a few more installation steps that you must do within the terminal to successfully set up a Cryptocurrency price ticker on your Raspberry Pi device. After rebooting the Raspberry Pi device, you will see the Cryptocurrency price ticker on your Raspberry Pi system.

