If you have recently purchased your Raspberry Pi device, follow this article to learn how to build a computer with it.
How to Build a Computer with Raspberry Pi?
You can easily build a computer with your Raspberry Pi device by following the below-mentioned steps:
Step 1: Collect the Required Components
Before building a computer with Raspberry Pi, make sure you have all the materials in hand to start. The components that we required for a desktop computer are listed below:
- Raspberry Pi device
- An SD Card
- A USB Mouse
- A USB Keyboard
- Raspberry Pi Power Supply
- Monitor
- HDMI cable
Once you have collected all the required components, we can move toward the setup.
Step 2: Installing an Operating System
To start working on your Raspberry Pi device, you must install an operating system on the Raspberry Pi SD card and the good news is that it has its operating system called Raspberry Pi OS, which is Linux based. To set up an operating system on a Raspberry Pi SD card, you can follow the article.
Step 3: Power on the Device
To power on the Raspberry Pi device, you will need a C-Type power supply that provides a voltage of 5V (3A). For power, it’s better to go with the official power supply, which you can purchase from here.
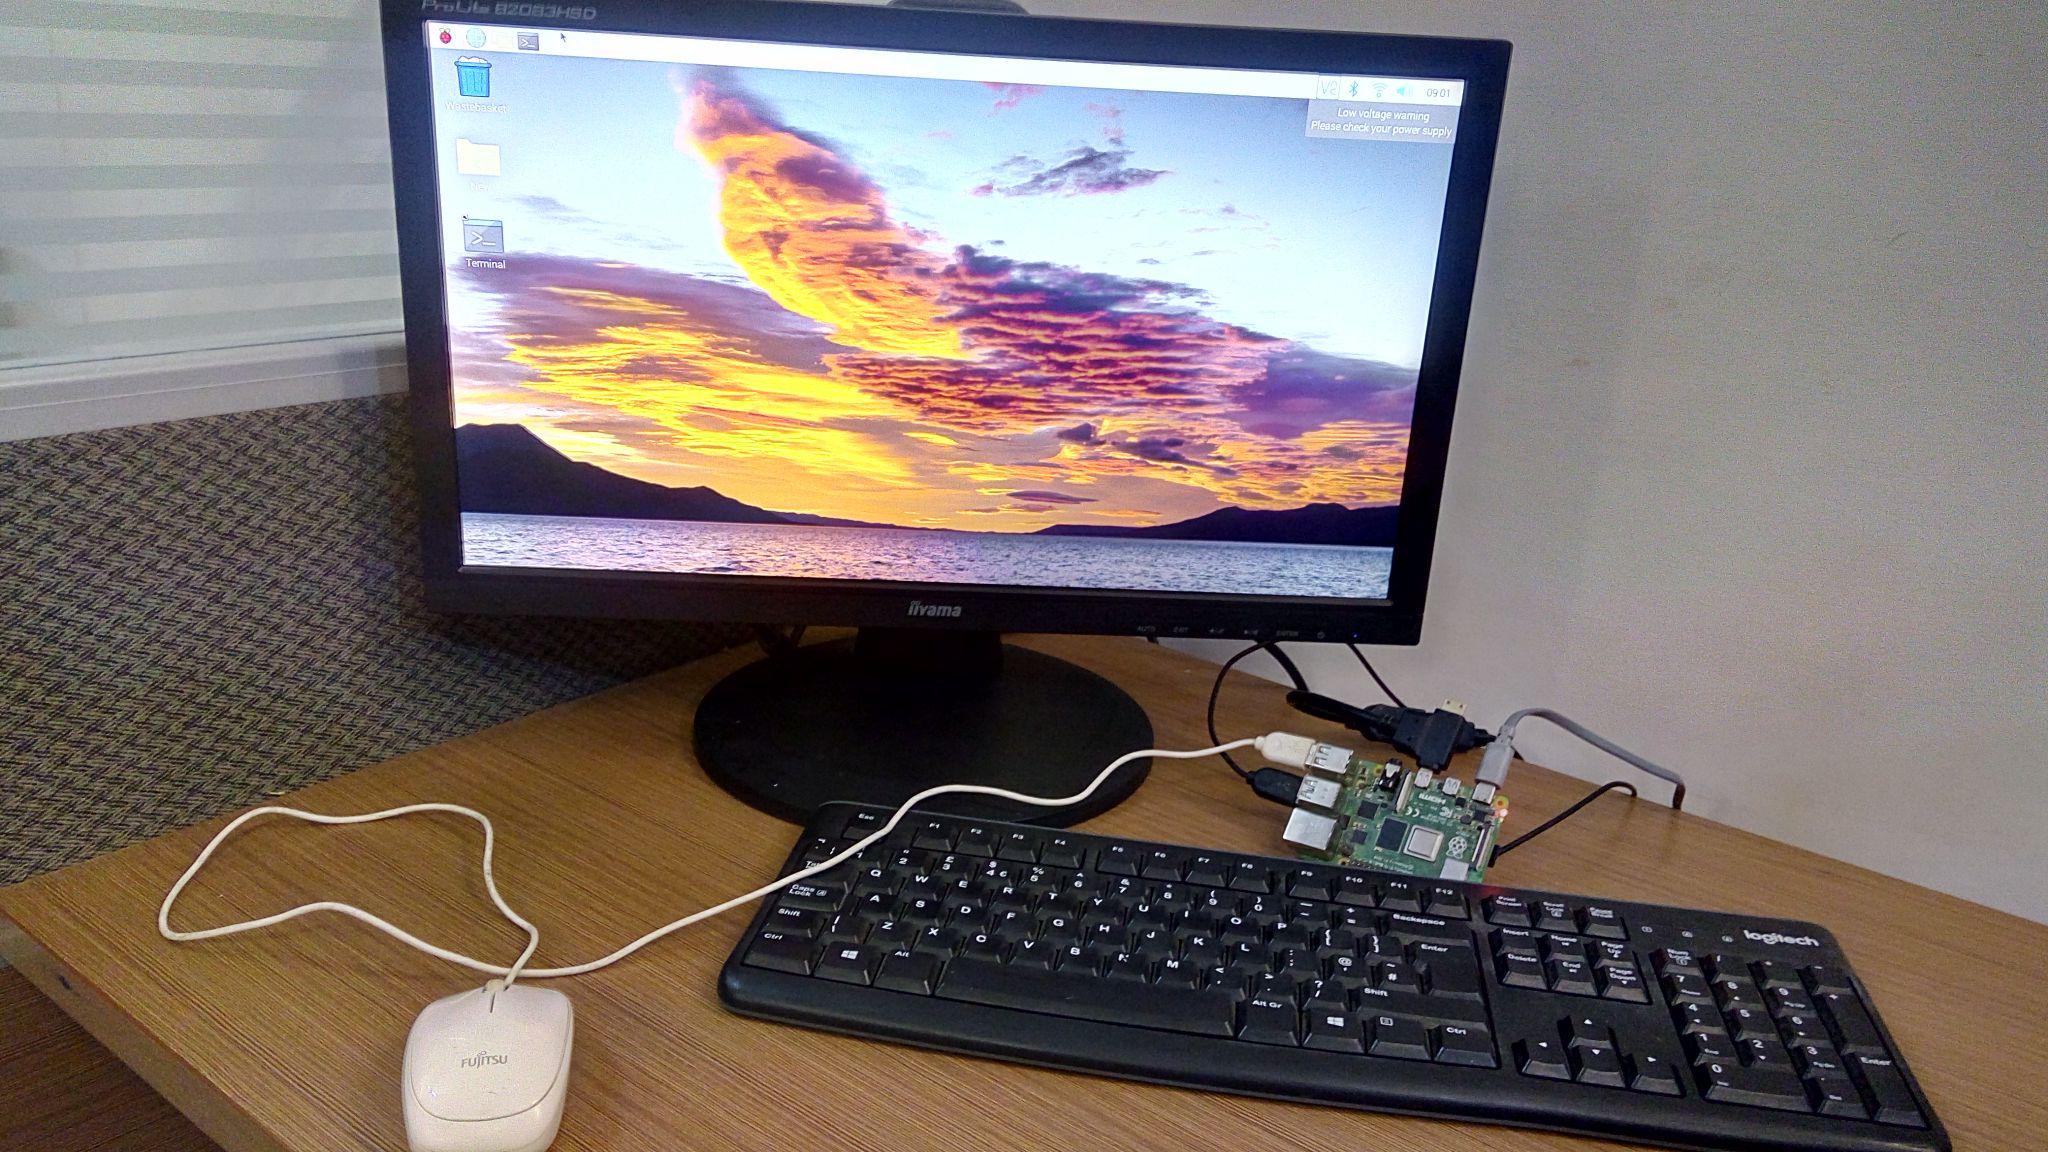
Step 4: Connecting Peripheral Devices
Once, the device is power on, it’s now time to connect all the devices required to setup a desktop computer, like USB mouse, keyboard, monitor screen (plugged it through an HMDI cable). You can also attach other devices like a USB camera, speaker, or microphone, but they are optional devices and are not important for the basic performance of the computer. Connecting the microphone to raspberry can be a little challenging for beginners and for that you can follow the article.
Step 5: Final Testing
Once everything is set up, your Raspberry Pi computer is ready to use and you can perform any computing tasks with ease. However, you must connect the system to Wi-Fi and you can follow the article to connect your system to Wi-Fi. You can also use the Ethernet cable to Raspberry Pi Ethernet port for high-speed internet.
Conclusion
You can build a computer with Raspberry Pi using a mouse, a keyboard, a monitor, an SD card, monitor screen and an HDMI cable. You should also install an operating system to perform different operations and when the operating system is loaded, you can power on the device, attach all the required components, and start using the device as a desktop computer.