Setting up your WiFi connection on your Raspberry Pi device is one of the first things you should do in order to start using the internet on Raspberry Pi. The Raspberry Pi device includes built-in wireless support, but you won’t be able to use it until you configure it. WiFi configuration on the Raspberry Pi device is extremely simple, and you will have no trouble configuring it in a matter of seconds. This article is to guide you how to set up a WiFi connection on your Raspberry Pi device in the simplest way possible.
How to setup Wifi on Raspberry Pi
Here, you will find two easiest methods to setup Wifi on Raspberry Pi and you can choose any which you think is best for you.
1: Setting Wifi on Raspberry Pi’s Terminal
The easiest solution to setup Wifi on Raspberry Pi is by using the command “raspi-config” on the terminal of your Raspberry Pi device. You will have to enter the command which is mentioned below in the terminal of your Raspberry Pi device to initiate the setup process of Wifi.

As soon as you press Enter, you will see configuration settings appear on your screen as shown in the below image.
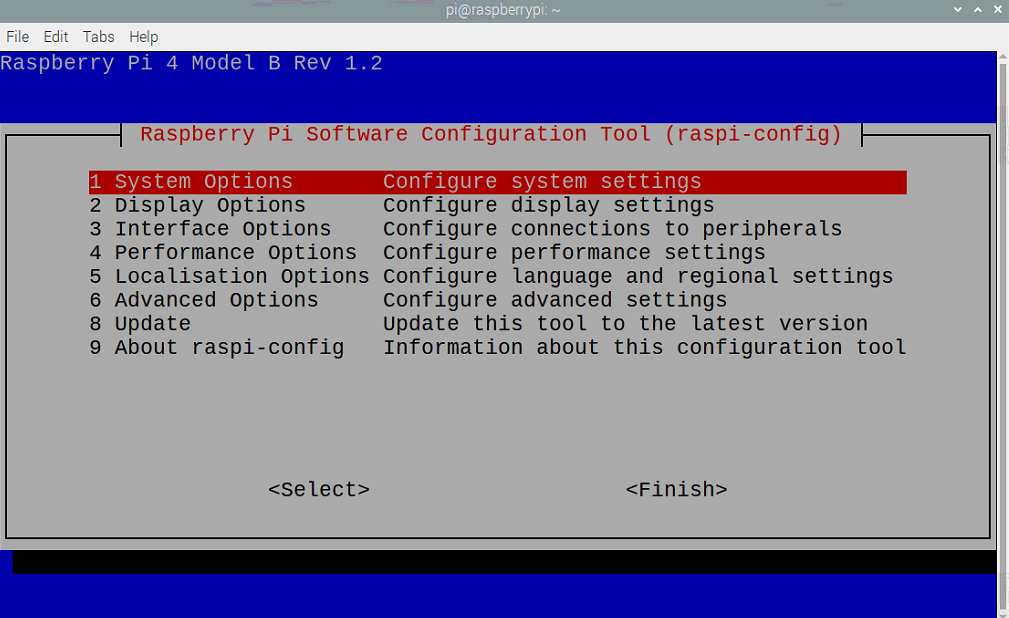
Now, on the above screen, you are seeing 9 options on your Raspberry Pi device configuration mode but you will find the “Wireless LAN” option by pressing the Enter button on the “System Options” first. There you will be able to see the LAN option at the top of the list as shown in the image below.
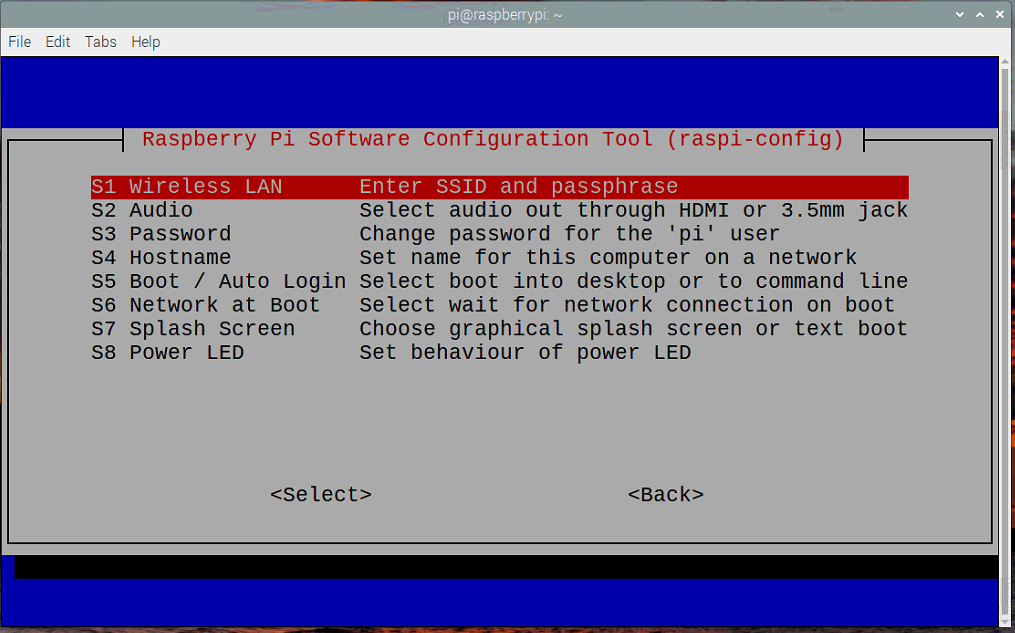
By clicking on the “Wireless LAN” option, you will need to enter your “WiFi name in the option “Please enter SSID”. In our case, it’s “TSEP Limited”. Write the name and then press enter after confirming the option below with “OK”.
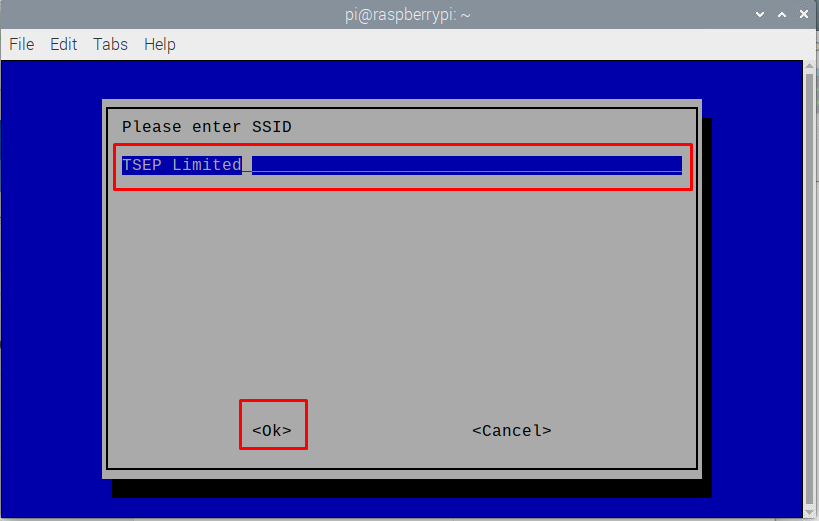
Now that you have entered your “Wifi” name, you will need to enter its password as well.
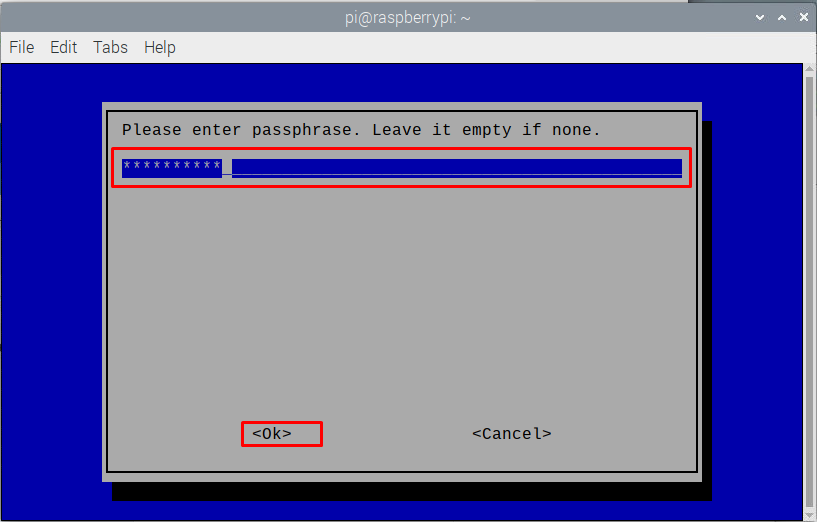
After successful completion, you will see your Raspberry Pi device connected to Wifi.

2: Enabling Wifi through bootable SD card
When you install the fresh version of your Raspberry Pi on your SD card, you can configure your Wifi by creating a file in your SD card. To complete this step, insert your SD card into the card reader before inserting it into the PC or laptop. Next, create a text file on the SD card named “wpa_supplicant.conf” , paste the text below into it, and save the file.
ctrl_interface=DIR=/var/run/wpa_supplicant GROUP=netdev
update_config=1
network={
ssid="Your-Wifi-Name"
scan_ssid=1
psk="Wifi-Password"
key_mgmt=WPA-PSK
}
Replace the “Your-Wifi-Name” with the name of the Wifi you are trying to connect and write the password replacing “Wifi-Password”. Now remove your SD card, and then plug the card into the Raspberry Pi device. When you boot your Raspberry Pi device, you will find your Wifi already connected.
You can also set up the Wifi through the terminal as well by typing the following command.
When you press enter, a configuration file will open, which you can edit by entering your Wifi name and password. After you’ve added them, press “Ctrl+X” to save the settings and then enter to return to the terminal window. This will successfully connect your Wifi and allow you to browse the internet.
Conclusion
If you forget to set up your Wifi after installing a fresh Raspberry Pi OS on your device, don’t panic because you now have enough knowledge on how to set up Wifi on Raspberry Pi after the installation and you won’t have any trouble doing so. This article mentioned two methods to setup Wifi on Raspberry Pi 4, one is through Raspberry Pi configuration settings in the terminal and second is through modifying the “wpa_supplicant.conf” file.