One of the most common web page manipulations is to replace a node or to add a child node inside a parent node. This can be done through the appendChild() method in JavaScript.
What is .appendChild() method
The .appendChild() method is an in-built JavaScript function that is used to add a child node under a parent node. The .appendChild() performs this feat by making use of the DOM Node Interface. We are now familiar with what it does, so let’s look over its syntax.
Syntax of .appendChild() method
The syntax of .appendChild() is pretty self-explanatory. It is as:
As you can clearly see, It consists of the following:
- parentNode: The element in which the other node is to be appended.
- childNode: The element to be appended.
When is appendChild() method used
The .appendChild() appends a newly created element inside the DOM. It is also used when you have to rearrange an already existing element. In most cases, both of the features, rearranging the existing elements, and creating a new element, and then adding it to the DOM is done upon an event invoked due to the user’s interaction with the webpage. This event could be clicking a button on the screen, a specific mouse location, or even a specific key-stroke.
Example
We can’t learn anything until we try it out. So let’s try using the .appendChild() method. We shall:
- Create an HTML Page with a parent node
- Create a button that will invoke the appending process
- Create a child node.
- Append the child node in the parent node on the button press.
Let’s start with the first step which is to set up an HTML page. Create a parent node by creating a div with an id =“demo”: Inside this div, we give it a child node which is a <p> tag:
<div id="demo">
<p>This is paragraph 1 inside "div" tag</p>
</div>
</center>
Let’s make the parent Node which is in our case the
#demo {
background-color: cadetblue;
}
</style>
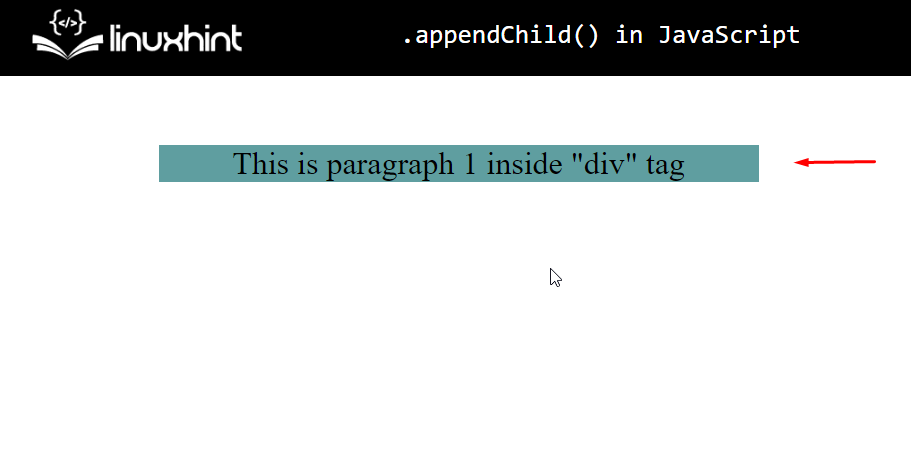
We will get the following results.
Now we know that the parent Node <div> of <p> tag is highlighted. If we add any child node inside this parent node, the highlighted area would increase.
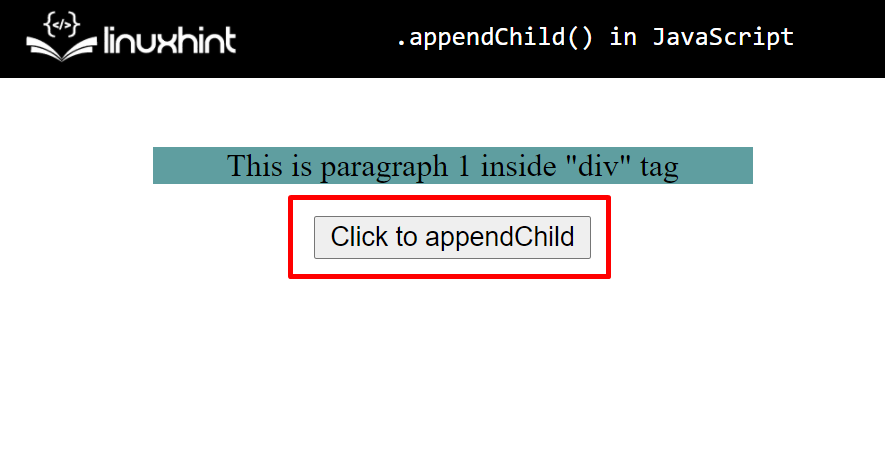
Coming back to appending a child node. Let’s create a trigger to append a child node, and for that purpose, we are going to add a button on-screen with the following line:
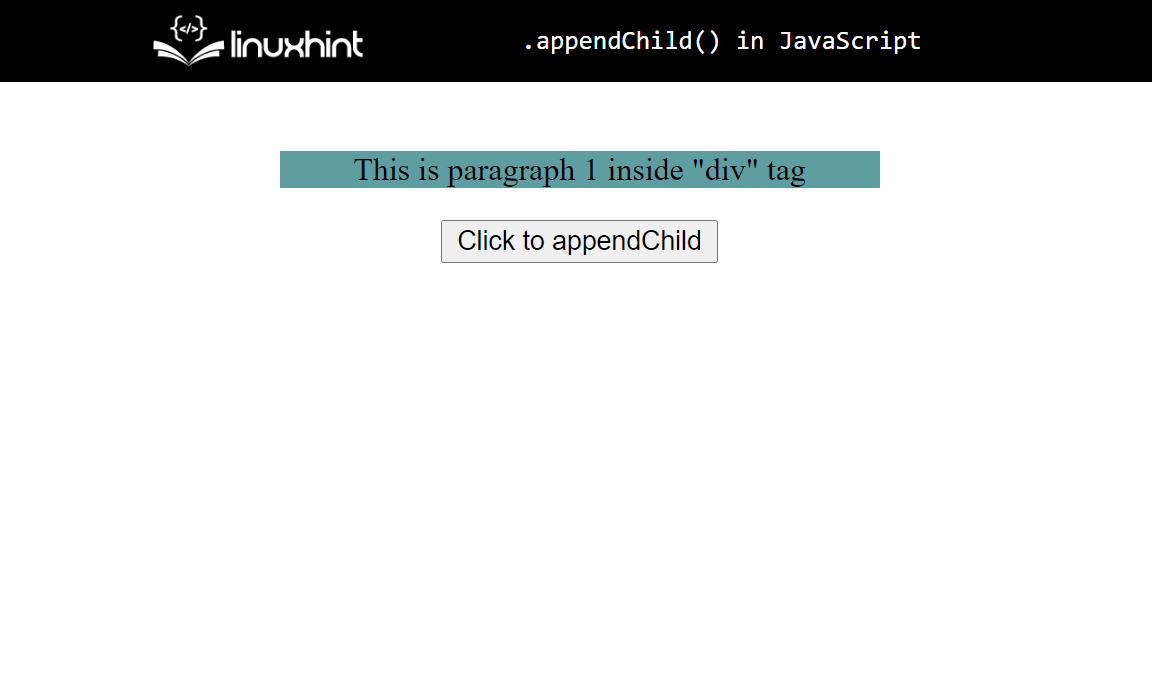
With this, our output becomes:
We need to declare the function that will append a child node inside the div on every button press. Create the function like this:
function btnClicked(){
// Add the later code inside here.
}
As you may notice, we created a variable called “counter”. This variable will keep a check on how many child nodes we have appended in the parent node. Since we already have a <p> tag as the first child, we start the counter from “2”.
Now we need a child node. For this, we are going to create a <p> tag with some text inside it. For creating a <p> tag, we first need to create a TextNode and a paragraph node and then append the text node into the <p> tag node.
Create a TextNode with the following command:
As you can see we are using the counter value to prompt the user on how many child nodes are present in the parent node.
Next up is to create the <p> tag element:
Now, we need to add the TextNode into the pTag:
Lastly, we need to append this pTag inside the div with the id=” demo”:
parentNode.appendChild(pTag);
Before exiting the btnClicked() function, we need to increase the value of the counter as well:
The complete code snippet will look like this:
let counter = 2;
function btnClicked() {
textNode = document.createTextNode(
"This is paragraph " + counter + ' inside "div" tag'
);
pTag = document.createElement("p");
pTag.appendChild(textNode);
parentNode = document.getElementById("demo");
parentNode.appendChild(pTag);
counter++;
}
</script>
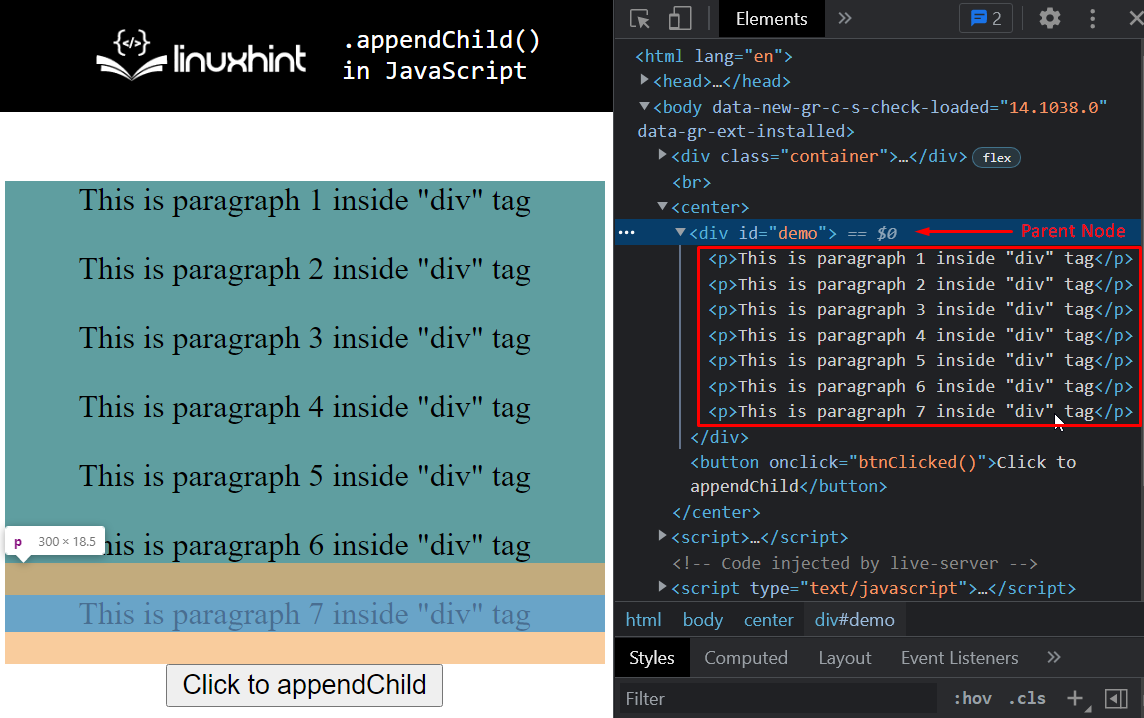
Time to finally run our webpage and look at the results. You should see this on your screen:
There you have it, we have successfully appended various child nodes inside a parent node. We can also confirm it by examining the parent node inside the browser’s developer tools.
We can clearly see that all the child nodes (<p> tags ) are indeed appended into the div with the id=” demo”.
Conclusion
The .appendChild() method of JavaScript is used to append a child node inside a parent node with the help of the DOM node interface. Manipulating the elements of the webpage using a scripting language is an important task. One of the common tasks while manipulating web pages is to append elements as child nodes to other elements. We learned how the .appendchild() method works, its syntax, and when it is used. We created an HTML webpage, a parent node, and appended child nodes inside it using the .appendChild() function.


