This blog will discuss the procedure to add an image in HTML via JavaScript.
How to Add an Image in HTML Using JavaScript?
The following methods are used to add images in HTML documents using JavaScript:
Method 1: Add Image in HTML Document via JavaScript Using appendChild()
The “appendChild()” method adds or appends the element from the child node into the parent node. This method can display the image such that the specified image in JavaScript is appended to an element in the HTML code.
Example
Let’s overview the following example:
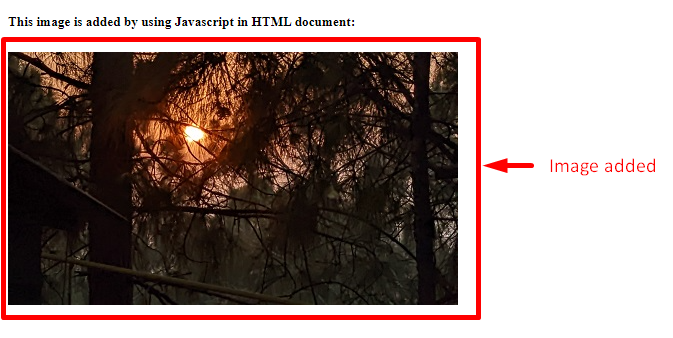
<h5>This image is added by using Javascript in HTML document:</h5>
<div id="myImg"></div>
</body>
<script>
var img = document.createElement("img");
img.src = "sun.jpg";
var src = document.getElementById("myImg");
src.appendChild(img);
</script>
In the above code snippet:
- Within the HTML file, add a “<div>” element having the id “myImg” within the <body> tag.
- In the next step, apply the “createElement()” method to create an element node named “img”.
- After that, the “src” attribute will specify the path of the image.
- The “getElementById()” method, in the next step, will access the included “<div>” element by its “id”.
- Lastly, the “appendChild()” method will append the specified image to the accessed element in the previous step.
Output
Method 2: Add Image in HTML Document via JavaScript Using querySelector()
The “querySelector()” method accesses an element based on the CSS selector. It can also be applied to access the HTML element directly and associate an image by specifying it.
Example
The below-given example illustrates the stated concept:
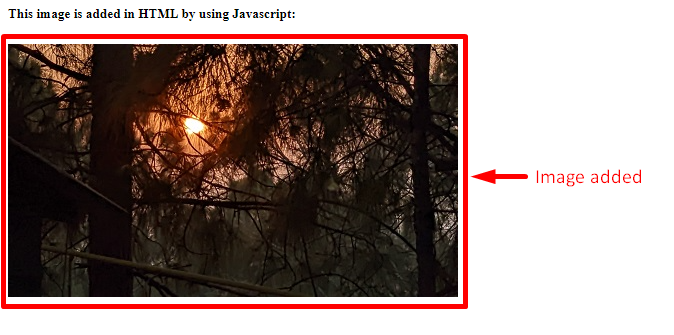
<h5>This image is added in HTML by using Javascript:</h5>
<img></img>
</body>
<script>
const myImg = document.querySelector("img")
myImg.src ="sun.jpg";
</script>
In the above lines of code:
- Include a heading and an “<img>” element, as stated.
- In the JavaScript code, access the included element created in the previous step via the “querySelector()” method.
- Finally, apply the “src” attribute to include an image via path.
Output
It can be seen that the image is appended to the “<img>” element in HTML via JavaScript.
Conclusion
To add an image in HTML using JavaScript, apply the “src” attribute combined with the “appendChild()” or the “querySelector()” method. The former method appends the image to an element in HTML with the help of a created node. The latter method accesses the HTML element directly and associates an image with it. This blog discussed the procedure to add images in HTML via JavaScript.


