This write-up will discuss the approaches to add a class to a clicked element using JavaScript.
How to Add Class to Clicked Element Using JavaScript?
The “addEventListener()” method, in combination with the “classList” property and the “add()” method, can be applied to add a class to the clicked element using JavaScript.
The addEventListener() method associates an event with an element. The classList property gives the CSS class names of an element. Whereas the add() is a classList method used to add tokens to the list.
These approaches can be applied to attach an event and add a class to the element(s) based on that event.
Syntax
In the given syntax:
- “event” refers to the specified event.
- “listen” is the function that needs to be invoked.
- “use” is the optional value.
Let’s elaborate on the concept with the help of the following examples!
Example 1: Add a Single Class to Clicked Element in JavaScript
In this example, a single class will be added to the clicked element(s):
<input type="text" class= "defaultclass1" placeholder="Type Text...">
<br><br>
<textarea class= "defaultclass2" placeholder="Type Text..."></textarea>
<br><br>
<button>Click Me</button>
</body></center>
<script type="text/javascript">
document.addEventListener('click', function classClicked(event) {
event.target.classList.add('addedClass');
});
</script>
<style type="text/css">
.addedClass {
background-color: greenyellow;
}
</style>
In the above code snippet:
- Firstly, include the “<input>” and “<text area>” elements, having the stated classes, respectively.
- Also, include a button in the next step.
- In the JS code block, apply the “addEventListener()” method to attach an event “click” to the function named “classClicked()”.
- Also, pass the object “event” as a function’s parameter.
- In the function definition, associate the “event” object with the “target” property. These approaches access the DOM elements upon the event trigger.
- Resultantly, the associated “classList” property and “add()” method will add the specified class to the element(s) upon click.
- In the CSS code, style the class to be appended, i.e., addedClass.
Output

As observed in the above output, upon clicking the elements, the particular class is added to the elements.
Example 2: Add Multiple Classes to Clicked Element in JavaScript
In this particular example, multiple classes will be added to the clicked element(s):
<h3 class = "defaultclass1">Linuxhint Website</h3>
<h3 class = "defaultclass2">JavaScript</h3>
<h3 class = "defaultclass3">Blogs</h3>
</body></center>
<script type="text/javascript">
document.addEventListener('click', function classClicked(event) {
event.target.classList.add('addedclass1', 'addedclass2','addedclass3');
});
</script>
<style type="text/css">
.addedclass1{
background-color: lightblue;
}
.addedclass2{
text-align: center;
}
.addedclass3{
padding: 50px;
}
</style>
Apply the following steps, as given in the above code:
- Include the stated “<h3>” elements having the specified classes.
- In the JavaScript code block, likewise, attach an event “click” to the function classClicked() using the “addEventListener()” method.
- Recall the discussed approaches to access elements on the DOM.
- Now, apply the “classList” property and “add()” method having multiple classes as its parameters.
- This will result in appending the stated multiple classes to the clicked element(s).
- In the CSS code, specify the classes that need to be added to the element(s) and perform the stated styling.
Output
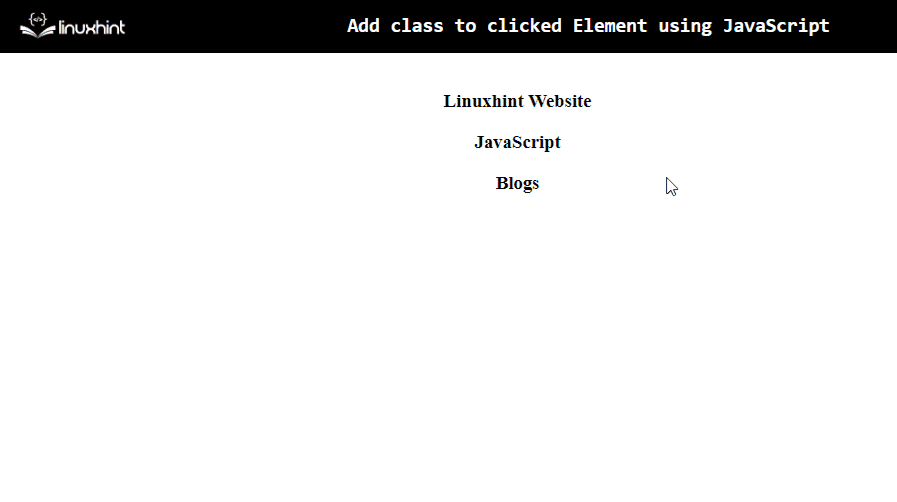
In this particular output, multiple classes are appended to each of the “<h3>” elements upon the event trigger.
Conclusion
The “addEventListener()” method, in combination with the “classList” property and the “add()” method, can be applied to add a class to the clicked element using JavaScript. These approaches can be implemented to add single or multiple classes to element(s) based on the attached event. This write-up demonstrated to add a class to the clicked element using JavaScript.