What Is Minecraft?
Minecraft is one of those video games that even people who don’t game at all can instantly recognize. Its creator, Markus “Notch” Persson, first released it in 2009, and it has since then become the bestselling video game of all time.
Most Minecraft players would agree that the secrete to the game’s success lies in its creativity-inspiring design. Players are free to explore a large, procedurally generated world made of blocks, each of which can be interacted with, moved, or transformed into resources for crafting.
This blocky world is occupied by AI-controlled monsters, friendly villagers, and, in multiplayer mode, other players. Minecraft can be played either as a survival game or sandbox, and players are free to modify its gameplay mechanics and create new assets for it.
Because Minecraft is written in the Java programming language, it runs on Linux, Windows, and macOS. Keep in mind that there are several versions of Minecraft, and this article is about Minecraft: Java Edition.
Install Minecraft on Ubuntu and its Derivatives
Thanks to the official .DEB package, installing Minecraft on Ubuntu and its derivatives is a breeze, and the whole process won’t take you more than a few minutes.
Step 1: Download the Installation Package
The first thing you need to do is download the Minecraft .DEB package from Minecraft’s official website. You can either open the alternative download page in your favorite web browser and download it from there, or you can use the following command and download the package to your home folder using wget:
https://launcher.mojang.com/download/Minecraft.deb
Step 2: Install Minecraft
We recommend you use a small tool called gdebi to install the Minecraft .DEB package because it automatically resolves all dependencies.
Install gdebi:
Use gdebi to install the Minecraft.deb package:
Step 3: Launch Minecraft
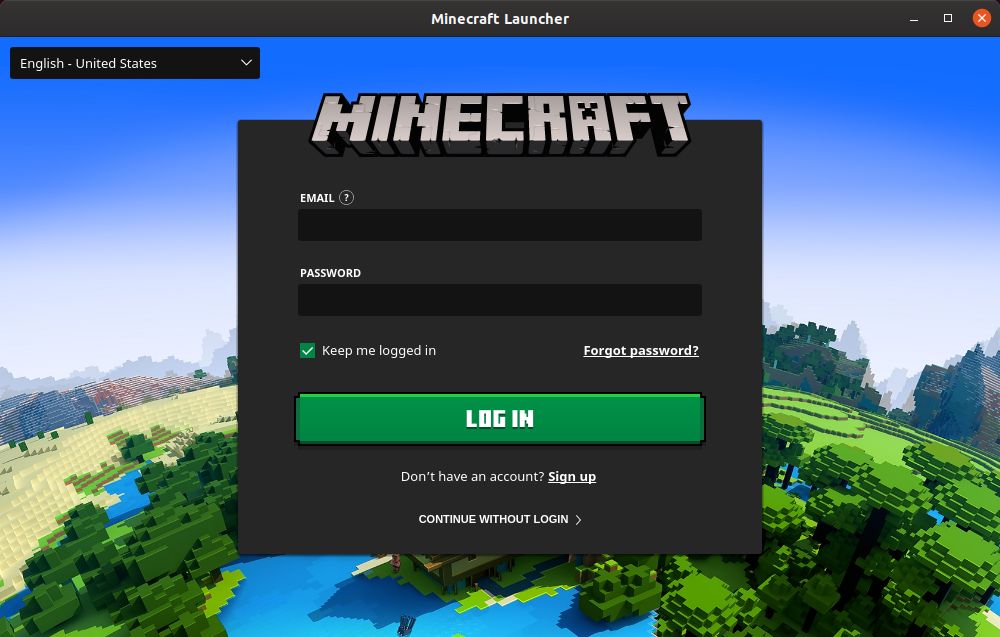
To launch Minecraft on Ubuntu and its derivatives, simply search for the Minecraft Launcher and run it. If everything goes right, the Minecraft Launcher should start right away, prompting you to enter your email address and password.
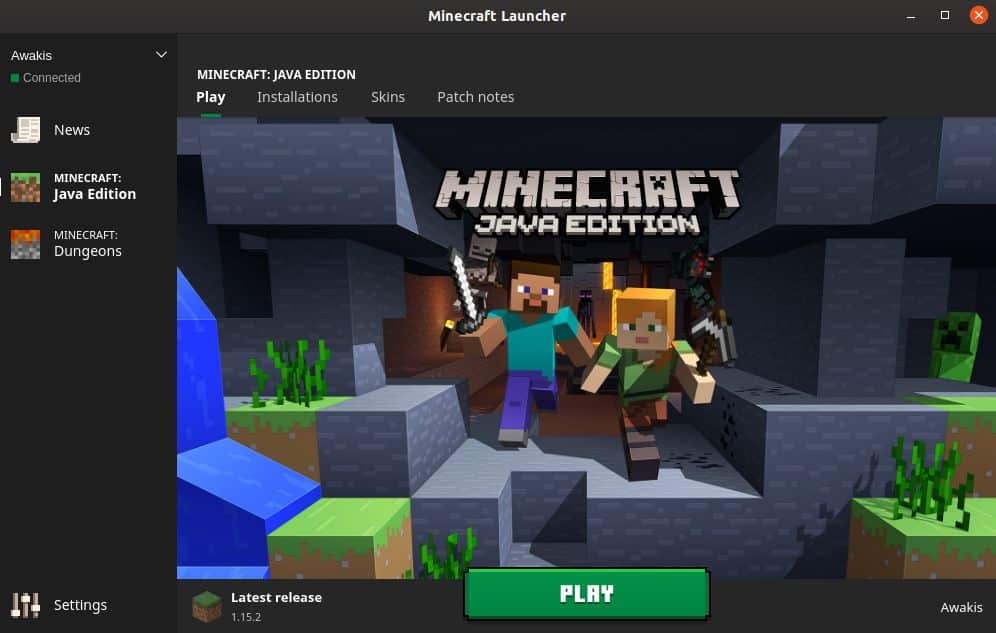
Once you’ve logged in, click the Play button and enjoy Minecraft—there’s really nothing more to it!
Install Minecraft on Other Distributions
Because Minecraft was programmed in Java, you can get it to run on just about any Linux distribution with the Java Runtime Environment installed and working 3D graphics drivers.
Step 1: Install Java Runtime
The Java Runtime Environment (JRE) provides all the necessary components to run Java applications. Most Linux distributions offer multiple options when it comes to executing Java programs:
- Headless JRE: This minimal version of the Java Runtime Environment is intended for running Java applications that don’t have a graphical user interface. As such, it can’t be used to run Minecraft on Linux.
- Full JRE: This version of the Java Runtime Environment depends on the headless version, and it includes everything you need to execute Java applications with a graphical user interface, including Minecraft.
- Java Development Kit (JDK): Intended for Java developers, the JDK includes a Java Virtual Machine (JVM) and other resources necessary to develop Java software applications.
The most popular open-source implementation of Java is called OpenJDK. There’s also Java SE, which is Oracle’s implementation of JRE and JDK. Starting from Minecraft 1.12, Java 8 is required to run Minecraft, but it doesn’t really matter if you choose OpenJDK or Java SE.
To check which version of Java is installed on your Linux distribution, enter the command “java -version” in the terminal.
Step 2: Install Graphics Drivers
To enjoy Minecraft on Linux, you need working 3D acceleration. You can test 3D acceleration using a popular OpenGL test called glxgears, which is part of the mesa-utils package.
First, install the mesa-utils package (it should be in your distribution’s repositories) and then enter “glxgears” in the terminal. A new window with three spinning gears will appear, and you’ll be able to see the number of rendered frames in the terminal. Because glxgears requires very little processing power, any decently powerful Linux computer with working 3D acceleration should be able to render hundreds of frames every second.
If the gears appear to be choppy, your 3D acceleration isn’t working, and you need to install the correct graphics driver for your graphics card.
Step 3: Install & Launch Minecraft
To launch Minecraft on a distribution that’s not based on Ubuntu, you need to download the Minecraft.tar.gz archive from the alternative download page.
Then, extract the archive and launch the executable file called minecraft-launcher using the following command:
If this seems like too much work, you can also install the Minecraft snap package on any Linux distribution that ships with Snap preinstalled (any recent Ubuntu release, most recognized Ubuntu flavors, Solus 3, and Zorin OS):
How to Uninstall Minecraft on Linux
Minecraft creates a hidden folder (.minecraft) in the home directory. The folder is used to store information about your Minecraft profile and progress in the game. To delete it:
- Open the terminal.
- Enter the following command: rm -vr ~/.minecraft/*
Conclusion
Even though the length of this article may make the installation of Minecraft feel somewhat intimidating, we can assure you that there’s nothing difficult about it at all, especially if you’re using Ubuntu or some distribution based on it.
If you have Minecraft installed and what to go to the next steps check out these tutorials:


