Installing Node.js using Package Manager:
Node.js is available in the official package repository of CentOS 8. So, you can easily install it on CentOS 8 using DNF or YUM package manager.
First, update the CentOS 8 package repository cache with the following command:
The CentOS 8 package repository cache should be updated.
Now, to install Node.js and NPM package manager on CentOS 8 from the official package repository of CentOS 8, run the following command:
Now, to confirm the installation, press Y and then press <Enter>.
Node.js and NPM should be installed.
Once Node.js and NPM is installed, check whether Node.js is working correctly as follows:
As you can see, Node.js v10.16.3 is installed.
Also, check whether NPM is working correctly as follows:
As you can see, NPM v6.9.0 is installed.
The same way, check whether NPX is working as follows:
As you can see, NPX v6.9.0 is installed.
Installing Node.js Manually from the Official Website of Node.js:
The version of Node.js and NPM in the official package repository of CentOS 8 is old.
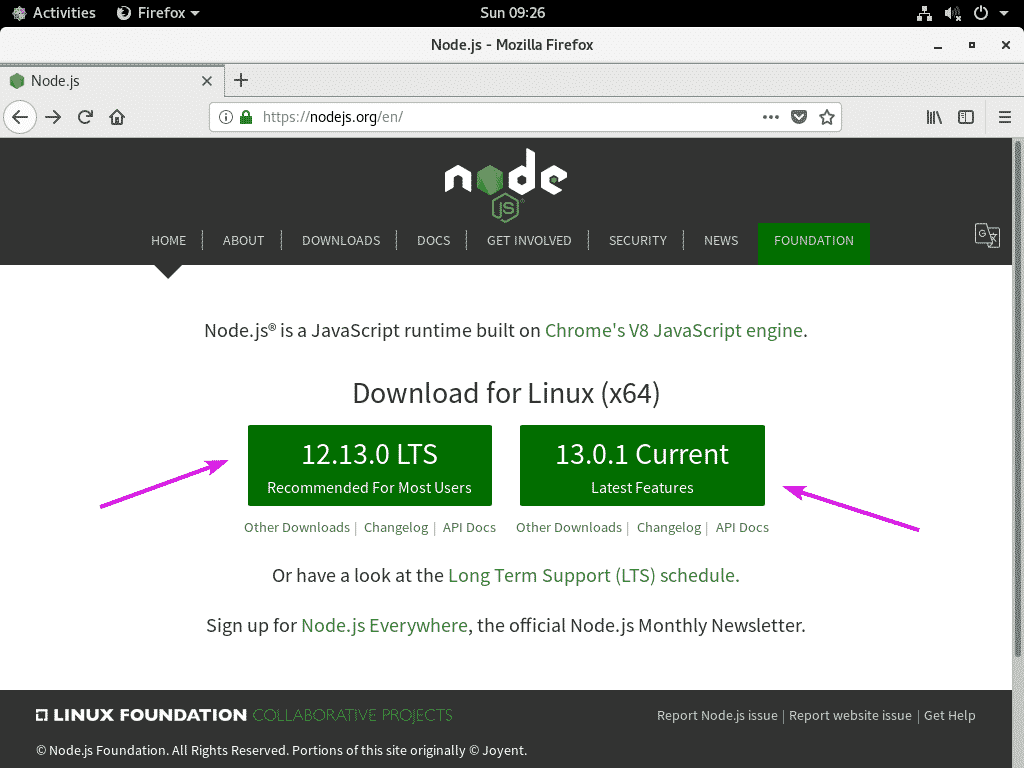
At the time of this writing, the latest LTS version of Node.js is v12.13.0 and the latest version of Node.js is v13.0.1.
If you want to install the latest LTS version of Node.js or the latest version of Node.js on CentOS 8, you will have to download Node.js from the official website of Node.js and manually install it on CentOS 8.
First, visit the official website of Node.js. Once the page loads, click on the LTS version button if you want to install the latest LTS version of Node.js. Otherwise, click on the Current version button if you want to try out the latest version of Node.js.
Your browser should prompt you to save the file. Select, Save File and click on OK.
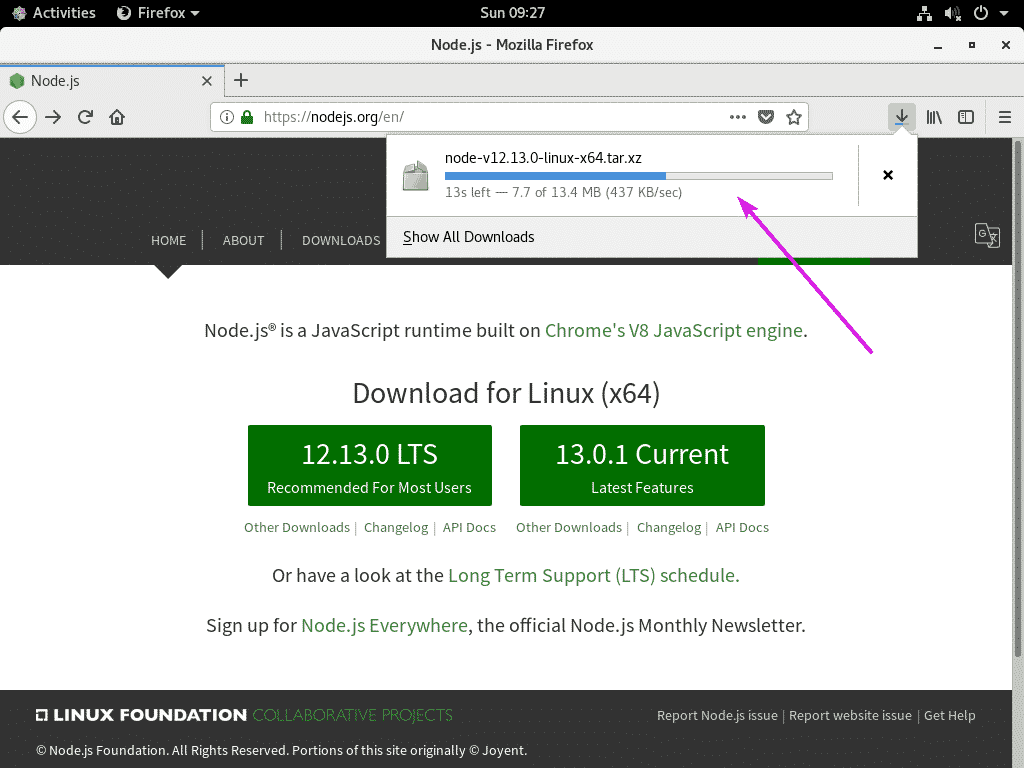
Your browser should start downloading the Node.js archive. It may take a while to complete.
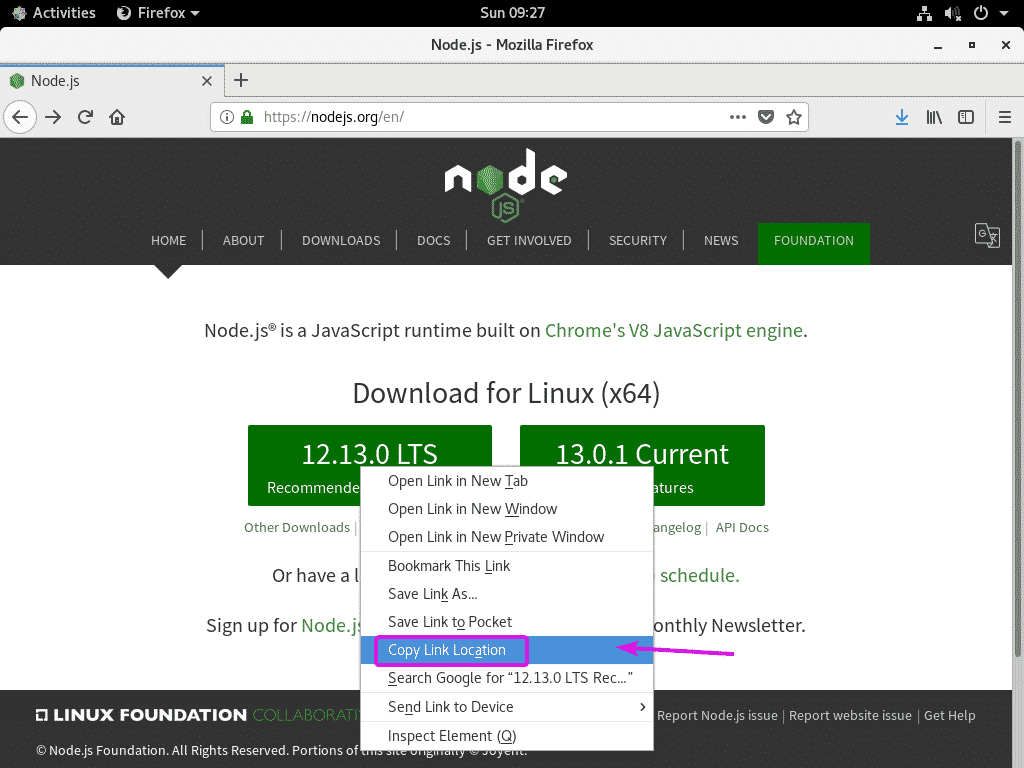
If you’re using a headless version of CentOS 8, then visit the official website of Node.js from any browser. Once the page loads, right click (right mouse click) on the download button and copy the download link.
Now, SSH into your CentOS 8 machine and use wget to download the Node.js archive file using the link that you’ve copied earlier as follows:
Once Node.js archive file is downloaded, navigate to the directory where the archive file is downloaded (usually ~/Downloads) as follows:
The Node.js archive file should be there.
Now, you have to extract the Node.js archive file. I will extract it in the /opt directory. If you want, you can extract it to some other directory. Just replace /opt with the directory path where you want to extract the Node.js archive file.
To extract the Node.js archive file in the /opt directory, run the following command:
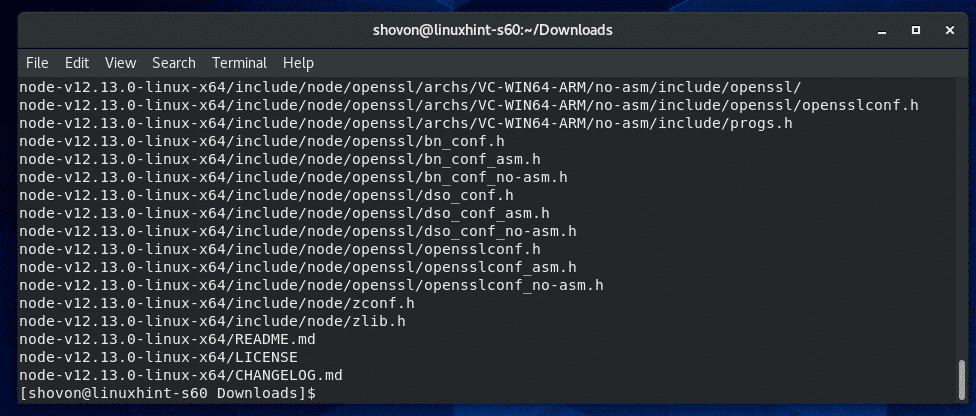
Node.js archive file should be extracted in the /opt directory.
Once the Node.js archive file is extracted, a new directory (node-v12.13.0-linux-x64 in my case) should be created in the directory where you extracted it.
Now, you have to add the path of Node.js to the PATH environment variable in order to access Node.js, NPM and NPX binaries easily.
You can create a shell script in the /etc/profile.d/ directory which will automatically update the PATH environment variable every time your CentOS 8 machine boots.
To create a new shell script /etc/profile.d/node-v12.sh, run the following command:
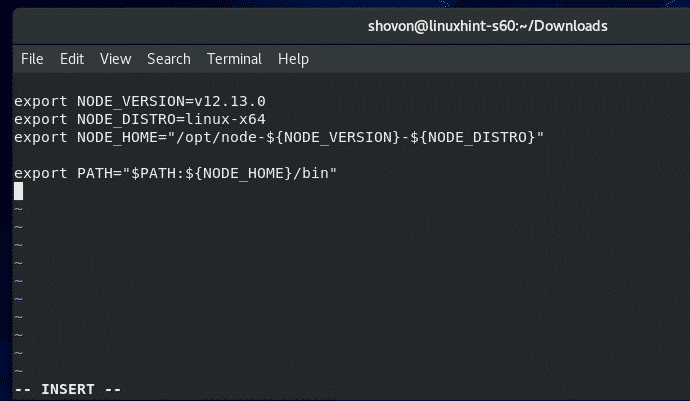
Now, press I to switch to the Vi INSERT mode and type in the following lines of codes in the node-v12.sh file.
export NODE_DISTRO=linux-x64
export NODE_HOME="/opt/node-${NODE_VERSION}-${NODE_DISTRO}"
export PATH="$PATH:${NODE_HOME}/bin"
NOTE: By the time you read this article, new versions of Node.js may be released. So, make sure to change NODE_VERSION from v12.13.0 to the version of Node.js you’re trying to install.
If you’re extracting the Node.js archive file to some other directory than /opt, then change /opt to the directory you’re extracting the Node.js archive file.
The final shell script file should look as follows.
To save the file node-v12.sh, press <Esc> to switch to Vi COMMAND mode, type in :wq! and then press <Enter>.
Now, reboot your CentOS 8 machine with the following command:
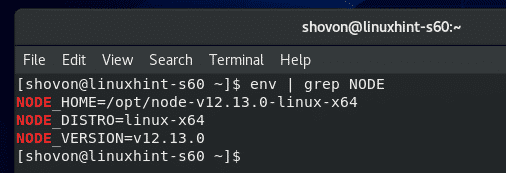
Once your CentOS 8 machine boots, verify whether the shell script set all the Node.js environment variables correctly with the following command:
As you can see, the Node.js environment variables are correctly set.
Now, check whether the PATH environment variable is updated correctly with the following command:
As you can see, the Node.js binary path is in the PATH environment variable. Great!
Now, check whether Node.js is working correctly with the following command:
As you can see, the version of Node.js installed is v12.13.0. So, it’s working
Also, check whether NPM is working correctly with the following command:
As you can see, the version of NPM installed is 6.12.0. It’s working as well.
Lastly, check whether NPX is working correctly with the following command:
As you can see, the version of NPX installed is 6.12.0. It’s also working.
So, that’s how you install Node.js on CentOS 8. Thanks for reading this article.


