VMware Workstation Pro 15 came out a few months ago. You can easily install VMware Workstation Pro 15 on Ubuntu. In this article, I will show you how to install VMware Workstation Pro 15 on Ubuntu. I will be using Ubuntu 18.04 LTS for the demonstration. But it should work on any modern version of Ubuntu. So, let’s get started.
Downloading VMware Workstation Pro 15:
In this section, I will show you how to download VMware Workstation Pro 15 on Ubuntu.
First, go to the official website of VMware Workstation Pro at https://www.vmware.com/in/products/workstation-pro.html and you should see the following page. Now, click on Download Now >> as marked in the screenshot below.
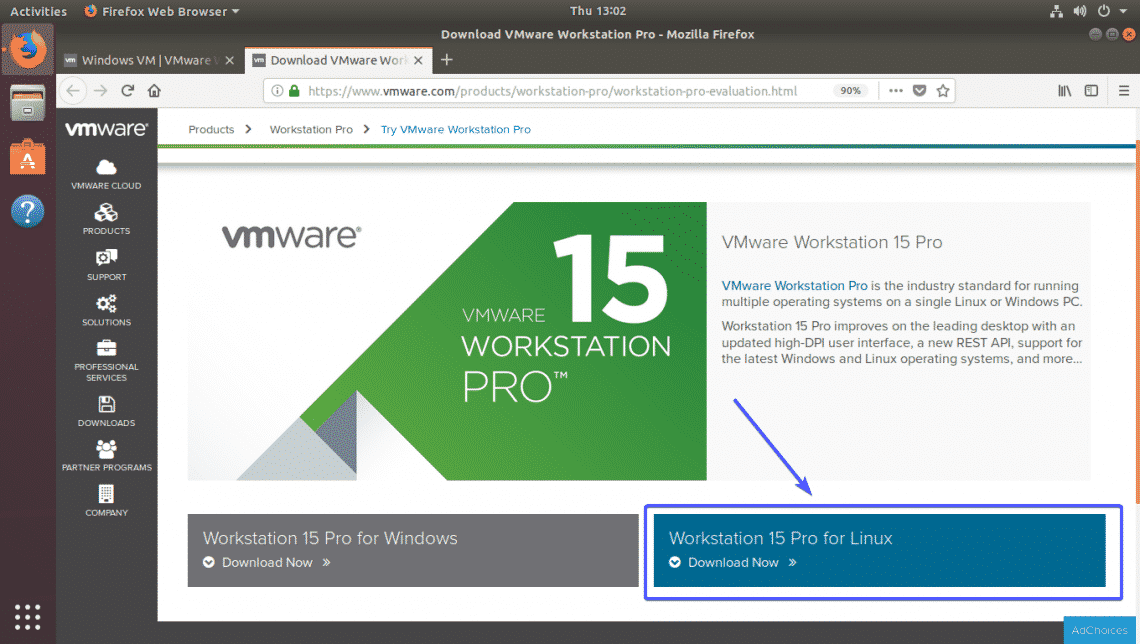
Now, you should see the following page. Click on the Download Now >> button of Workstation 15 Pro for Linux as marked in the screenshot below.
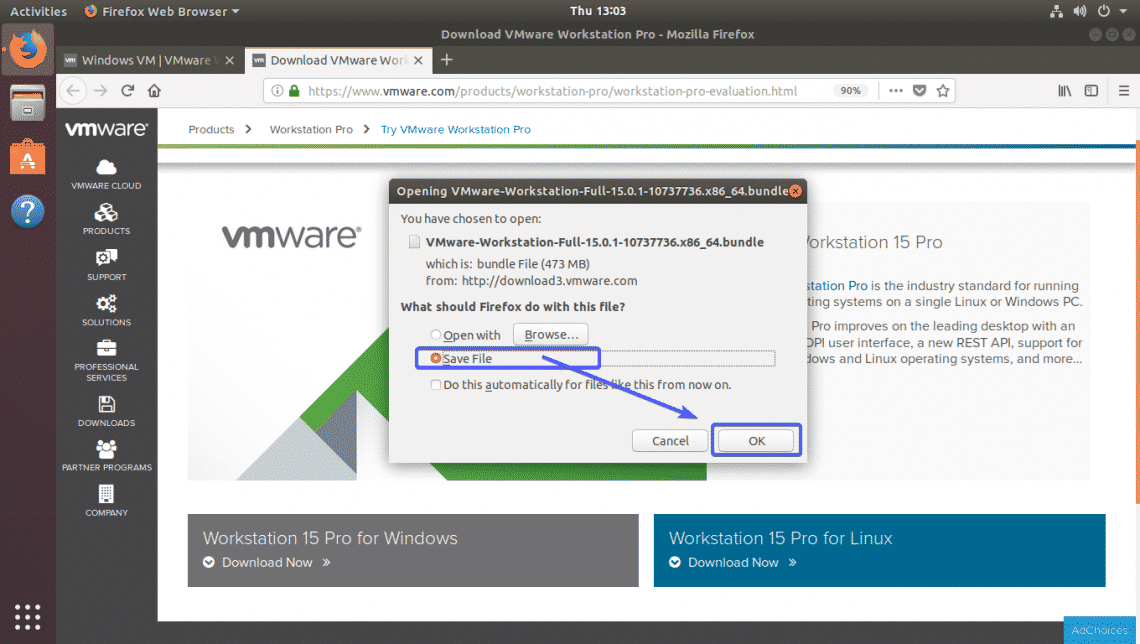
Your browser should prompt you to save the file. Just select Save File and click on OK.
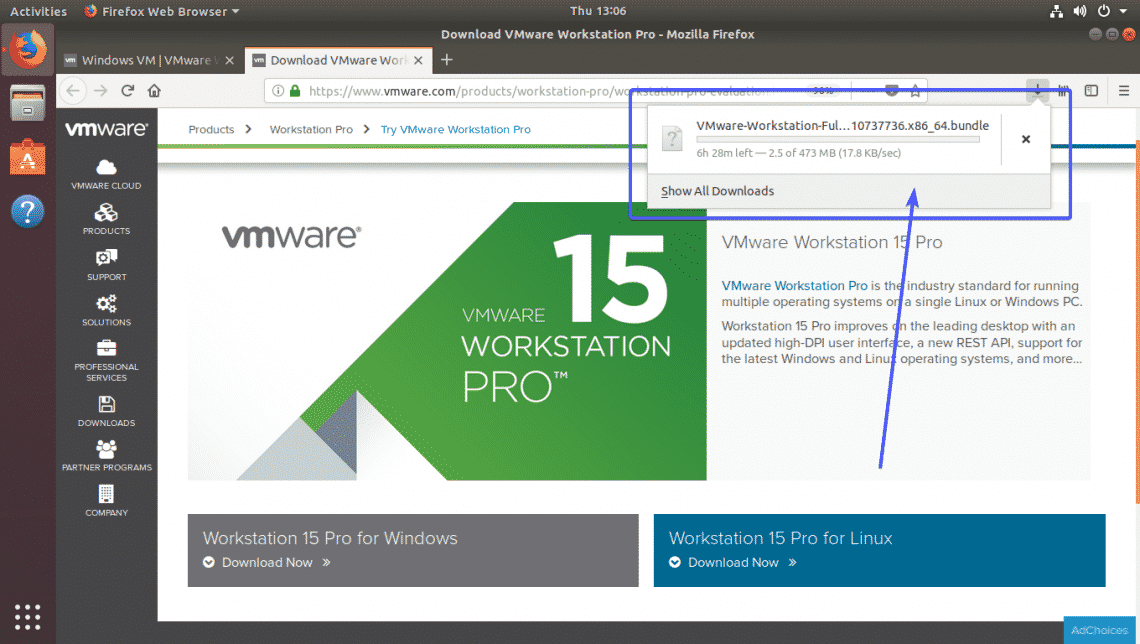
Your download should start.
Enabling Hardware Virtualization:
Before you start installing VMware Workstation Pro on Ubuntu. I suggest you enable AMD-v if you’re using AMD processor or VT-x/VT-d if you’re Intel processor from the BIOS of your computer. Otherwise, VMware Workstation Pro 15 may not work properly.
Installing VMware Workstation Pro 15:
Once the download is complete, open up a Terminal (shortcut <Ctrl> + t) and navigate to the ~/Downloads directory with the following command:
As you can see, the VMware Workstation Pro 15 installer that I just downloaded is here.
Now, make the installer executable with the following command:
Now, run the VMware Workstation Pro 15 installer with the following command:
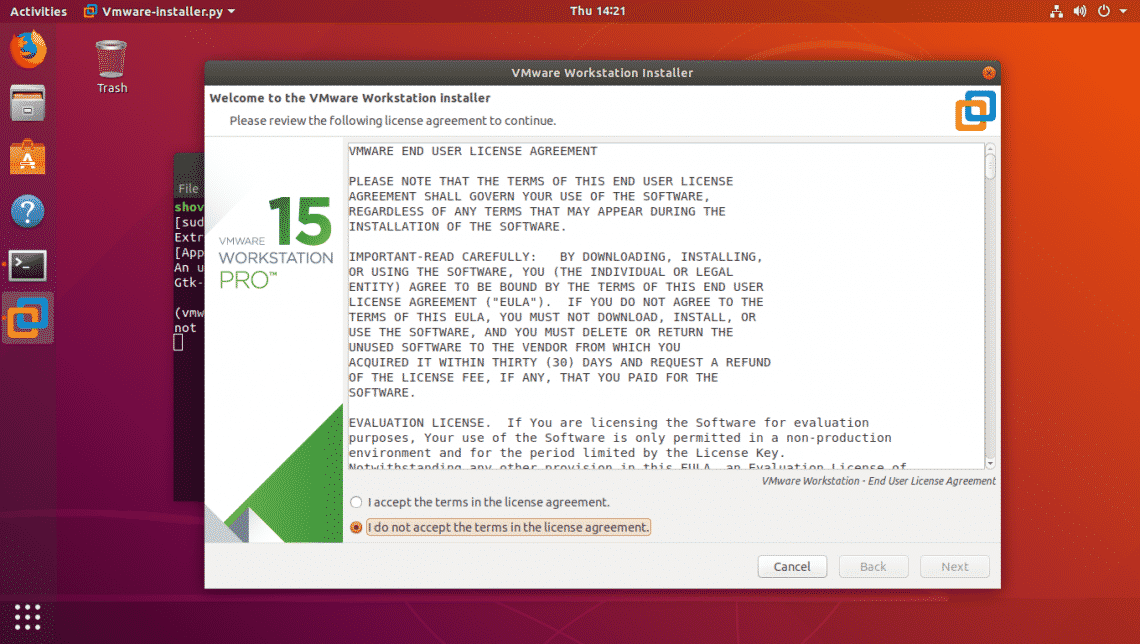
The VMware Workstation Pro 15 installer should start.
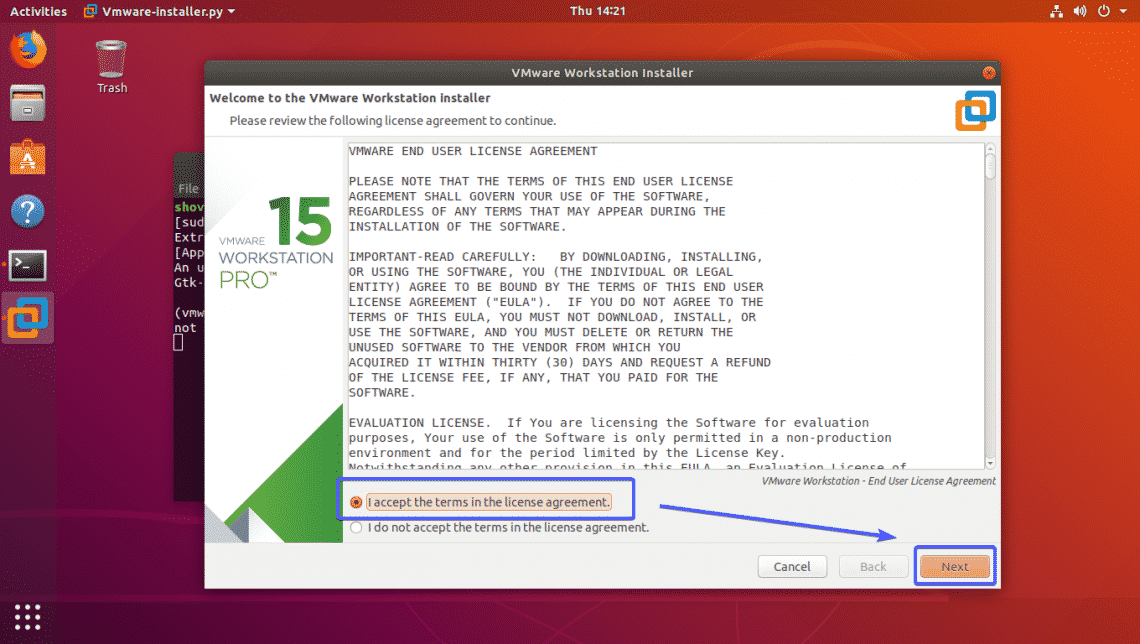
Select I accept the terms in the license agreement and then click on Next as marked in the screenshot below.
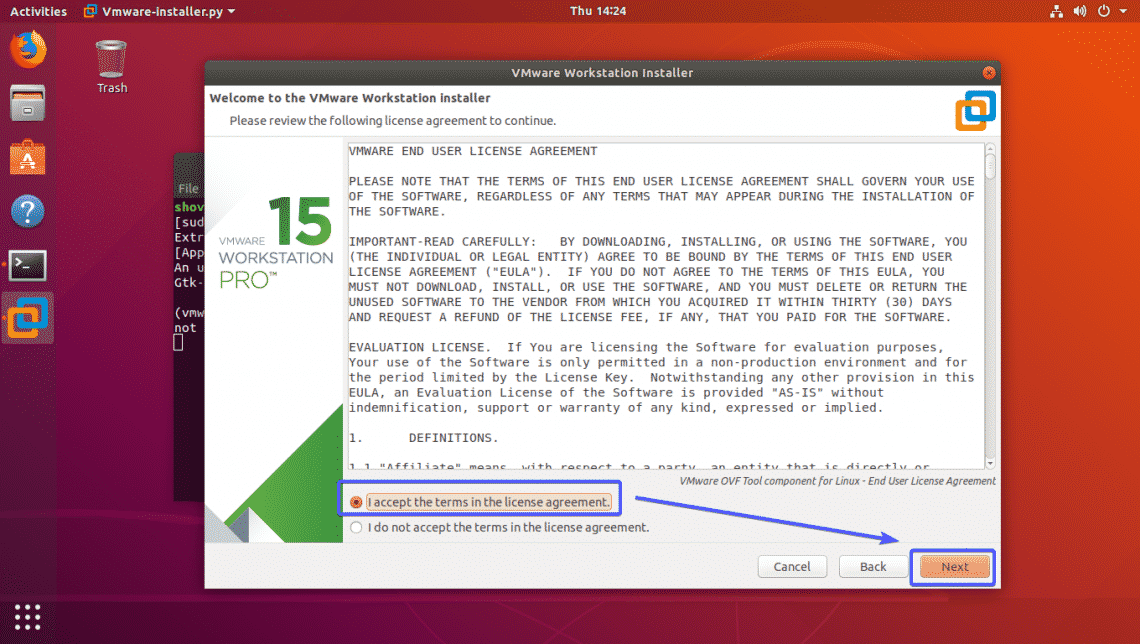
Select I accept the terms in the license agreement and then click on Next again.
If you want VMware Workstation Pro 15 to check for update every time it starts, then select Yes. Otherwise, select No. Then, click on Next.
If you want to join the VMware’s customer experience improvement program, then select Yes. Otherwise, select No. VMware’s customer experience program will automatically collect data necessary to improve VMware products.
Once you’re done, click on Next.
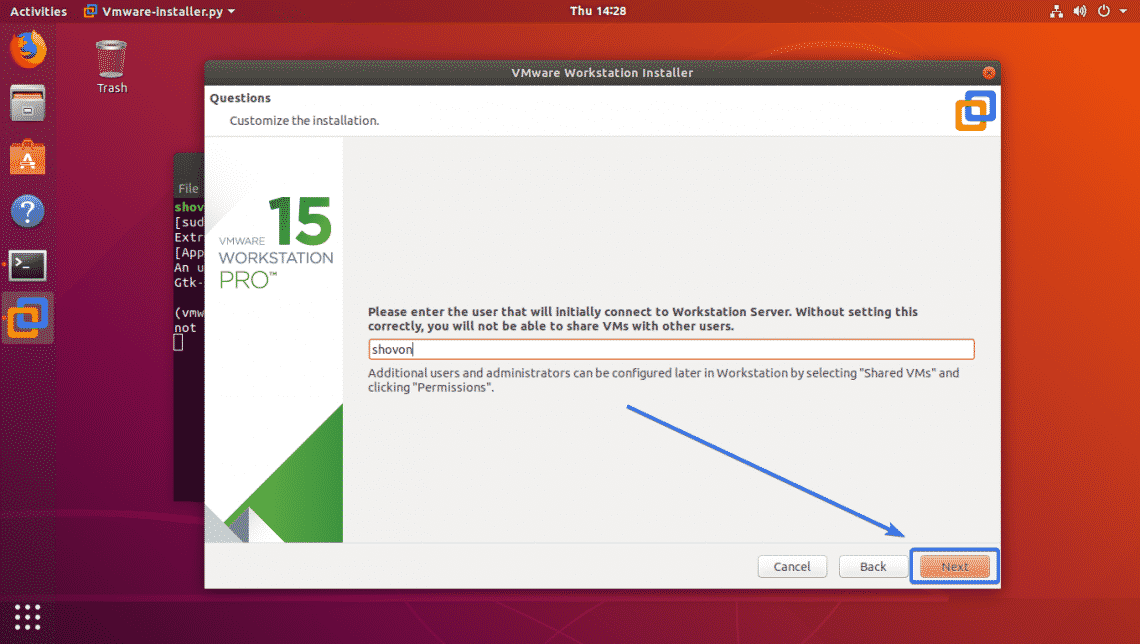
Click on Next.
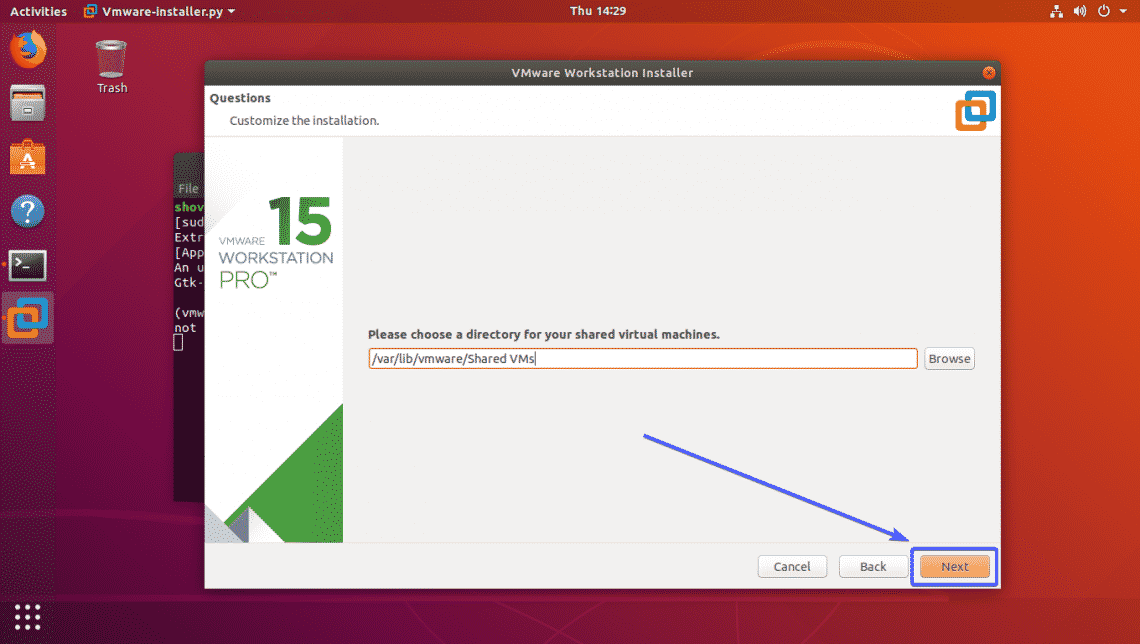
If you want to change the directory for Shared Virtual Machines, just click on Browse and select a new directory. The default directory for Shared Virtual Machines is /var/lib/vmware/Shared VMs
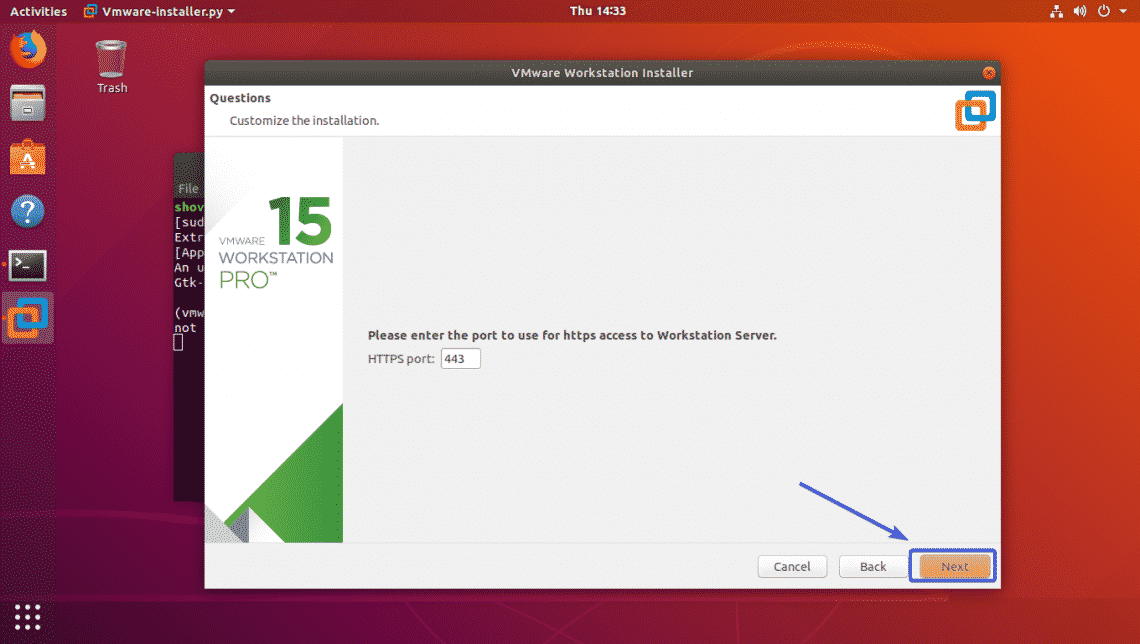
Once you’re done, click on Next.
Now, click on Next.
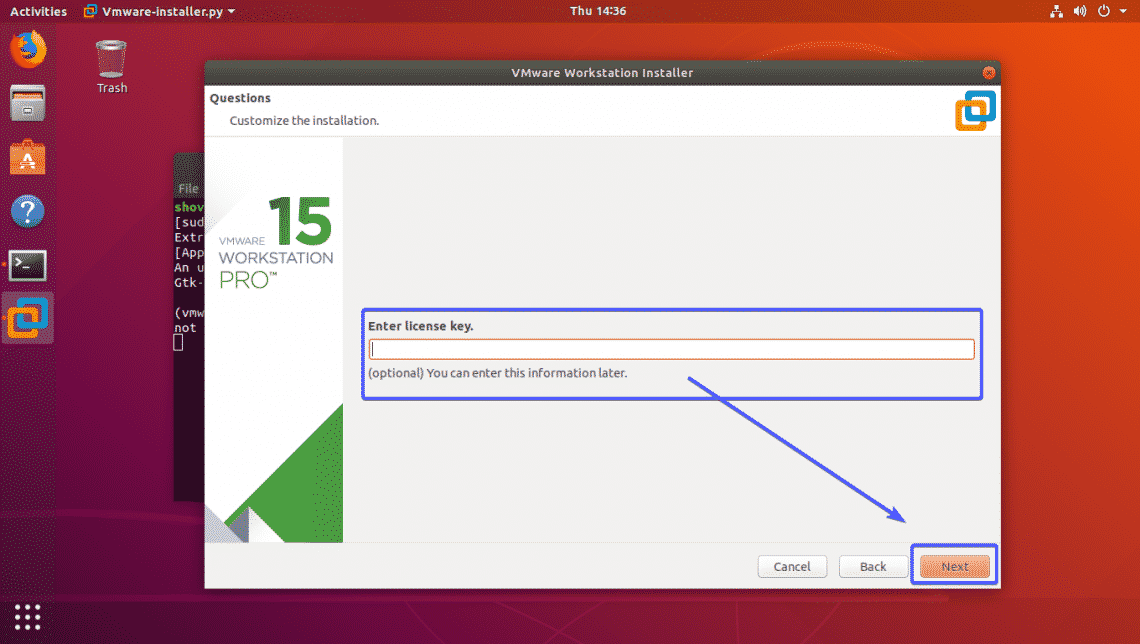
If you’ve bought VMware Workstation Pro 15, then type in the license key here.
If you’re just trying out VMware Workstation Pro 15, then just leave it blank.
Once you’re done, click on Next.
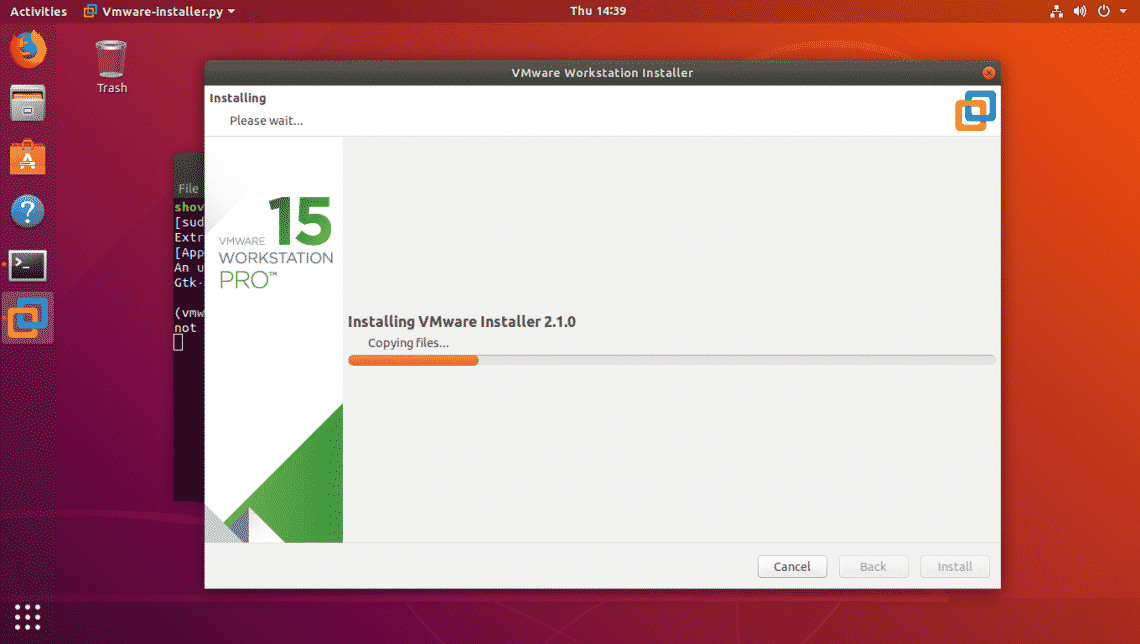
Finally, click on Install.
VMware Workstation Pro 15 is being installed.
Once the installation is complete, click on Close.
Starting VMware Workstation Pro 15:
Now you can start VMware Workstation Pro 15 from the Application Menu of Ubuntu. Just search for vmware and click on the VMware Workstation Pro 15 icon as marked in the screenshot below.
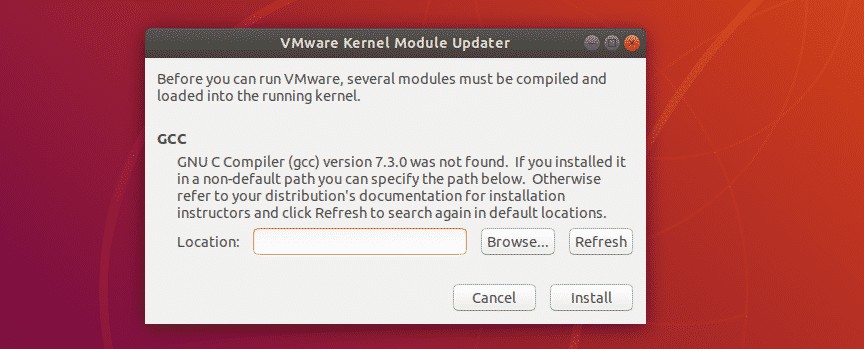
If you see the following window when you start VMware Workstation Pro 15, then it means you don’t have the GCC compilers installed on your system. VMware Workstation Pro 15 needs GCC in order to compile the VMware Kernel Modules. It is easy to fix.
You can easily install GCC on Ubuntu as it is available in the official package repository of Ubuntu. First, update the APT package repository cache with the following command:
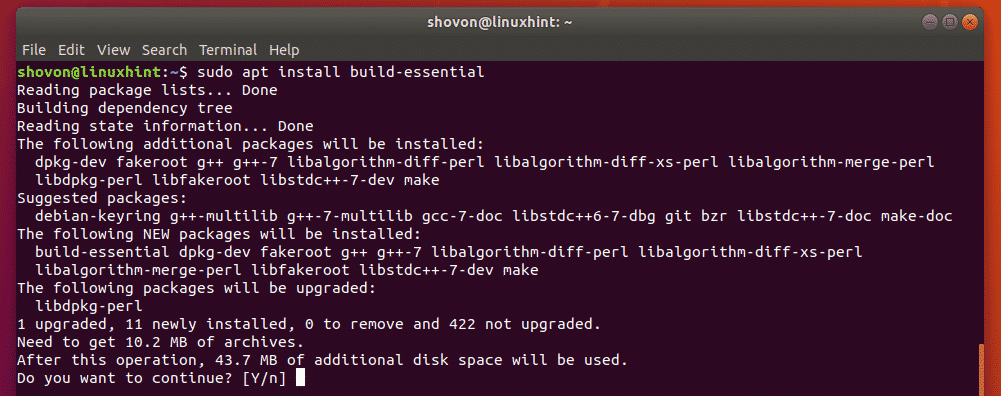
Now, install GCC and all the required tools with the following command:
Now, press y and then press <Enter> to continue.
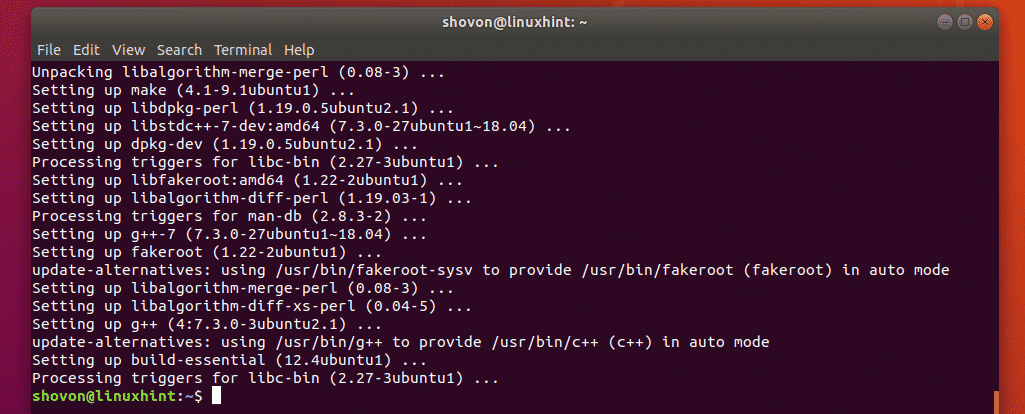
GCC and all the required build tools should be installed.
Now, if you try to start VMware Workstation Pro 15, you may see the following window. Just click on Install.
Now, type in the password of your login user and click on OK.
As you can see, the VMware Kernel Modules are being built.
Now, you should see the welcome product registration screen of VMware Workstation Pro 15. If you have a valid license key, then type it in and click on OK.
If you just want to try out VMware Workstation Pro 15, then select I want to try VMware Workstation 15 for 30 days and click on OK.
VMware Workstation Pro 15 should start. Click on OK as marked in the screenshot below.
Now, you can start creating Virtual Machines with VMware Workstation Pro 15.
The About window of VMware Workstation Pro 15.
So, that’s how you install VMware Workstation Pro 15 on Ubuntu. Thanks for reading this article.


