This write-up will provide the complete procedure to set up a community server on Discord.
How to Set Up a Community Server on Discord?
To set up a community server on Discord from the list of existing servers, try out the below provided instructions.
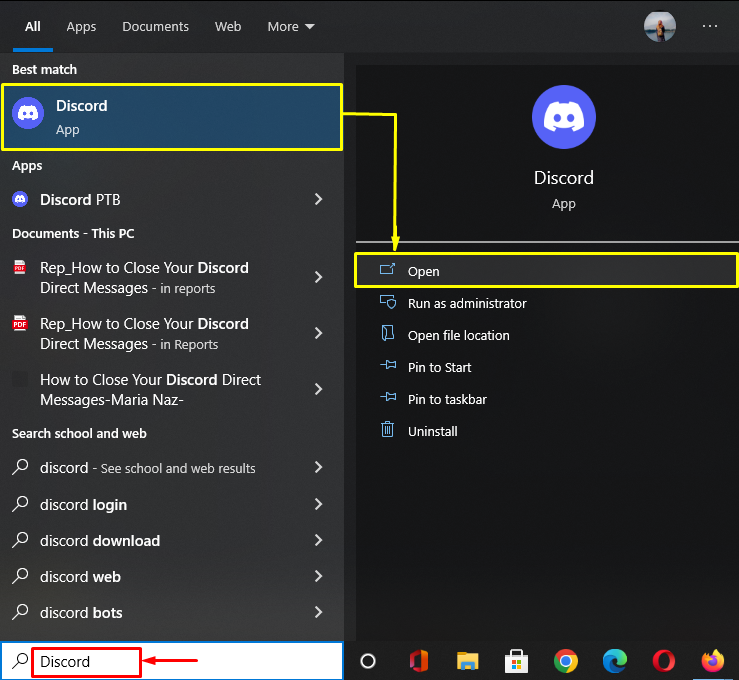
Step 1: Launch Discord App
Search the Discord app through the Startup menu, and launch it:
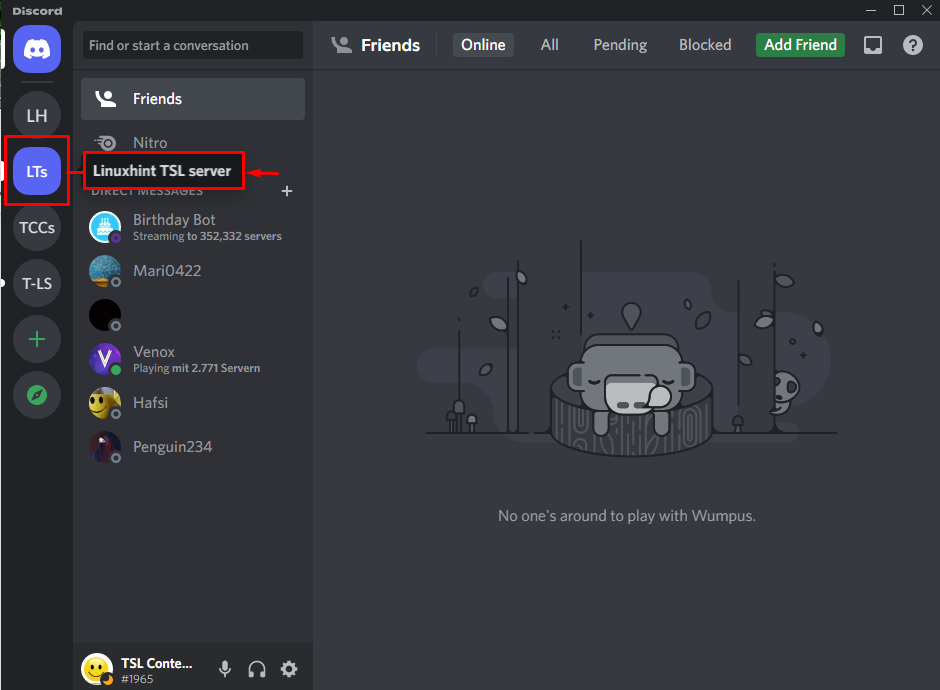
Step 2: Choose Existing Discord Server
Next, select the Discord server from the existing list and click on it. Here, we have chosen the “Linuxhint TSL server”:
Step 3: Access Discord Server Settings
Now, hit the below-highlighted icon to access the Discord server settings:
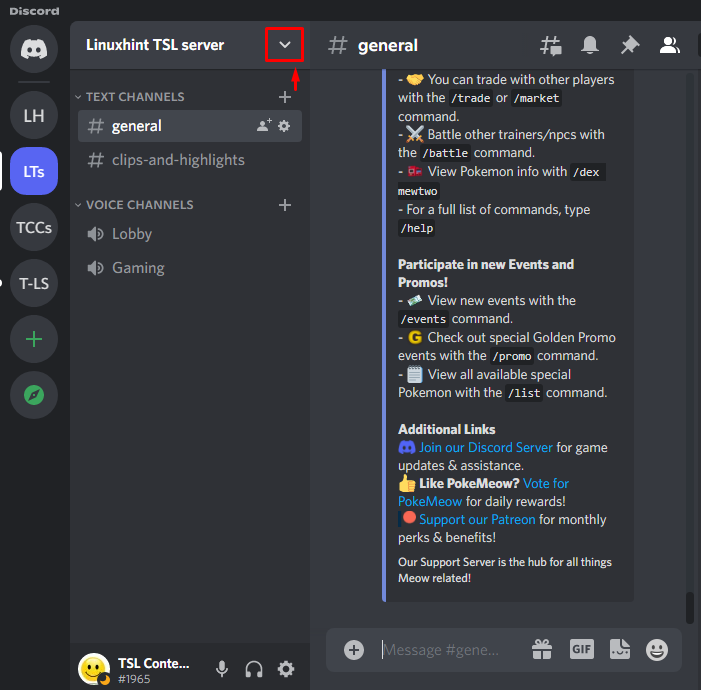
Step 4: Open Server Settings
Hit the “Server Settings” option from the appeared menu:
:

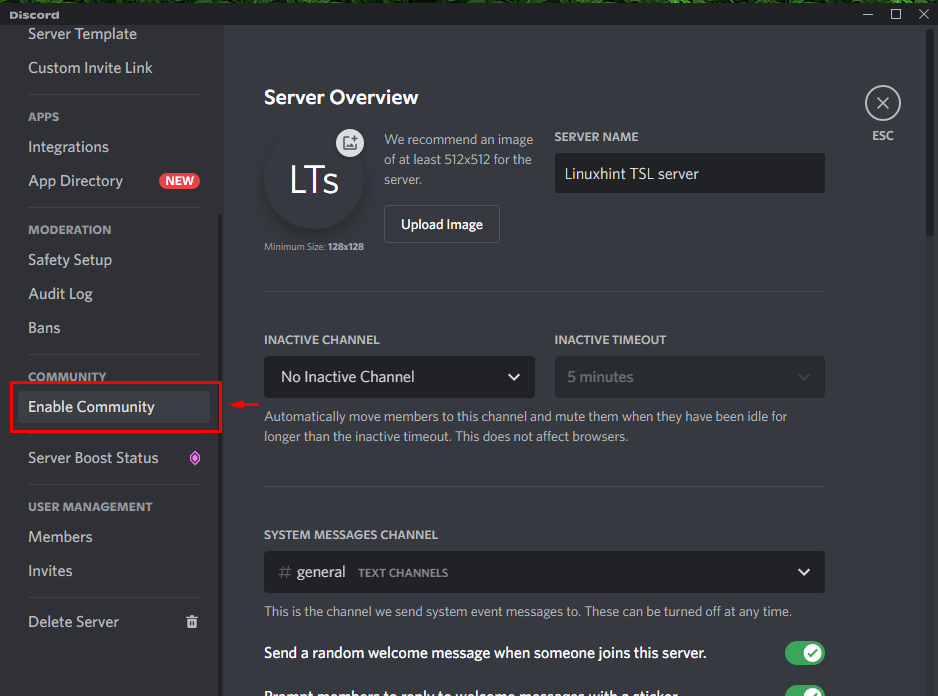
Step 5: Select “Enable Community” Option
After that, click on the “Enable Community” option underneath the “COMMUNITY” category:
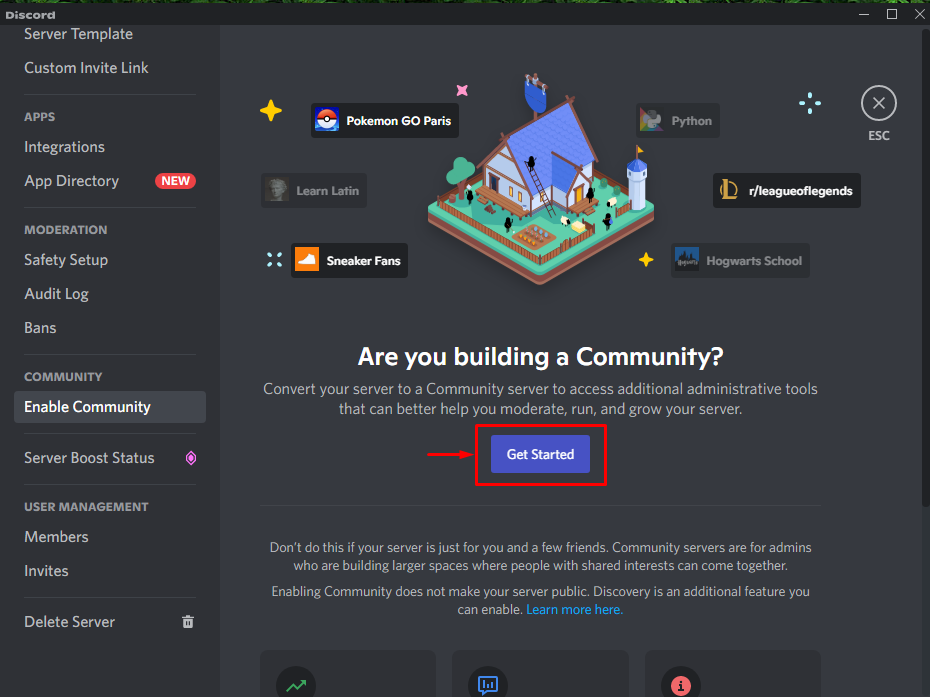
Step 6: Set up Community Server
To set up an existing Discord server as a community server, click on the “Get Started” button:
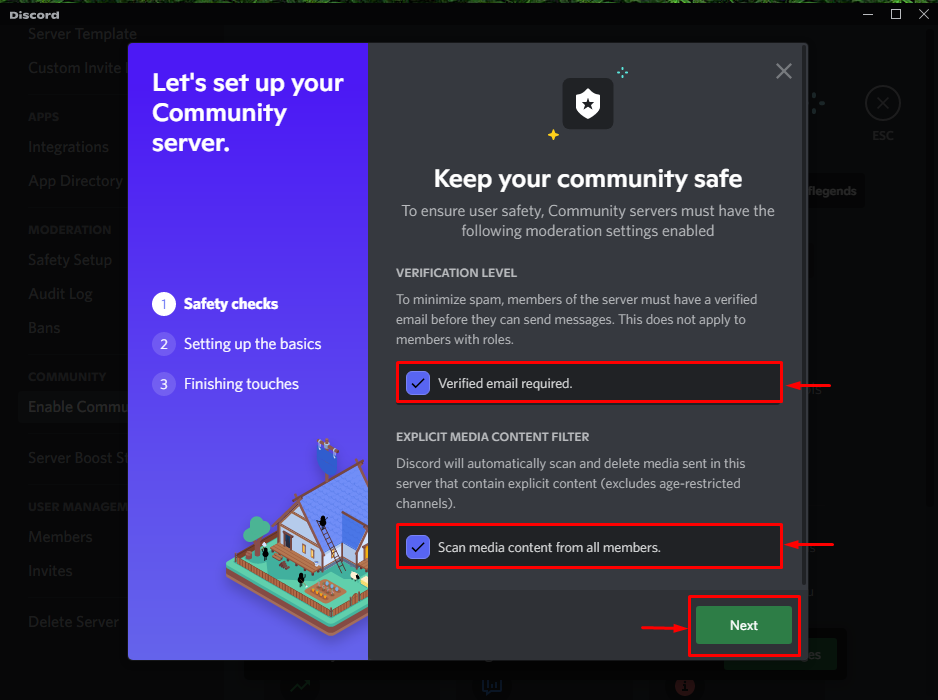
Step 7: Follow the Wizard
Next, mark the checkboxes according to your choice after reading their description from the wizard and press the “Next” button:
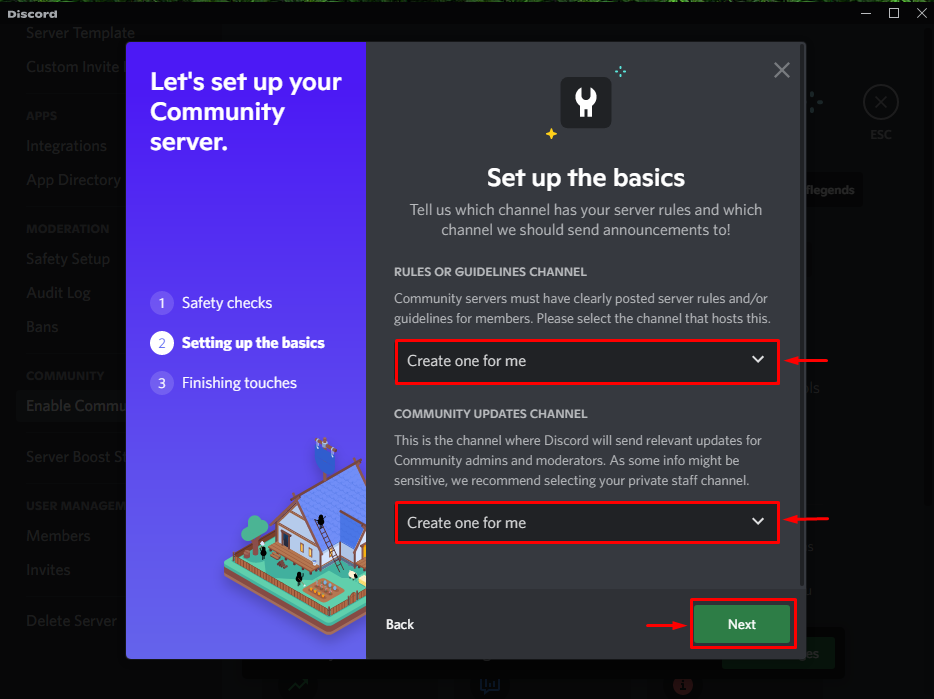
Step 8: Set up Rules and Guidelines
Then, set up the rules and guidelines and select the suitable options from the available list, and click on the “Next” button:
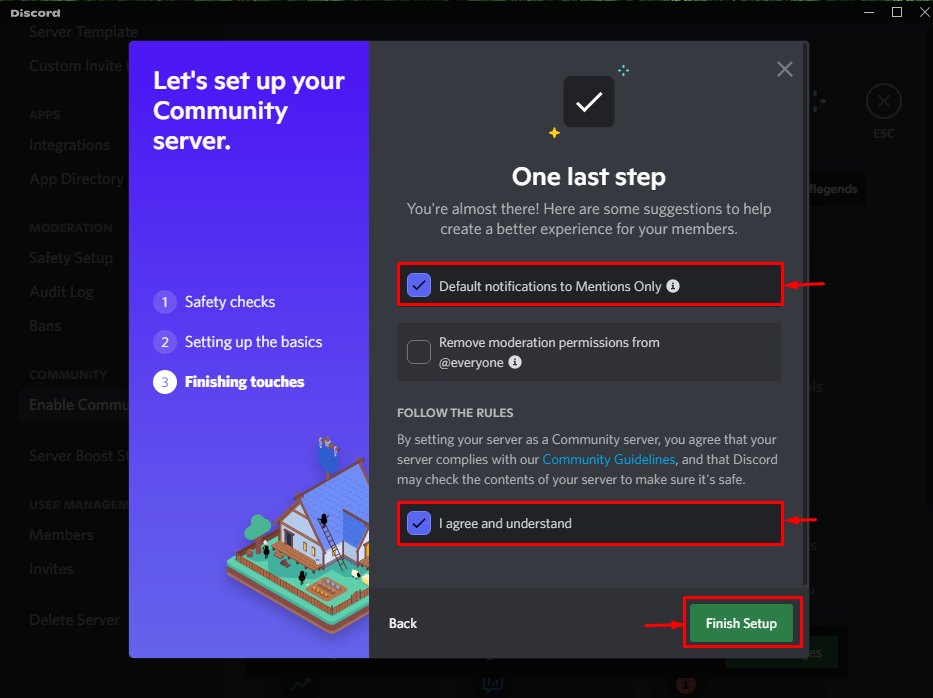
Step 9: Finish Setup
Finally, mark the highlighted checkboxes and hit the “Finish Setup” button to complete the setup:
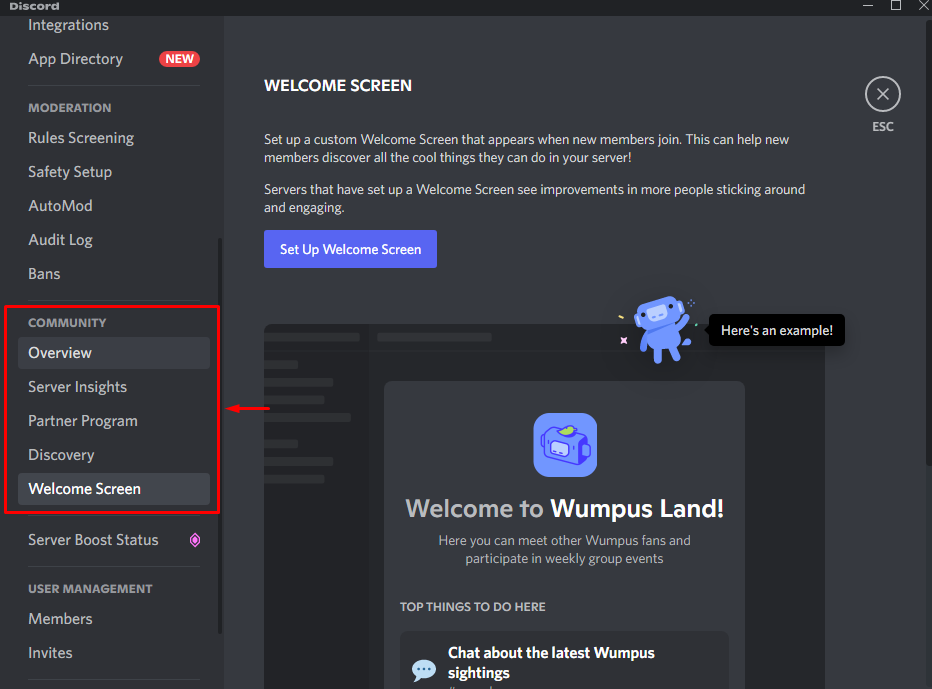
Upon doing so, you will get the new category inside the server settings tab, which indicates that our particular Discord server is set up as a community server successfully:
We have compiled the easiest way to set up a community server on Discord.
Conclusion
To set up a community server on Discord, first, open the Discord app, select the server from the available list and go to its settings. Then, select the “Enable Community” option, start the procedure, follow the required steps on the wizard and finish this process. This write-up illustrated the procedure for setting up a server as a community on Discord.