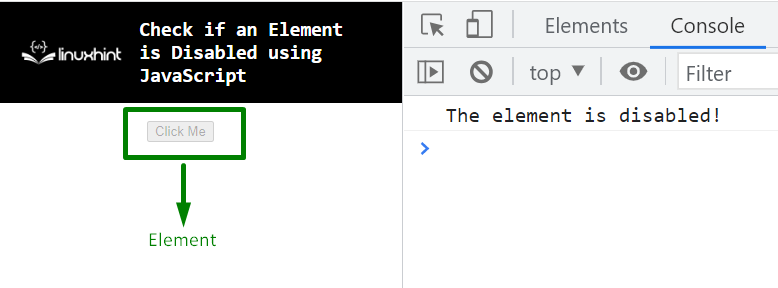
This blog will illustrate the concepts to check if an element is disabled using JavaScript.
How to Check if an Element is Disabled in JavaScript?
To check if an element is disabled in JavaScript, apply the following approaches:
- “disabled” property.
- “getAttribute()” method.
- “jQuery”.
Let’s discuss the stated approaches one by one!
Approach 1: Check if an Element is Disabled in JavaScript Using disabled Property
The “disabled” property disables the associated element. This property can be utilized alongside a condition to apply a check upon the fetched element for the stated requirement and execute the corresponding condition.
Example
Let’s go through the following example:
<input disabled type= "text" id= "isdis" placeholder="Enter text..." >
</body></center>
<script type="text/javascript">
let get= document.getElementById('isdis');
if (get.disabled) {
console.log('The element is disabled!');
}
else {
console.log('The element is not disabled!');
}
</script>
In the above code snippet:
- Specify an “input” text field having the attributes disabled, id and placeholder, respectively.
- In the JS code, access the included element via its “id” using the “getElementById()” method.
- After that, associate the “disabled” property with the fetched element to apply a condition for the stated requirement.
- Upon the satisfied condition, the former condition will execute.
- In the other scenario, the message against the “else” condition will be displayed.
Output
In the above output, it can be observed that the input text field element is disabled, as evident in the Document Object Model(DOM) and console, respectively.
Approach 2: Check if an Element is Disabled in JavaScript Using getAttribute() Method
The “getAttribute()” method returns the value of an element’s attribute. This method can be applied to perform the stated requirement by locating the corresponding attribute in an element.
Syntax
In the above-given syntax:
- “name” corresponds to the attribute’s name.
Example
The following example illustrates the stated concept:
<button id="isdis" disabled = "true">Click Me</button>
</body></center>
<script type="text/javascript">
let get = document.getElementById('isdis');
if (get.getAttribute('disabled')) {
console.log("The element is disabled!");
}
else {
console.log("The element is not disabled!");
}
</script>
In the above lines of code:
- Firstly, include a “button” element having the attributes “id” and “disabled”, respectively. Here, assign the boolean value “true” to the disabled attribute.
- In the JavaScript code, access the included button element using the “getElementById()” method, as discussed.
- Now, apply the “getAttribute()” method to locate the attribute “disabled” within the fetched element in the previous step.
- Likewise, the corresponding conditions will execute upon the satisfied and unsatisfied requirements.
Output
As seen above, the button is disabled on the DOM, and so is the corresponding message on the console.
Approach 3: Check if an Element is Disabled in JavaScript Using jQuery
The “jQuery” approach can be implemented to access the included element directly and check for a particular attribute.
Example
Let’s overview the below-given example:
<script src="https://ajax.googleapis.com/ajax/libs/jquery/3.5.1/jquery.min.js"></script>
<body>
</body>
<script type="text/javascript">
if ($('#isdis').attr('disabled')) {
alert("The input field is disabled")
}
else{
alert("The input field is not disabled")
}
</script>
Follow the stated steps in the above lines of code:
- Firstly, include a text area element having the stated attributes.
- Also, include the “jQuery” library to utilize its functionalities.
- In the JS code, access the element in the first step by its “id” directly.
- After that, associate the “attr()” method with the fetched element such that the stated attribute in its parameter is located in the element.
- Lastly, the corresponding message will be displayed via the alert dialogue box.
Output
Upon verification, the corresponding element turned out to be disabled in the above output.
Conclusion
The “disabled” property, the “getAttribute()” method, or the “jQuery” approach can be utilized to check if an element is disabled using JavaScript. The disabled property can be implemented alongside the condition to apply a check upon the accessed element. The getAttribute() method performs the stated requirement by locating the corresponding attribute within an element. Whereas the jQuery approach accesses the element and likewise checks for a particular attribute in it. This tutorial explained how to check if an element is disabled in JavaScript.


