This blog will elaborate on the method to add a Discord reactive image. So, let’s start!
How to Add a Discord Reactive Image?
Some of the Discord users are possessive to reveal their identity or video during live streaming. Therefore, they use Discord reactive images to communicate with the audience.
To add a reactive image on Discord, follow the provided steps.
Step 1: Log in to Discord through Discord Reactive Website
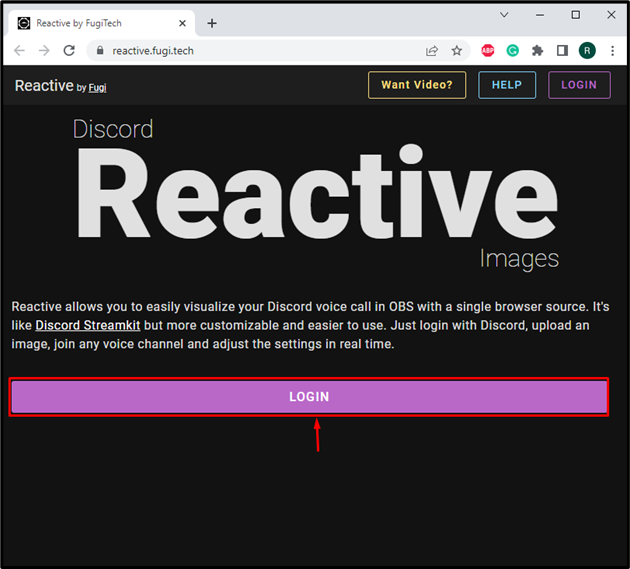
Open the Discord Reactive image website and click on the “LOGIN” button to log in to your Discord account:
Step 2: Authorize Reactive Image
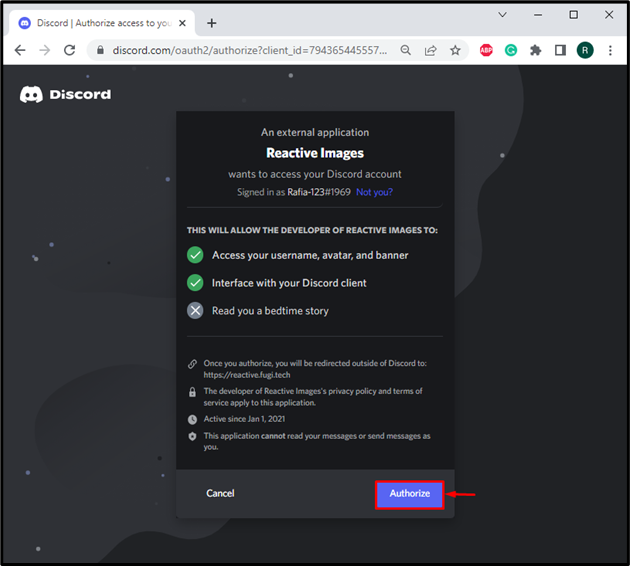
Click on the below highlighted “Authorize” button to allow the developer of the Reactive Images to access your Discord account according to the added options:
Step 3: Upload Image to Discord Reactive Image
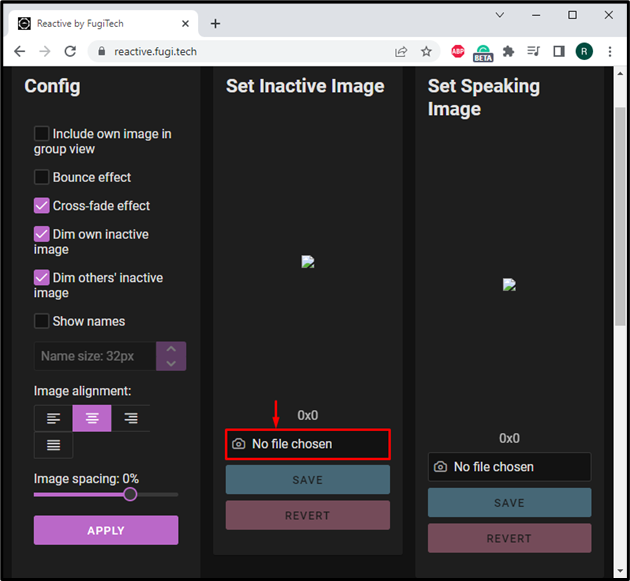
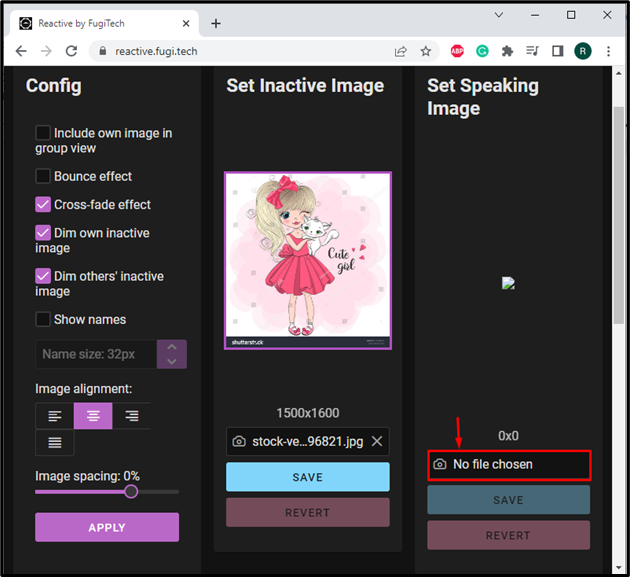
Now, upload the Inactive image by clicking on the “No file chosen” button. This inactive image will display on the screen when you do not talk or are on mute during the stream:
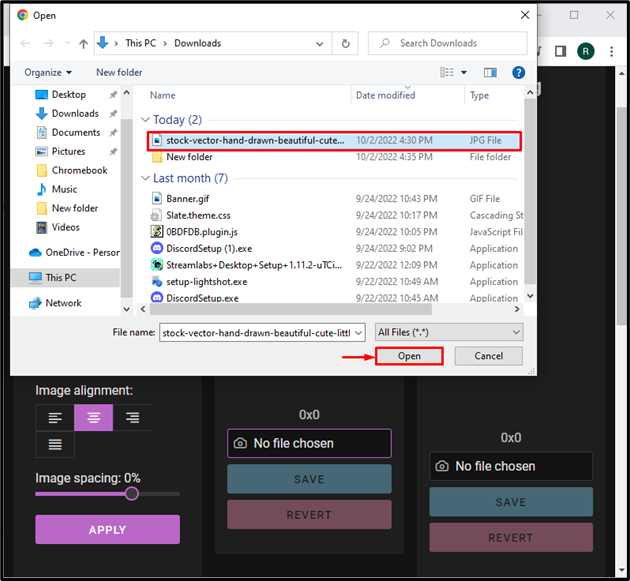
Select the image you want to set as an Inactive image and hit the “Open” button:
Now, select the “Speaking image” by clicking the “No file selected” option highlighted below. When you speak during the stream, this image will appear on the screen:
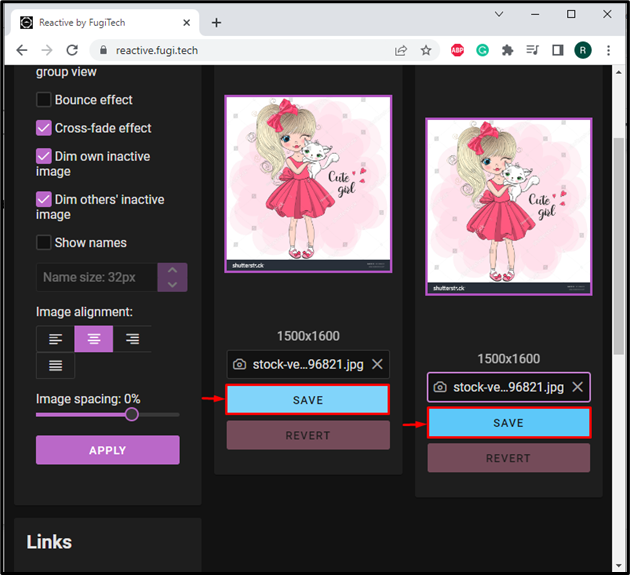
In our case, we have added the same image. Now, hit the “Save” button to save inactive and speaking images:
Step 4: Copy Discord Reactive Image URL
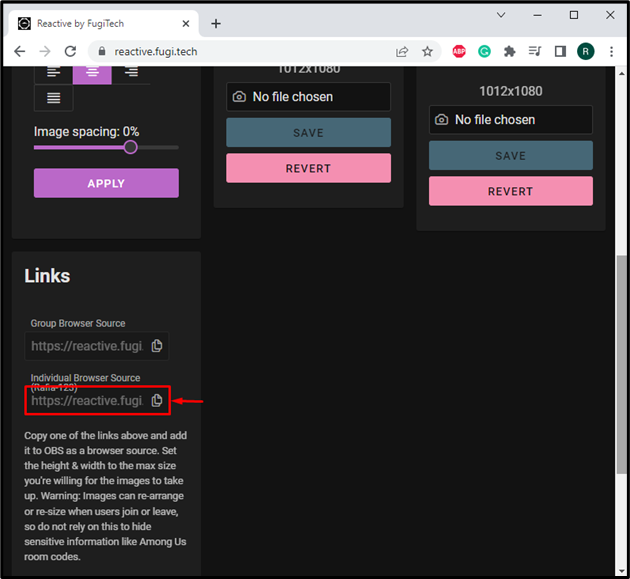
Scroll down to the “Links” menu, and copy the below-highlighted link to add it as a source in Streamlabs:
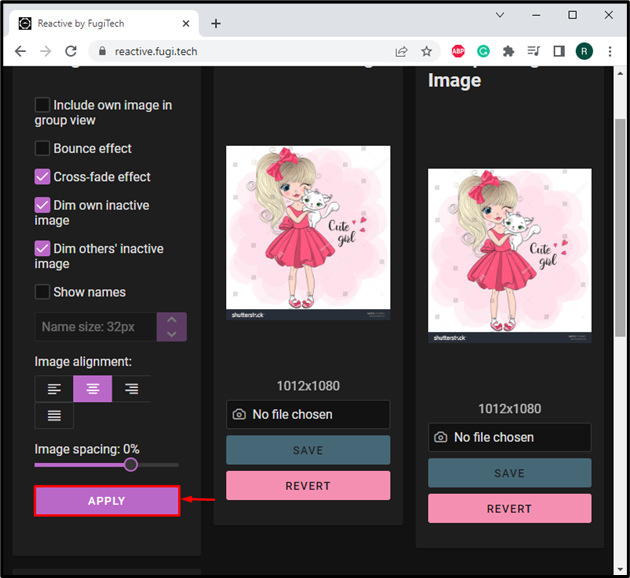
Next, add effects on the image according to your preferences and press the “Apply” button:
Step 5: Open Streamlabs Desktop Application
Open the Streamlabs application from the Start menu. If Streamlabs is not installed, you can install it through the attached link.
Step 6: Add Discord Reactive Image Browser as Source
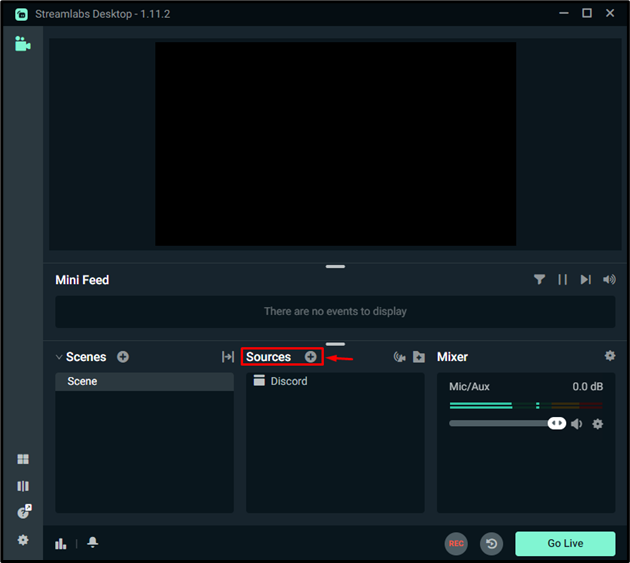
Click on the below highlighted “+” icon to add a new source in Streamlabs:
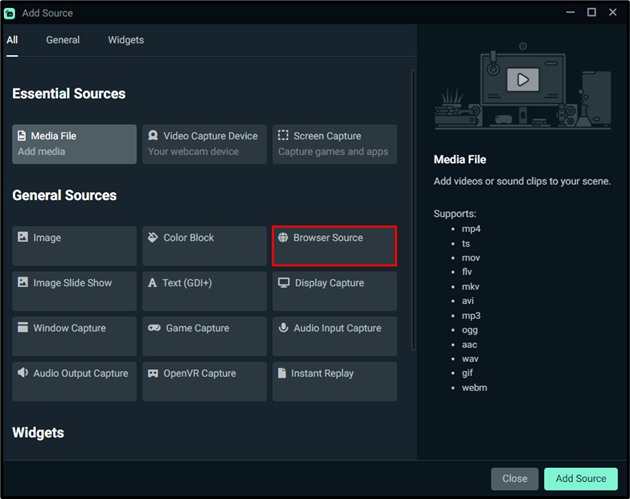
Next, click on the “Browser Source” option:
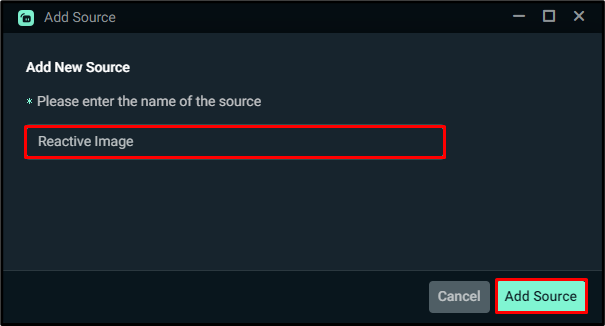
Name the Browser source as “Reactive Image” and hit the “Add Source” button:
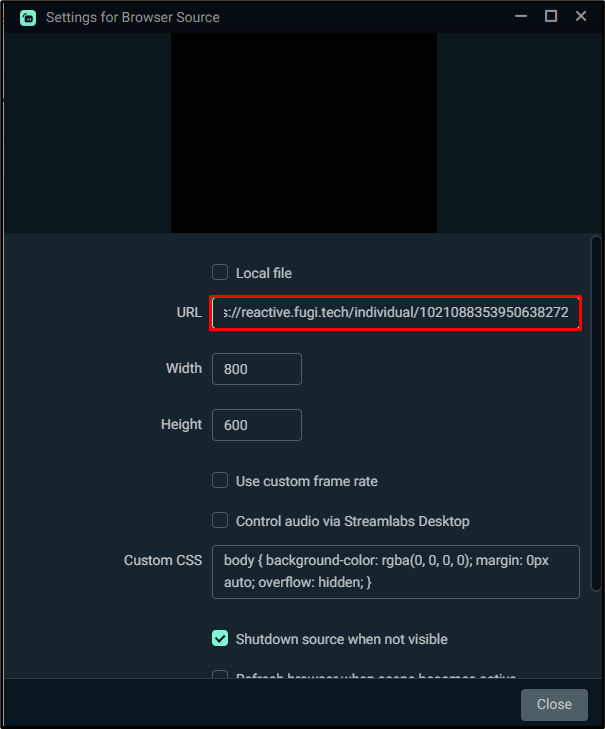
Paste the copied URL in the “URL” field:
Now, start the streaming on Discord using Streamlabs virtual webcam. It can be seen that we have successfully set the Discord reactive image for streaming:

For verification, open Discord “Voice & Video” user settings and test the Streamlabs virtual webcam:
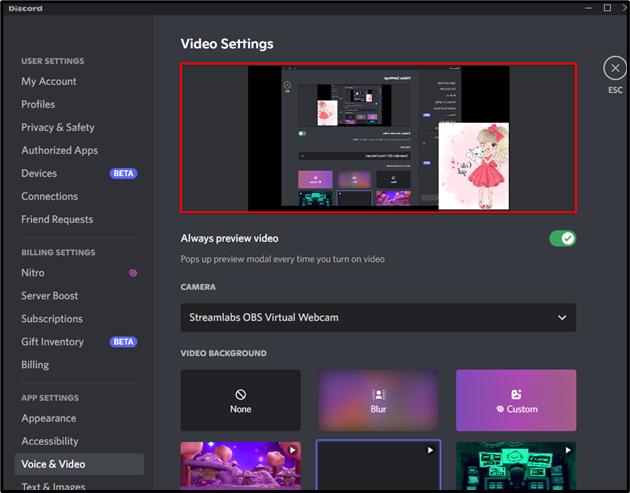
The above-given image indicates that we have successfully added and used a Discord reactive image during live streaming.
Conclusion
To add a Discord reactive image, first, open its official website and log in to the Discord account. After that, upload the inactive and speaking images and hit the save button. Now, from the Link menu, copy the user’s reactive image URL. Open the Streamlabs application and add a new Browser source and paste the copied URL. This post has taught you the procedure to add a Discord reactive image.