On your Manjaro system, if you want to use DHCP as an IP address assignment method, we have got you covered. This guide will demonstrate setting up DHCP on Manjaro using the terminal and GUI. So, let’s start!
How to access network information on Manjaro
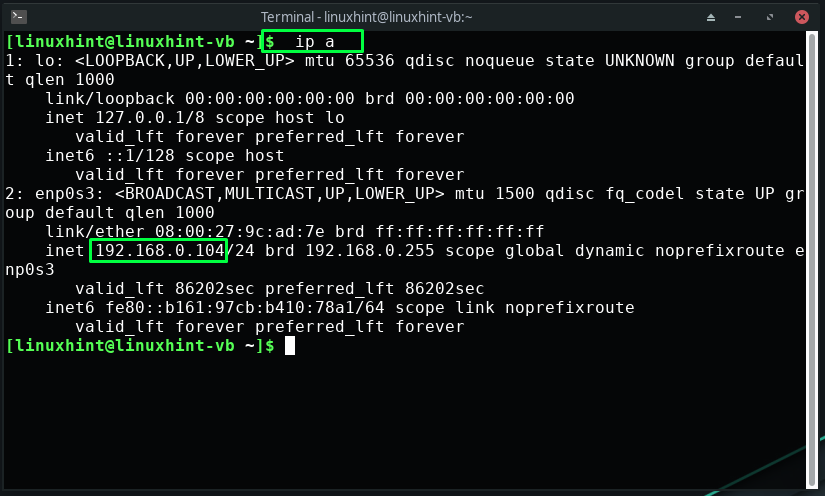
On your Manjaro system, you can utilize the terminal for accessing the information related to the network interfaces, such as their name, IP address, IPv4 method, and connection status. For this purpose, open up your Manjaro terminal by pressing “CTRL+ALT+T” and execute the “ip” command with the “a” option:
The “ip” command is the networking tool you can use to configure network variables or assign IP addresses to a network. In our case, we have executed the “ip” command to check out the IP address of our “enp0s3” network interface:
From the above-given output, you can see that the IP address for the “enp0s3” interface is “192.168.0.104”. You can also view the details of the configured network connection through the Manjaro GUI. To do so, right-click on the “Network icon,” which is present at your system panel:
Now, from the opened pop-up menu, select the connection information option:
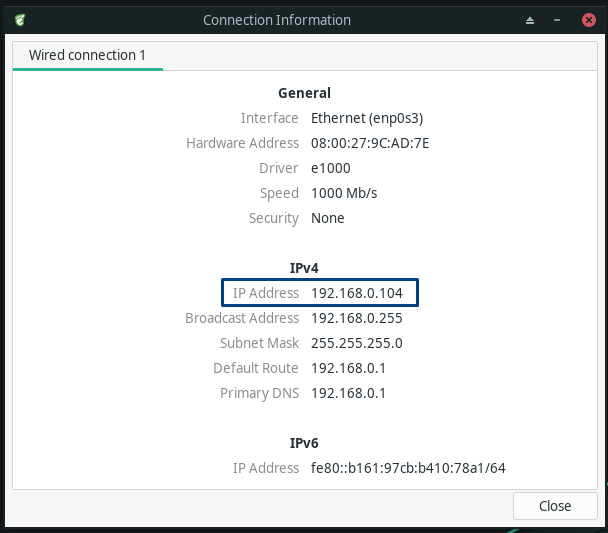
After doing so, view your connection information and note down its IPv4 address:
How to set up DHCP on Manjaro using terminal
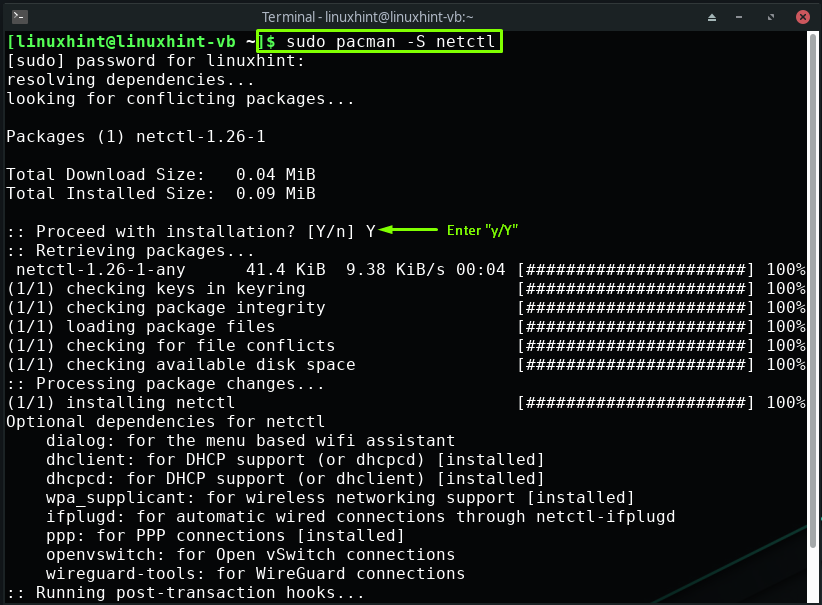
On Arch Linux systems such as Manjaro, “netctl” is a command-line-based utility used to manage and configure the network connection through their profiles. This section will teach you how to set up DHCP using the netctl command in your Manjaro terminal. So, if you do not have “netctl” then execute the following command:
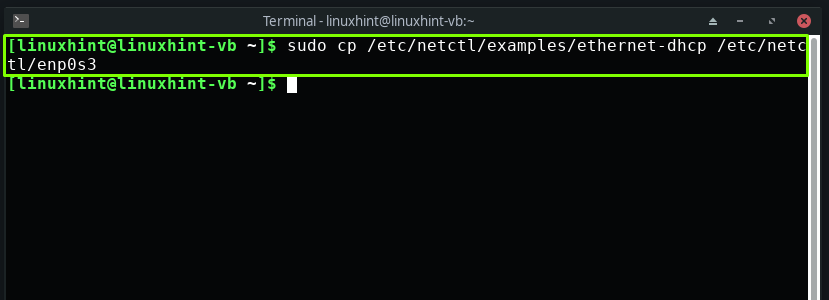
From the “/etc/netctl/examples” directory, we will copy the profile of “ethernet-dhcp” to the “/etc/netctl/enp0s3” directory with the help of “cp” command:
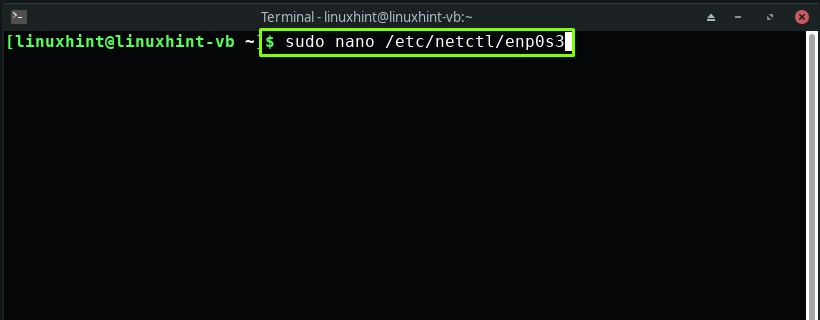
Now, edit the “/etc/netctl/enp0s3” file in your nano editor:
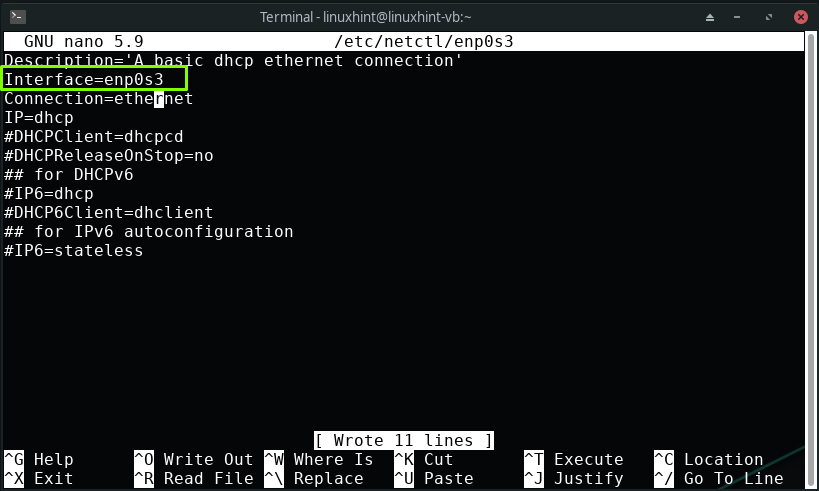
The “/etc/netctl/enp0s3” file with the default settings will somehow look like this:
Next, change the interface name from “eth0” to “enp0s3”:
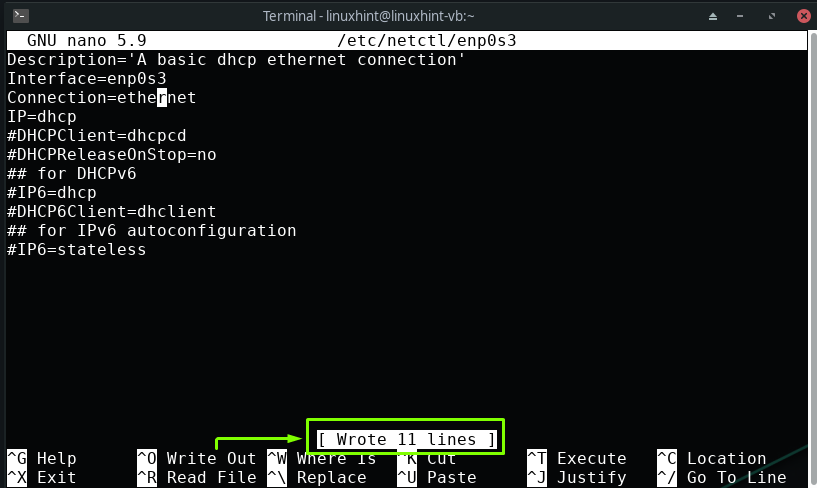
After doing so, press “CTRL+O” to save the added changes in the “/etc/netctl/enp0s3” file:
Till this point, we have configured the method of “enp0s3” as DHCP. Now, utilize the provided commands for enabling and starting the “dhcpd” service:
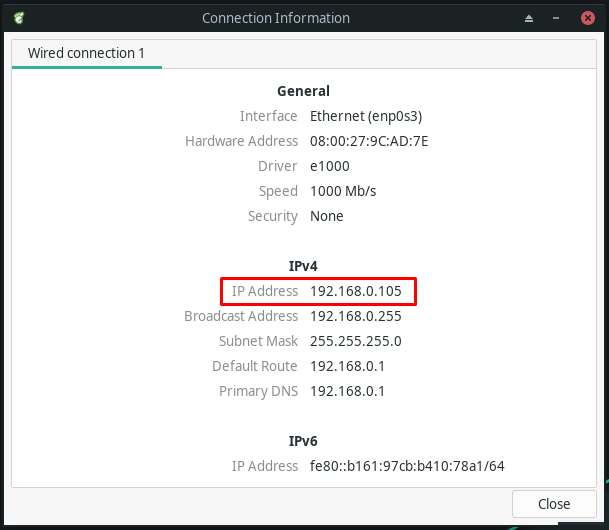
Now the Dynamic IP address will be assigned automatically. Again, click on the “Network Icon” and open up the “Connection Information”:
You can see that the IP address of our network connection is dynamically changed to “192.168.0.105”:
How to set up DHCP on Manjaro using GUI
Manjaro also offers its user the option to set up and use the DHCP using its GUI. If you want to avail this facility, then open up the “Advanced Network Configuration” utility from the system applications:
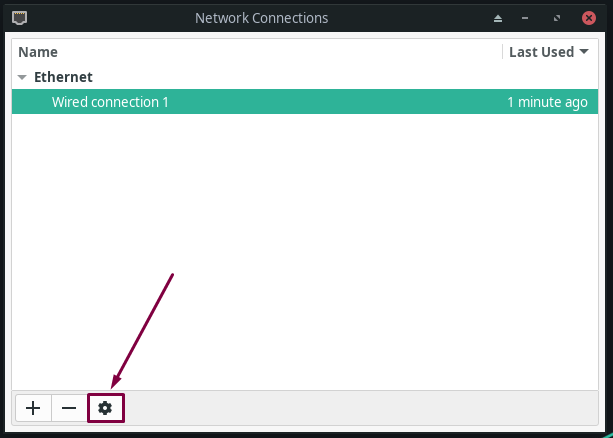
In the opened network connection menu, select the network interface for which you want to use the DHCP and then click on the “Gear” icon, which is present at the bottom-left of the window:
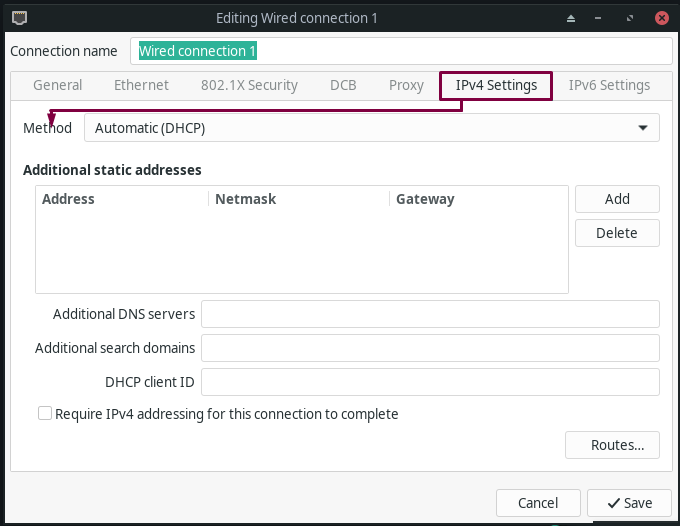
Now, look for the “Method” option under the “IPv4 Settings” tab:
Open up the drop-down menu of “Method” and select the “Automatic DHCP,” and click on the “Save” button:
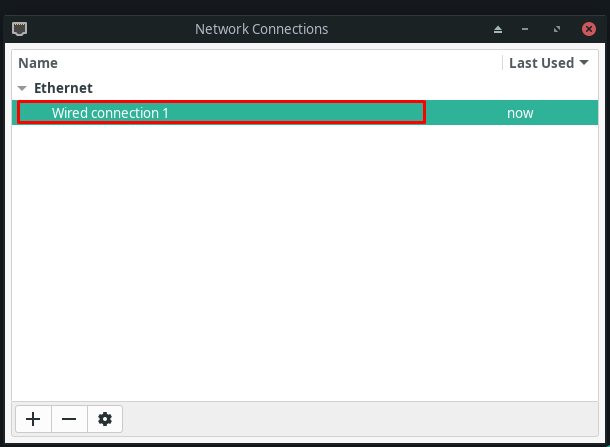
The specified action will configure the DHCP as IPv4 method of our Wired connection:
Conclusion
Dynamic Host Configuration Protocol or DHCP permits a server to assign an IP address and configure other information such as their default gateway and subnet mask to a host in a network. On the Manjaro system, the use of DHCP eliminated the need for a system administrator to manually configure the IP addresses for the systems joining the network so that the IP addresses do not clash. This guide teaches how to set up DHCP on Manjaro using the terminal and the GUI. Try it out on your Manjaro system and be free from the manual IP address assignment.

