You do not have to re-install Manjaro distribution and specify its desktop environment to work with the Budgie desktop. Simply download the Budgie desktop environment package and configure your Manjaro system settings. Seems difficult? No worries! This write-up will provide a complete guide for installing, configuring, and enabling Budgie Desktop Environment on Manjaro. So, let’s start!
How to install Budgie Desktop Environment on Manjaro
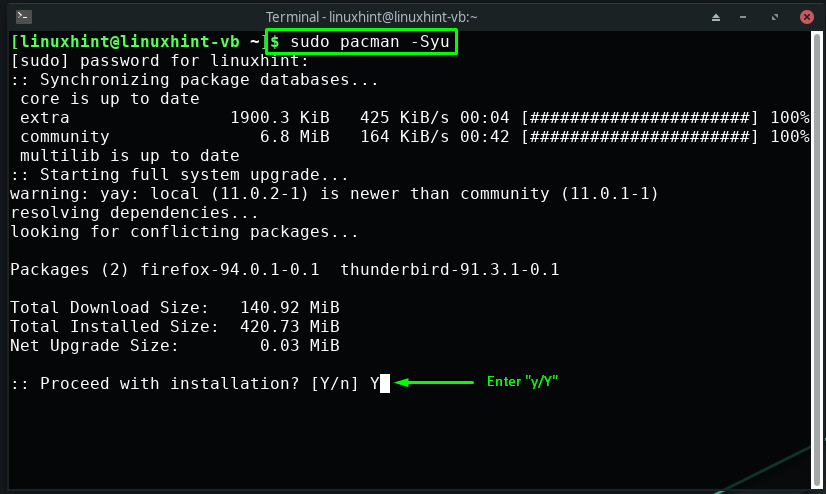
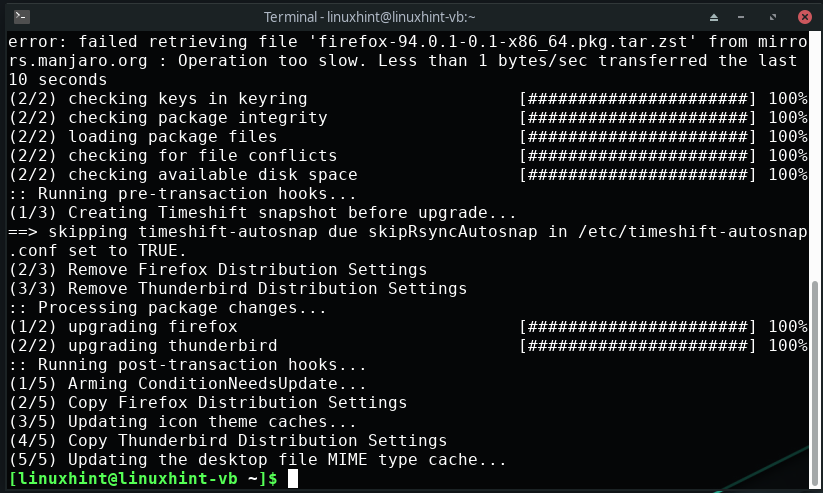
Now, we will demonstrate the procedure of Budgie installation on a Manjaro system. Firstly, press “CTRL+ALT+T” to open the Manjaro terminal and then write out the following command for updating the system packages:
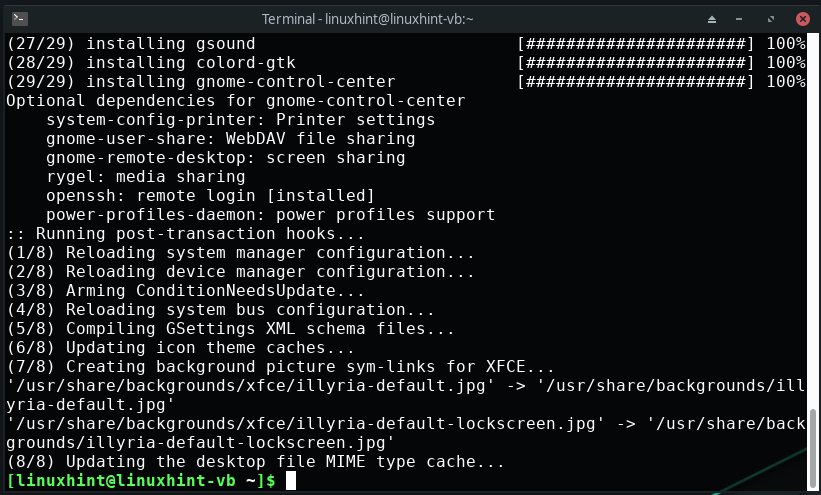
Now, move ahead and install Budgie Desktop Environment along with its “gnome-control-center” and “network-manager-applet” by following this command:
Here:
- “budgie-desktop” will install the Budgie Desktop Environment.
- “gnome-control-center” will offer a GUI for configuring various GNOME features.
- “network-manager-applet” will assist you in providing the information related to the internet connection and the hardware:
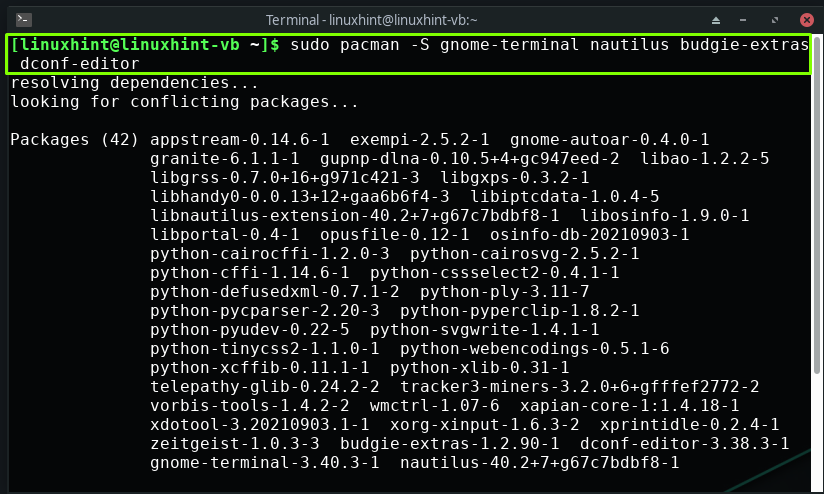
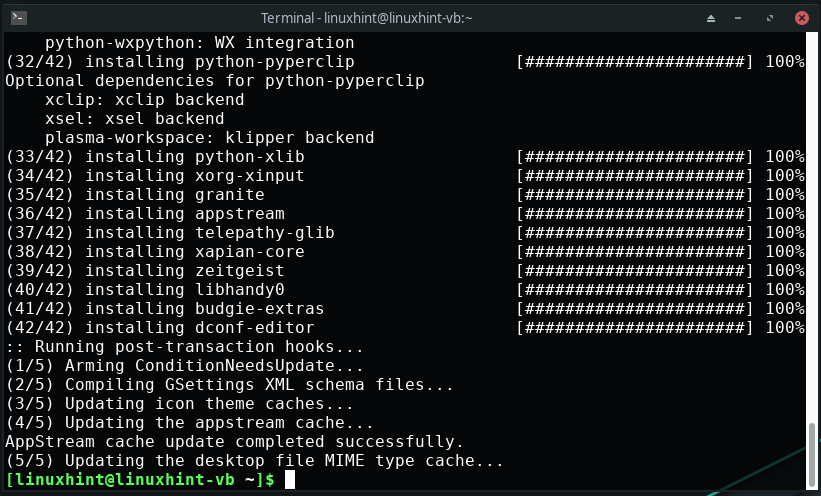
To install additional components of Budgie Desktop Environment such as “budgie-extras”, “nautilus”, “gnome-terminal”, and “dconf-editor”, you have to execute the provided command in your Manjaro terminal:
Here:
- The “budgie-extras” package will install the additional Manjaro user-oriented capabilities.
- The official file manager “nautilus” will permit you to preview files, browse for directories, and launch associated programs.
- The “gnome-terminal” package will let you install the official GNOME terminal application.
- The “dconf-editor” program will assist you in editing and viewing the internal settings of the applications.
How to configure Budgie display manager on Manjaro
If you have carefully performed the steps provided in the previous section, then at this point, Budgie Desktop Environment with all of the additional components should be installed on your system. The next step is to configure its display manager settings to work in this excellent desktop environment.
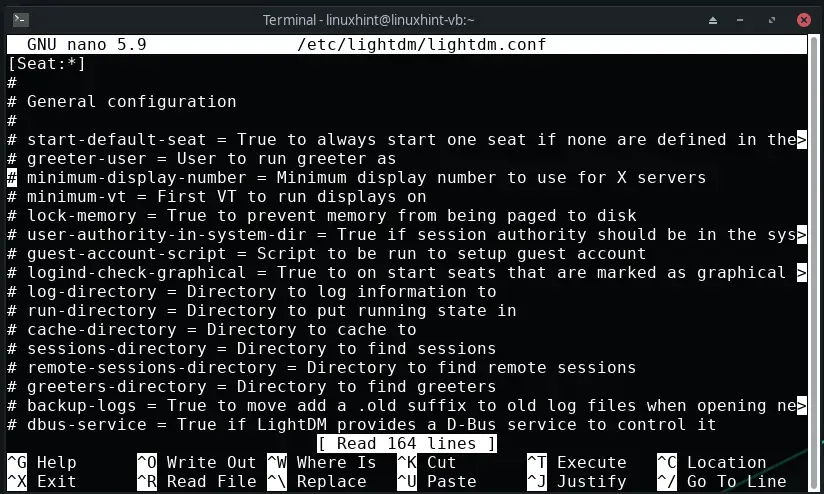
To do so, firstly open up the configuration file of the default display manager of Budgie, which is “lightdm”:
Your lightdm configuration file “/etc/lightdm/lightdm.conf” will somehow look like this:
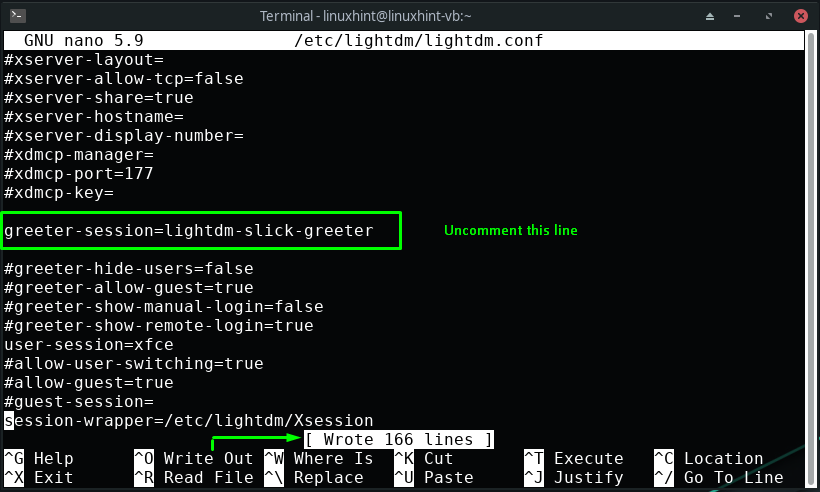
In the opened configuration file, look for the “greeter-session= lightdm-slick-greeter” line, under the [Seat : *] section, and uncomment it:
After uncommenting the line, press “CTRL+O” to save the changes you have made in the “lightdm” configuration file:
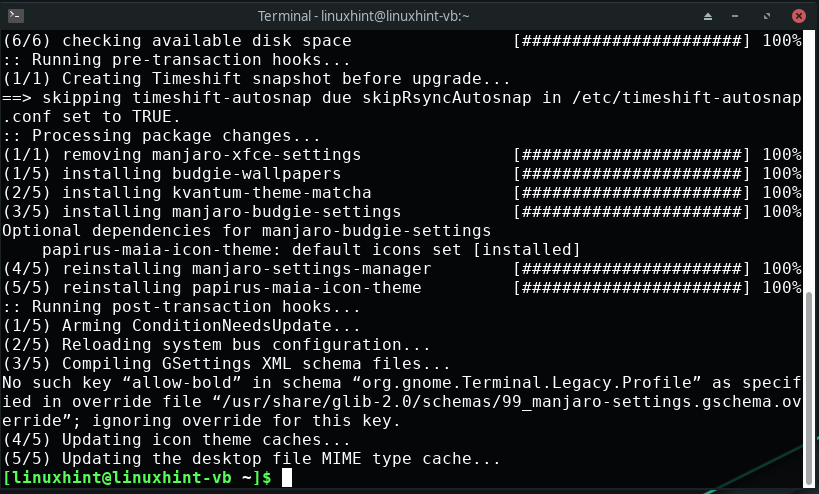
Manjaro also offers a theme for the Budgie Desktop Environment, and you can utilize it on your system by executing the command:
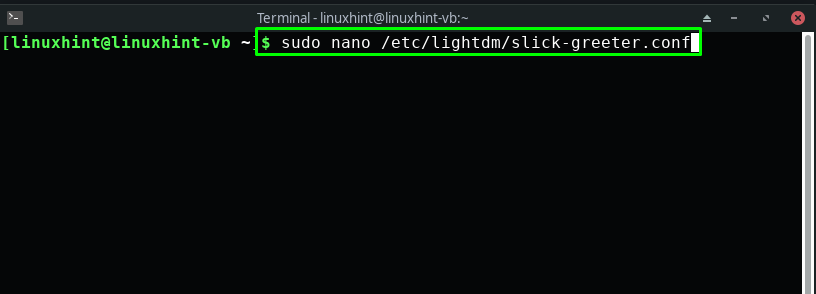
For all desktops, slick-greeter is the default lightdm greeter, which is operated by the lightdm daemon. You can edit the “/etc/lightdm/slick-greeter.conf” file in case if you want to enhance the look of your Manjaro system:
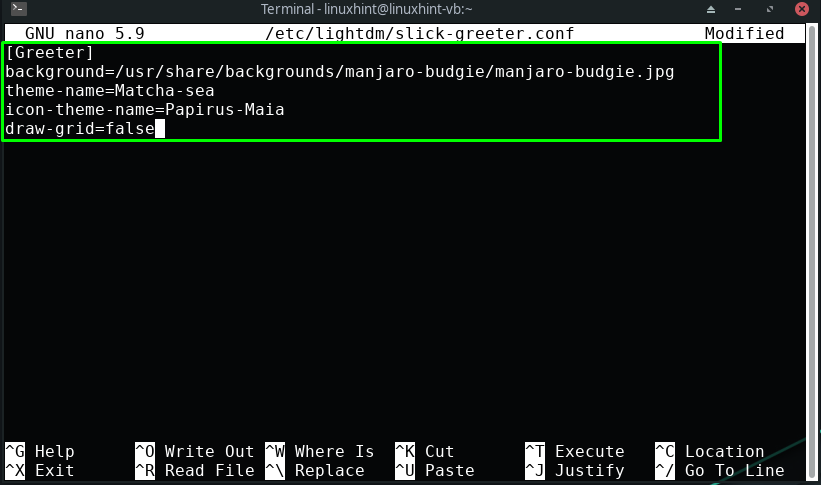
Now, add the following content in the opened file:
background=/usr/share/backgrounds/manjaro-budgie/manjaro-budgie.jpg
theme-name=Matcha-sea
icon-theme-name=Papirus-Maia
draw-grid=false
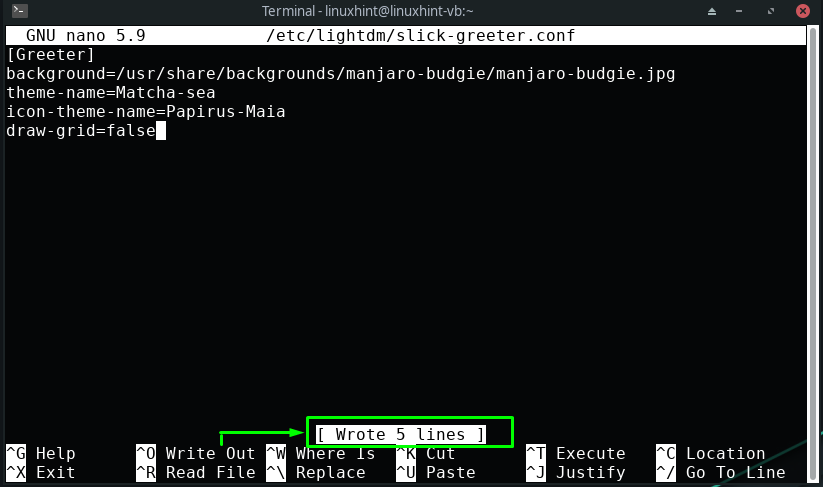
After doing so, press “CTRL+O” to write out the added lines in the slick-greeter configuration file:
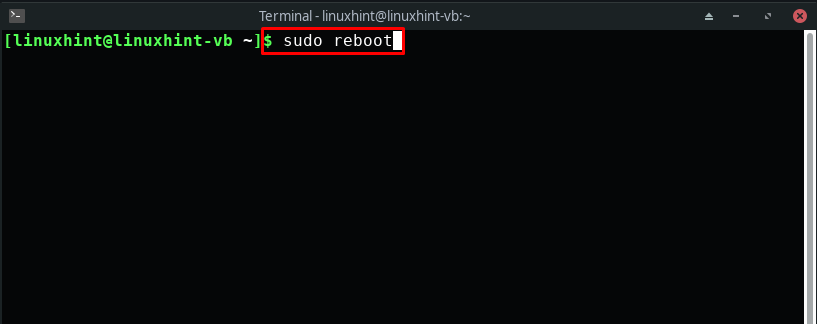
After configuring all of the required settings, reboot your system, and you are all done!
How to enable Budgie Desktop Environment on Manjaro
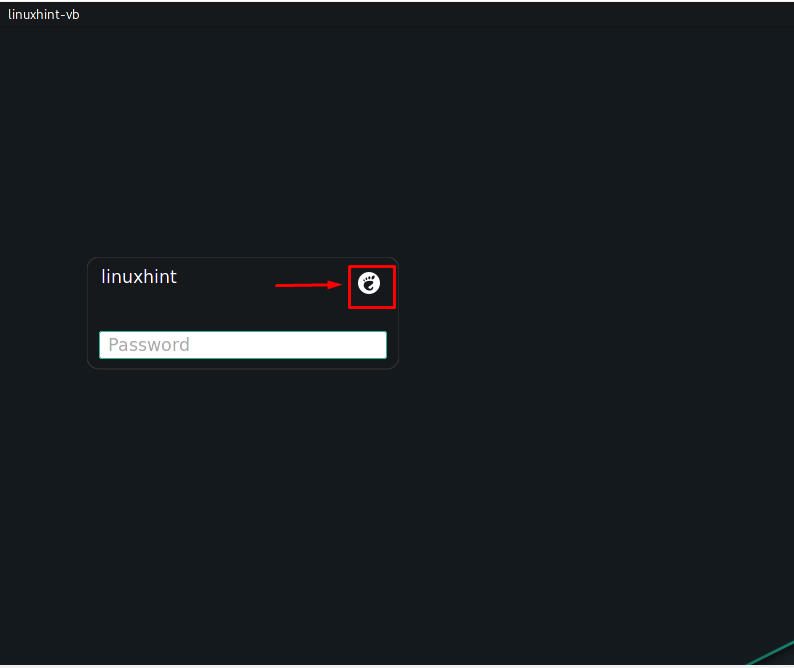
You can utilize your log-in screen for enabling the Budgie Desktop Environment. After logging in, you will see an icon right next to your username. This icon represents the current desktop environment of your system; click on it to view the other installed desktops:
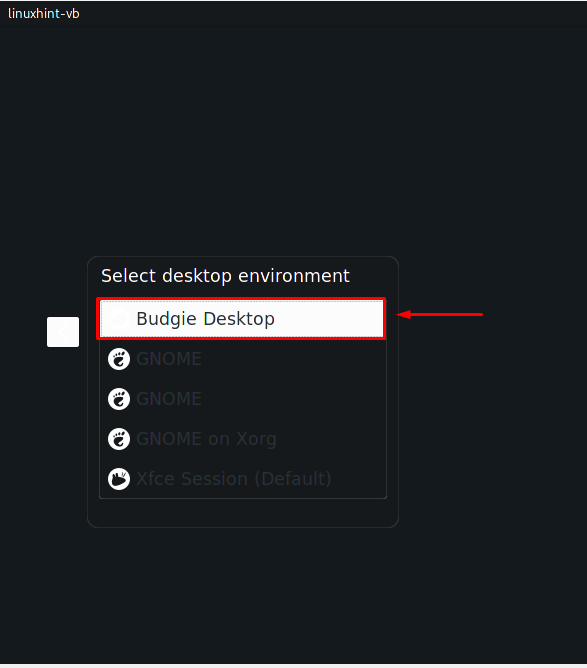
Now, from the drop-down menu, select “Budgie Desktop” as your new desktop environment:
Then, type out the password of your Manjaro system and hit “Enter”:
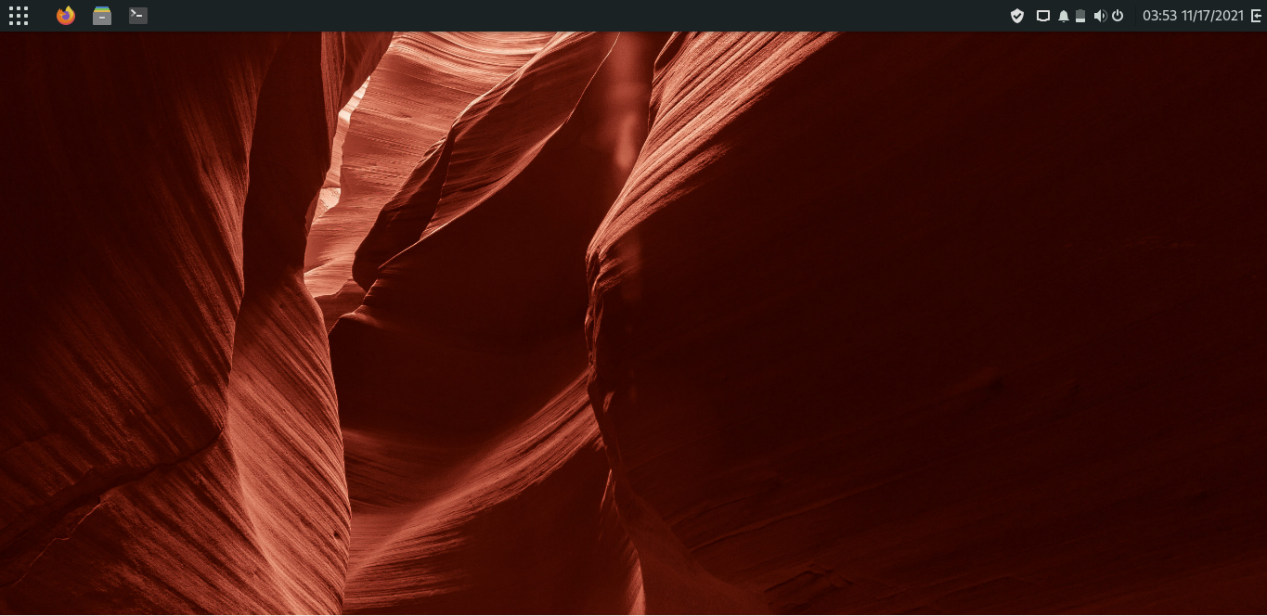
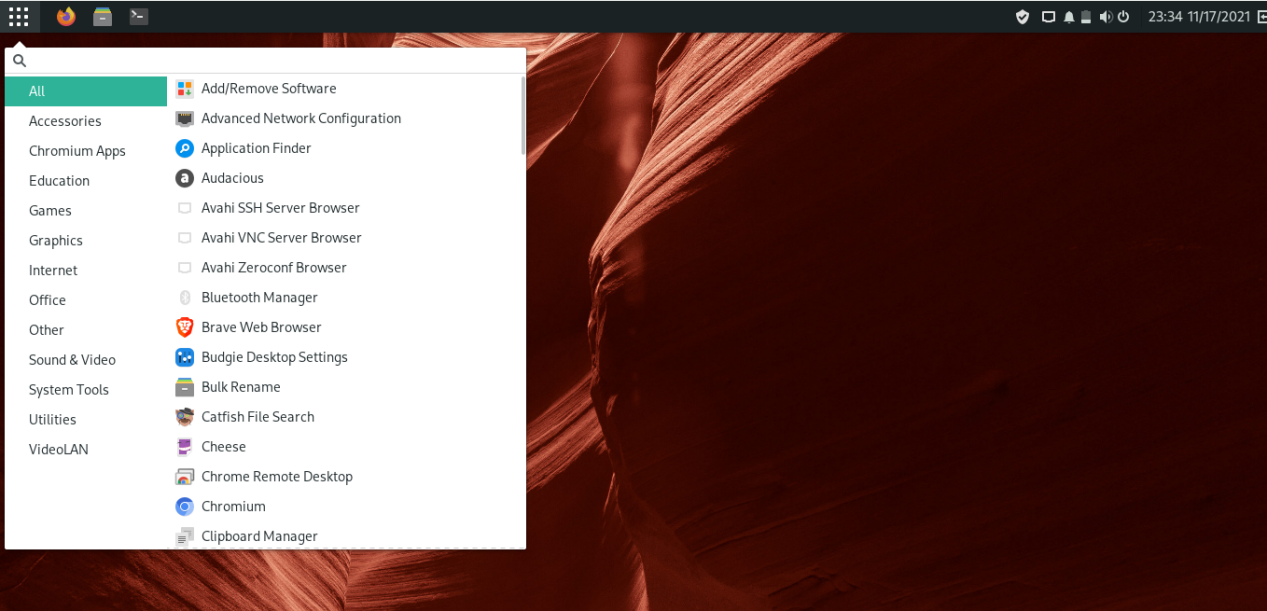
Congratulations! You can work in your new desktop environment:
Conclusion
Solus project developed Budgie, which is a popular Desktop Environment, integrated with the Gnome stack. Aside from being elegant and simple, it can also run on low-end hardware as it is not too resource-intensive desktop environment. Furthermore, it works pretty well on a Manjaro system. This write-up demonstrated the method of installing Budgie Desktop Environment on Manjaro. Moreover, the procedure of configuring and enabling Budgie is also provided to you.

