Mono is an open-source platform like .NET framework used to compile and run C# language codes. It creates an .exe file from the source code, which can then be executed easily through the mono compiler. C# language can be used to create various applications. Mono is an open-source cross-platform framework that is based on C# language and is best to learn C# on Raspberry Pi. In this article, the method to write the C# program is discussed.
Writing C# Programs Using Mono on a Raspberry Pi
To write and run C# programs on Raspberry Pi using Mono, follow the below-mentioned steps carefully.
Step 1: Install Mono
In the first step, first install Mono from the official repository using the following command:
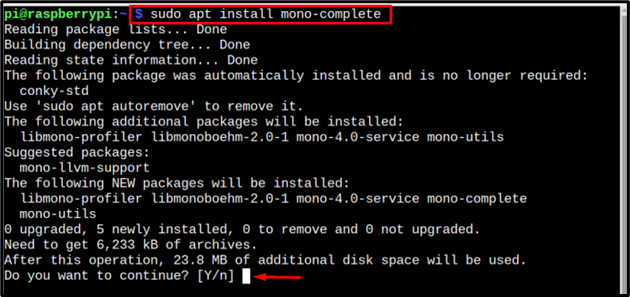
Add the “Y” key to continue the installation process.
Step 2: Create a C# File
After completing the installation of Mono, you must create a file with the “.cs” extension since it’s the official format of Mono compiler. Use the below-written command to create a new “.cs” file using the built-in nano editor.
Syntax
Example
In this example raspi-linux is the name of the file I have created and .cs represents that it is a C#-type file.

Now paste the below code inside the newly created file. You can alter the code according to your requirement or write it on your own but the syntax of the code remains the same.
The code is simple and easy to use for beginners if for learning purposes.
public class raspiLinux //defining a public domain class
{
static public void Main ()
{
Console.WriteLine ("Hello Linux_Hint");
}
}
After adding the code inside the file, press “Ctrl +X”, add “Y” to save the file and hit the Enter button to get back to the terminal.
Step 3: Compiling C# File
Once the C# file is created, you can compile the code using Mono compiler (mcs) through the following syntax:
Syntax
Example
Note: raspi-linux is the name of my C# file that I am compiling here.

After compiling the “.cs” file, you will see that a “.exe” file is generated in the directory where the code is placed.
Step 4: Run the C# File
To get the output of the .exe code file, you have to run it using the mono command. You can follow the below-mentioned syntax to know how to run your file:
Syntax
Example
The output will be displayed on the screen. Here, Hello Linux_Hint is our output

In this way, you can run any C# code you want using Mono on the Raspberry Pi system.
Conclusion
To write and run a C# program on Raspberry Pi using Mono, users must install Mono from the official repository of Raspberry Pi. Afterward, they have to create a “.cs” file and write any C# code inside it. The code first needs to be compiled using the mcs command with the file name, which generates the “exe” file. Finally, the “.exe” file can be executed using the mono command to get the output on the terminal.