So, in this article, we will give you a solution on how a user can connect a USB microphone to a Raspberry Pi.
What is Microphone
A microphone is a small input device that is used for multiple reasons like to record, communicate, or for voice recognition into a system. Connecting a microphone with a Raspberry Pi can allow users to create a wide range of projects like speech recognition projects, AI projects, Voice assistance applications, and much more.
How to Use a USB Microphone with Raspberry Pi?
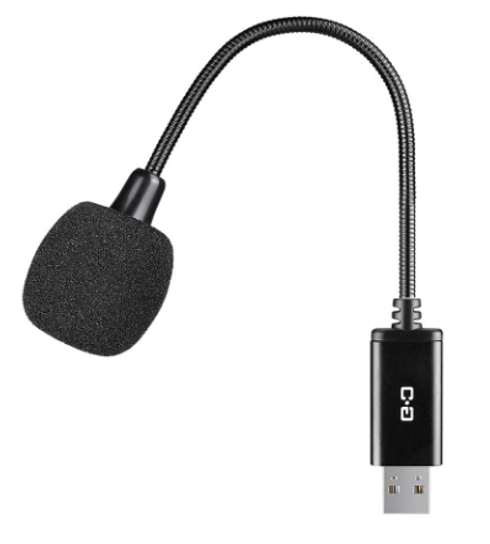
Connecting a microphone isn’t a difficult task unless you have a USB microphone because the Raspberry Pi device has 4 USB ports, which can be used to connect external devices.
To start using microphone on your Raspberry Pi device for recording purposes, follow the below-given steps:
Step 1: Firstly, you must have a working USB microphone.
Step 2: Attach your USB microphone to your Raspberry Pi from the USB port .
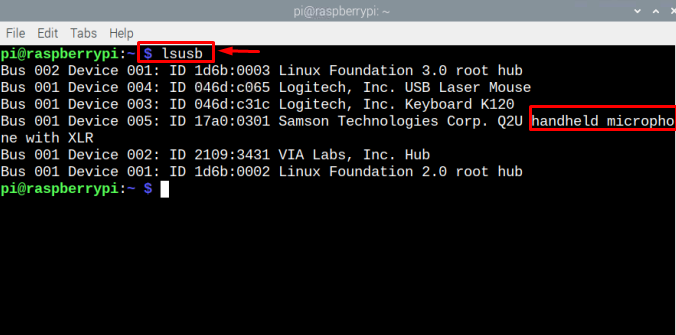
Step 3: Now open the terminal and type the below-given command to check if a microphone is detected by the system or not.
Step 4: Now, we will check the card and device number of your microphone, and to do that follow the command below:
This step is used to find the card and device number for the microphone as we are going to use it in the next step.
Step 5: To start recording through the microphone, type the following command:
Note: Duration and name of file can change according to user’s choice. While the card and device number may be different for your case, which you can find from the arecord -l command shown above.
This starts recording the sound through a USB microphone on Raspberry Pi. Duration is set according to the user’s choice to start and stop recording according to their time limit.
To Access the Recorded File
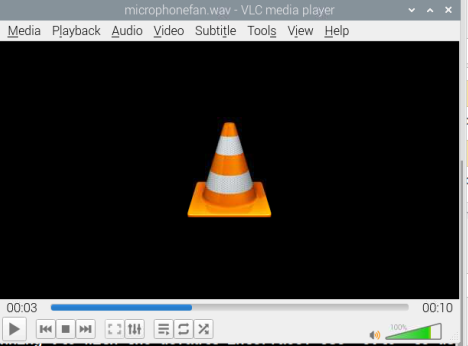
To access and play your file through VLC (a default media player in Raspberry Pi), follow the below command line:
Here you go, your file will open on the VLC media player and to start listening to the sound, you must connect headphone or speaker to your Raspberry Pi device from audio jack.
You can use any media player you want to listen to the audio you recorded from a USB microphone.
To Check the Microphone’s Gain level
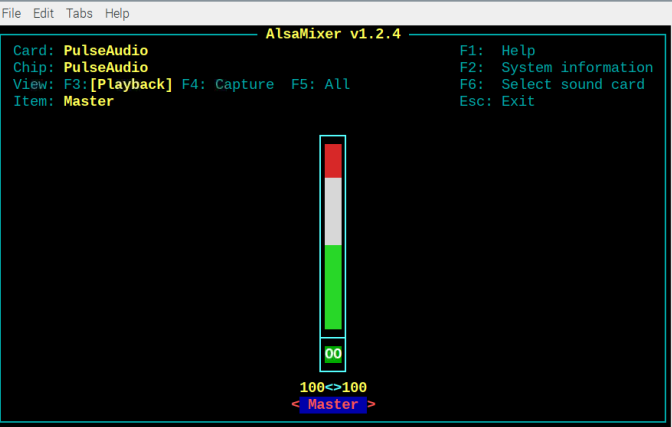
Here we are sharing a bonus command for you, if you want to check the gain level of your microphone you can use the below command:
Gain informs the user about the signal voltage level, it is helpful for signal amplification, this feature is for those who used microphone more often for recording purposes.
That’s it for this guide!
Conclusion
You can connect a USB microphone to your Raspberry Pi device from the USB port option and check whether it’s connected or not. You can run the lsusb command or can see the microphone icon on the taskbar panel.
Once the USB microphone is connected, the only thing you have to do is to check for the card and device number using the arecord -l command and then use the same command with card, device number, and recording duration to record the sound from the USB microphone. Later, you can use any media player you want to listen to the audio you recorded from your microphone.


