If you have recently started using Node.js on your Raspberry Pi system, follow this article for detailed guidance to use Node.js on Raspberry Pi.
How to Use Node.js on Raspberry Pi
Node.js is already installed in the Raspberry Pi system; thus, you won’t need to install this platform anymore. One thing, you should do is the guidance to know how to use Node.js on Raspberry Pi. Follow the below-given steps to start creating your first Node.js code, which displays a Hello message on a web browser.
Step 1: Create Node.js Project Directory
Before starting a new project, it’s better to create a Node.js directory where you can save all your Node.js project files. To create one for yourself, follow the below-mentioned command:
You can use the directory name by yourself.
Step 2: Navigate to Node.js Directory
Go to the Node.js project directory using the following command:
Step 3: Initialize Node Package Manager
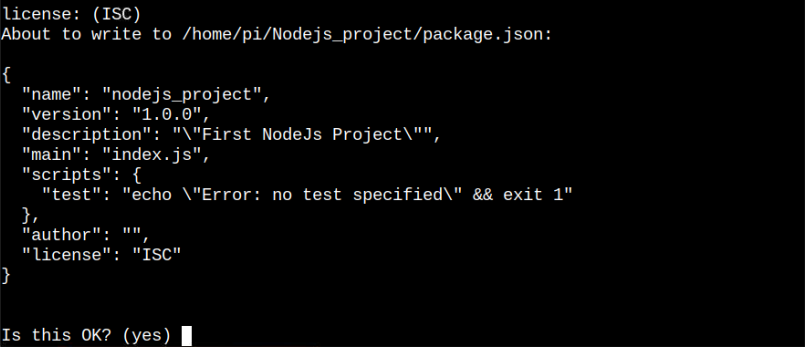
First, you must create a JavaScript Object Notation file, commonly called (.jason) as this file will help you transfer the data between a web application and server. You can create this file by executing the following command:
Press Enter on the default options, such as package_name and version.
You can add a description for your project by writing it in your own words.
Then leave other options as default using the enter button multiple times. Add “yes” to confirm the changes.
This creates a “package.json” file inside the project directory.
Step 4: Create a .js Project File
Now, you must create a project file with the “.js” extension. In my case, I am creating a “Hello” message file with the name “hello-web.js” through the following command:
You can replace the name “hello-web” with the name of your choice.
Within the file, add the following code for displaying the message on the web browser using port number 3000. You can create this file within the directory or in the home directory.
const host = '<localhost/IP-Address>';
const port = 3000;
const server = http.createServer((req, res) => {
res.statusCode = 200;
res.setHeader('Content', 'text/plain');
res.end(Your message');
});
server.listen(port, host, () => {
console.log('The web server is running at http://%s:%s',host,port );
});
Replace “const host” variable assignment with the “localhost” or “IP address” of Raspberry Pi. In the above example IP address is used.
You can add any code you want because this code is presented just to give you an idea of how you can use the JavaScript code using Node.js. You can change this code or write your own if you have JavaScript coding experience. After adding the code, you can save the file using the “CTRL+X” key, add “Y” and press enter to exit.
Step 5: Run the File
To run the project file using Node.js, follow the below-mentioned command:
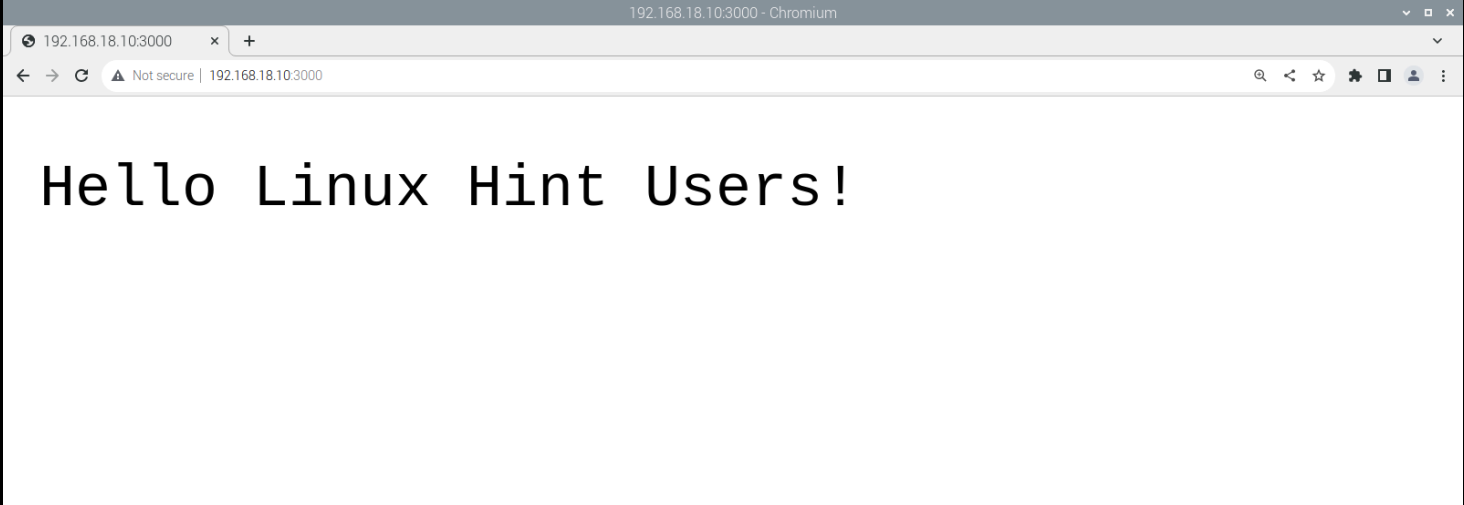
Don’t forget to replace the “file_name” with your file. Once you see the web server running an output message, go to your Raspberry Pi browser and enter the address “192.168.18.10:3000” to display the hello message on the browser.
Note: You can use localhost instead of your IP address for simplicity.
The above output confirms that we have successfully compiled the JavaScript code using Node.js. You can create multiple codes or develop web-based applications using Node.js in this way.
Conclusion
Node.js is a run-time environment for executing JavaScript code and you can use it on your Raspberry Pi system to easily develop web-based applications. The above guidelines provide step-by-step instructions to learn how to use Node.js on your Raspberry Pi system with a simple “hello” message code which is enough for a beginner to understand running JavaScript code through Node.js. It’s better to acquire a deep understanding of writing JavaScript code before moving toward using it on your Raspberry Pi system.


