In this article, we will guide you on using Kiosk Mode on the Chromium browser with Raspberry Pi.
How to Use Kiosk Mode on Chromium with Raspberry Pi
Although there are different methods to enable the Kiosk mode on Raspberry Pi, we are showing you the easiest method that can easily be done within a few seconds.
Since the Raspberry Pi system uses the lightweight LXDE desktop environment, the configuration we do in the following steps can only be done on this desktop environment.
Step 1: Create a File on Raspberry Pi
First, you will need to open a file with the name “autostart” at the location “/etc/xdg/lxsession/LXDE-pi/” using the nano editor through the following command:
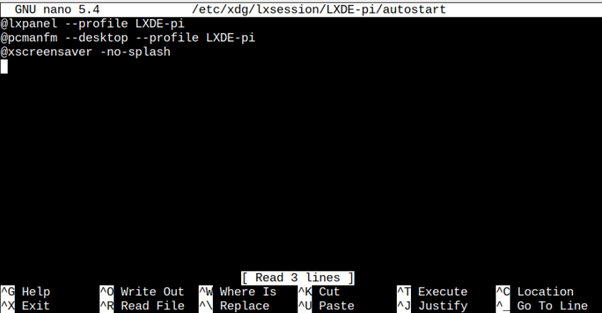
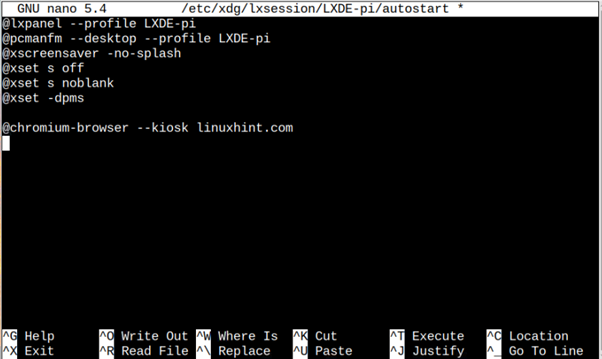
Inside this file, you must add the text given below.
@xset s noblank
@xset -dpms
@chromium-browser --kiosk <website_address>
The details of the above codes are provided as below:
The first line in the file creates a profile with the name “LXDE-pi,” while the second line sets up a desktop environment for the given profile. The following four lines prevent the screensaver or Raspberry Pi from sleeping. The final line sets up kiosk mode by opening the chromium browser in full-screen mode and stopping the user from inputting outside the web browser. In place of the website address, you can type your own, like the address of Google Docs, allowing users to start writing their assignments.
Once the above changes are done in the file, you can save them using CTRL+X, type Y and press Enter. To ensure the changes are successfully applied, reboot your system.
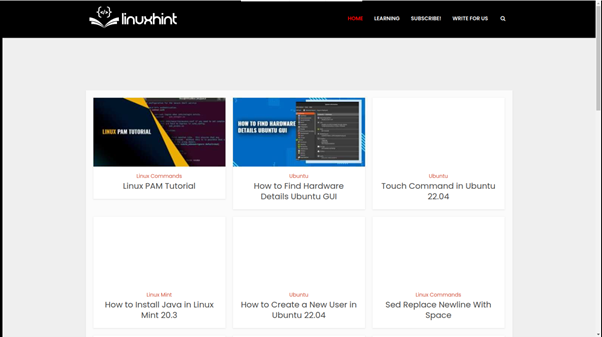
After the reboot, you will see the full-screen Chromium browser with kiosk mode enabled.
You can easily disable this mode anytime you want by pressing the “CTRL+F4” keys.
Conclusion
Kiosk mode is an effective solution to restrict users from running multiple apps on their systems. You can enable this feature on your Raspberry Pi system by creating a file with the name “autostart” and then adding a few lines inside the file, which is already provided in the above guidelines. After rebooting the system, the Kiosk mode will be enabled on your system’s browser. You can close this mode anytime using the “CTRL+F4” key.