In the Raspberry Pi system, the chown command is very handy in changing the owner of the file. So, in this article, you will learn how to change the ownership of the file on Raspberry Pi using the chown.
How to Use chown Command to Change File Ownership on Raspberry Pi?
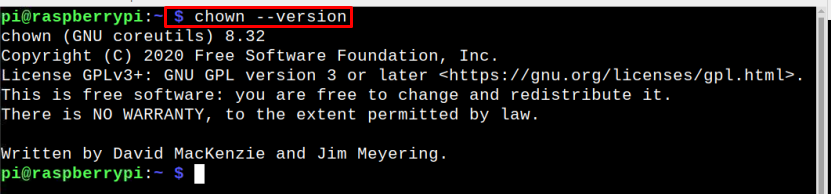
The chown is a free software tool available in the Raspberry Pi system to change the ownership of any file. To use chown command in Raspberry Pi, verify that it’s already installed in your Raspberry Pi using the below-mentioned command:
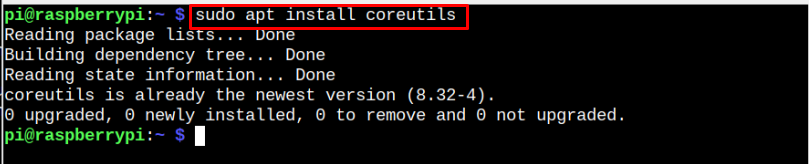
Though chown is pre-installed on Raspberry Pi system but if due to any reason it is not present in your system, you can install the it using the Coreutils package through the following command:
Find Owners of File
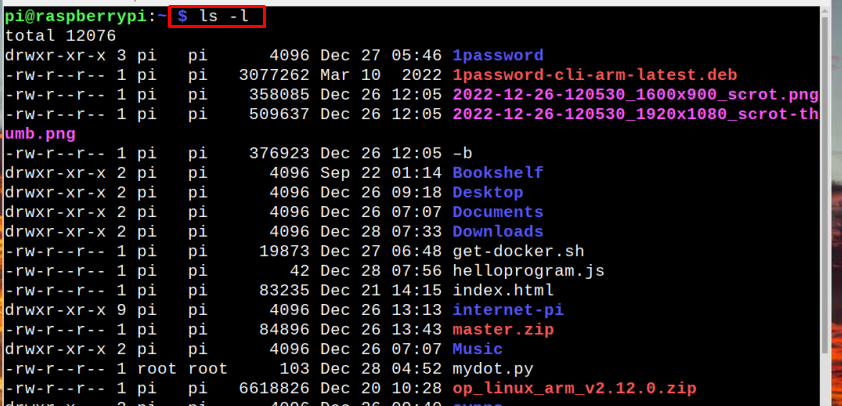
To find the list of all the files along with the owner of each, you can use the below-mentioned command:
The output of the command will display the list of all the files along with their owners.
And if you want to find out the owner of any particular file you can use the same list command along with the name of that file:
Syntax
Example

chown Command
The basic syntax of chown command is given below:
In the Raspberry Pi system, there are three categories to access file systems which includes user, group and others. “User” is the owner of a file and “group” is in which the file owner is present. So, in the above command the new username is used with the chown command to make it the owner of that file.
The group of files can also be changed by using the chown command but remember the group name is always used with a colon”:” to differentiate it from the user. <options> means that this command can be used with other options for files. Let’s discuss different ways to use the chown command, which are as follows:
- Changing File Owner for Single File
- Changing File Owner for Multiple Files
- Changing Owner Through User ID
- Changing Both Group & User Permission
- Changing Only Group
- Changing Owner with Reference Option
Let’s discuss them one by one.
1: Changing File Owner for Single File
To change the owner of a particular file just use the chown command along with the username and name of file:
Syntax
Example
Note: The ls -l command is only used to display the new owner.

2: Changing File Owner for Multiple Files
The chown can also be used to change the owner of multiple files at a time using the below-mentioned command:
Syntax
Example

3: Changing Owner Through User ID
Instead of using the user’s name, user id can also be used to change the owner. To find the user ID, use the below-given command:
Syntax
Example

Then further use that user id with chown command as shown below:
Syntax
Example

4: Changing Both Group & User Permission
Both user and group can also be changed at the same time by following the below-mentioned syntax:
Syntax
Example

5: Changing Only Group
If you want the original user to remain the same and only want to assign group privileges to a file, then below-mentioned syntax can be followed to only change the group:
Syntax
Example

6: Changing Owner with Reference Option
Reference option can be used with the chown command to copy the permission privileges from one file to another. By using reference, the privileges of the reference file are copied and transferred to the other file. So as an output both the files will have same owner privileges:
Syntax
Example
In the output, you can see that both the files have same user and group:

Conclusion
You can use the chown command in Raspberry Pi to change the owner of files. There are multiple ways to use the chown command in Raspberry Pi and each of them are discussed in the above-given guidelines. The basic syntax of chown includes <user>, <:group>, <file name>, and <options>. The user can follow the above command to change the ownership of the files on the Raspberry Pi system.