The Raspberry Pi developers released the Bullseye version of the Raspberry Pi operating system way back in Nov 2021, which includes the latest fixes and security updates. It also has better speed and performance than the old Buster version. If you are using Raspberry Pi Buster on your device, you should immediately switch to the Bullseye version. Although installing the latest Raspberry Pi version may be the easiest option, it will erase all your previous data.
To avoid erasing your Raspberry Pi data, you should upgrade your Raspberry Pi OS from Buster to Bullseye without installing the operating system from scratch. To do the upgrading process, follow this article’s guidelines.
How to Upgrade Raspberry Pi OS from Buster to Bullseye
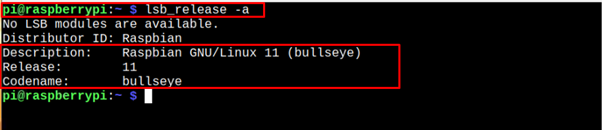
Before moving towards the upgrade process, you must first ensure that you are using the Buster version of Raspberry Pi OS and to confirm it, you can apply the following command:
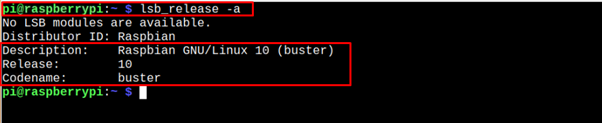
If the above command outputs the same result as shown in the above image, you are good to perform the following steps to begin upgrading your Raspberry Pi OS from Buster to Bullseye.
Step 1: Update Raspberry Pi Repositories List
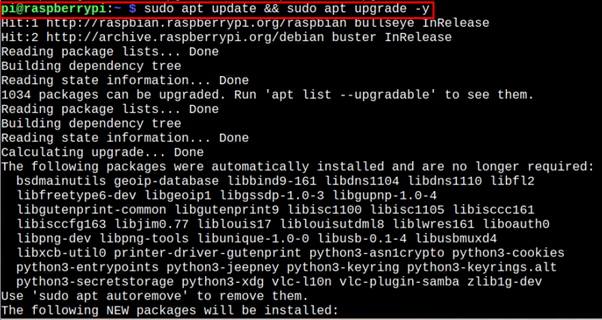
First, open the system terminal and issue the command given below to update the Raspberry Pi repositories list.
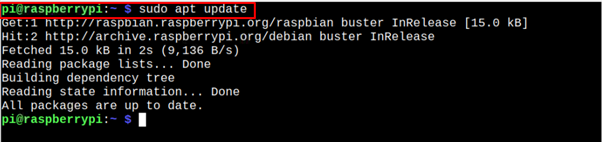
In our case, we have already updated the package to the latest version. If your packages need an upgrade, then move toward the next step.
Step 2: Upgrade Packages on Raspberry Pi
If your packages are not updated, you can run the following command to upgrade them to the latest version and remove the previous old packages that are no longer required for your system.

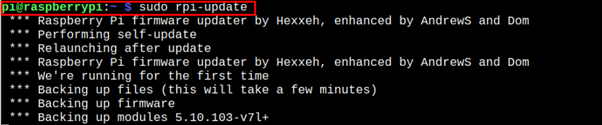
Step 3: Update Raspberry Pi Firmware
It’s better to update Raspberry Pi firmware using the following command as this will fix the bugs and improve the performance of your system:
After updating the firmware, reboot the system to activate the new firmware.
Step 4: Open Raspberry Pi Source List
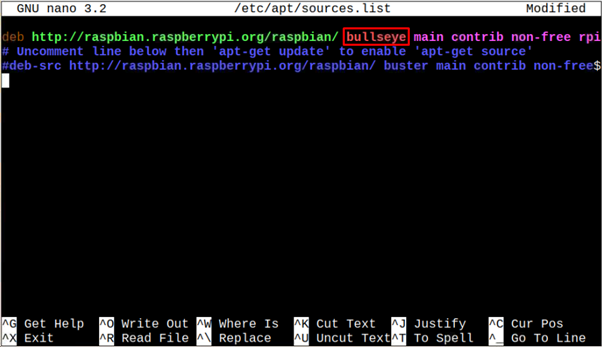
Next, you will need to modify the Raspberry Pi sources list file and to open this file, you can run the following command:
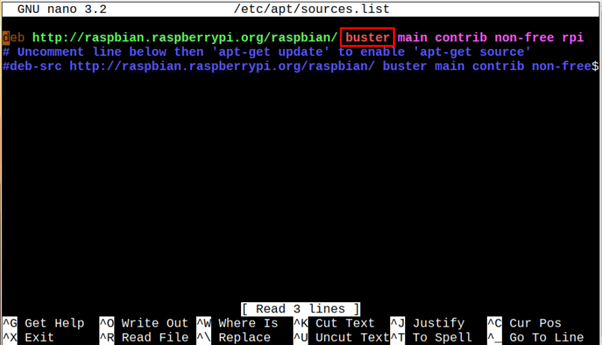
Inside this file, replace the buster with a Bullseye and then save the file using “CTRL+X”.
Step 5: Upgrade the System
After successfully editing the file, run the following command to upgrade the system’s packages.
The upgrade process takes some time as it upgrades the packages and replaces your Buster version with Bullseye. During the installation, you may see the following window and press Enter on the “Yes” option to allow the installation to restart the service.
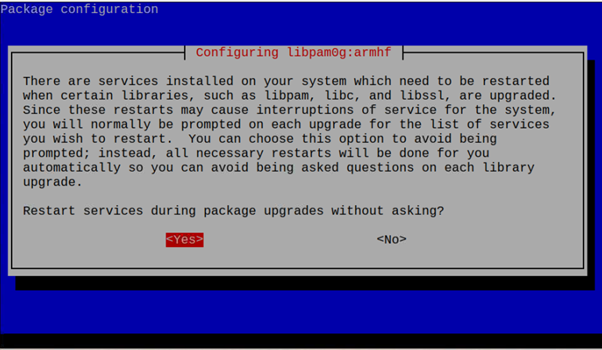
You may be asked for a few more confirmations during the installation, just carefully read out what it demands and then confirm it by replying “Yes” or “No” according to your choice.
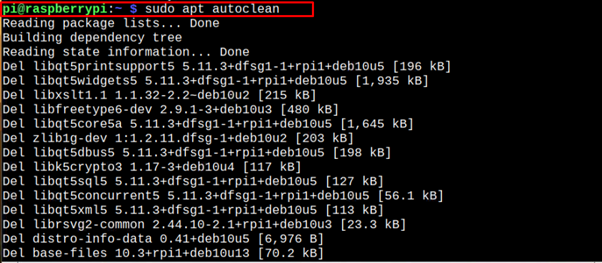
Step 6: Clean Up the Installation Files
After upgrading the system, you should run the following command to clean up the previous installation on your Raspberry Pi system.
Step 7: Reboot the System
After completing the above steps, you should immediately reboot your system via the “reboot” command. Once your system reboots, you can run the following command to confirm the upgrade of your Raspberry Pi OS from Buster to Bullseye.
Conclusion
Upgrading from the older Raspberry buster version to the newly released Bullseye version is a straightforward task and you can do it quite easily using the update and upgrade commands mentioned in the above guidelines. Besides updating the system packages, you need to replace the name from “Buster” with “Bullseye” and then update the Raspberry Pi source list to upgrade the system to the latest Bullseye version successfully.