RSync is already installed in most Linux distributions; the same applies to the Raspberry Pi system. However, it’s an outdated version, less effective than the latest one regarding bug fixes and enhanced features.
This article is a detailed guideline for updating Rsync on your Raspberry Pi system.
How to Update Rsync on Raspberry Pi
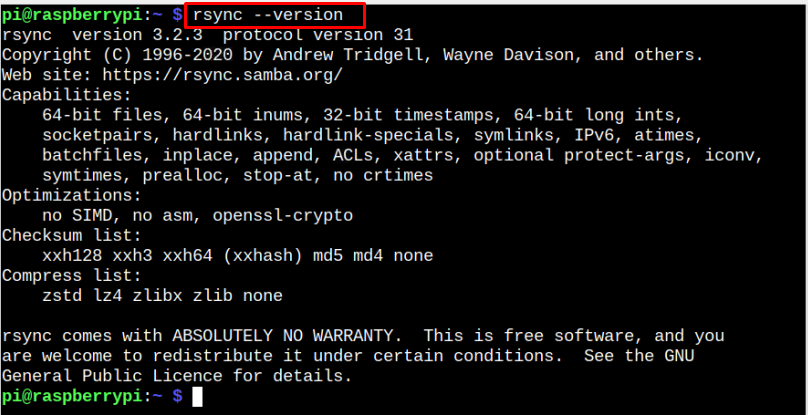
Before moving towards the Rsync installation, ensure that your Raspberry Pi system must have Rsync installed and you can confirm using the following command:
The Rsync version “3.2.3” is an outdated one and the latest version right now is “3.2.7”, which you can install using the following steps:
Step 1: Install Dependencies
First, you must install a few dependencies required for Rsync installation and you can execute the following command to install those dependencies on Raspberry Pi.
Step 2: Download the Latest Version Rsync File
Go to the website and grab Rsync latest version file for the Raspberry Pi system. In my case, the latest one is “3.2.7”, which can be downloaded through the following command:
In case the server fails to respond through the “wget” command, you can use the direct link on your chromium-browser to download the Rsync source file.
Step 3: Extract Rsync Source File Contents
First, make sure where the source file is generated because if you follow the direct link method, it may go into the “Downloads” directory and you have to navigate the directory first through the “cd” command.
In my case, it’s in the home directory and the command to extract Rsync source file contents is given below:
Step 4: Configure Rsync
To start configuring the Rsync setup files, first navigate to Rsync directory through the following command:
Then use the following command to start Rsync configuration.
Wait until you receive the terminal’s Rsync successful configuration message.
Step 5: Prepare Rsync Installation Files
To prepare Rsync installation files, run the following command:
Step 7: Install Rsync on Raspberry Pi
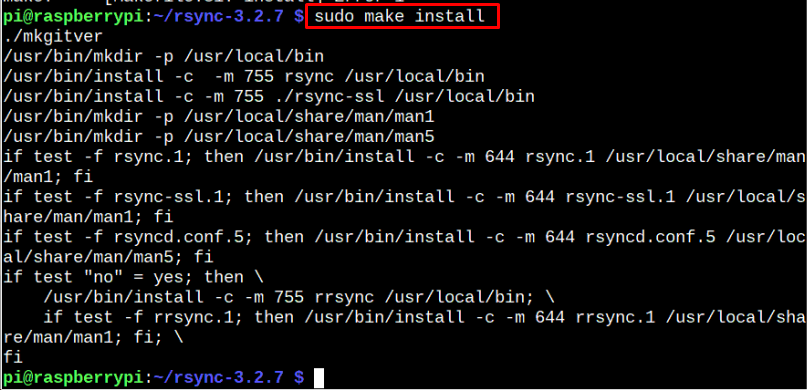
After the files are prepared and compiled successfully, it’s now time to begin the Rsync installation using the following command:
Reboot the device for the changes to take place.
Step 9: Confirm the Rsync Installation
After the changes, you can confirm the installation of Rsync’s latest version on Raspberry Pi through the following command:
The above command ensures that we have successfully updated Rsync on the Raspberry Pi system. For guidance on how to use Rsync, you can follow this article or here.
Conclusion
Rsync is a tool for synchronizing and transferring files between two systems across a network. Though this tool is already installed on the Raspberry Pi system, you can update it to the latest version by following the above-mentioned guidelines. These guidelines require downloading the Rsync latest version source file and extracting it into the home directory. After configuration and file installation through the “make” command, you can install and update the Rsync version on your Raspberry Pi system. However, you must reboot the device to update the changes.


