Git is an open-source tool for source code management that enables users to handle small to large projects easily. It benefits users by allowing them to work as a team on the projects for non-linear development. Linux users mostly use this tool to clone source files from the GitHub website and it’s already installed on the Raspberry Pi operating system. However, if users want to update the version of Git on the Raspberry Pi system, they should follow this guide.
How to Update Git on Raspberry Pi
To install the updated version of Git on Raspberry Pi, follow the below-given steps:
Step 1: Check Git Version
Before updating Git on Raspberry Pi, check the already installed version on the Raspberry Pi system:
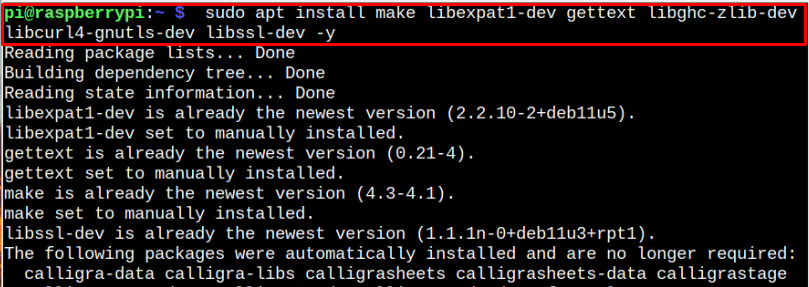
Step 2: Install Dependencies
Now, install some dependencies through the following command as these are required for the Git update process.
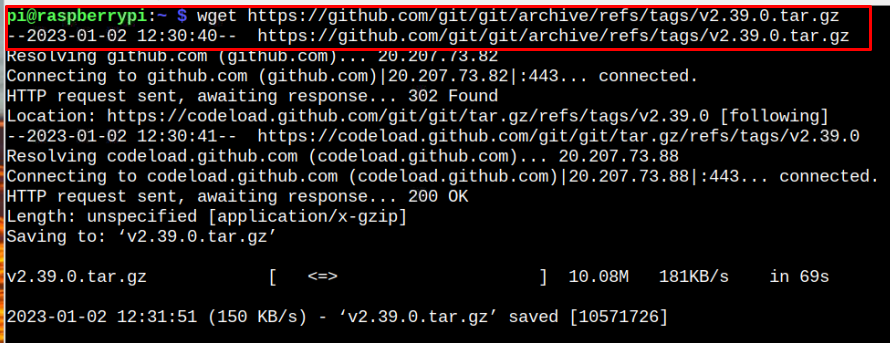
Step 3: Download Git Source File
Visit the link here to check the updated Git version and then download the version accordingly using the following wget command:
Step 4: Extract Git Tar File
To extract the Git source file contents, use the following command:
Step 5: Setting Up Git Update Process
Navigate to the Git source file directory through the following command:
Then use the following command to build Git installation packages on Raspberry Pi:
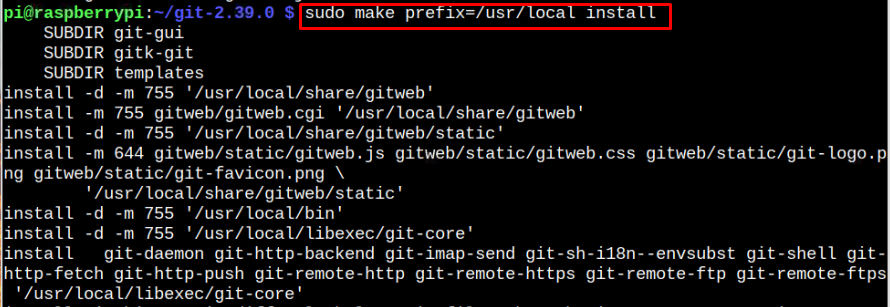
Once the packages are built, perform the installation through the following command:
Close the current terminal, reopen it and use the following command to confirm Git updated version:
At this point, Git is successfully updated on the Raspberry Pi system.
Conclusion
The guidelines mentioned above are helpful if users want to install an updated version of Git on a Raspberry Pi system. The users must download the source file from the GitHub website and extract the source file contents through the “tar” command. After that, they have to set up Git installation through the “make” command to update the version on the Raspberry Pi system successfully.


