In this article, we will let you explore the excellent features of Raspberry Pi by turning it into a media center and you can enjoy playing your favorite movies on your TV screen.
How to turn Raspberry Pi into a media center
Here, you will be provided with some guidelines that will let you turn your Raspberry Pi into a powerful media center.
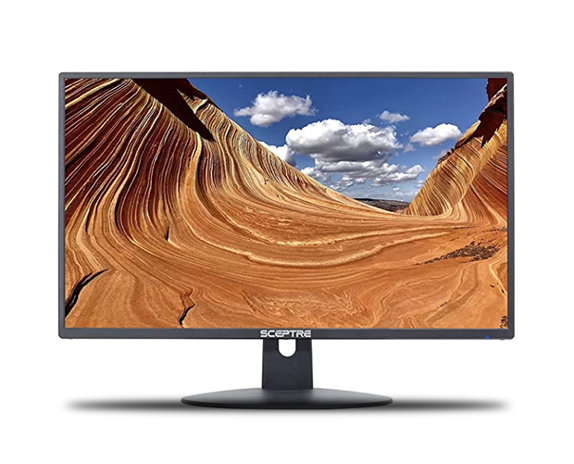
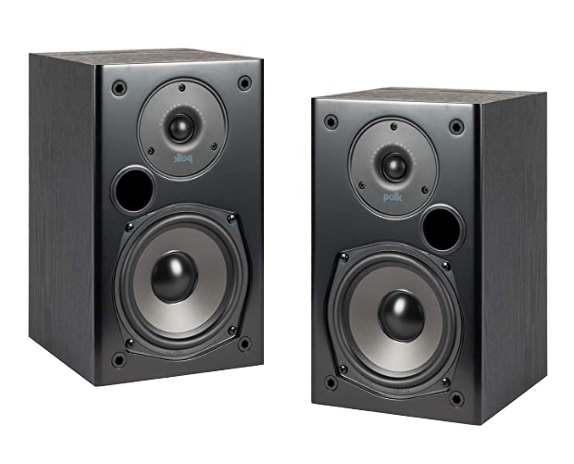
First, ensure that your Raspberry Pi device is connected with a monitor through an HDMI cable and you have essential components like mouse and keyboard for your device. In order to develop a powerful media center, you will need to buy a big screen monitor of around 32 to 40 inches and a good quality speaker to make your Raspberry Pi device a perfect home theater.
If you want to purchase a recommended monitor and speakers for your Raspberry Pi device, then you can click on the below mentioned amazon link to get them.
Afterwards, you will have to follow the below mentioned steps which you will need to undertake in order to assure a successful conversion of Raspberry Pi into a media center.
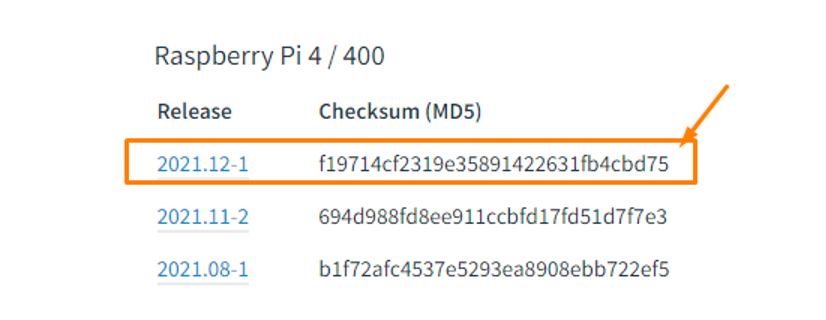
Step 1: In the initial step, you will need to download a media center image for your Raspberry Pi device and you will need to download the especially designed media center OS called OSMC (formerly called Raspbmc). It’s an open-source OS that brings the experience of playing media files onto your Raspberry Pi device.
The OSMC media center can be easily downloaded from its official website. It is to be noted that you will be required to download the OSMC for your Raspberry Pi model, if you are using Raspberry Pi 4, you will have to choose the download in the Raspberry Pi 4 section as shown below.
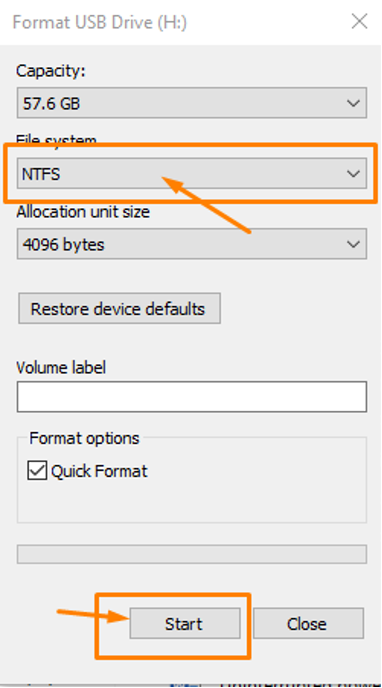
Step 2: Next, put the SD card in the card reader and then place the card reader into your PC usb port. Format the SD card properly through the NTFS/FAT file system.
Step 3: In the next step, you will need a utility that will create an image of your OSMC media center onto your SD card. For that you can go with the balenaEtcher app by downloading it from its official website.
Step 4: After completing the installation of balenaEtcher, open the app on your PC.
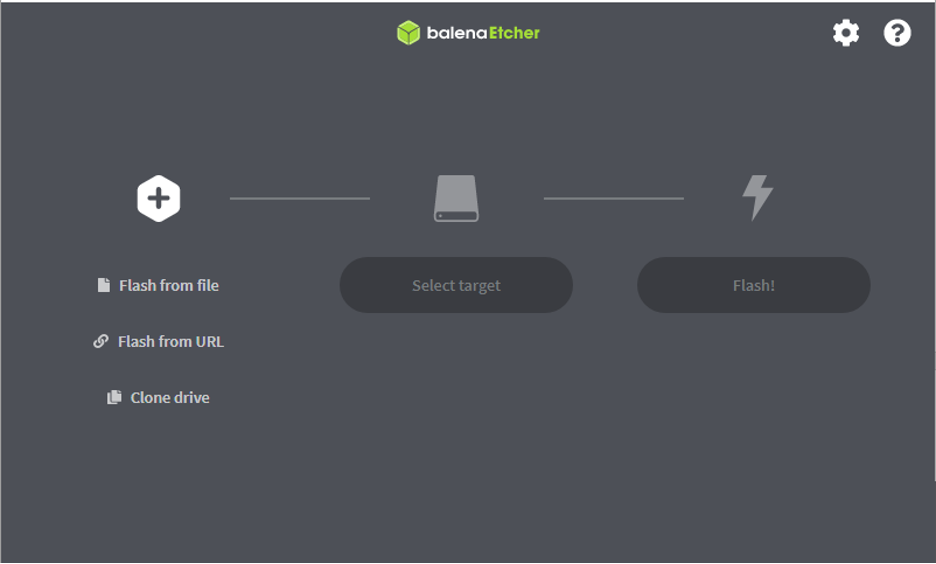
Step 5: Now in the balenaEtcher, choose the option “Flash from file” and locate the OSMC image file you have downloaded onto your desktop and load it.


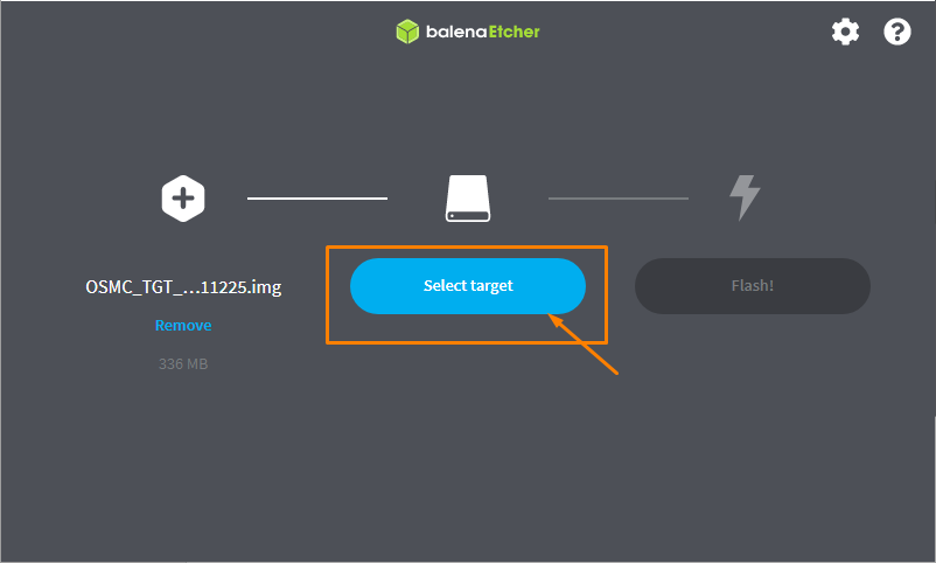
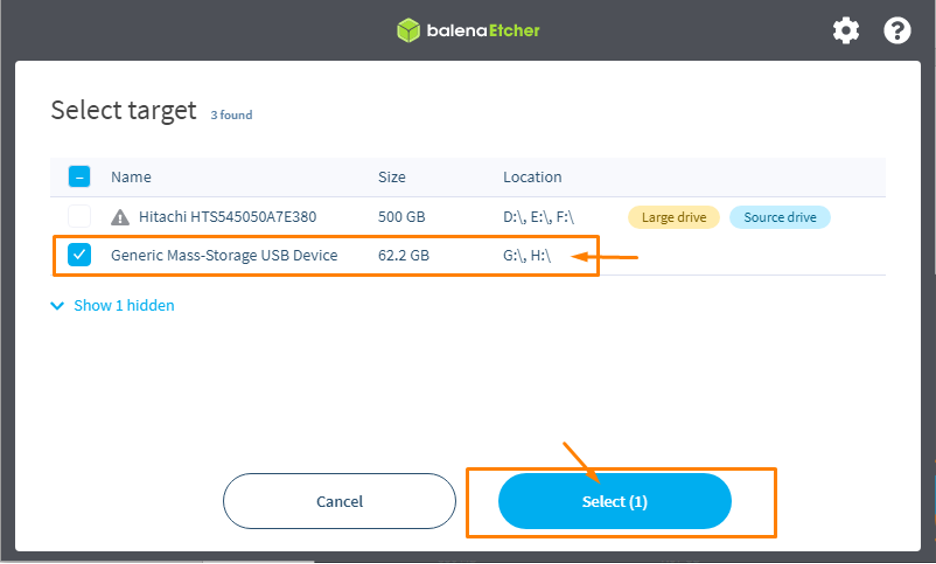
Step 6: Next, choose the option “Select target” and choose your SD card storage.
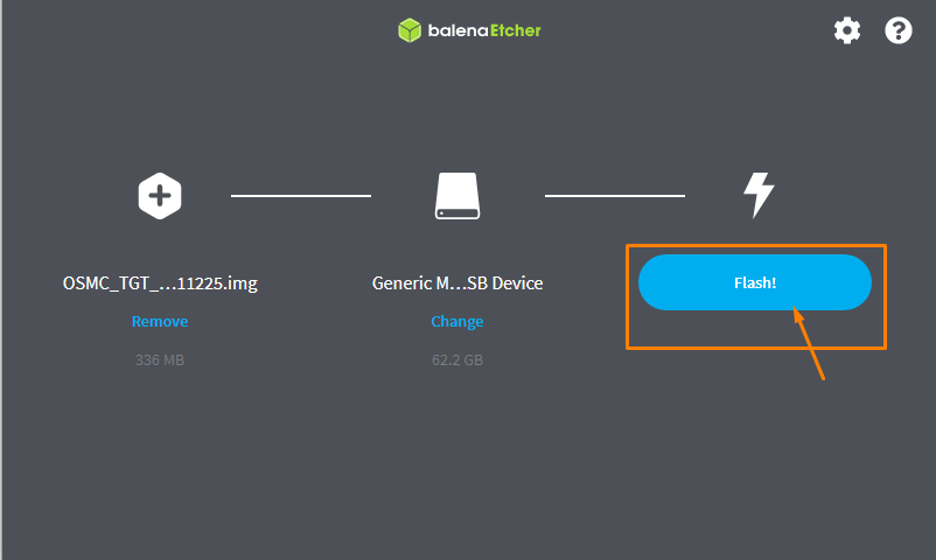
Step 7: Choose the “Flash” option to begin the OSMC image creation process onto your SD card.
Step 8: When the installation is complete, turn on your Raspberry Pi device and remove the SD card from the card reader and port it into your Raspberry Pi device.
Step 9: Wait for a while until you will see the OSMC desktop onto your Raspberry Pi monitor.
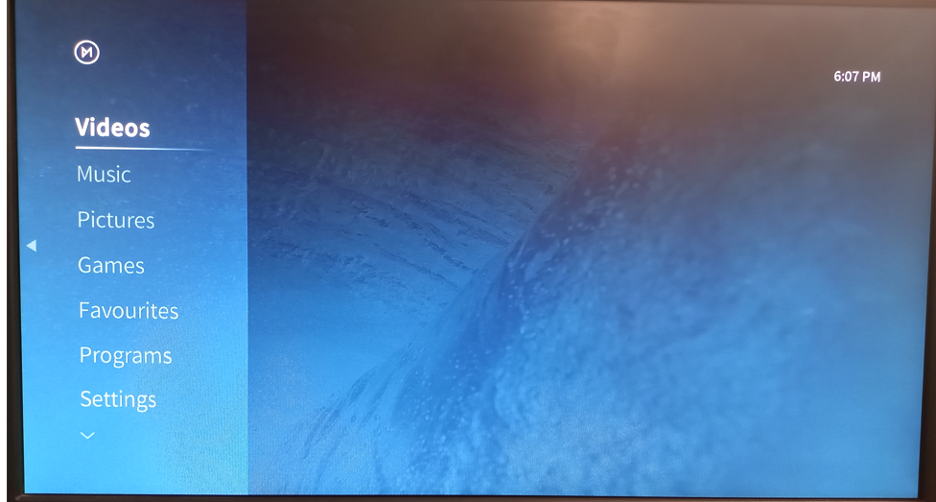
There you go, after the successful installation, you will now be able to explore your favorite videos, music, games and much more onto your Raspberry Pi device as your device is now turned into a media center.
Conclusion
Raspberry Pi device is a great tool to be used as a powerful media center if you have managed to install OSMC OS onto your device. The above installation instructions are relatively simple and it will take a few minutes to turn your Raspberry Pi into a media center. After the installation, you will enjoy watching movies on Netflix or other recommended platforms.