Turn a Raspberry Pi into an Airplay Receiver
Setting up Airplay on Raspberry Pi isn’t difficult; we will use an open-source application called ”Shairport Sync”. It implements Apple’s proprietary protocol on your Raspberry Pi system, allowing the users to stream music from their Apple devices to Raspberry Pi speakers. You should follow the step-by-step guidelines below that help you set up a Raspberry Pi Airplay receiver.
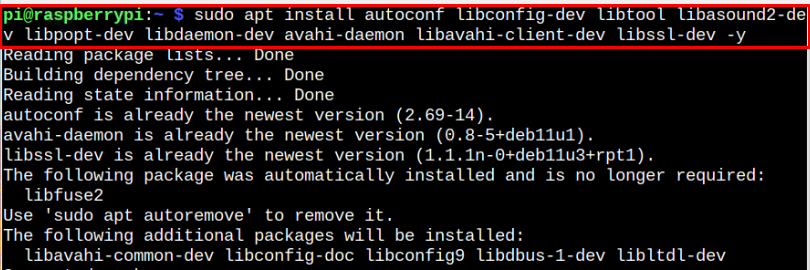
Step 1: Install Perquisites on Raspberry Pi
First, you should install some perquisites required for turning Raspberry Pi into an Airplay receiver and you can do so through below-given command:
Step 2: Clone Shairport Sync Source Code on Raspberry Pi
Shairport Sync is an audio player used to play Airplay sound on Linux system and you can download its source code from the GitHub repository through the following command:

Step 3: Open Shairport Sync Directory
Completing the above step creates a directory with the name “shairport-sync” and places all the files inside the directory. To open this directory on your Raspberry Pi system, follow the below-given command:

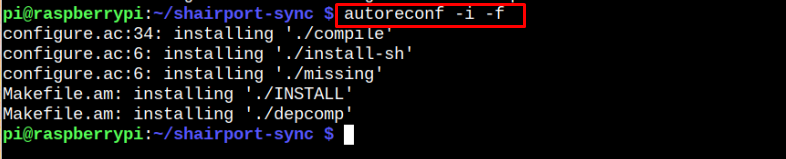
Step 3: Configure Shairport Sync
Now, to start configuring and setting up Shairport sync, you must first execute the following command to setup basic configuration files on Raspberry Pi:
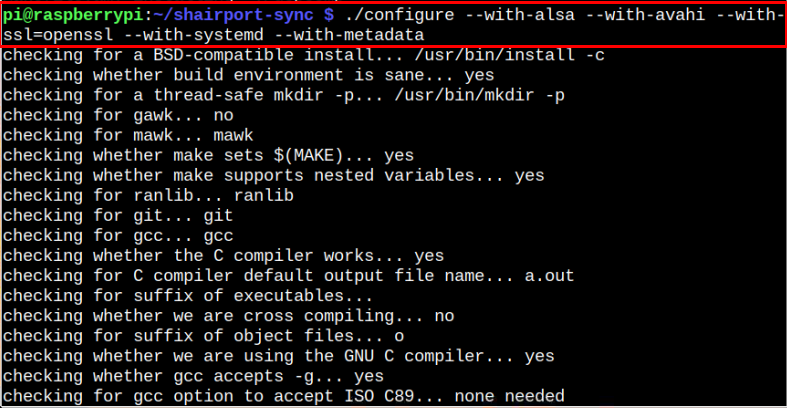
Afterward, you must execute the below-mentioned command to configure Shairport-sync and allow it to use the perquisites like Alsa, Avahi and Open SSL.
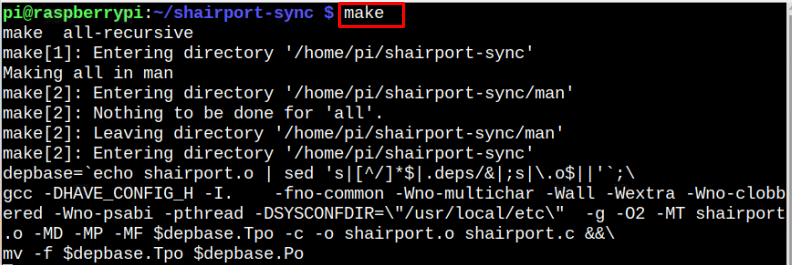
Step 4: Install Shairport Sync on Raspberry Pi
After the successful configuration, you can install Shairport sync on Raspberry Pi by first executing the make command to set up the installation.
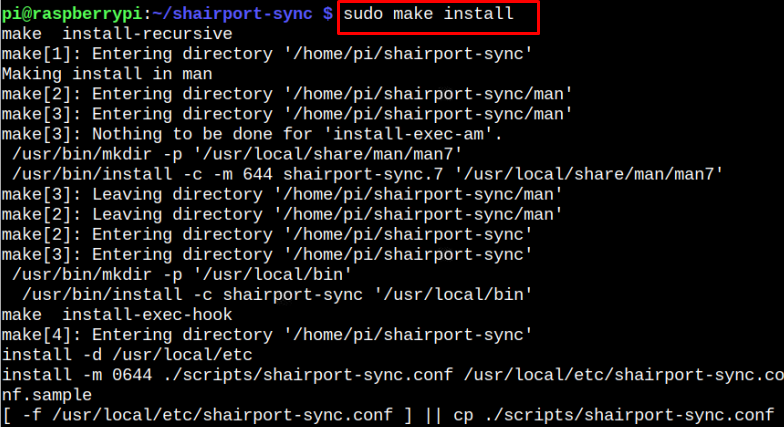
Then, you can apply the following command to install Shairport sync on your Raspberry Pi system.
Step 5: Enable Shairport Sync Service on Raspberry Pi
After successful installation of Shairport sync, you should enable its service on your Raspberry Pi system from the following command:

Step 6: Start Shairport Sync Service on Raspberry Pi
Once you enable the Shairport sync service, you can execute the below-mentioned command to start its services on the Raspberry Pi system.

You can also confirm the Shairport sync running status from the following command:
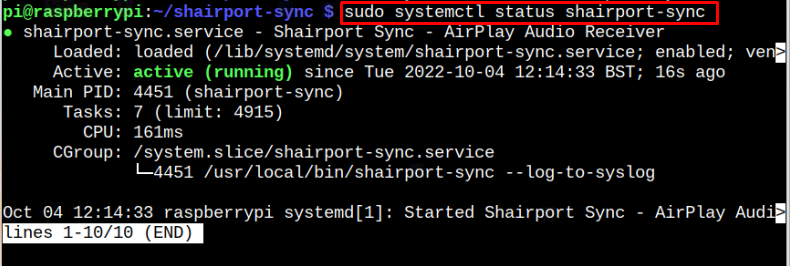
With an active (running) status, you have successfully set up an Airplay audio player on your Raspberry Pi system.
Step 7: Connect Airplay to Raspberry Pi
Now, open Airplay on your Apple device (from the control panel) and search for the devices; you will see your Raspberry Pi appears in the search. tap on the device to connect it with the Airplay.

After a successful connection, you can start playing sound from your Apple device and listen to it on your Raspberry Pi speakers.
Conclusion
Airplay is an application that allows Apple or Mac users to stream music, videos, and pictures on their Airplay-enabled smart TVs. You can turn your Raspberry Pi into an Airplay receiver using an open-source application called “Shairport Sync”, which can be set up using the guidelines mentioned above. After the successful setup, you can open Airplay on your Apple device and connect your Raspberry Pi device to start streaming music on your Raspberry Pi speakers.