In this tutorial, we will show you how you can turn your Raspberry Pi device into a powerful FM transmitter.
Turn Raspberry Pi into FM Transmitter
If you want to turn your Raspberry Pi device into FM transmitter, you will require to perform the following steps:
Step 1: Attach a cable to Raspberry Pi GPIO Pin
First, you will need to attach a connecting cable to Pin 4 of the Raspberry Pi GPIO Pinouts as shown in the image below:

Step 2: Create Directories
Then, open the Raspberry Pi terminal and create a directory to store some files. To make this happen, use the following commands to create a directory with the name “PI_FM” and navigate to the created directory:
$ cd PI_FM

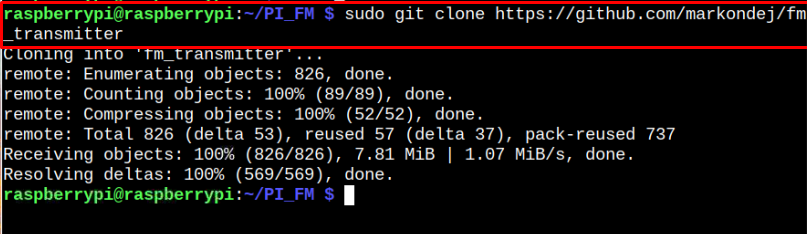
Step 3: Download Built-in program
Next, you will require to clone or download the program from the GitHub repository into the “PI_FM” directory using the command:
Step 4: Install a Compiler
The above program downloaded in Step 2 is written in C language so you will need a compiler to execute this program. So, here we are using a g++ compiler that will execute the program using the tool called “make”. To make the whole process work, use the following command to install the compiler on Raspberry Pi.
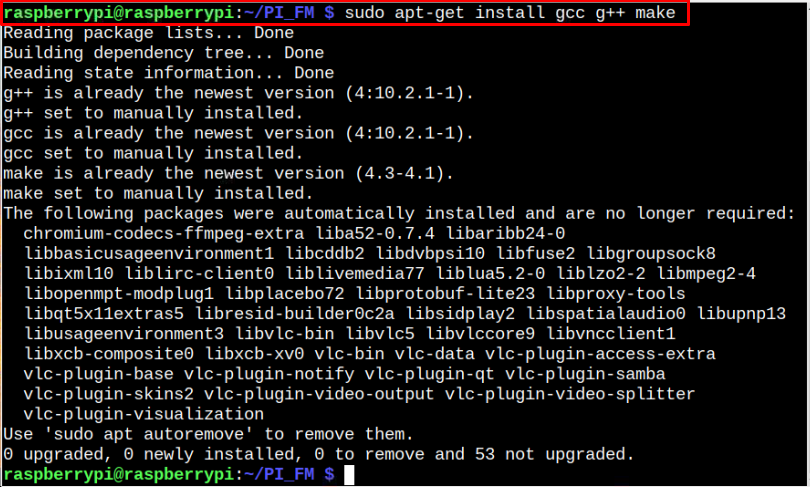
The above command will install the compiler on your device.
Step 5: Compile the Program
Next, navigate to “fm_transmitter” directory using the following command:
![]()
Then use the following command to compile the C code in the current directory.
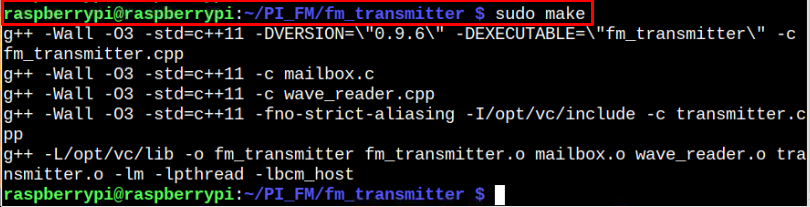
This completes the setup of turning your Raspberry Pi into an FM transmitter.
Play Audio File on FM channel
Now, if you want to play an audio file on an FM channel, you will need to select the FM frequency range as well as you will need an audio file to play it on the assigned channel.
The following syntax will be used to transfer the audio to FM channel:

The normal FM range lies from 88MHz to 108MHz. However, you will need to ensure that no other channel is working on your current frequency otherwise you won’t be able to play the audio file. Also, the audio file must be present in the fm_transmitter directory.
In our case, we have set the frequency to 90MHz and the audio is running perfectly fine. To listen to the audio file, go to FM radio from your mobile device and set the channel to “90”, you will be able to listen to the music originating from the Raspberry Pi to the FM channel.
Conclusion
Through this guide you have learned how to turn Raspberry Pi into a FM transmitter, use the above given steps on your device and enjoy playing music files on a live FM channel. You can also use a microphone with your device to start streaming yourself live on the FM stations. In case, if you experience a noise, you may change the frequency range for clear audio.