
How to use Trace Bitmap in Inkscape
As a vector graphics editor, Inkscape permits users to create the vector tracing of the bitmap images by utilizing the “Trace Bitmap”. With the help of the Inkscape “Trace Bitmap” tool, you can create logos, cartoon-style tracing, vector textures, and design silhouettes from the selected image.
To use the “Trace Bitmap” tool; first of all, open up the Inkscape application on your system:
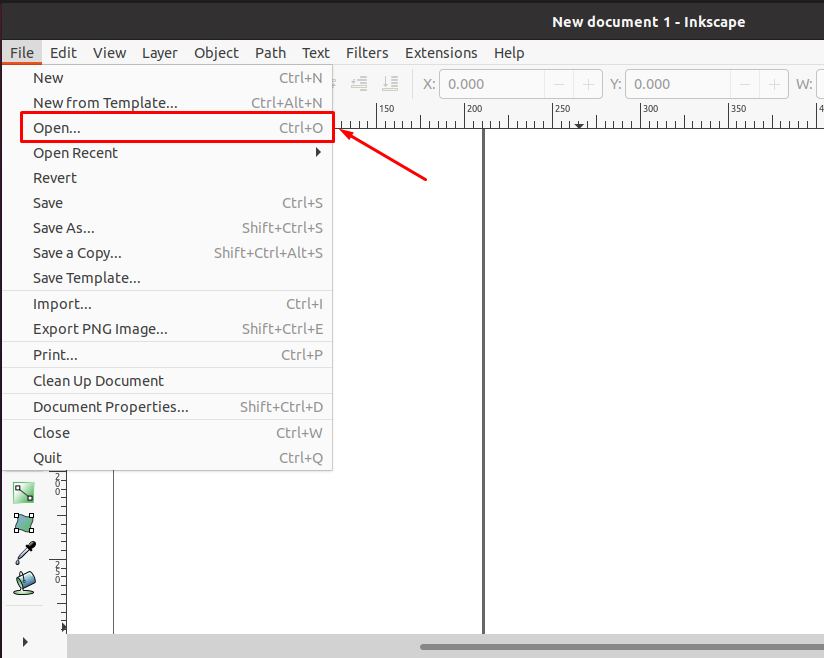
In the next step, we will open our desired image in Inkscape. For this purpose, look for the “File” open in the Inkscape menu bar:

From the drop-down “File” menu, click on the “Open” option:
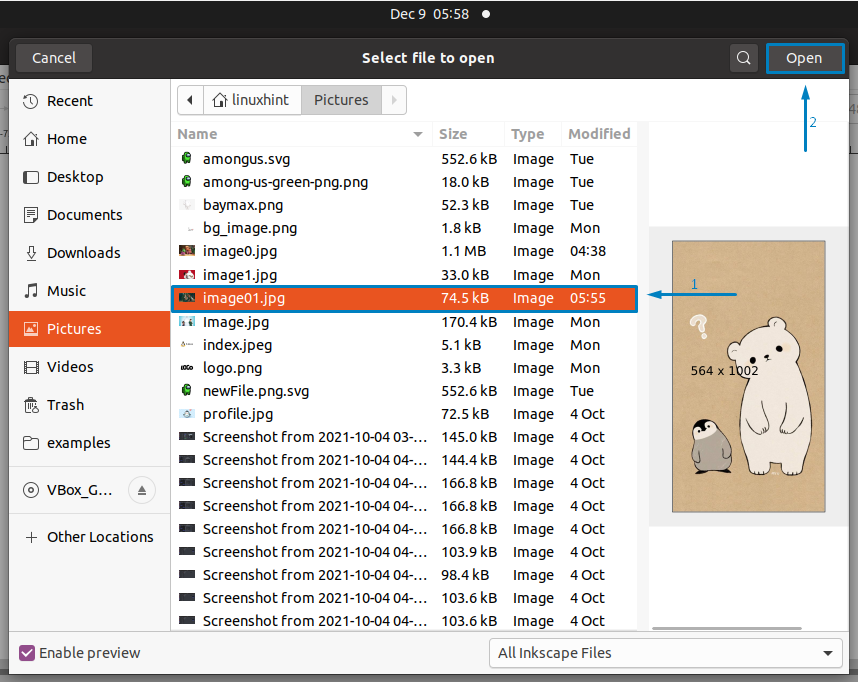
Now, select the image you want to trace using the Trace Bitmap Inkscape tool. For instance, we have selected “image01.jpg” from the “Pictures” directory of our system:
Your selected image will be loaded into the Inkscape canvas:

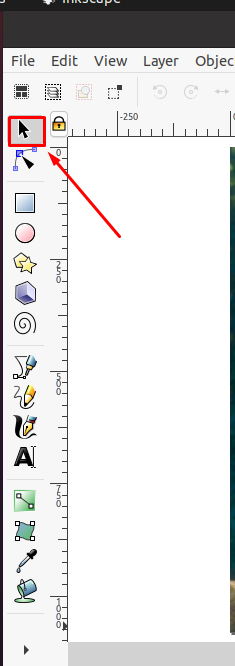
Next, click on the “Select and Transform” tool from the Inkscape toolbar, which is located at the left side of the opened window:
Now, with the help of the “Select and transform” tool, select the uploaded image:

After doing so, look for the “Path” option in your Inkscape menu bar:

Select the “Trace Bitmap” tool from the “Path” menu:

At the right side of your Inkscape canvas, the Trace Bitmap tool properties will appear:
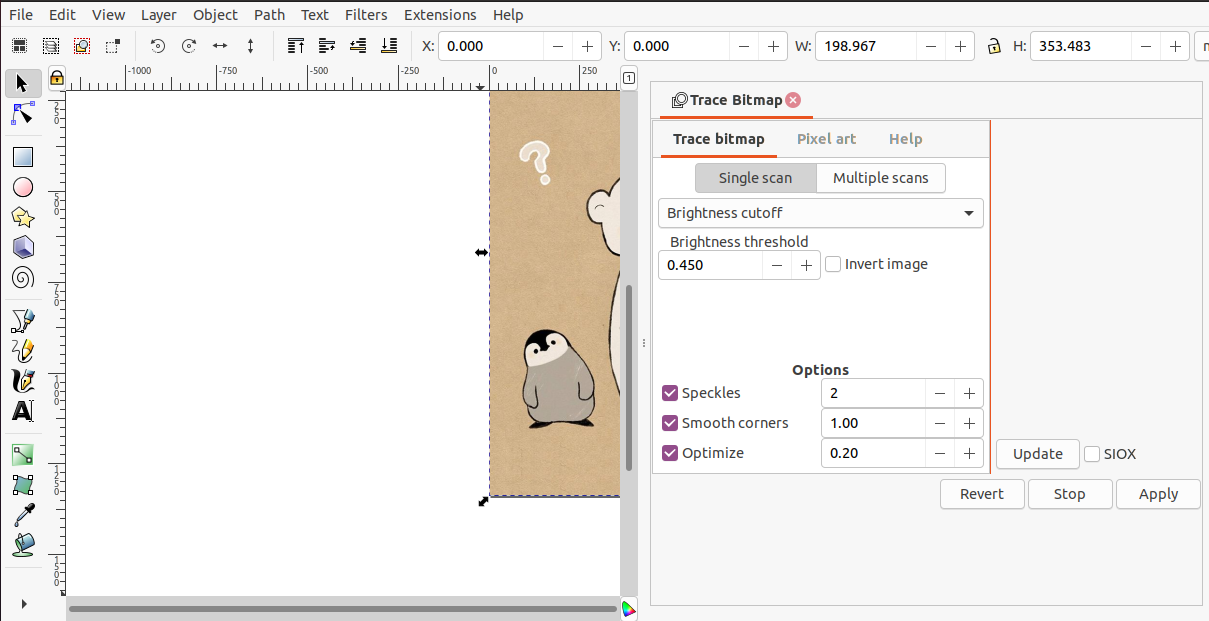
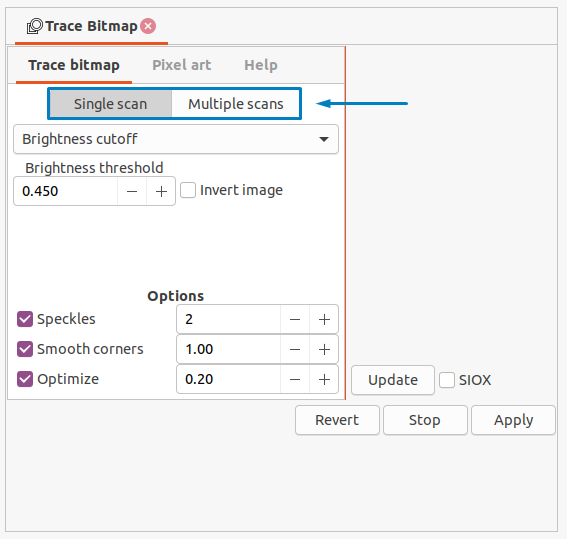
The “Trace Bitmap” window comprises two options, Single scans, and Multiple scans:
How to use Trace Bitmap Single scan settings in Inkscape
The Single scan option of the Trace Bitmap tool is utilized for creating a single vector object or monotone tracking over the selected image. These settings are mainly used for turning photos into logos.
Now, check out the below-given image to have a better understanding of the Single scanning image result:

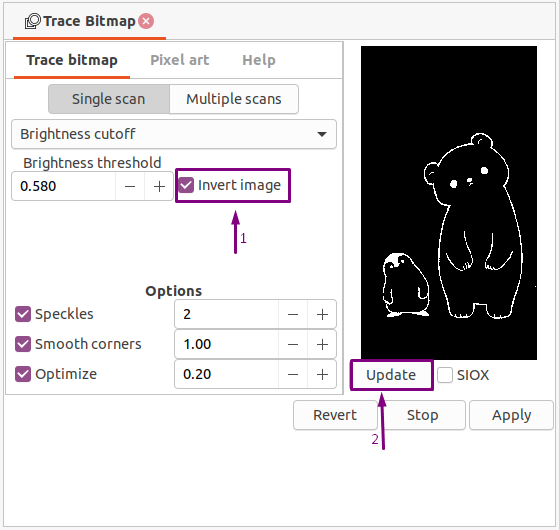
After clicking the “Single scans” settings tab, the first thing you will note is a drop-down menu with the “Brightness cutoff” option enabled by default. The “Brightness cutoff” option generate a path same as silhouette that usually follows the image contour.
Under the highlighted drop-down menu, there also exists an input field for setting the “Brightness threshold“. The threshold value decides the number of pixels that will be considered white. After settings the single scan options, you have to click on the “Update” button to preview your selected image with the single scanning result:

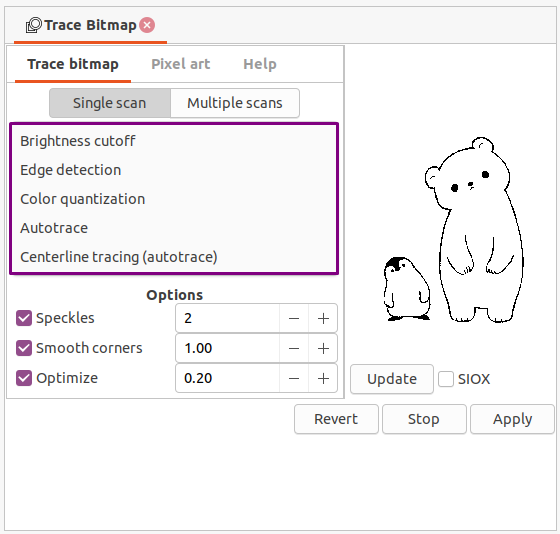
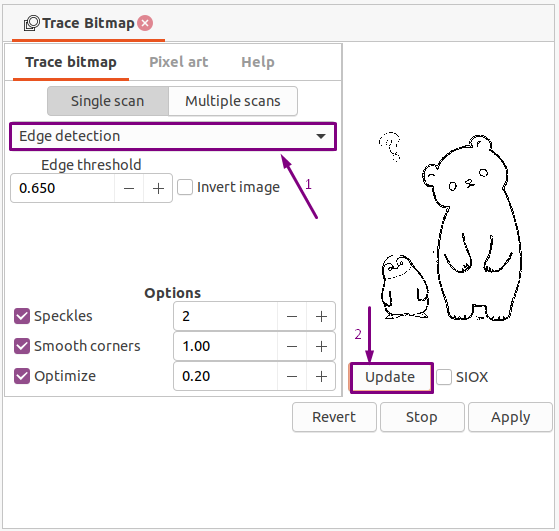
You can also explore other options of the drop-down menu, which are: “Edge detection”, “Color quantization”, “Auto-trace”, and “Centerline tracing”.
If you want to vectorize the image’s boundary, the “Edge detection” mode comes in handy. In contrast, the Color quantization mode scans the edges where the bitmap color changes. Lastly, to enable the automatic tracing, you can select Centerline tracing or the Auto-trace mode:
We recommend you check each of the mentioned options and then click on the “Update” button to find out the setting which traced the image at its best.
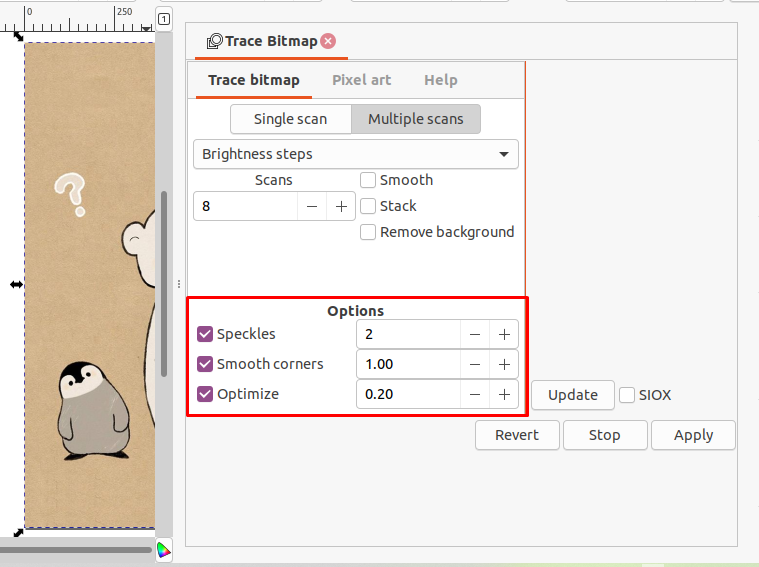
After selecting your single scan mode in Trace bitmap, you can customize its other related settings such as “Speckles”, “Smooth corners,” and “Optimize”. Enabling the “Speckles” option will enable the Inkscape to ignore the small spots of the bitmap image, and the “Smooth corners” option will smooth out the sharp edges of the traced image. Thirdly, the “Optimize” option will assist in optimizing the paths of the adjacent segments; you can tweak each of them according to your requirements:
To check out the reverse form of your bitmap tracing, mark the “Invert Image” checkbox and then click on the “Update” button and see its preview at the right side of the window:
Setting the Single scan options in Trace bitmap is based on three steps. Firstly, select the required mode from the drop-down menu. Then, tweak its related options and click on the “Update” button to preview the traced bitmap:
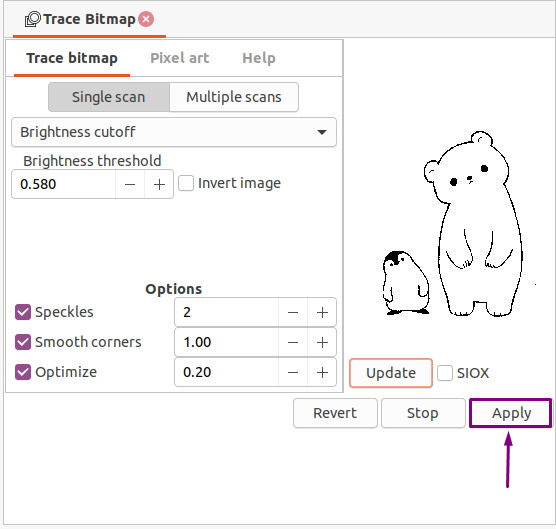
If the image preview meets your tracing requirements, then click on the “Apply” button for generating the vector tracing:
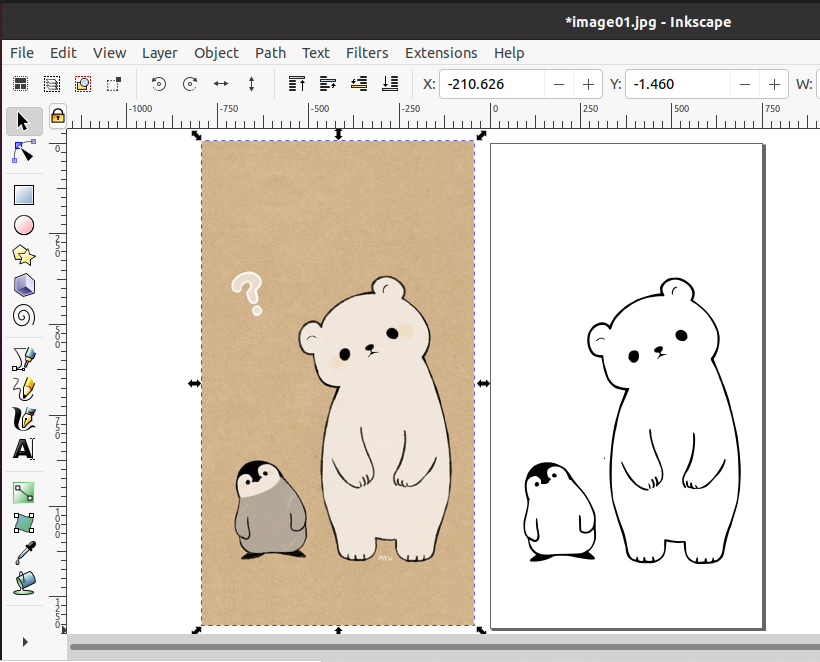
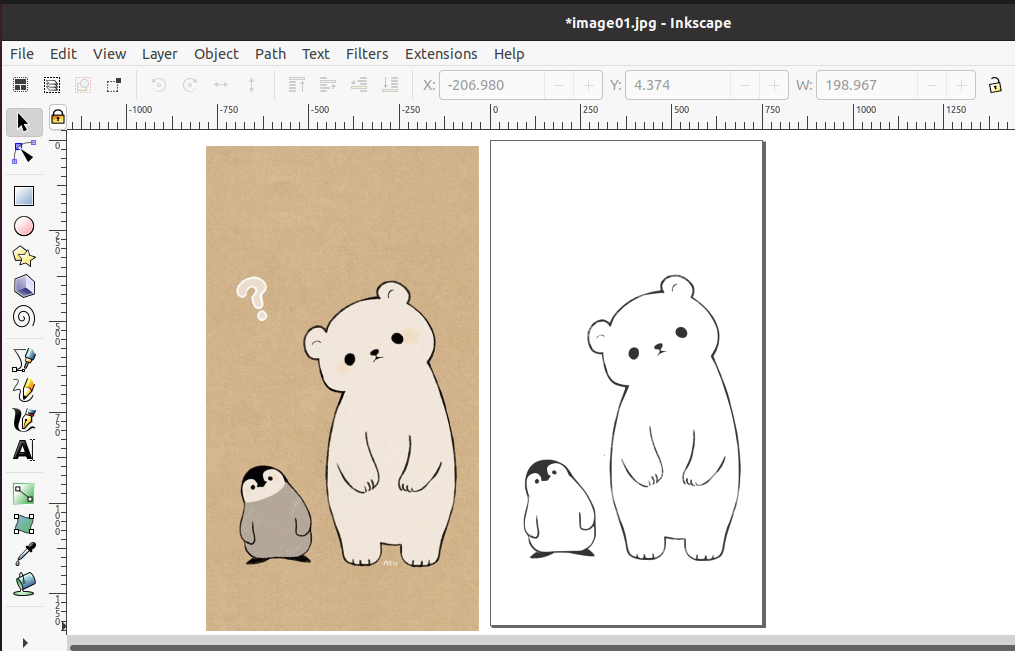
Inkscape will place the generated vector tracing on the original image. Use your mouse to drag it at the left or right side:
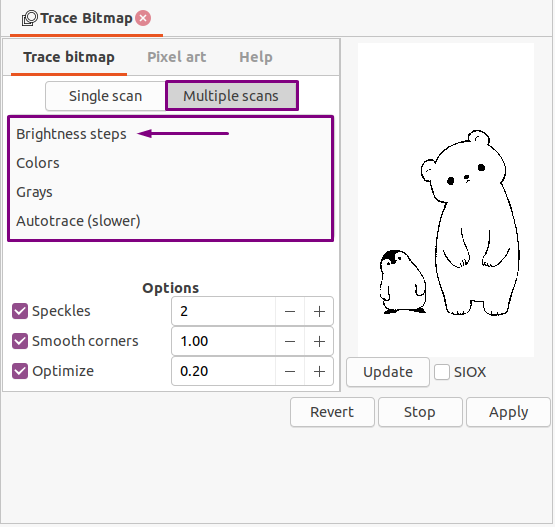
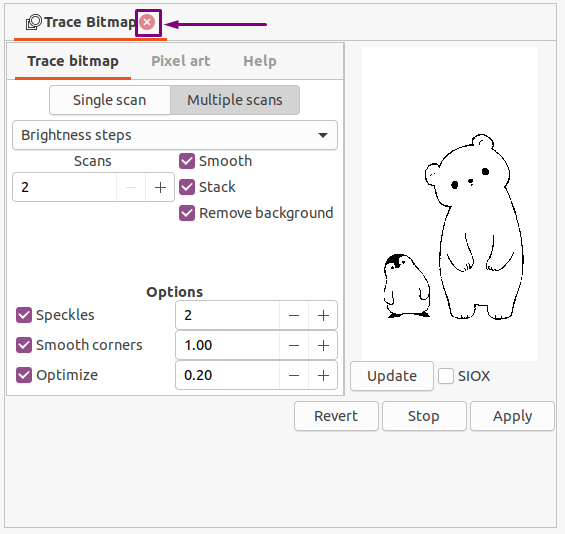
How to use Trace Bitmap Multiple scans settings in Inkscape
If you want to create multiple vectors tracing in multiple colors, then tweak the Multiple scans settings of the Trace Bitmap. Inkscape users primarily utilize it for creating cartoon-style tracing of the uploaded image.
From the drop-down menu of the Multiple scans settings, you can select any of the following modes: Brightness steps, Colors, Grays, or the Autotrace:
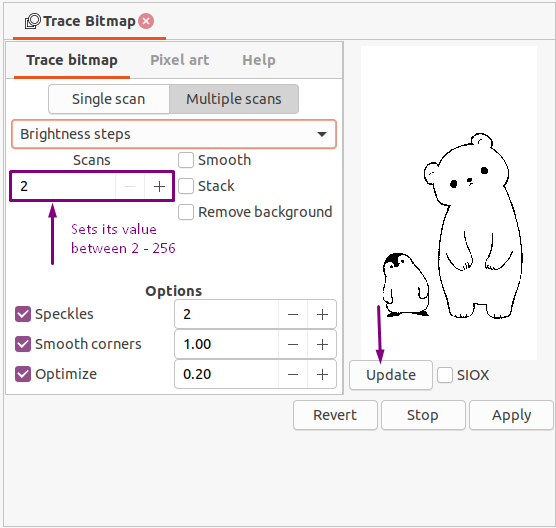
After selecting the Multiple scans mode, move ahead and set the value of the “Scans” option. “Scans” represents the number of colors or the number of scans that will be generated for the traced bitmap. You can set its value between “2” to “256”. After adjusting it, click on the “Update” button and check out the preview:
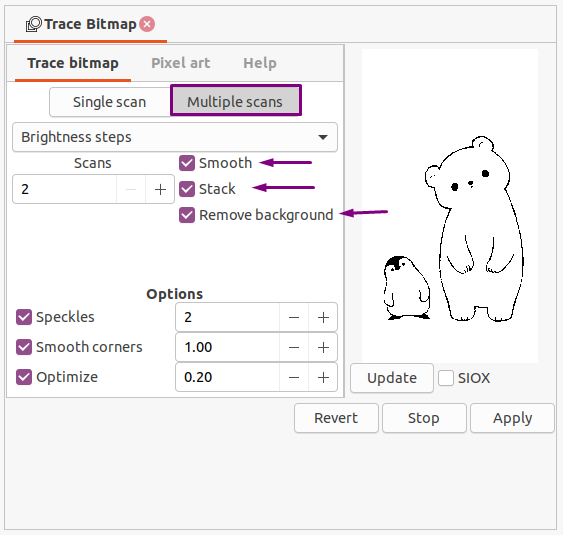
The Multiple scans tab also has other checkboxes: Stack, Smooth, and Remove background. As the name implies, the “Remove Background” option can remove the background from the traced image. The “Smooth” option will help the Trace Bitmap tool to apply a Gaussian blur to the selected image, and the “Stack” option place the generated scans on the top of the original image:
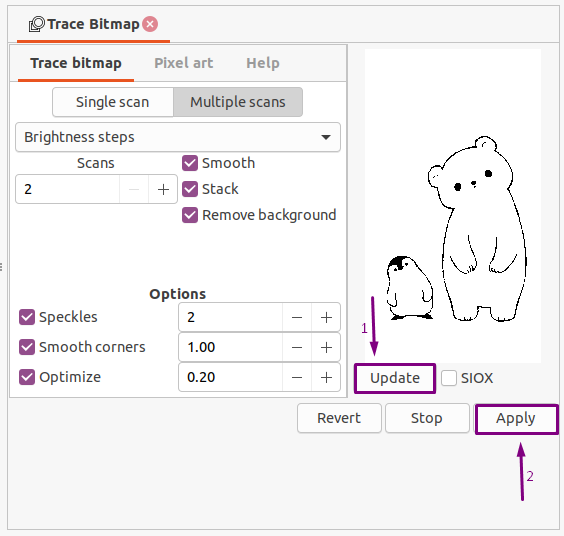
The method to apply the Multiple scans is the same as the previous one. First of all, select the multi scans mode, then click on the “Update” button to see its preview, and lastly, hit the “Apply” button if you have tweaked the setting according to the tracing requirements:
After performing the specified procedure, click on the cross “✖” button to close the Trace Bitmap tool window:
By using the cursor, now drag the traced image in any direction to separate it from the original image:

Conclusion
Inkscape offers its users the facility to generate the vector tracing of any raster image. You can use this Inkscape feature for creating vector traces, silhouettes, and the cartoon-style tracing of the selected image with the help of Trace Bitmap tool. Trace Bitmap tool permits you to tweak the Single Scans and Multiple Scans settings for tracing purposes. This write-up explained how to use Trace Bitmap in Inkscape. Moreover, the procedure of using Single Scans and Multiple Scans settings is also provided.