Do you not know how to merge layers in Inkscape? No worries! This write-up will provide step-by-step instructions for merging layers in Inkscape. So, let’s start!
How to create layers in Inkscape
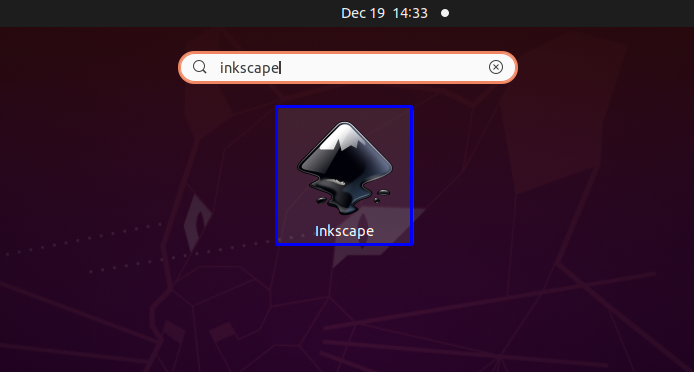
Before merging layers, you must add some layers to our Inkscape document. To show you the procedure of adding layers, firstly, we will open up “Inkscape” by searching it manually in our system applications:
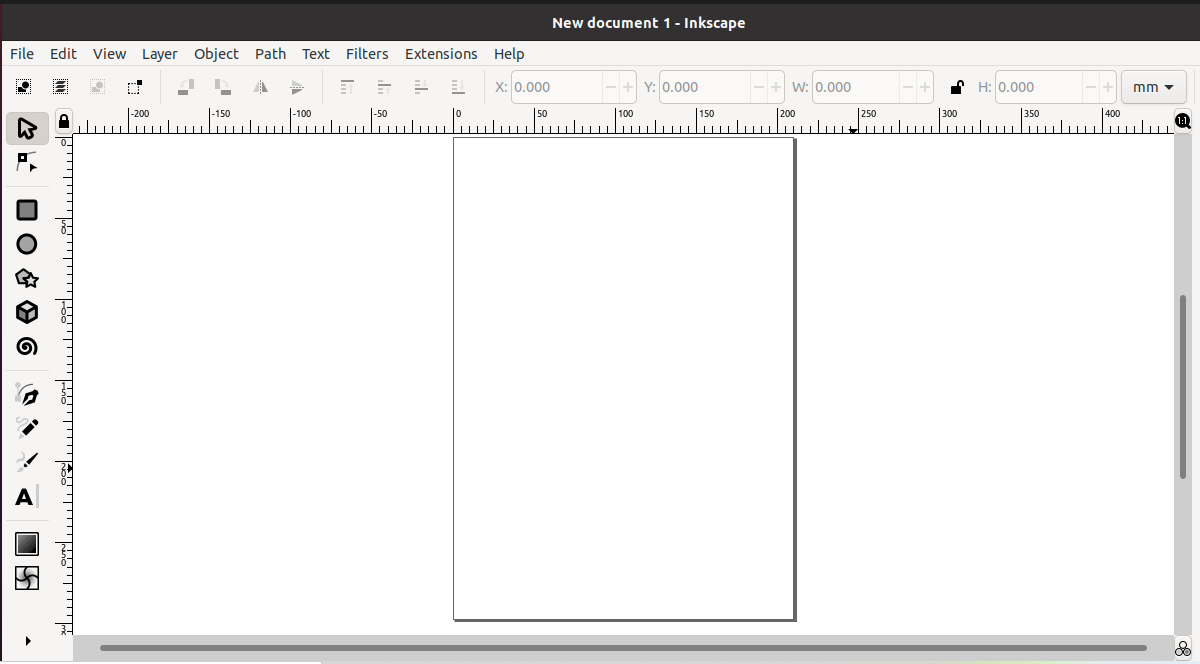
In the next step, we have created a new Inkscape document:
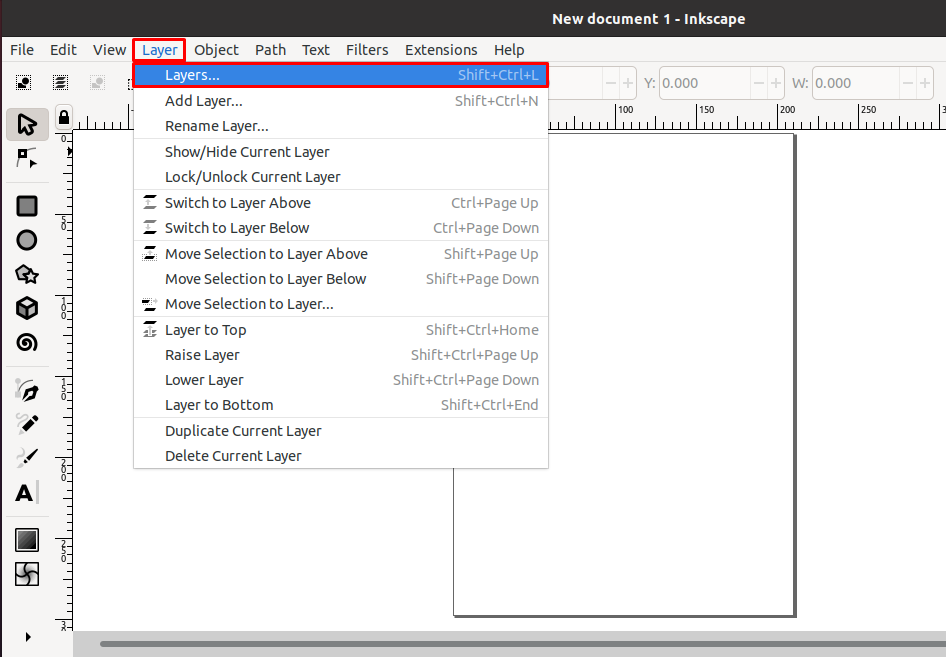
After that, press “Shift+Ctrl+L” to open up the “Layers” window. You can also look for the “Layers” option in the “Layer” menu bar:
Now, you will see a “Layers” window at the right side of the screen:
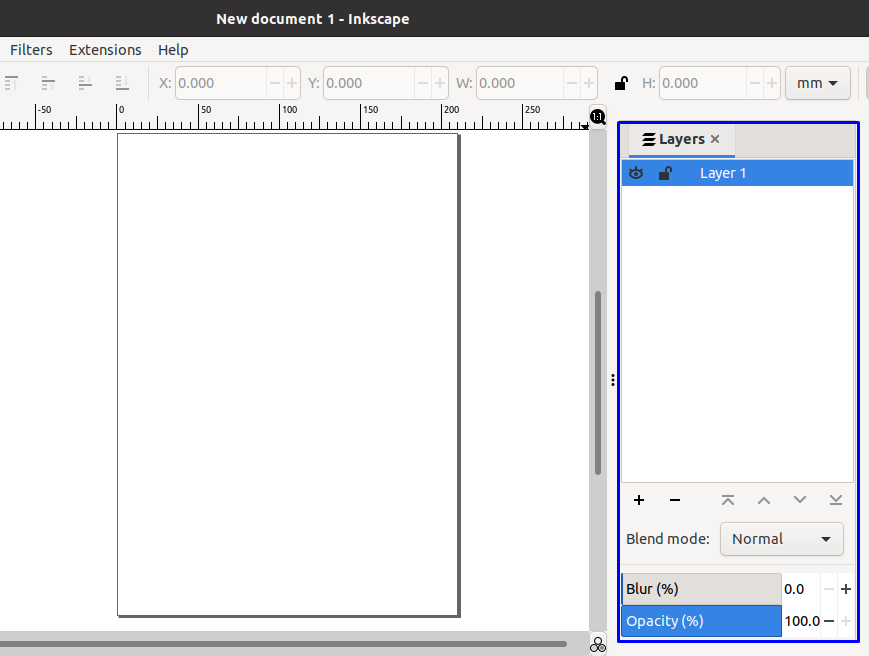
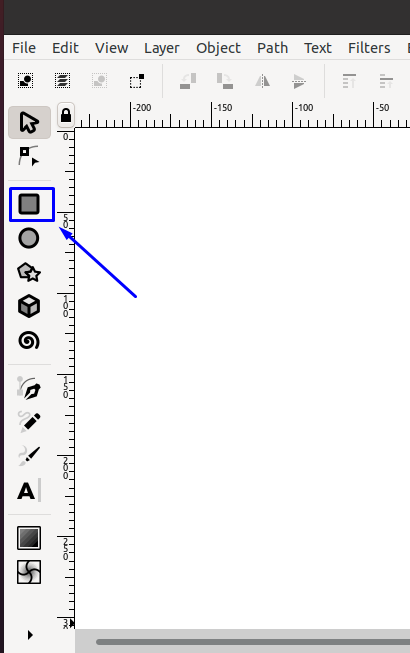
The Inkscape will automatically create a “Layer1”. You can consider it your first layer and add some objects to it. In our case, we will use the “Rectangles and Squares” tool for adding two different rectangles to our Inkscape canvas:
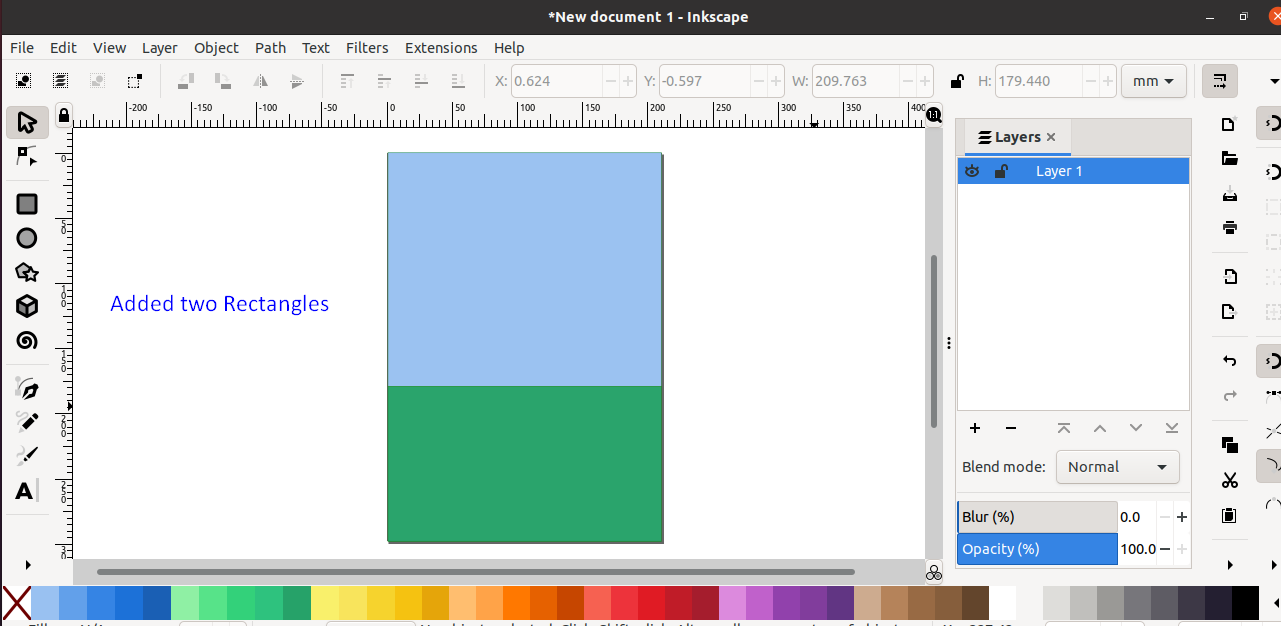
After adding the Rectangles, we have changed the colors and adjusted their positions according to our requirements. Here, the “Green” Rectangle represents “Grass,” and the “Blue” one indicates “Sky”:
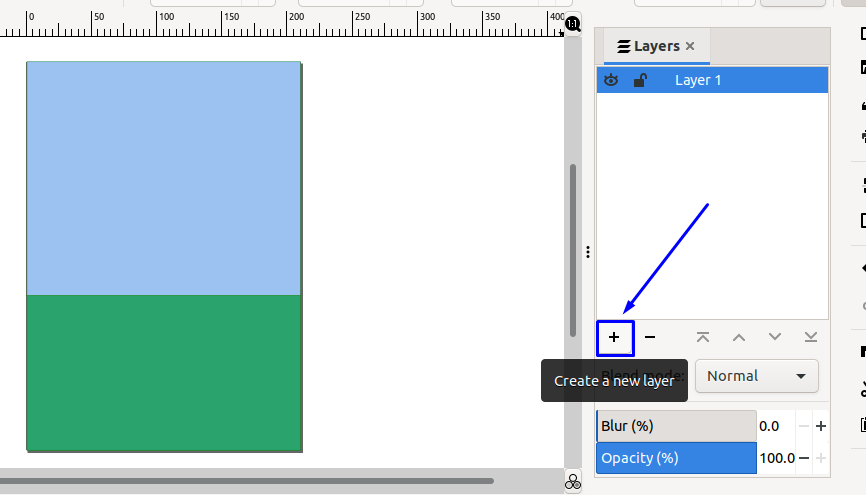
Now to create a new layer for your Inkscape document, click on the “+” button from the “Layers” window:
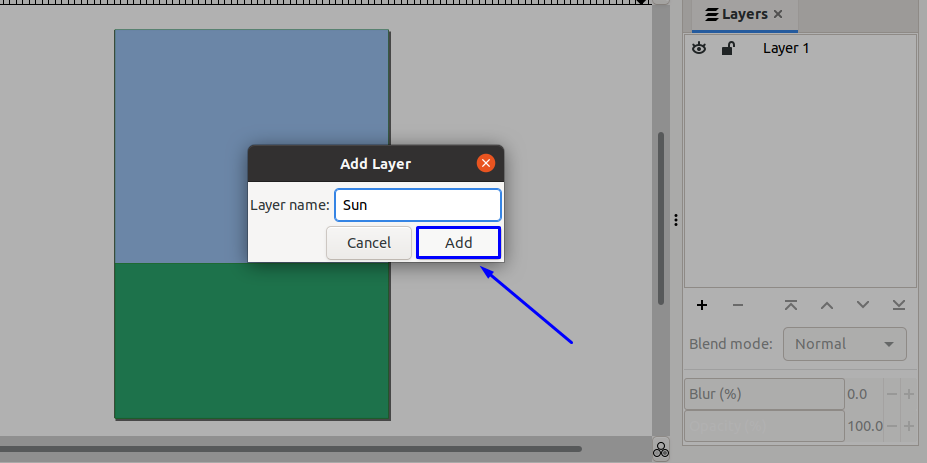
An “Add Layer” dialog box will appear on your screen asking you to input the “Layer name”. Specify the name for the layer and click on the “Add” button:
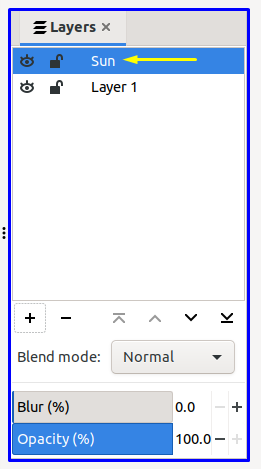
We have created a “Sun” layer which can be seen in the below-given “Layers” list:
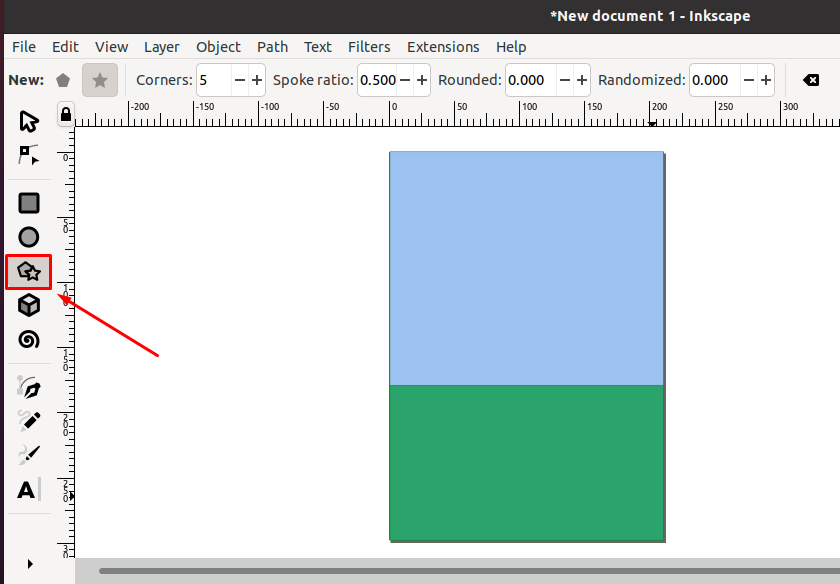
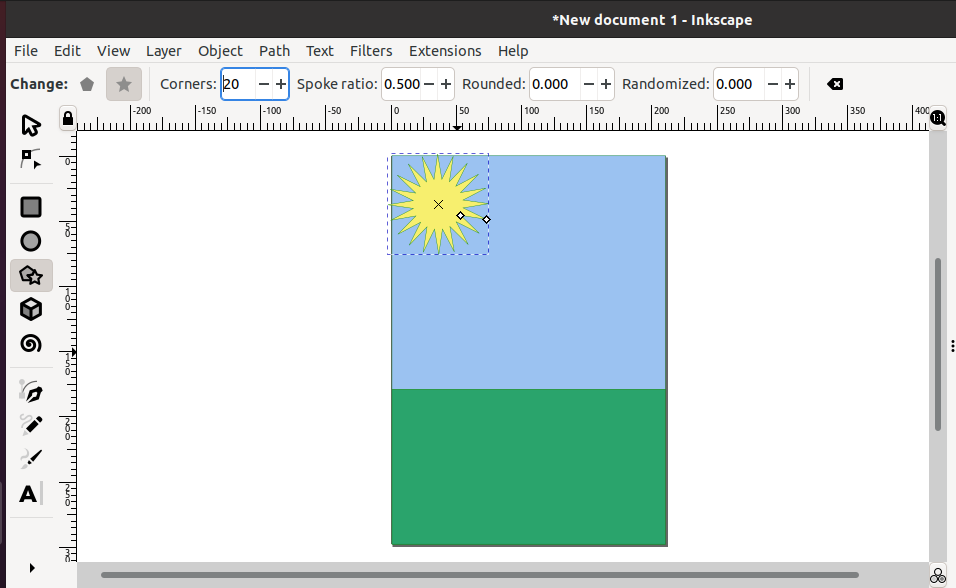
As the “Sun” layer is now selected, we will add an object to it by using the “Stars and Polygons” tool from the Inkscape toolbar:
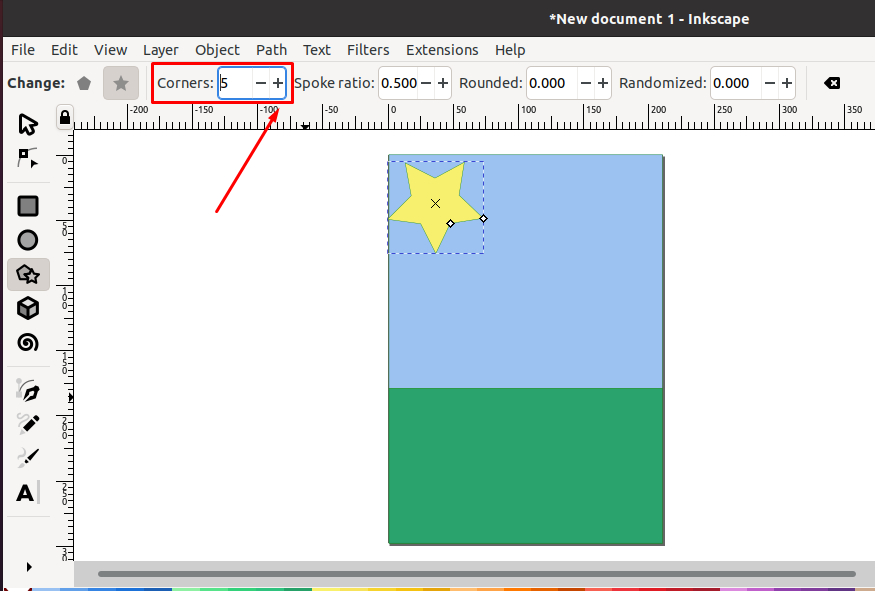
After adding the “Star” in the selected layer, we will increase its number of “Corners” so that it can be transformed into the “Sun” shape:
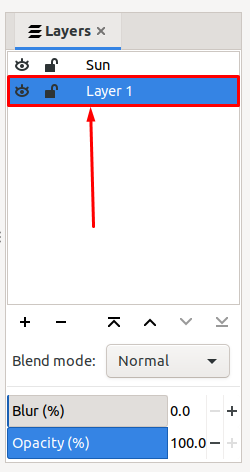
If you want to rename a layer in Inkscape, select that layer from the “Layers” window. In our case, we have clicked on the “Layer1”:
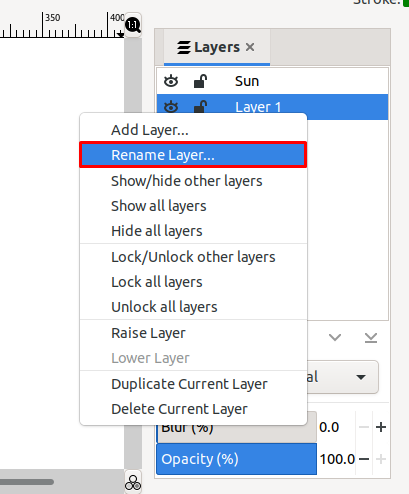
Now, look for the “Rename Layer” option in the drop-down left-click menu:
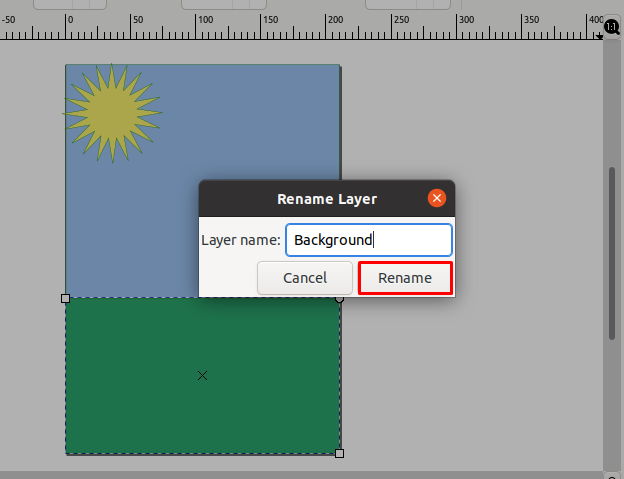
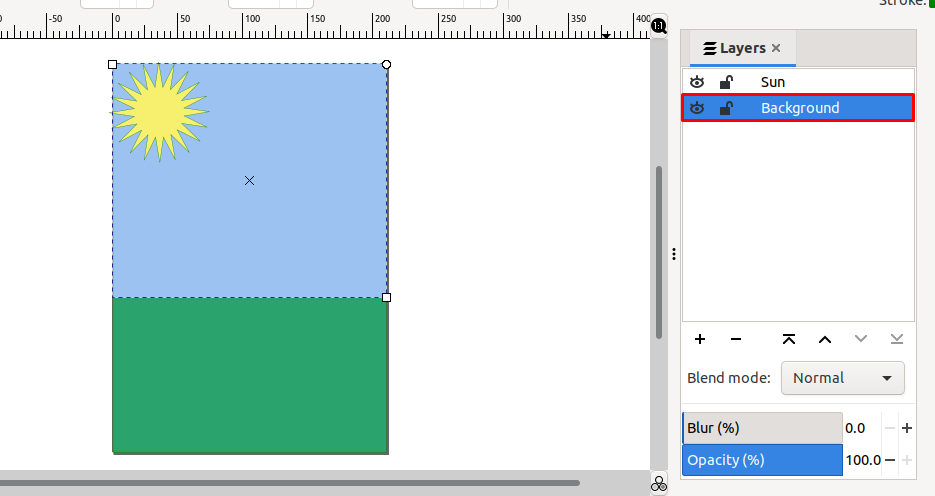
In the next step, we will rename our “Layer1” selected layer to “Background”:
The changes we have made can be seen in the “Layers” window:
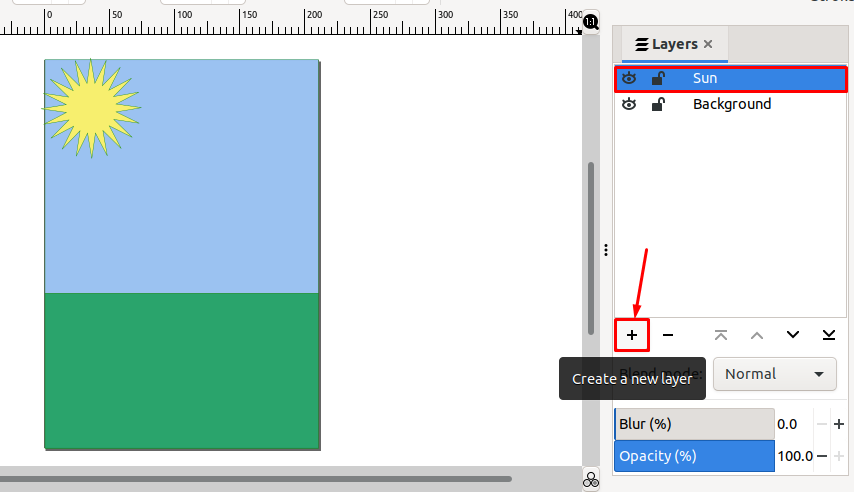
Want to add a layer and set its position simultaneously? If yes, then select a specific layer from the “Layers” window. After doing so, click on the “+” button for creating a new layer:
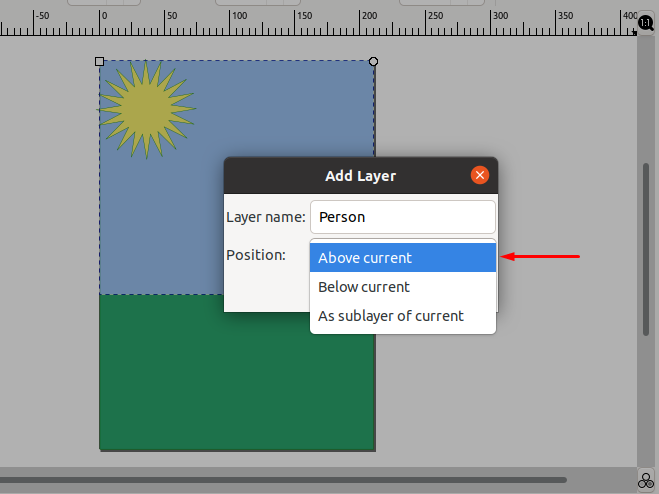
Enter a name for the layer which is going to be created:

As we have mentioned, select a layer first and then move towards the layer creation process; this action will assist you in setting the position of the new layer above or below the selected layer. Moreover, you can also set this layer as a sublayer of the selected one:
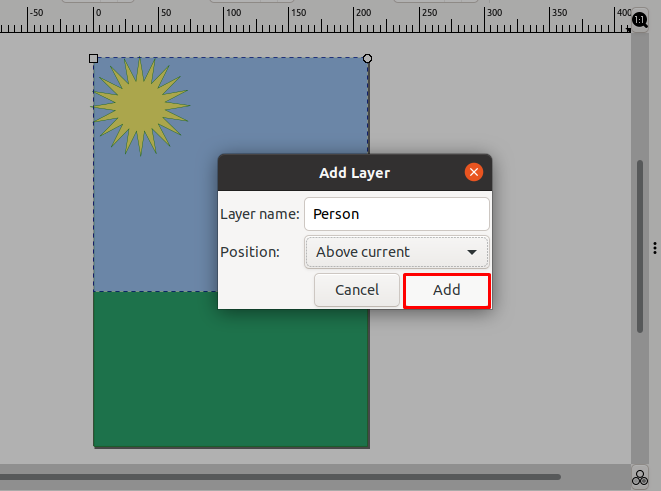
After clicking the “Add” button, the new layer will be created with the specified settings. However, you can also set its position by dragging it to the required position in the “Layers” window:
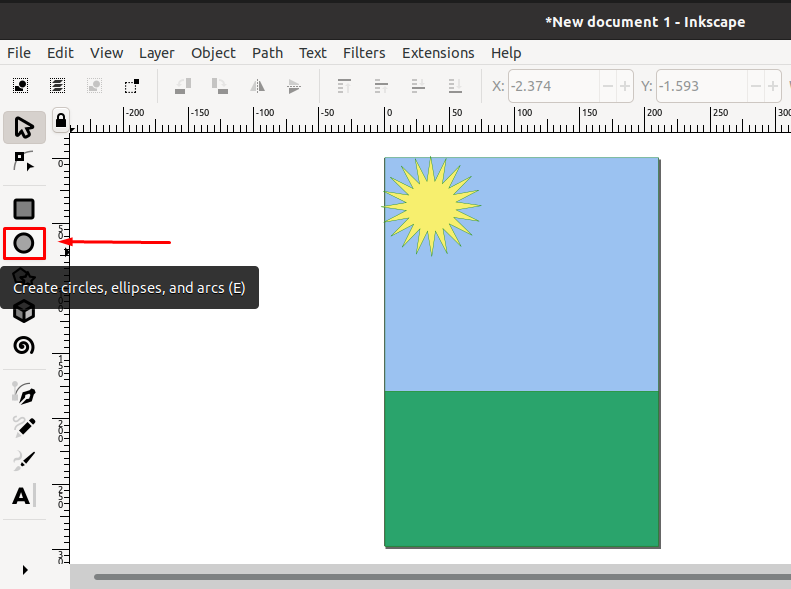
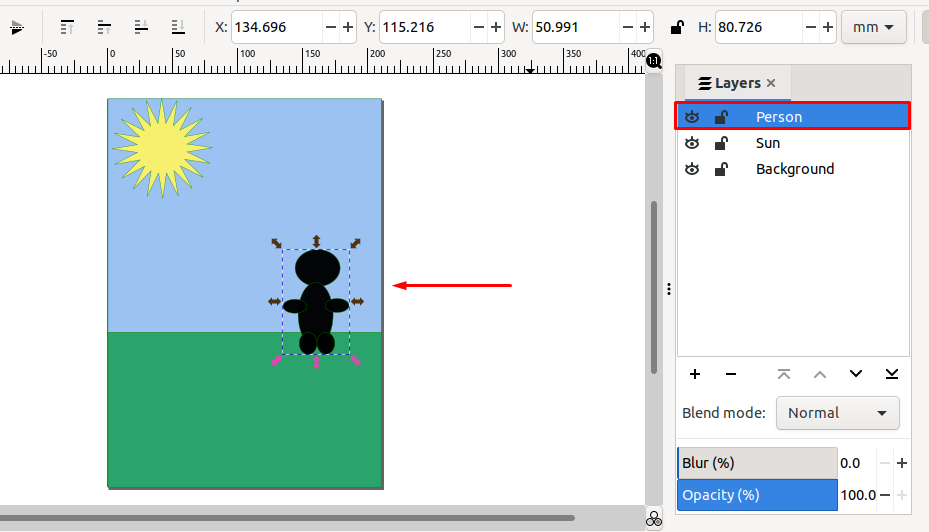
After creating a new layer, we will create a person shape in it with the help of the “Circles” tool:
While adding objects to the Inkscape canvas, always look at the “Layers” window to know about the selected layer:
How to merge layers in Inkscape
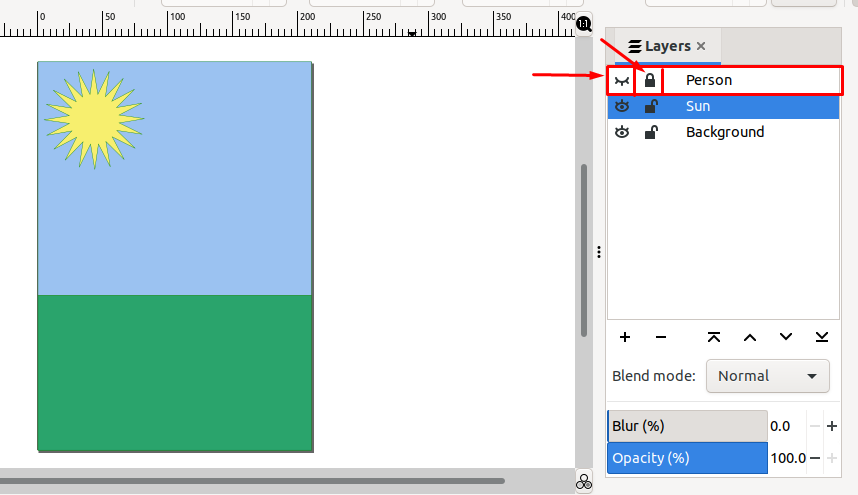
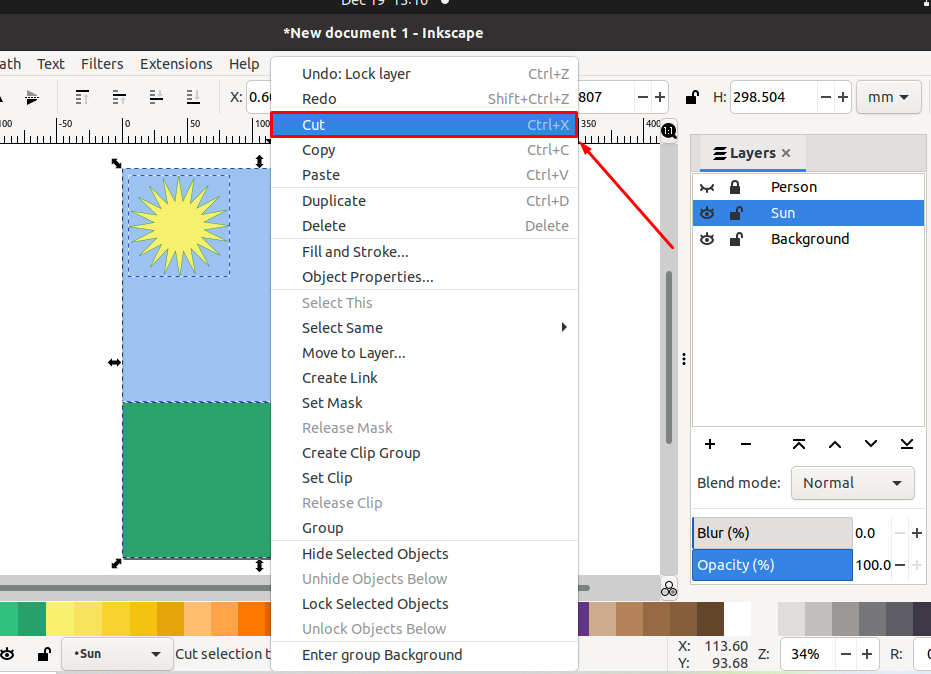
This section will demonstrate the procedure of merging layers in Inkscape. We have selected the “Sun” and the “Background” layers and will merge them. In this case, we will lock the “Person” layer and turn off its visibility:
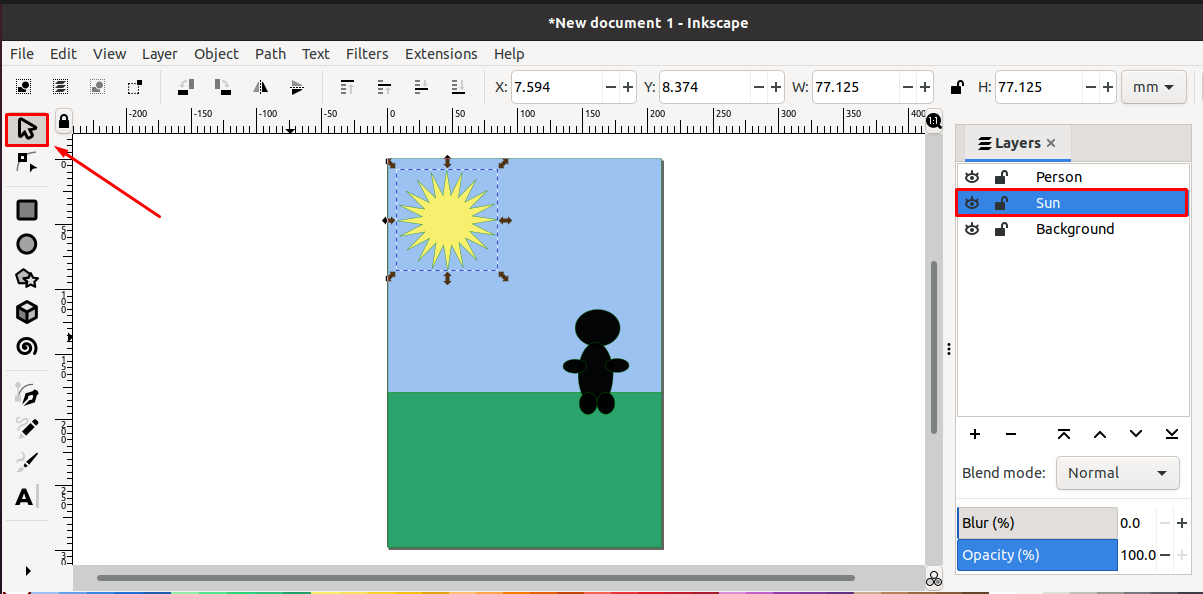
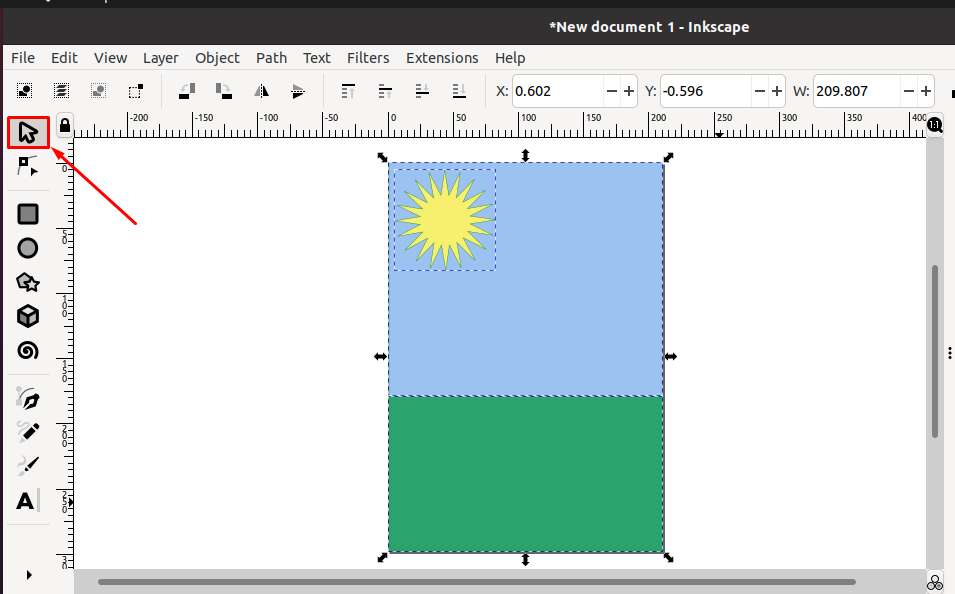
Next, click on the “Select and Transform” tool, and then select the objects that need to be merged:
Now, from the right-click context menu, select the “Cut” option. You can also press “CTRL+X” for the same purpose:
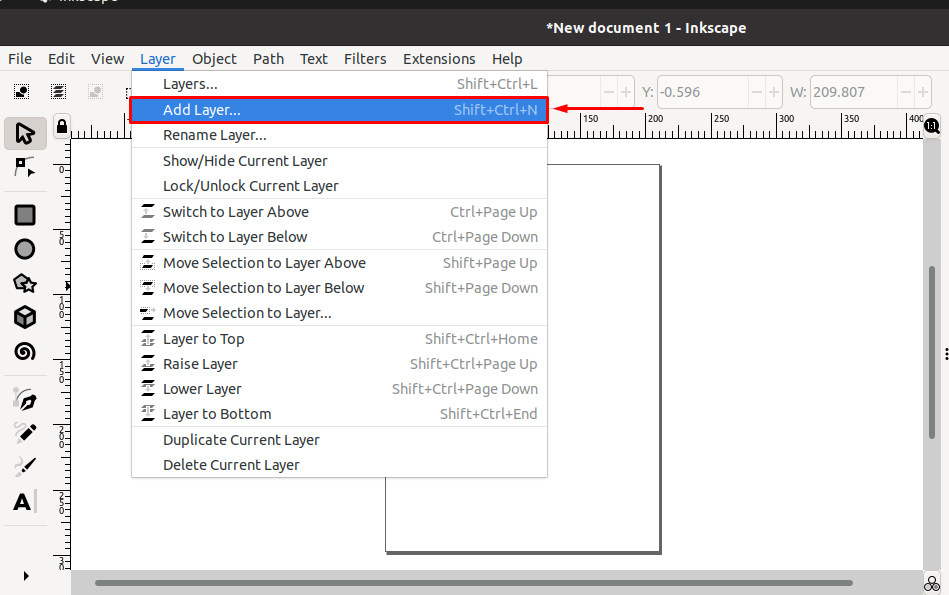
Press “Shift+Ctrl+N” or explore the “Layer” menu for adding a new layer:
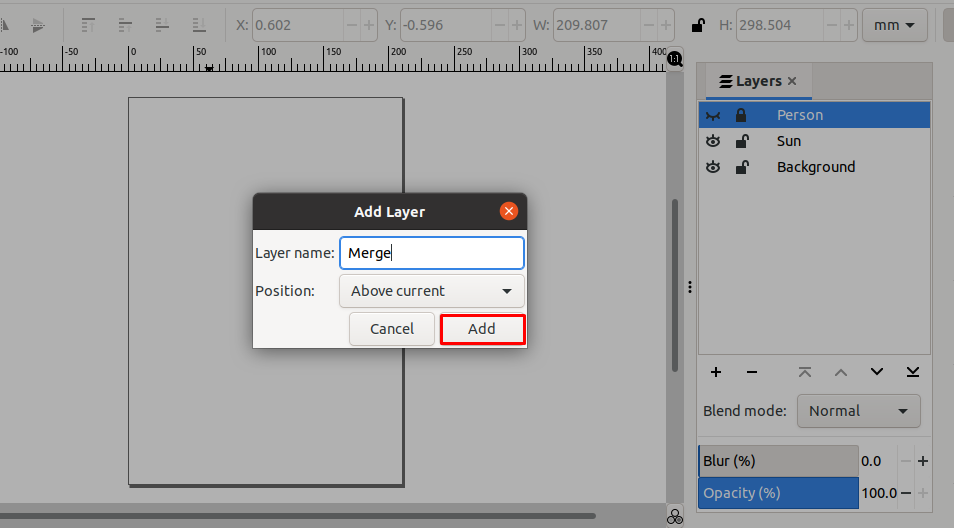
Here, type the layer name, we will name the layer as “Merge” and set its position above the current layer:
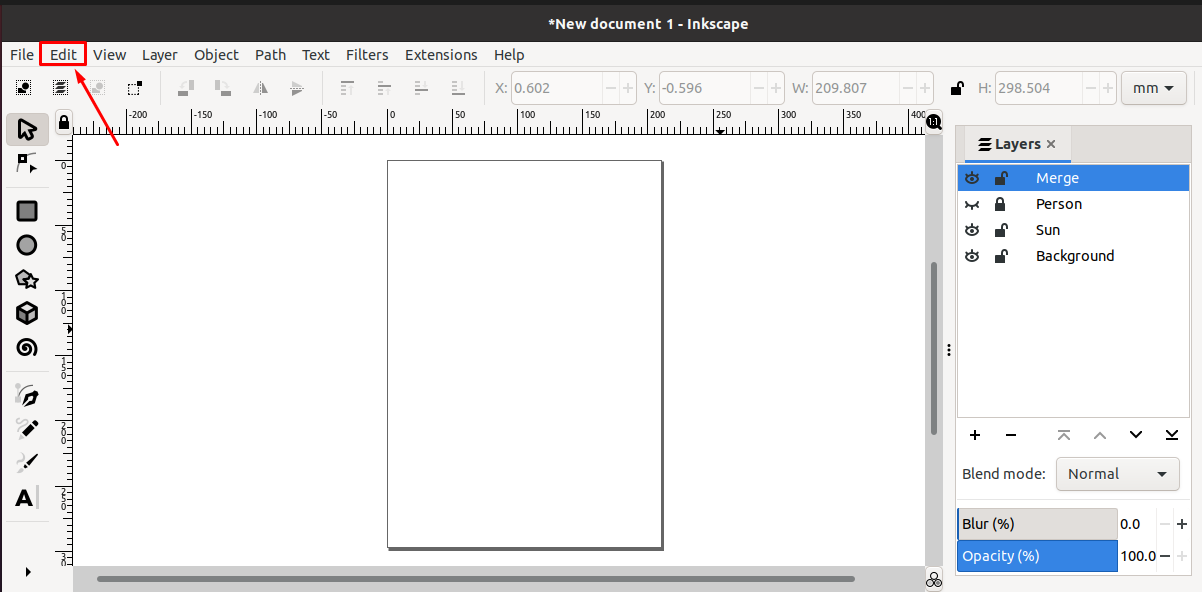
After adding a new layer, select it and then open up the “Edit” menu:
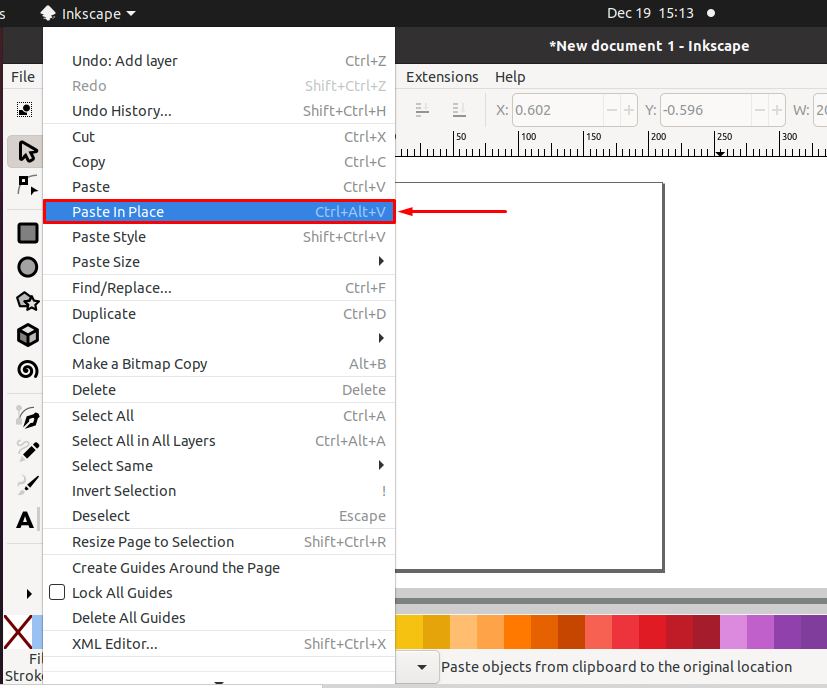
From the “Edit” menu, select the “Paste in Place” option. You can also press “CTRL+ALT+V” to perform the same functionality:
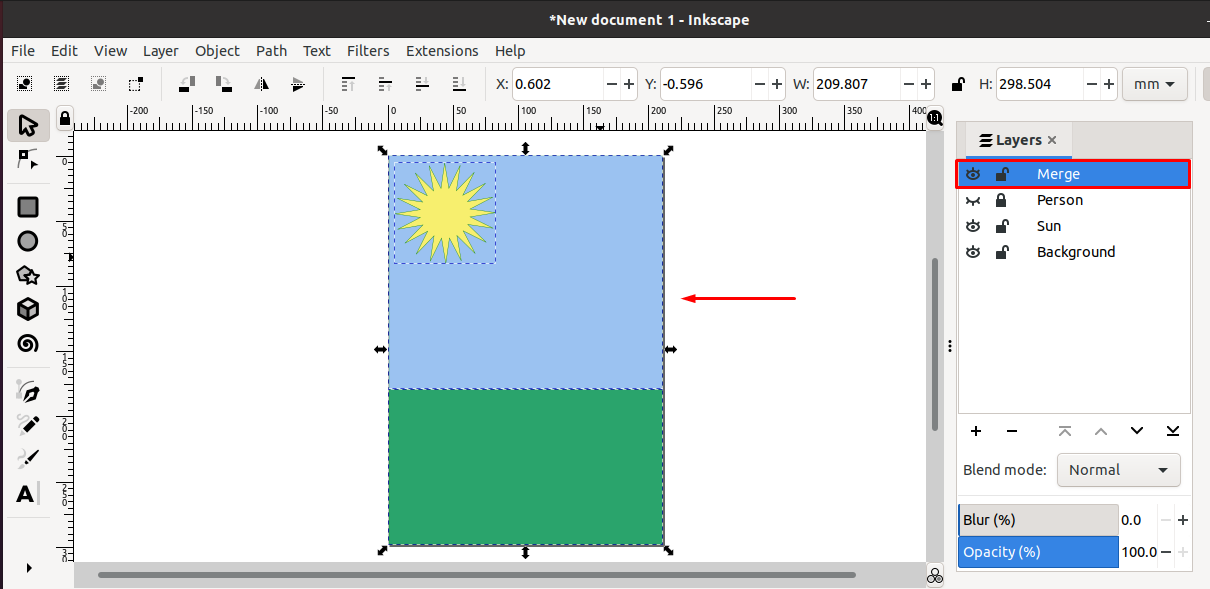
Upon doing so, our “Sun” and “Background” layers will be merged in the newly created “Merge” layer:
After merging layers into a single layer, you can delete the selected layer for merging. In our case, those layers are “Sun” and “Background”:
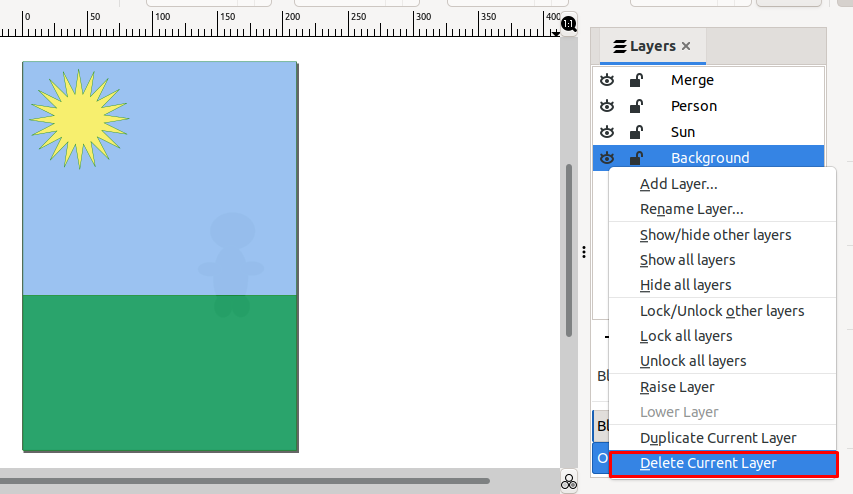
Select the layer which you want to delete, and then from the drop-down menu, click on the “Delete the current layer” option:
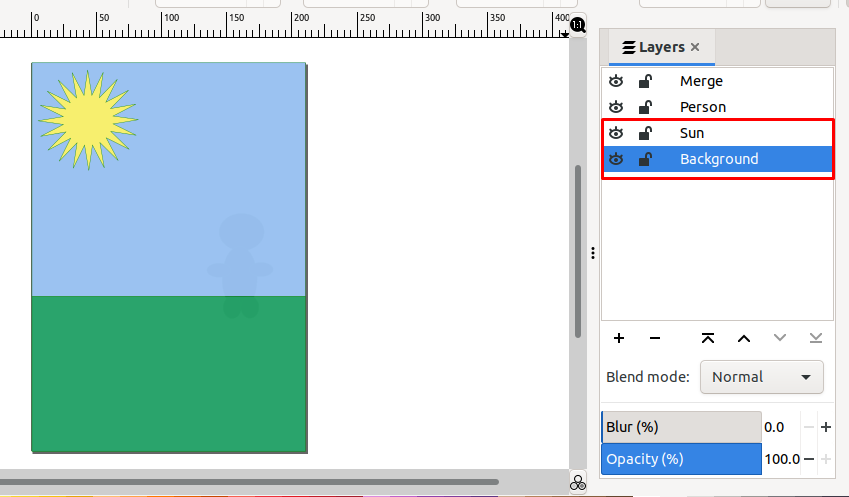
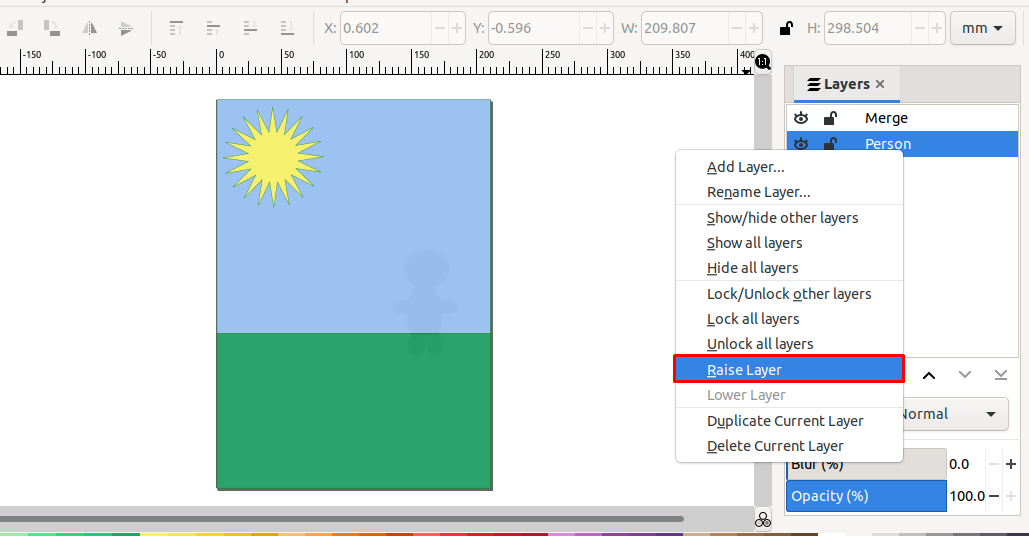
After removing the “Sun” and the “Background” layers, we will move ahead and raise the “Person” layer above. It will show the objects of the “Person” layer in the “Merge” layer:
All done!

Conclusion
When you add multiple layers in Inkscape, it sometimes becomes hard to manage them. To easily work with the added layers and make this process less complex, you can merge the Inkscape layers. It is also beneficial to utilize when you want to categorize the added layers or want to merge multiple objects of separate layers into a single layer. This write-up guided you about how to add and merge layers in Inkscape. Moreover, we have also shown the procedures of setting layer positions, renaming, and deleting Inkscape layers.