In Inkscape, you can use the “Export PNG Image” menu for exporting your current file as JPG. It provides various Export area options such as Page, Document, Selection, and Drawing. Each of the mentioned options assists in figuring out the content of the document you want to export. This write-up will provide a step-by-step guide to help you understand how to save images as JPG. So, let’s start!
How to save image as JPG in Inkscape
To save an image as JPG in Inkscape, make sure that you run the most recent Inkscape version on your system. The older versions such as “0.92.5” and “1.0” only have the option to export the image as “PNG”. However, you can upgrade your current Inkscape version to “1.1” or higher to avail the option of exporting a JPEG File. To do so, visit the official website of Inkscape and upgrade your software.
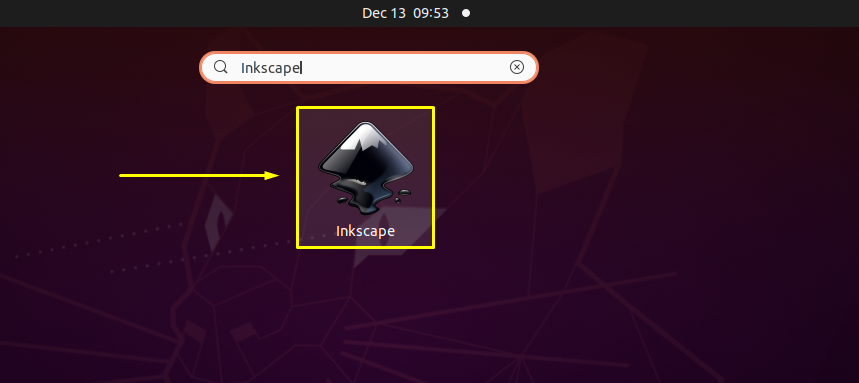
To start the procedure of saving the image as JPG, firstly, open the Inkscape application on your system. For instance, we have searched for “Inkscape” in the system application’s bar and then opened it from there:
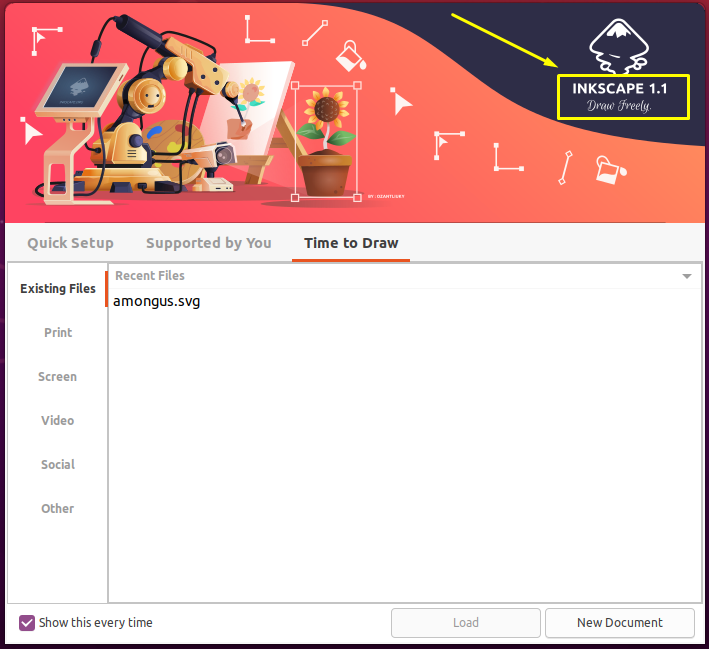
When you open the Inkscape, its welcome window shows you the installed version of the Inkscape at the top right side. From the below-given image, you can see that we have the installed and using the Inkscape version “1.1”:
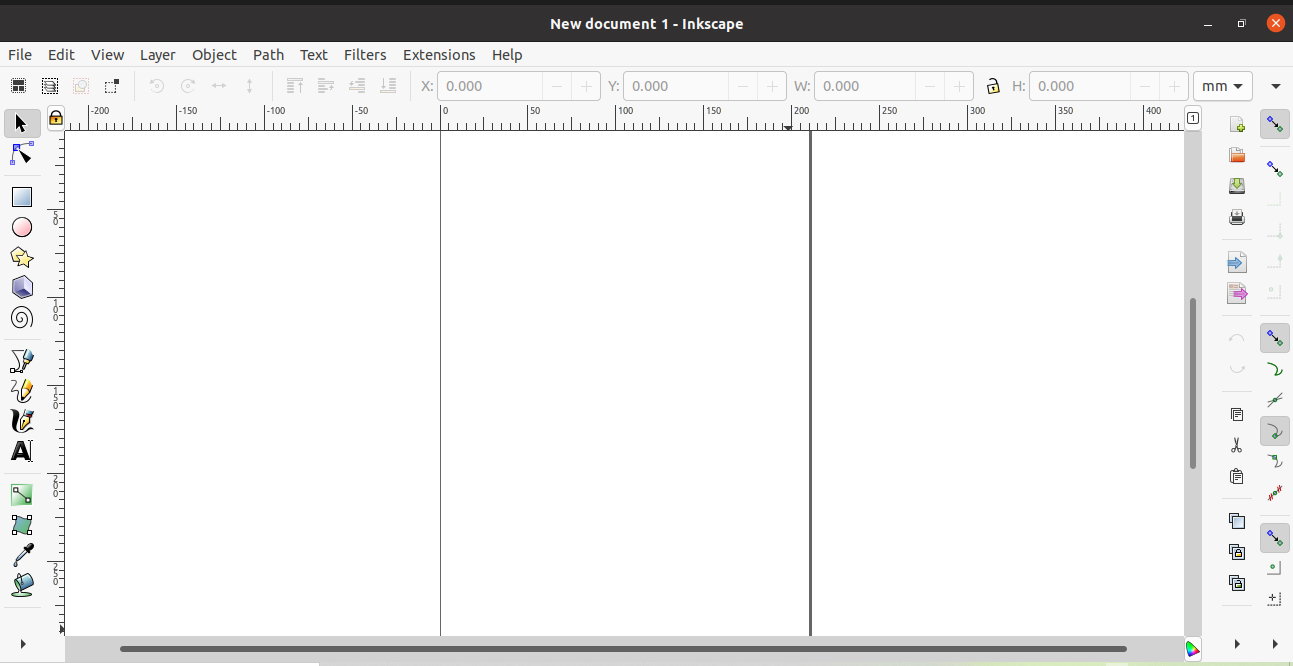
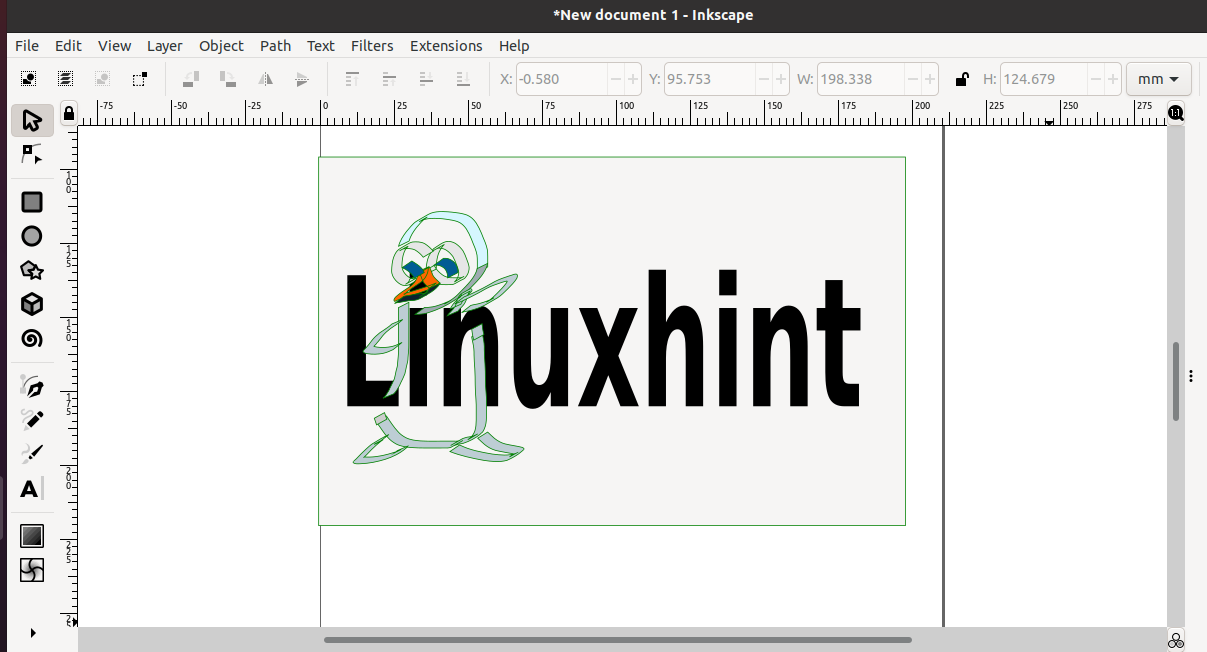
For the demonstration purpose, we will create a new document, draw something in it, and then will show you how to save it as JPG in Inkscape. To do so, we have opened the Inkscape application and created a new document in it:
With the help of “Text” and “Calligraphic and Stroke” tools, we have added the text “linuxhint” and customized it in the following way:
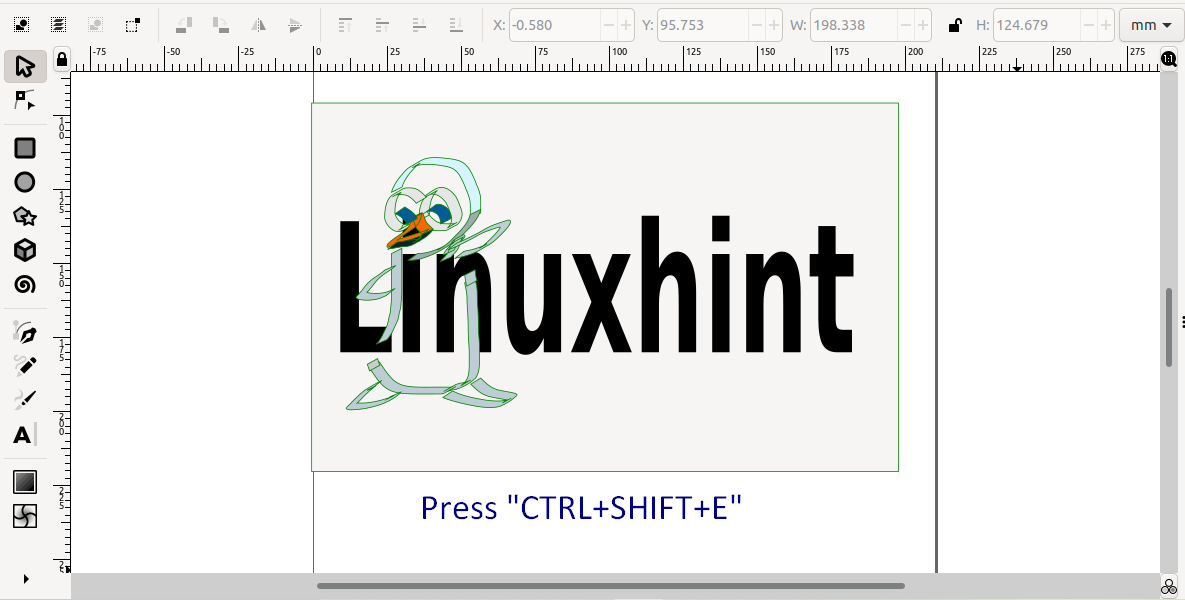
Now, let’s head towards the main subject of the write-up. To save the created file as “JPG“, we will utilize the “Export PNG Image” menu by pressing “CTRL+SHIFT+E”:
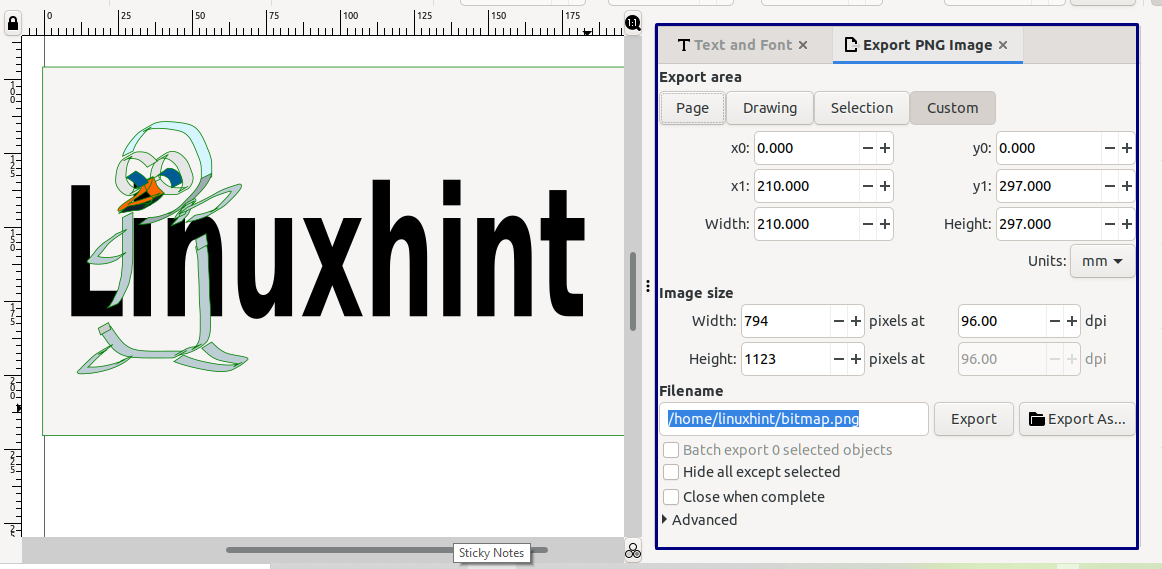
After performing the specified action, the “Export PNG Image” menu will appear at the right-side of the Inkscape window:
Inkscape permits you to save a file as a JPG by exporting it rather than saving it to the file system. As a result, you will not find the option to save a file as “JPG” in the “Save As” window.
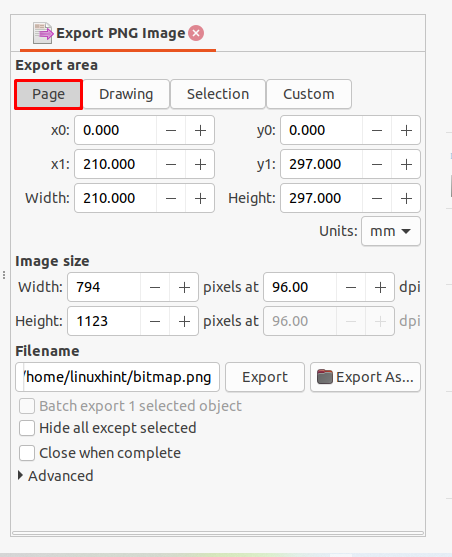
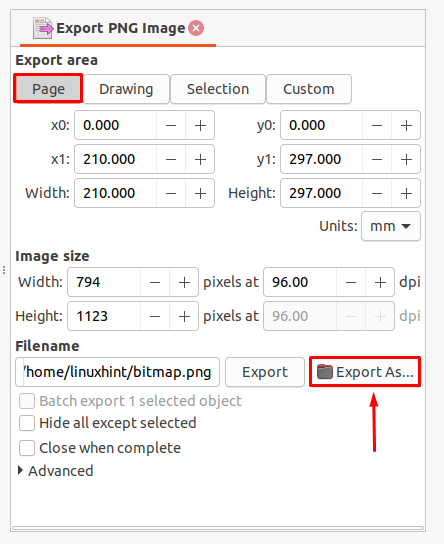
In the Export PNG Image, you will see different “Export area” options. For instance, the “Page” tab will allow you to export everything which you have done within the Inkscape canvas:
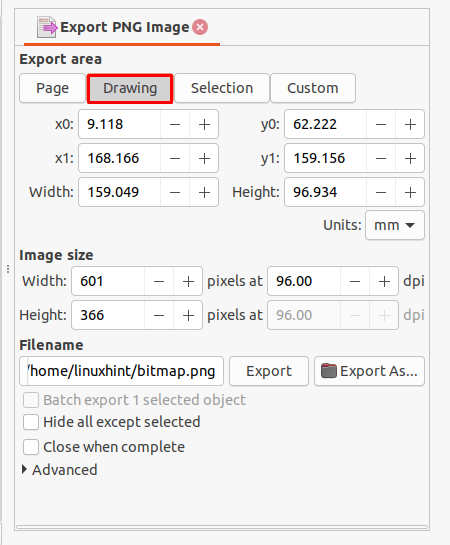
If some content of your file exists within the Inkscape canvas and the remaining outside of it, then choose the export option under the “Drawing” tab:
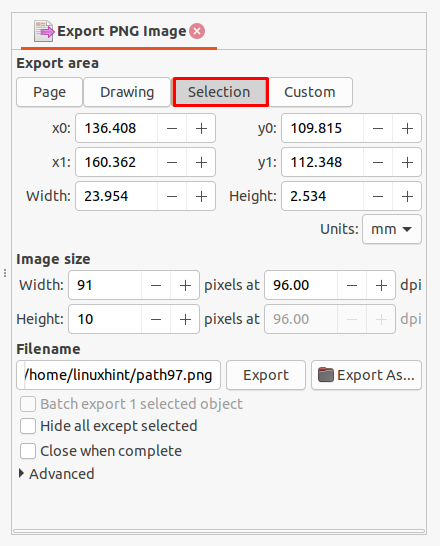
The “Selection” tab export option will let you export your selected objects as JPG in the file system:
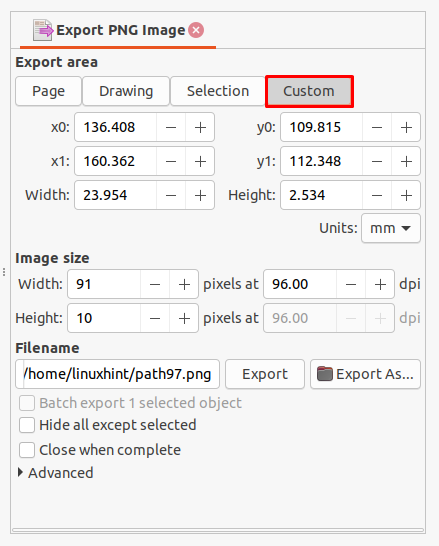
Lastly, the Custom option allows you to export a coordinated point based on the document’s X and Y axes:
After knowing the use of each export area option, determine what you want to utilize for your document. In our case, we will export our document content using the “Page” tab “Export As” button:
Now, a dialog box will appear on your screen, which will provide the file format options:
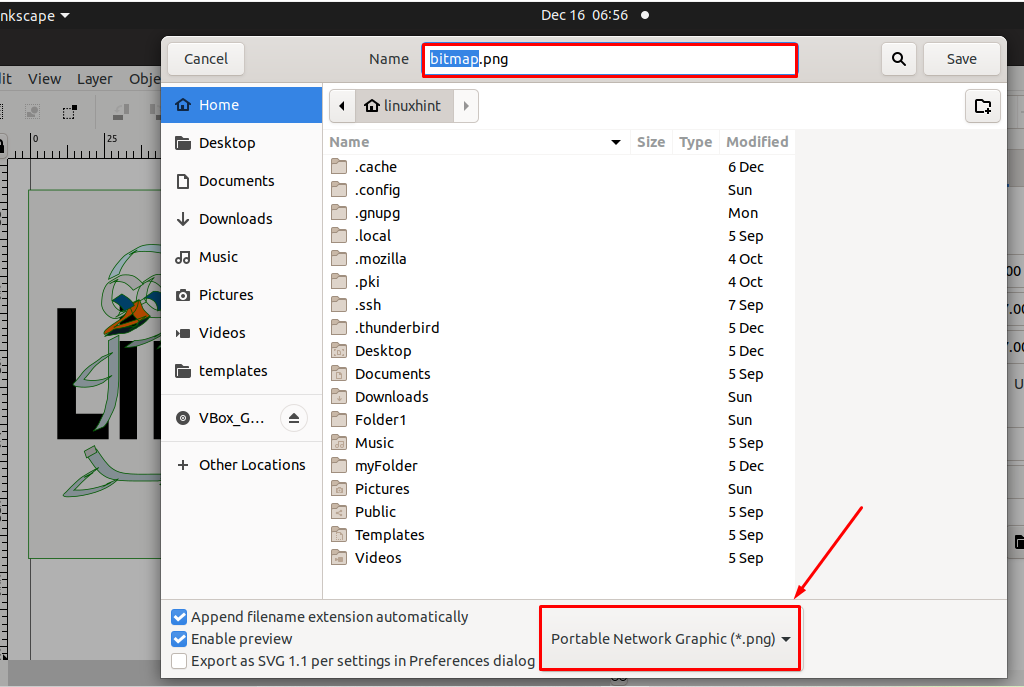
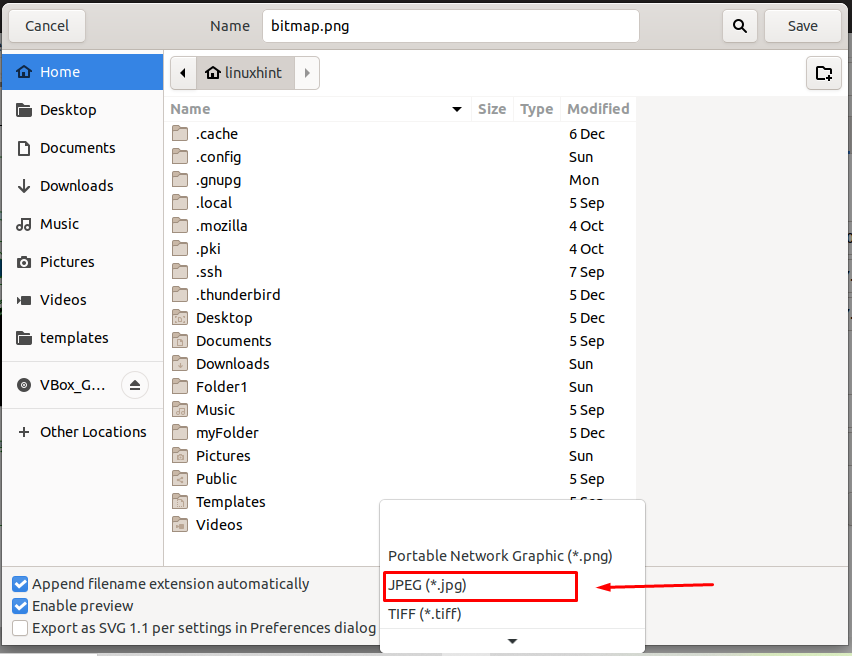
From the drop-down file type menu, we will select the “JPEG (*.jpg)” option to save the document as JPG:
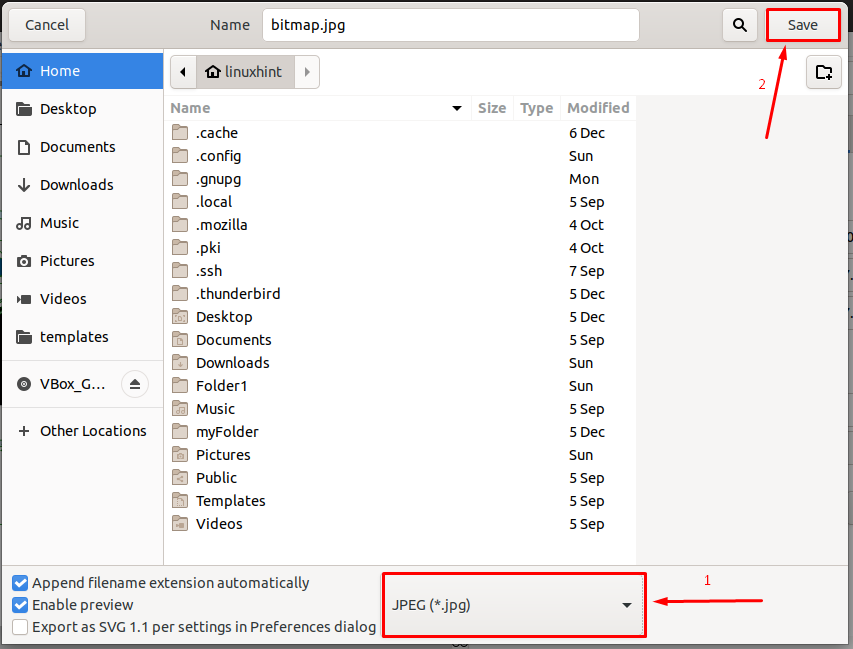
Now, click on the “Save” button for exporting the Inkscape file as “bitmap.jpg” JPG file:
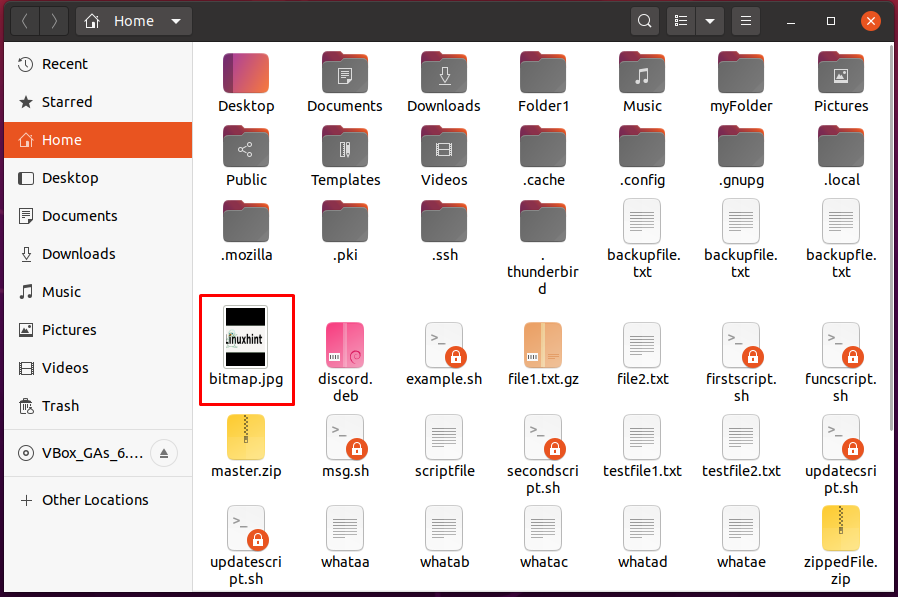
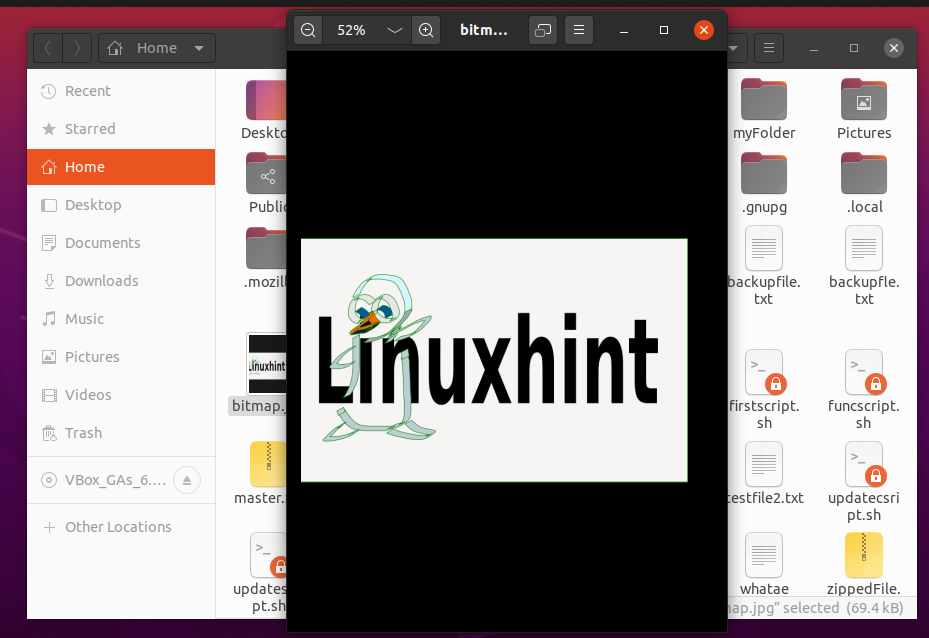
Upon doing so, navigate into your file system and look for the exported JPG file. For instance, in our case, the exported JPG file is “bitmap.jpg”, present in the “/home/linuxhint” directory:
Conclusion
Inkscape developers embedded various features in Inkscape version 1.1, and the most exceptional one is offering the new export formats, including JPG. With the help of the Export Image PNG menu, you can export your Inkscape file or document in JPG format. Export Image PNG menu also permits you to either select the entire content or some objects for the exporting purpose, and its Export area options assist in this regard. This write-up guided you about how you can save your image as JPG in Inkscape.