In this write-up, we will discuss some of the time functions which are frequently used in Arduino code with the help of some examples.
What is the time function in Arduino
The time functions in Arduino are used to create pauses in the output according to the requirement, the important time functions of Arduino are explained in detail.
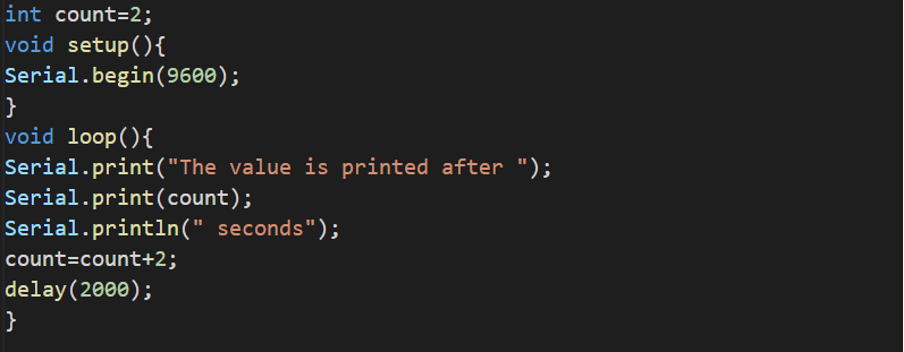
delay(): It is the most commonly used function in Arduino programming, it takes the integer value and generates the delay of time in code of milliseconds according to the input integer value. To understand the application of the delay() function, consider this example:
void setup(){
Serial.begin(9600);
}
void loop(){
Serial.print("The value is printed after ");
Serial.print(count);
Serial.println(" seconds");
count=count+2;
delay(2000);
}
In this code, we are printing “The value is printed after (time) seconds”. The logic behind the code is very simple, we declared a global variable “count=2” and then we connected to Arduino using the serial communication at a boude rate of 9600. Then in the void loop(), we printed the output after the delay of 2000 milliseconds which is equal to 2 seconds (1 second=1000 milliseconds). And also increment the value of count by 2.
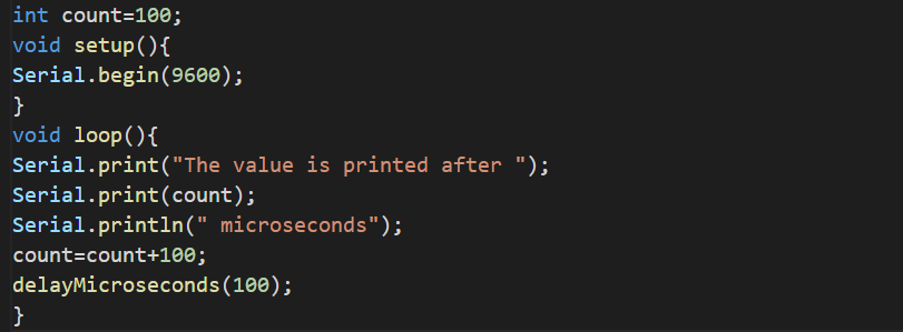
delayMicroseconds(): This function works similarly to the delay() function, but instead of milliseconds it generates the delay in microseconds. Let’s consider the above code and replace the delay() with delayMicroseconds() function:
void setup(){
Serial.begin(9600);
}
void loop(){
Serial.print("The value is printed after ");
Serial.print(count);
Serial.println(" microseconds");
count=count+100;
delayMicroseconds(100);
}
In the above output, we printed the statement by using the delayMicroseconds() function and specified the delay of 100 microseconds. To display the output on the serial monitor output, we used the serial communication at a 9600 baud rate. The variable count is declared globally with a value of 100 and in void loop() we incremented its value by 100 after every iteration.
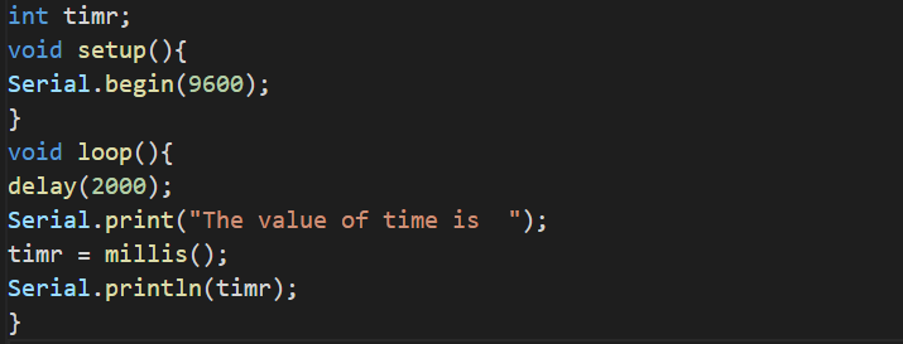
milli(): The milli() function is used to find out the execution time in milliseconds till the milli() function statement. To understand this, we will consider a simple example of the following code:
void setup(){
Serial.begin(9600);
}
void loop(){
delay(2000);
Serial.print("The value of time is ");
timr = millis();
Serial.println(timr);
}
On the successful execution of the code, we get the time of execution of each iteration in the output. We put a delay of 2000 milliseconds using the delay() function and extracted the time of execution in milliseconds using the millis() function. The value returned by the millis() function is stored in the timr variable and displayed on the serial monitor output.
Note: There is a difference in the output because a few milliseconds are taken by the “Serial.println()” function and some time is taken by the hardware.
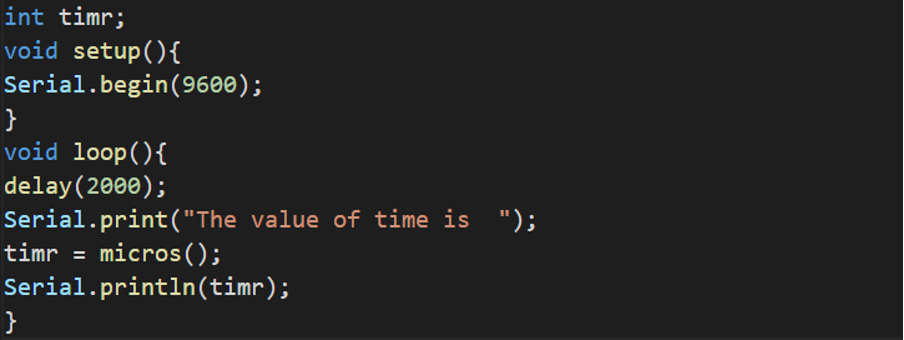
micro(): This function is used to calculate and extract the execution time of code till this function’s execution. For example, we write a simple code, in which we put the delay of 2000 milliseconds by using the delay() function, and calculate the time in microseconds using the code:
void setup(){
Serial.begin(9600);
}
void loop(){
delay(2000);
Serial.print("The value of time is ");
timr = micros();
Serial.println(timr);
}
The above script is simple to understand. We connected Arduino to the computer using serial communication at a baud rate of 9600. In the void loop(), we generated a delay of 2000 milliseconds using the delay() function, extract the execution time in microseconds using the micros() function, store the results in the “timr” variable, and printed it on the serial monitor output.
Conclusion
In Arduino, time functions are used to generate the delays and pauses in the code or output. We can use these time functions to generate or pause in the blinking of LEDs. We can also find out the execution time of code by using the time functions. In this write-up, we have explained the most commonly used time functions in Arduino and explained them with some simple examples.


