Follow this tutorial to install IPTraf-ng on the Raspberry Pi system.
Terminal-Based Network Monitoring Tool for Raspberry Pi: Install IPTraf-ng
IPTraf-ng is available in the official Raspberry Pi system repository and you can install and use it on the system through the following steps:
Step 1: First, run the following command to install IPTraf-ng on Raspberry Pi:
Step 2: Run the IPTraf-ng on Raspberry Pi through following command:
Note: Ensure you must run the above command as an administrator using “sudo”.
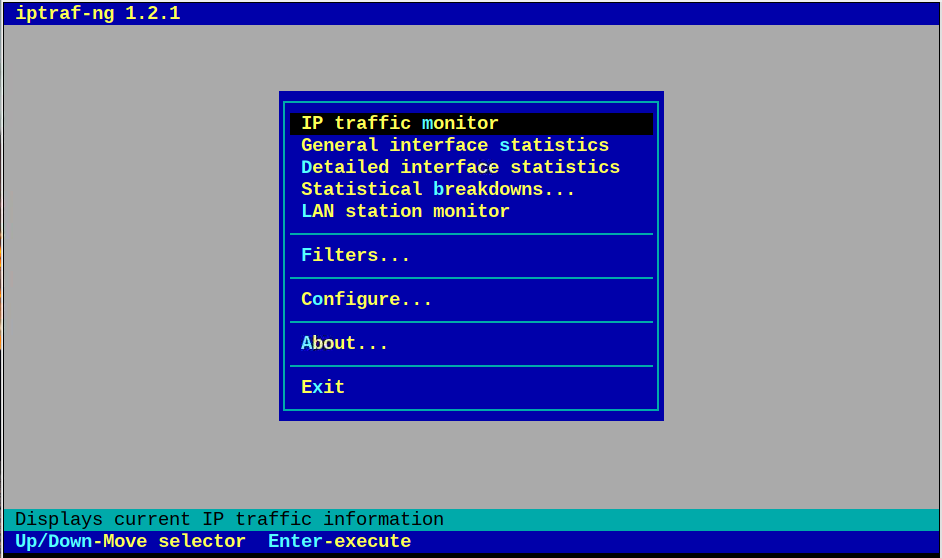
After the above command execution, you will be able see the IPTraf-ng interface on the terminal.
To monitor network traffic, you must select the “IP traffic monitor” option from the menu.
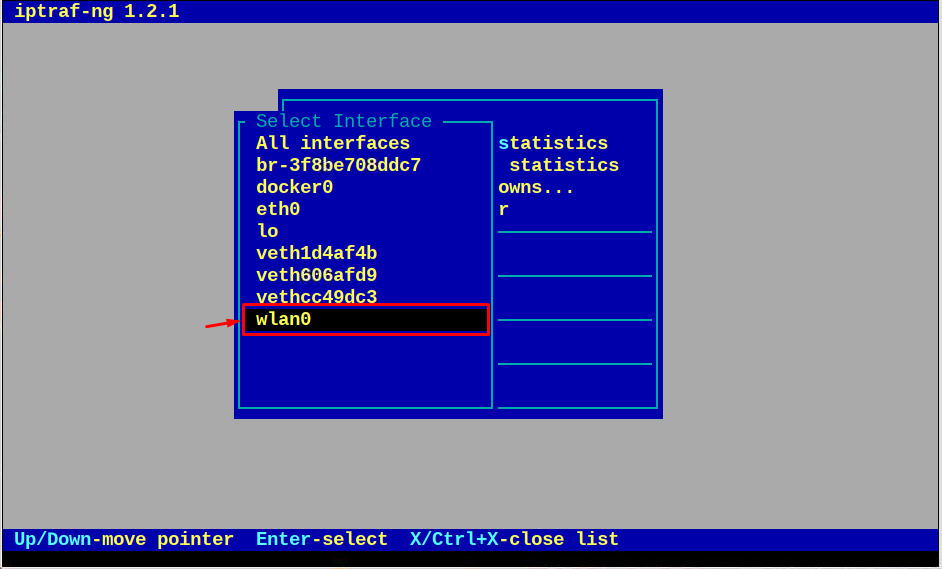
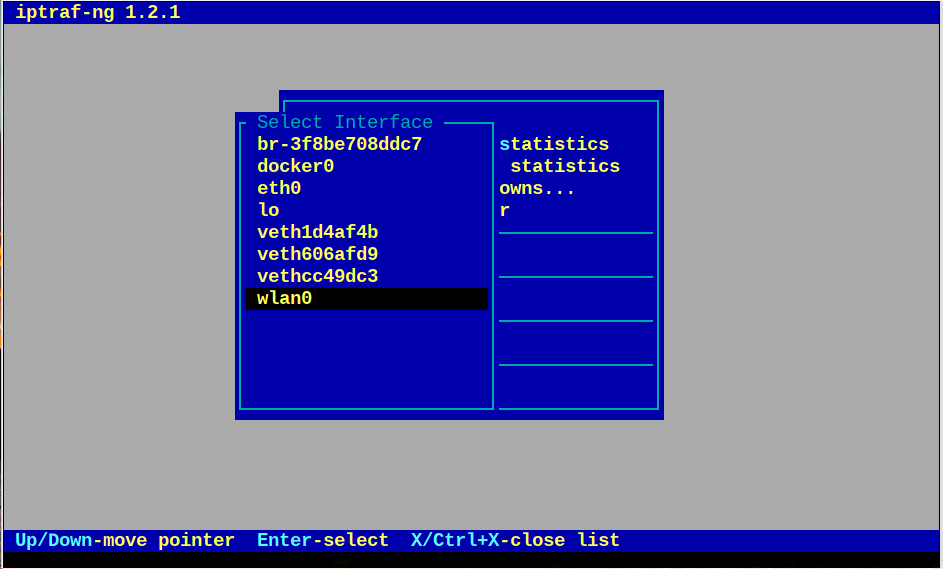
Then choose the network interface, “wlan0” for my case.
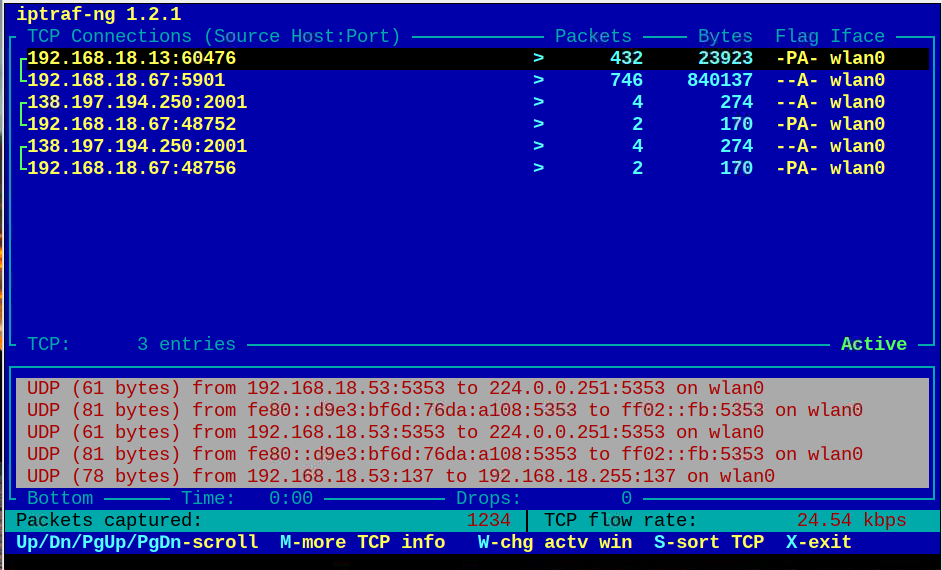
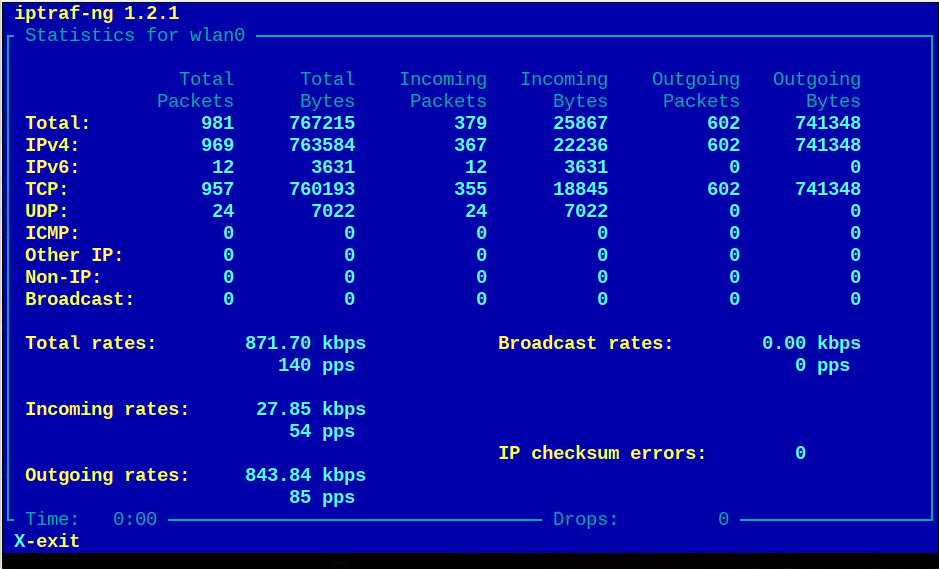
This displays the network statistics on the terminal, where you will see the captured traffic information.
Use the Esc button to move back to the main menu.
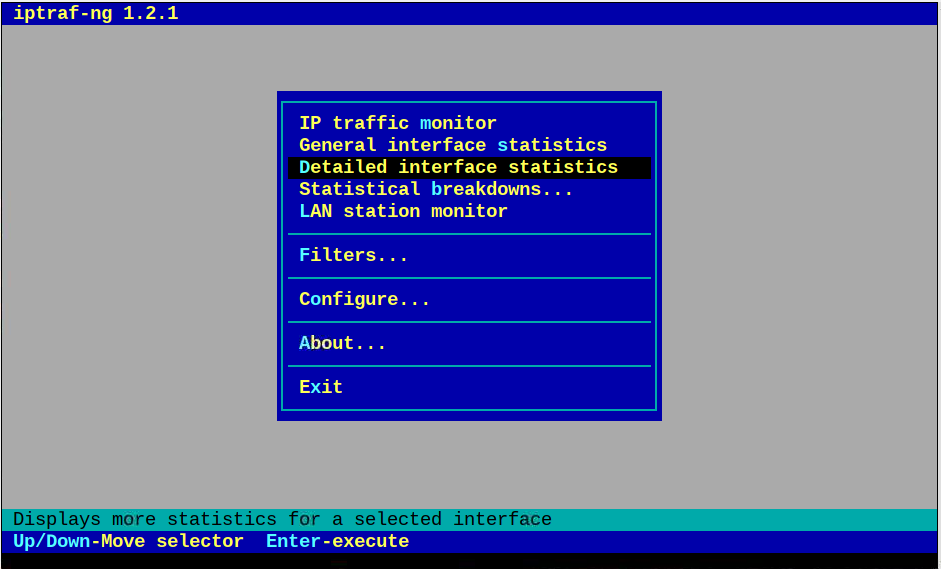
To see detailed information, just press the enter button on the “Detailed interface statistics” option.
Then select the network interface.
This displays the detailed network statistics information on the terminal.
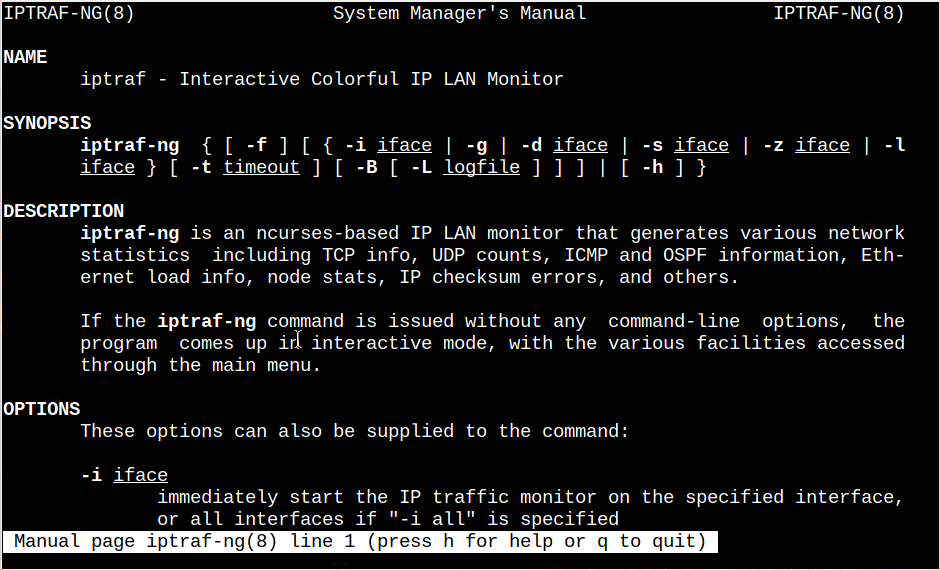
If you need help using different IPTraf-ng commands, you can open the manual through the following command:
Remove IPTraf-ng on Raspberry Pi
To remove IPTraf-ng from Raspberry Pi, run the following command on the system terminal:
Conclusion
IPTraf-ng is a command-line tool that displays an interactive interface for monitoring the network information on the terminal. You can install the tool from the Raspberry Pi repository and run it through “iptraf-ng” command. At the IPTraf-ng menu, you can go through different options to analyze the network information on the Raspberry Pi system.


