This article is a detailed guideline for synchronizing files on your Raspberry Pi device using Syncthing.
Synchronizing Files on Raspberry Pi with Syncthing
The installation of Syncthing doesn’t requires any complex installation method instead you can easily complete its installation of your Raspberry Pi device using the following simple steps:
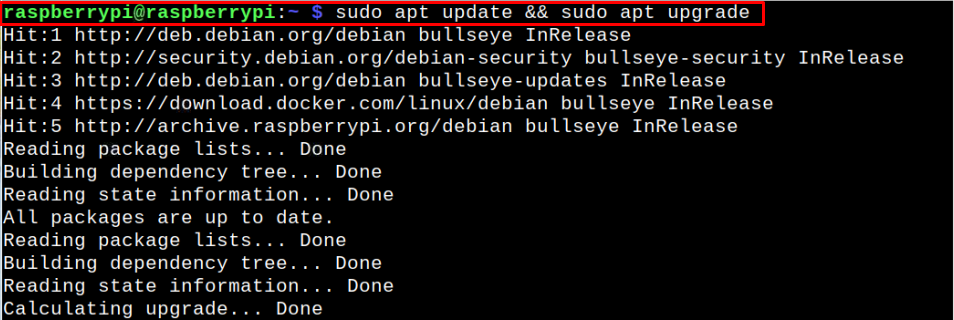
Step 1: Updating Raspberry Pi Packages
Before moving towards Syncthing setup, it’s better to first update your Raspberry Pi packages using the below-mentioned command:
Step 2: Installing Prerequisite
After updating the package, you will also need to install an additional package called “apt-transport-https” as this will handle the source that will operate over HTTPS service. You can install this package through following command:

Step 3: Downloading GPG Key
Next, you will also need to download and save GPG Key using the following command to ensure that the package is coming from a trusted source.

The above command will successfully add the GPG key.
Step 4: Adding Syncthing Repository
After adding the GPG key, you can apply the following command to add the Syncthing repository to the Raspberry Pi source list.

Step 5: Updating the Source List
Once, you add the Syncthing repository, you will need to update the Raspberry Pi source list using the following command:
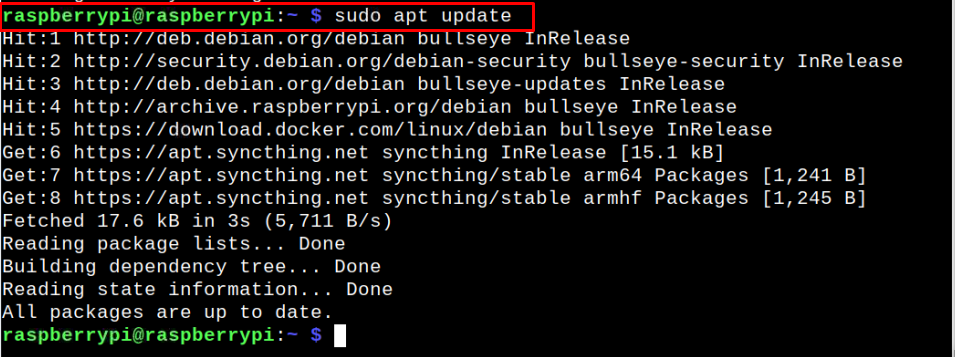
The above command updates the Raspberry Pi’s repository list.
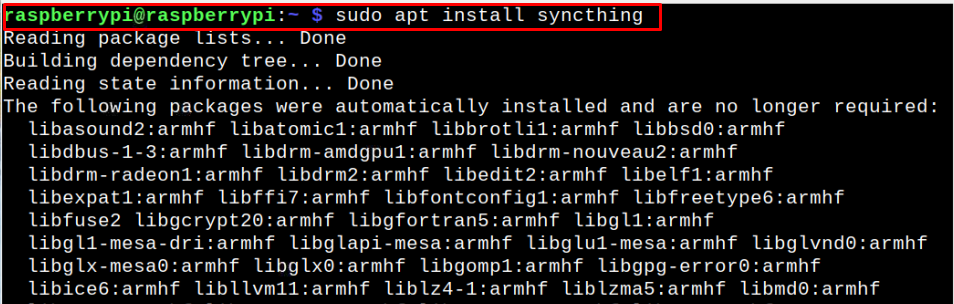
Step 6: Install Syncthing on Raspberry Pi
With source list updated, you can use the following command to install Syncthing on Raspberry Pi:
Step 7: Running Syncthing on Raspberry Pi
After successfully installing Syncthing on Raspberry Pi, execute the following command to run Syncthing on Raspberry Pi.
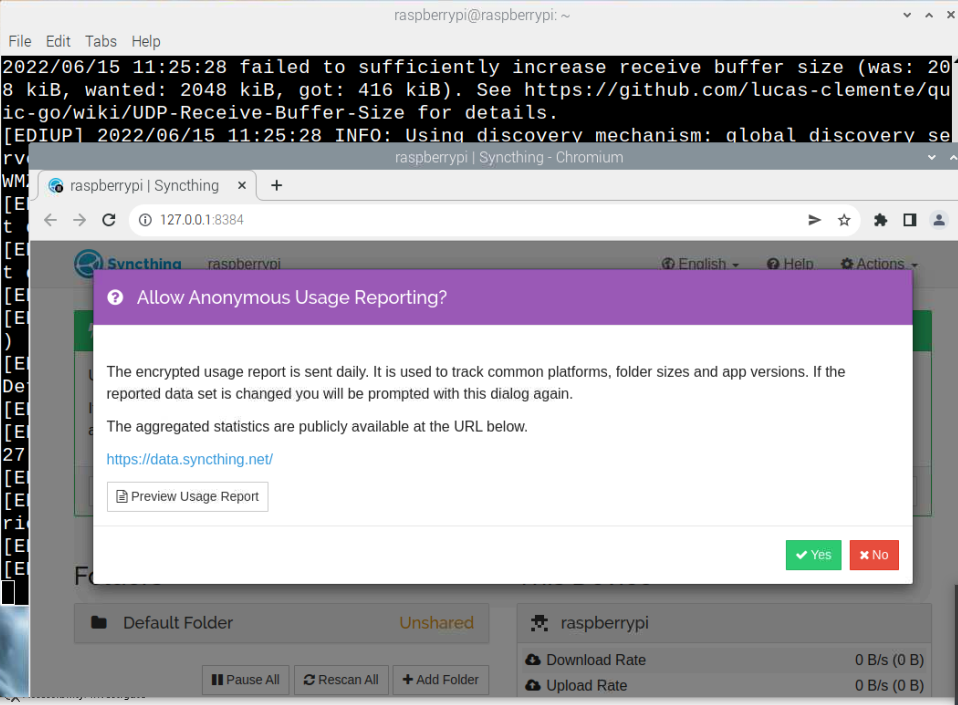
When you execute the above command, it will open the Syncthing web interface with the address “127.0.0.1:8384” on your browser. It also generates the configuration file with the first time execution. You have to close the browser and use the “Ctrl+C” keys in the terminal to stop Syncthing on Raspberry Pi.
Note: It is important to open Syncthing at least once before moving towards the next step.
Step 8: Opening Syncthing Configuration File
To make the changes, you have to open the Syncthing configuration file using the following command:
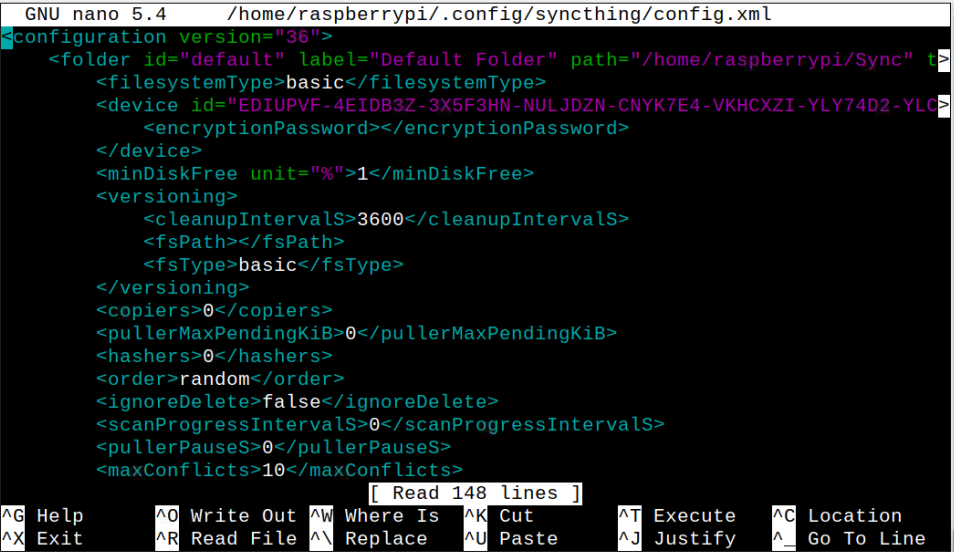
Within this file, find the below-given line:
You can use “Ctrl+W” to find the above line in the file.
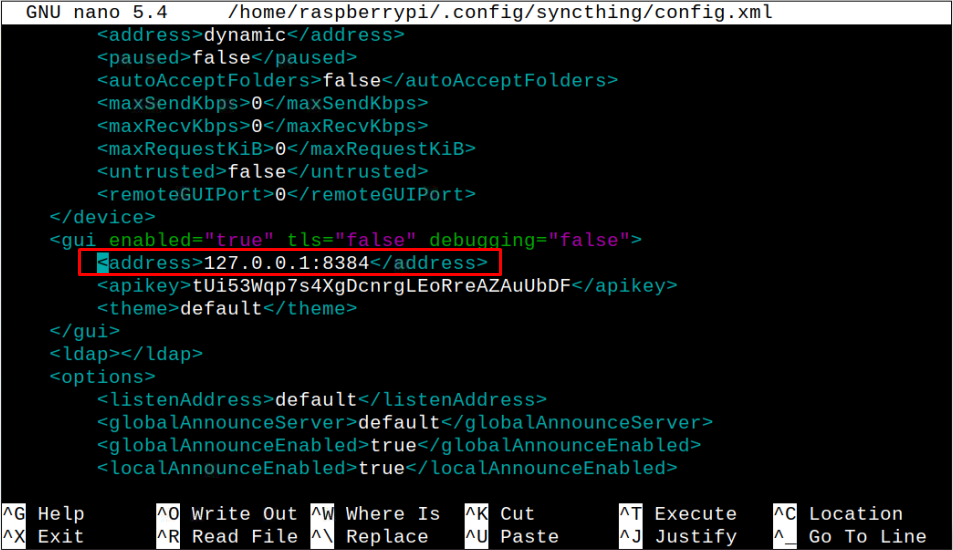
Now, change the IP inside the line with the IP address of your Raspberry Pi and you can find your Raspberry Pi address through following command:

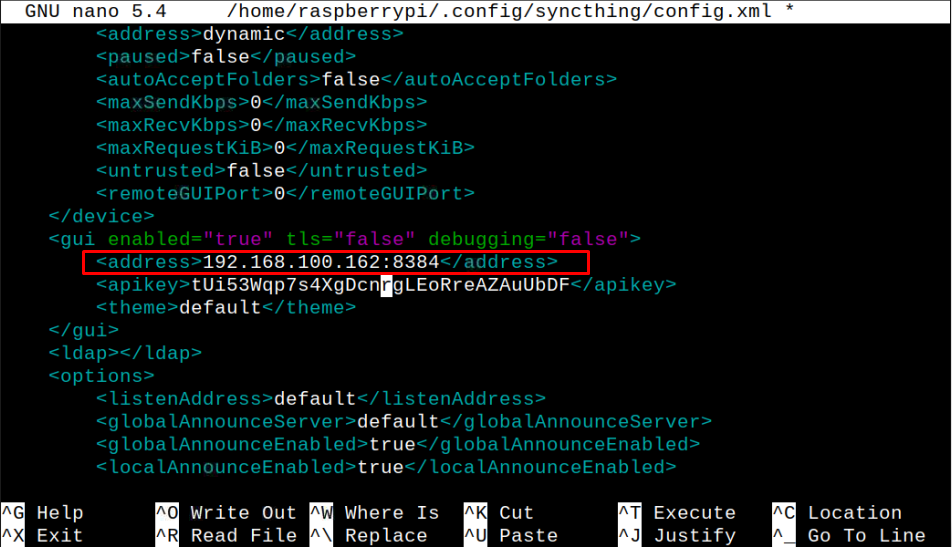
Save the above file by using the keys “CTRL+X”, Y and press enter to exit. We are doing this step just to ensure that only the trusted users who are connected with our local network will have access to the files.
Step 9: Creating a Service File
In the final configuration step, we have to do one last task that is to make a service file for Syncthing using the following command:
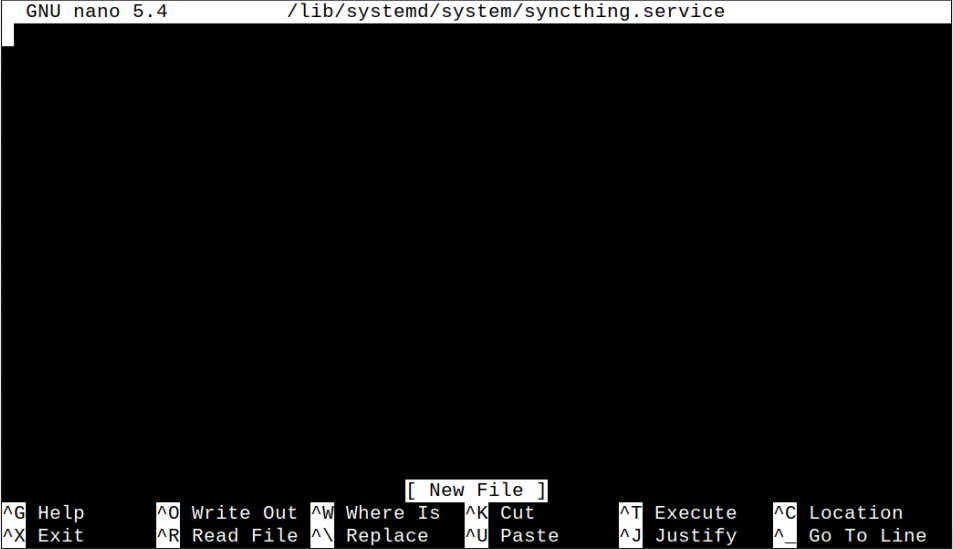
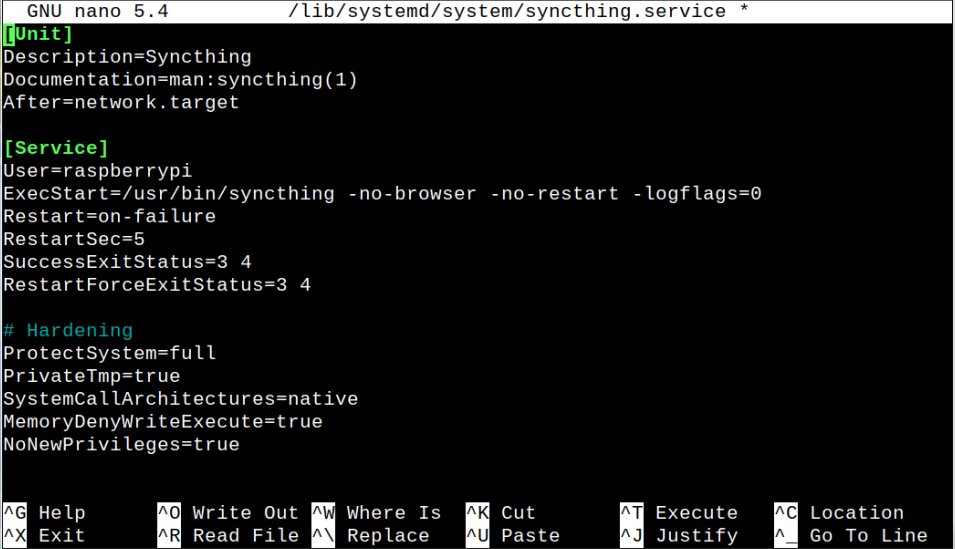
Add the following information inside the file:
Description=Syncthing
Documentation=man:syncthing(1)
After=network.target
[Service]
User=raspberrypi
ExecStart=/usr/bin/syncthing -no-browser -no-restart -logflags=0
Restart=on-failure
RestartSec=5
SuccessExitStatus=3 4
RestartForceExitStatus=3 4
# Hardening
ProtectSystem=full
PrivateTmp=true
SystemCallArchitectures=native
MemoryDenyWriteExecute=true
NoNewPrivileges=true
[Install]
WantedBy=multi-user.target
Save the file and finish creating the Syncthing service file on Raspberry Pi .
Step 10: Enabling Syncthing Service
After creating a service file for Syncthing, you will need to enable the service again through the following command:

Step 11: Starting Syncthing Service
Now start the Syncthing service on Raspberry Pi using the below-mentioned command:

Step 12: Checking Syncthing Service
You will also need to ensure whether the Syncthing service is running fine on your Raspberry Pi and you can do so by issuing the following command::
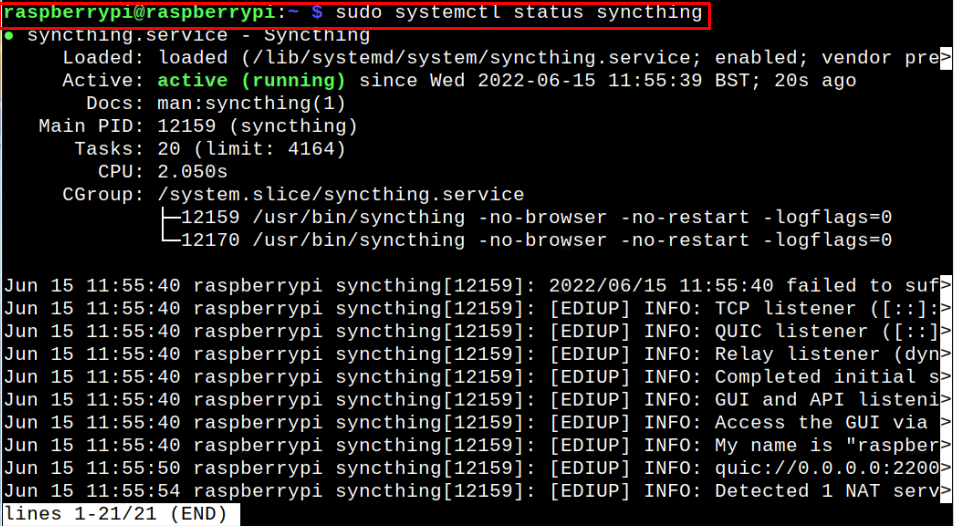
This ensures that the Syncthing service is running perfectly fine.
Step 13: Accessing Syncthing Web Interface
Now use the address http://192.168.100.162:8384/ to access the web interface on your browser.
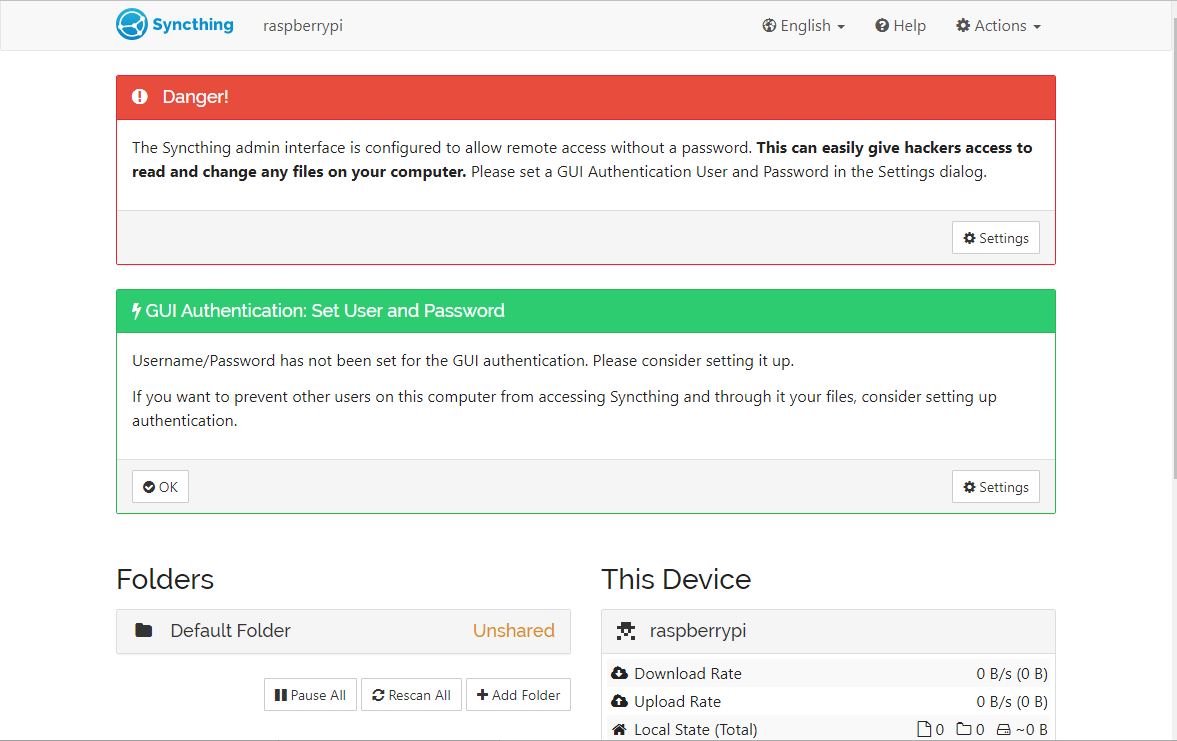
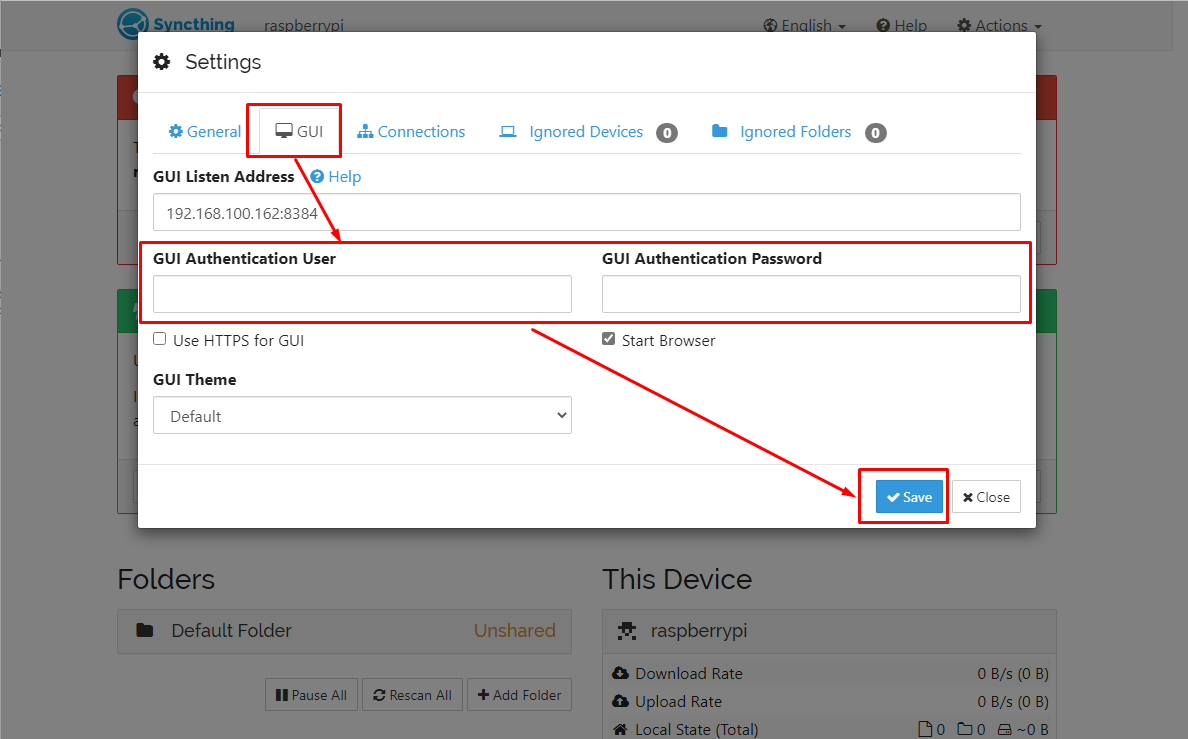
First, you will need to ensure Syncthing privacy so only you can can access your files on your system and you can do this by clicking on the “Settings” option.
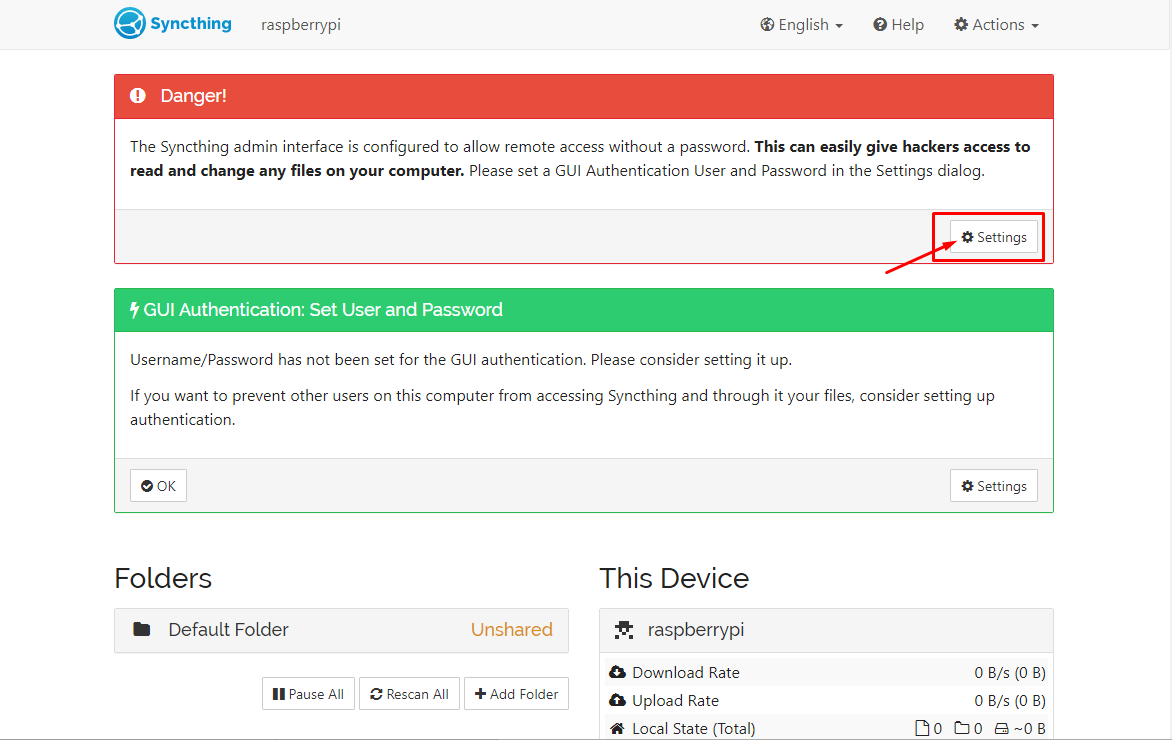
In the “GUI” tab, enter username, provide password and then click on the “Save” button.
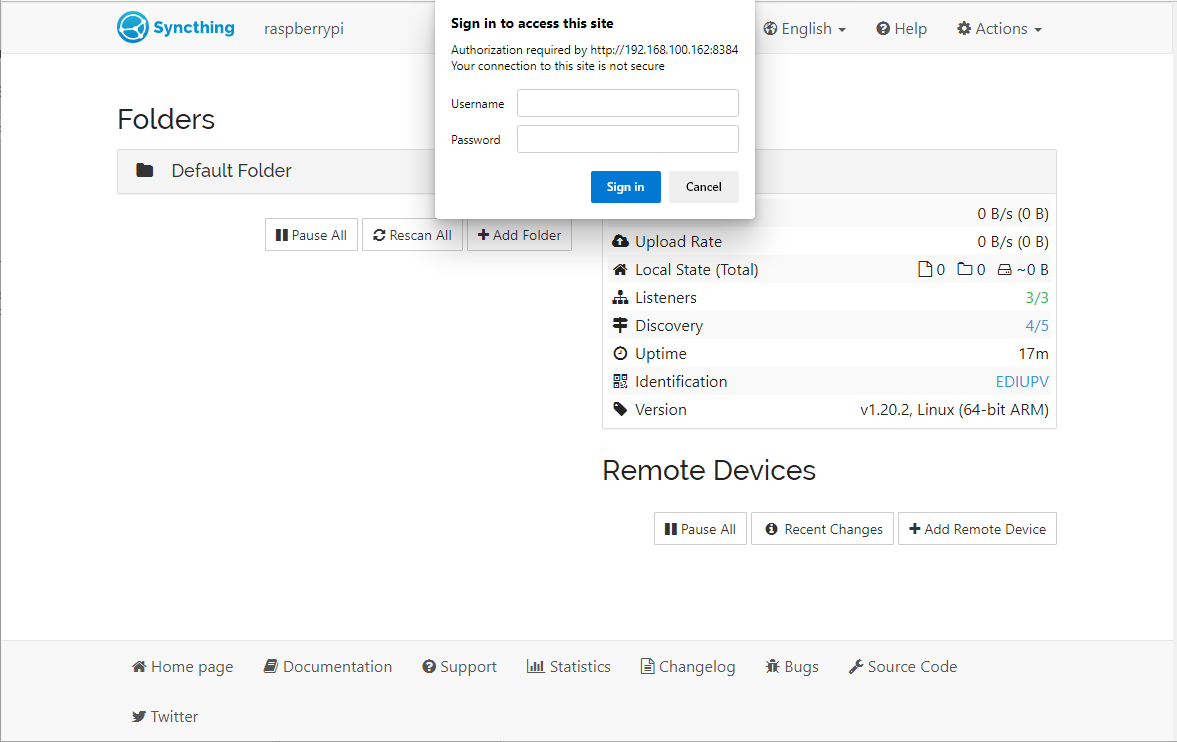
As soon as you save the changes, you will have to provide your username and password to access the web interface.
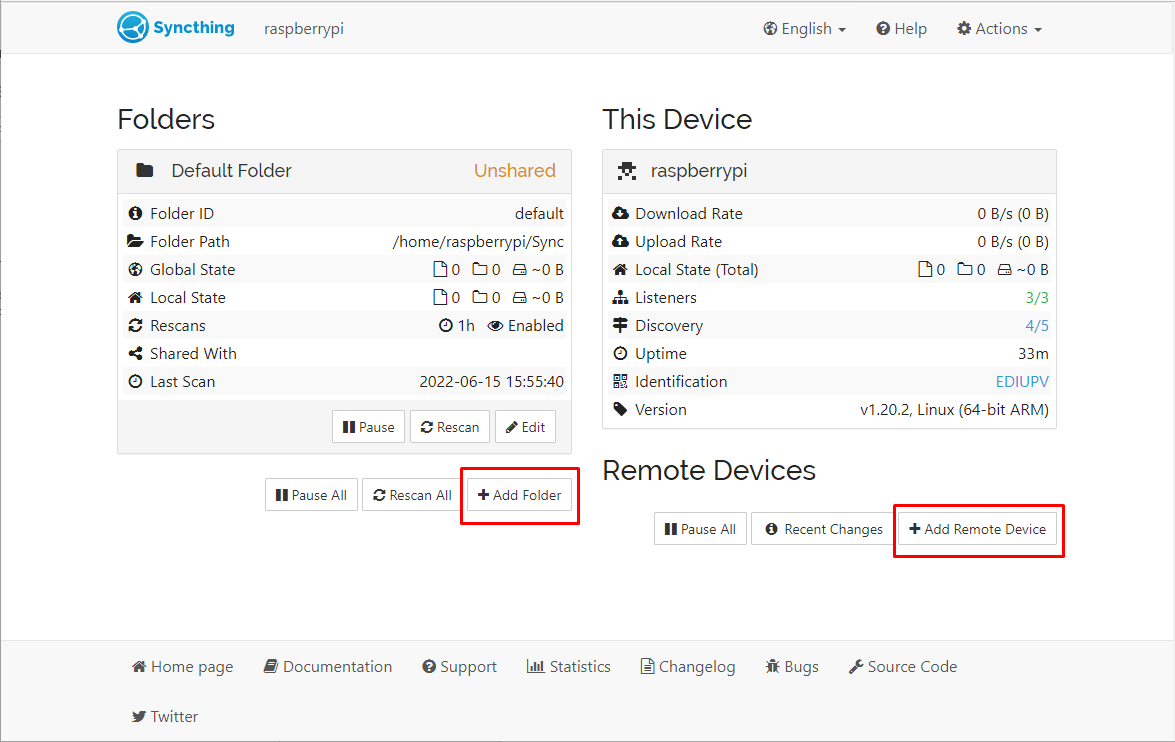
To synchronize the files between the devices, you will need to add the device ID by clicking on the “Add Remote Device” option. The device you want to add must have a Syncthing install and the device ID will be inside the application. After that, you can share your Raspberry Pi folder with that particular device by clicking on the “Add Folder” option.
Conclusion
Syncthing is a robust application that provides users the freedom to share files between multiple devices in a secure way. You can install and run this application on your Raspberry Pi browser through the above-given steps that include adding a GPG key and repository and using the installation command to install the application on your device. After the installation, you will need to make some changes in the configuration files to access the Syncthing web interface on your browser. With the remote device ID, you can allow the device to perform file sharing with your Raspberry Pi.