Accessing the device remotely is a useful feature that can be done using the built-in features or third-party applications. Among the applications, there is one such application called Tailscale that can be used to SSH into the Raspberry Pi in a secure way without setting up any additional configuration.
If you are not sure about the working of Tailscale, read this guide, where you will find about:
- What is SSH Feature
- How SSH Works
- Why We Need SSH Feature for Raspberry Pi
- What is Tailscale
- Why We Need to SSH into a Raspberry Pi Using Tailscale
- How to Enable SSH on Raspberry Pi
- How to SSH into Raspberry Pi Using Tailscale
- Conclusion
What is SSH Feature
Secure Shell or Secure Socket Shell (SSH) is a network protocol used to access the system from an unsecured network in a secure fashion. The SSH allows users to control and manage their systems remotely, run commands, move files, or perform other tasks that can be done on a system.
How SSH Works
The SSH works by using a client-server model consisting of client and server. The client is a program used to connect to the remote system, while the server is a program that runs on the remote system and allows you to connect to it. When you connect to a remote system through SSH, the client and server exchange keys with each other. Once the keys are successfully exchanged, they both can start communicating with each other in a secure manner.
Why We Need SSH Feature for Raspberry Pi
Raspberry Pi is a small and expensive device that doesn’t ship with a complete desktop environment, such as mouse, keyboard and monitor. Most people prefer to have a complete desktop environment for Raspberry Pi devices. However, there may be some situations where they will need to remotely access the Raspberry Pi device from another location. These situations include sharing files to other computers, or installing software on Raspberry Pi through commands without monitor, keyboard and mouse.
What is Tailscale
Tailscale is an open-source software and VPN service that allows you to connect to your system and applications from any part of the world. It uses the Wire Guard protocol to establish a secure connection between multiple devices. Unlike other VPN services, Tailscale creates a peer-to-peer network between the devices, and chooses the best possible route for effective communication.
Why We Need to SSH into a Raspberry Pi Using Tailscale
The Tailscale uses the Wire Guard protocol for end-to-end encryption, allowing a more secure device communication. It also provides the freedom to access the Raspberry Pi device from any part of the world, which traditional SSH won’t offer. Besides that, Tailscale allows you to connect multiple devices at the same time on your Tailscale network. Thus, it is an ideal choice for the Raspberry Pi users who have multiple devices and are working on an important project.
How to Enable SSH on Raspberry Pi
You can enable SSH on Raspberry Pi either from GUI or Terminal; read this guide to find different ways to enable SSH on Raspberry Pi.
How to SSH into Raspberry Pi Using Tailscale
You can SSH into Raspberry Pi using Tailscale by using the following steps:
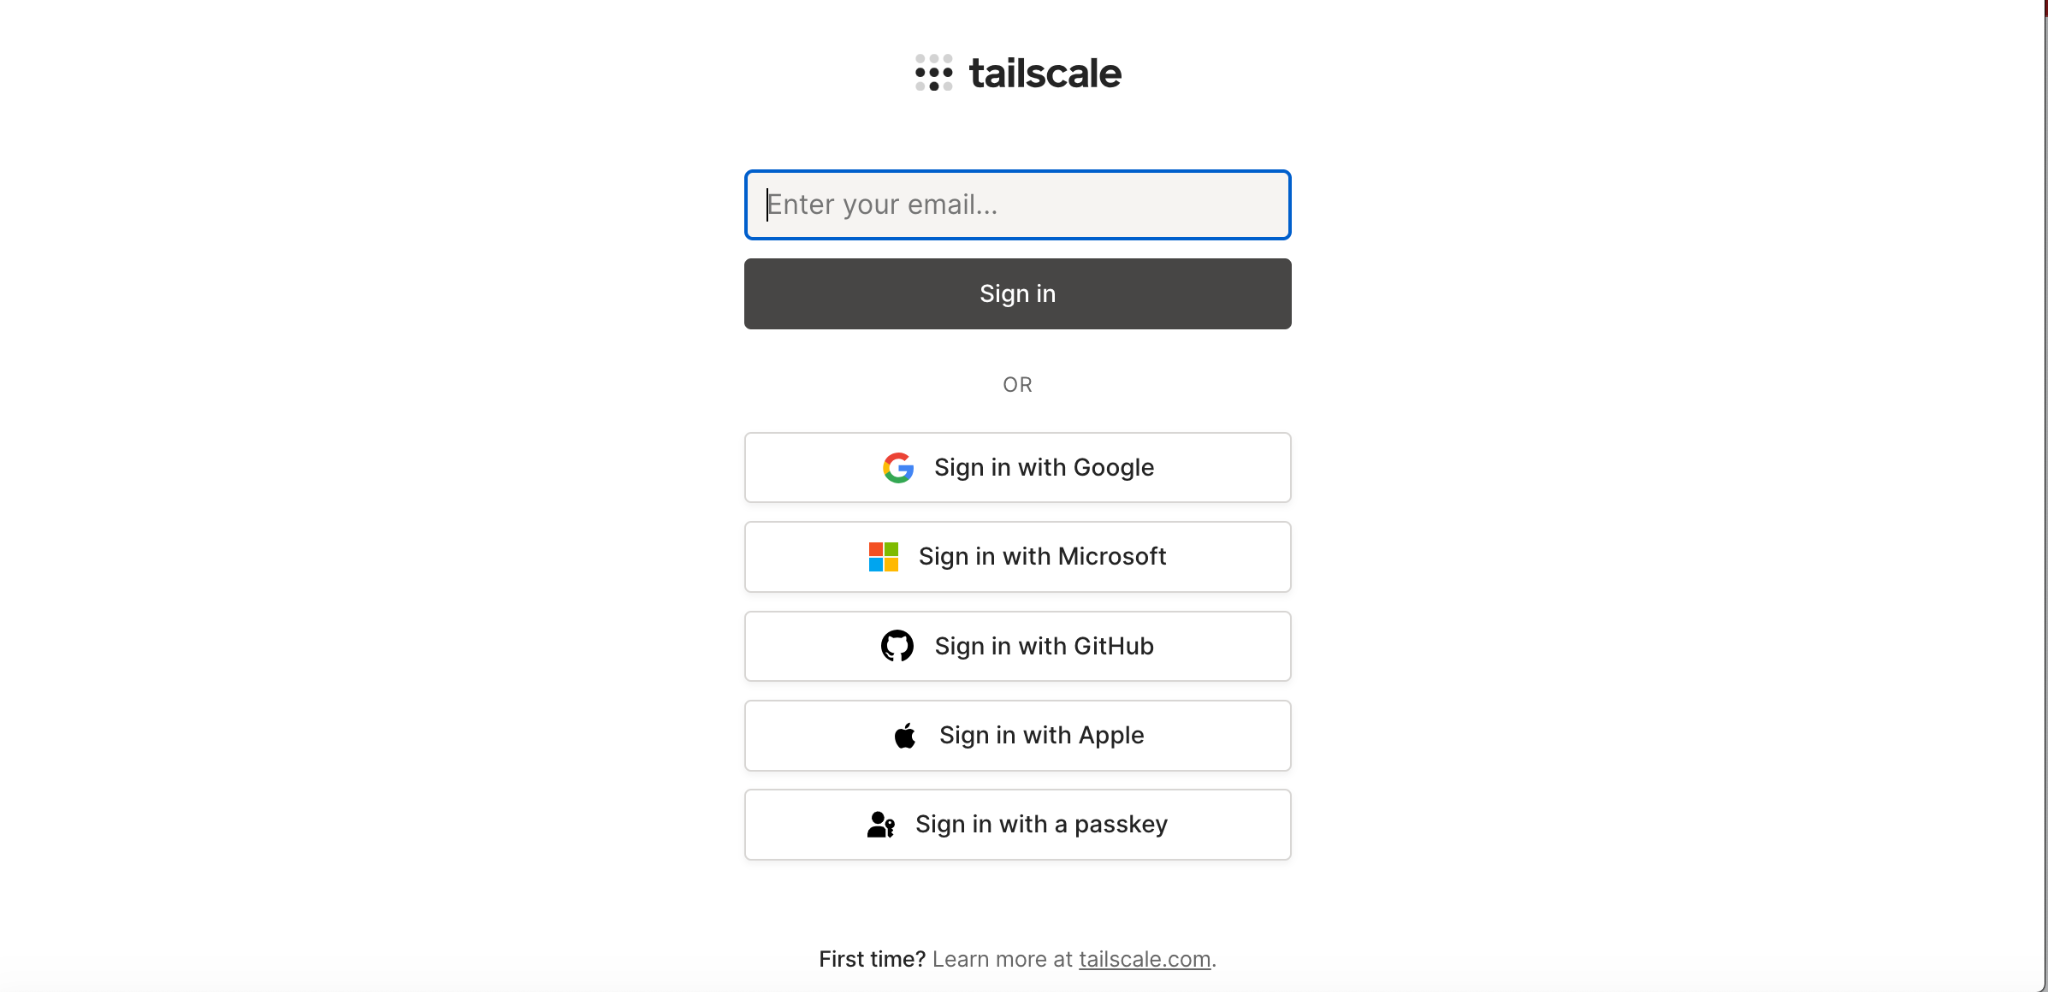
Step 1: Sign in to Tailscale Network
First, you must sign in to the Tailscale network from here using any account supported by the Tailscale:
Note: After signing in, you will be prompted to a page where you can download and install Tailscale on your system either Windows, Linux or Mac. You can skip this step since the focus is to install Tailscale on Raspberry Pi, which can be done easily from the next section.
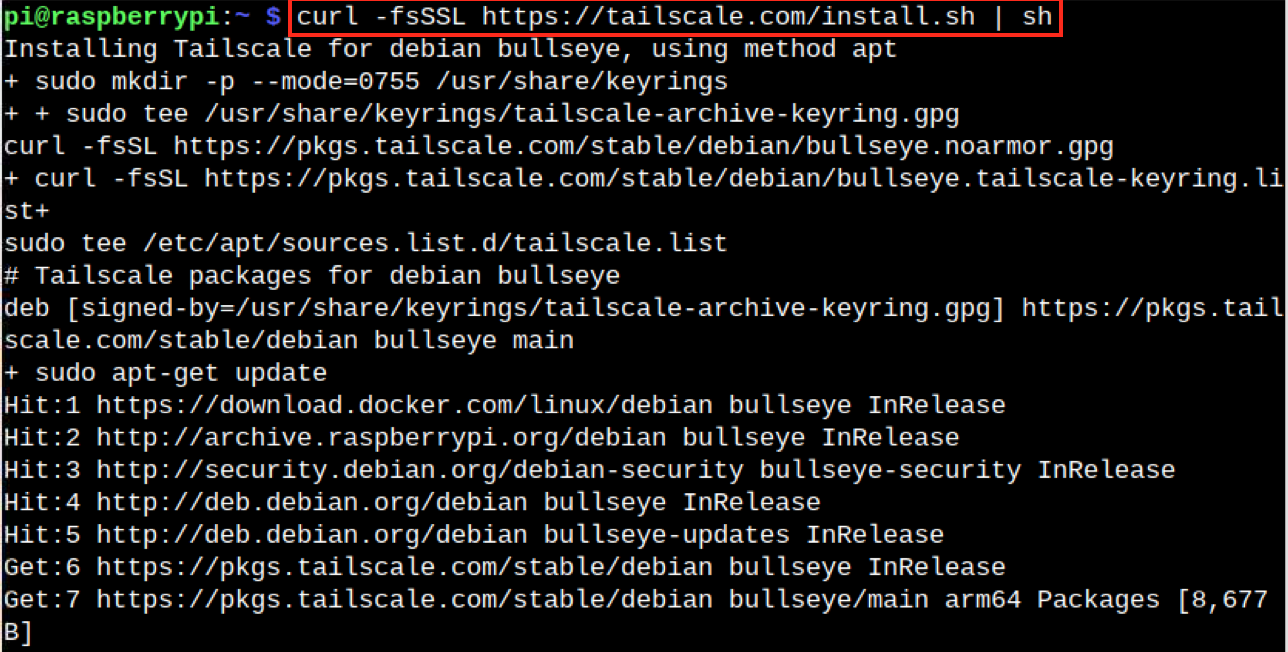
Step 2: Install Tailscale on Raspberry Pi
Go to your Raspberry Pi terminal, and run the following command to install Tailscale on Raspberry Pi:
Step 3: Run the Tailscale Service on Raspberry Pi
After installing Tailscale on Raspberry Pi, you should use the following command to run its service on the system:

Step 4: Authenticate Raspberry Pi to Tailscale Network
To add Raspberry Pi to the Tailscale network, you have to enter the address in the browser you get in the above steps.
After completing the above steps, you will see your Raspberry Pi machine has joined your Tailscale network:
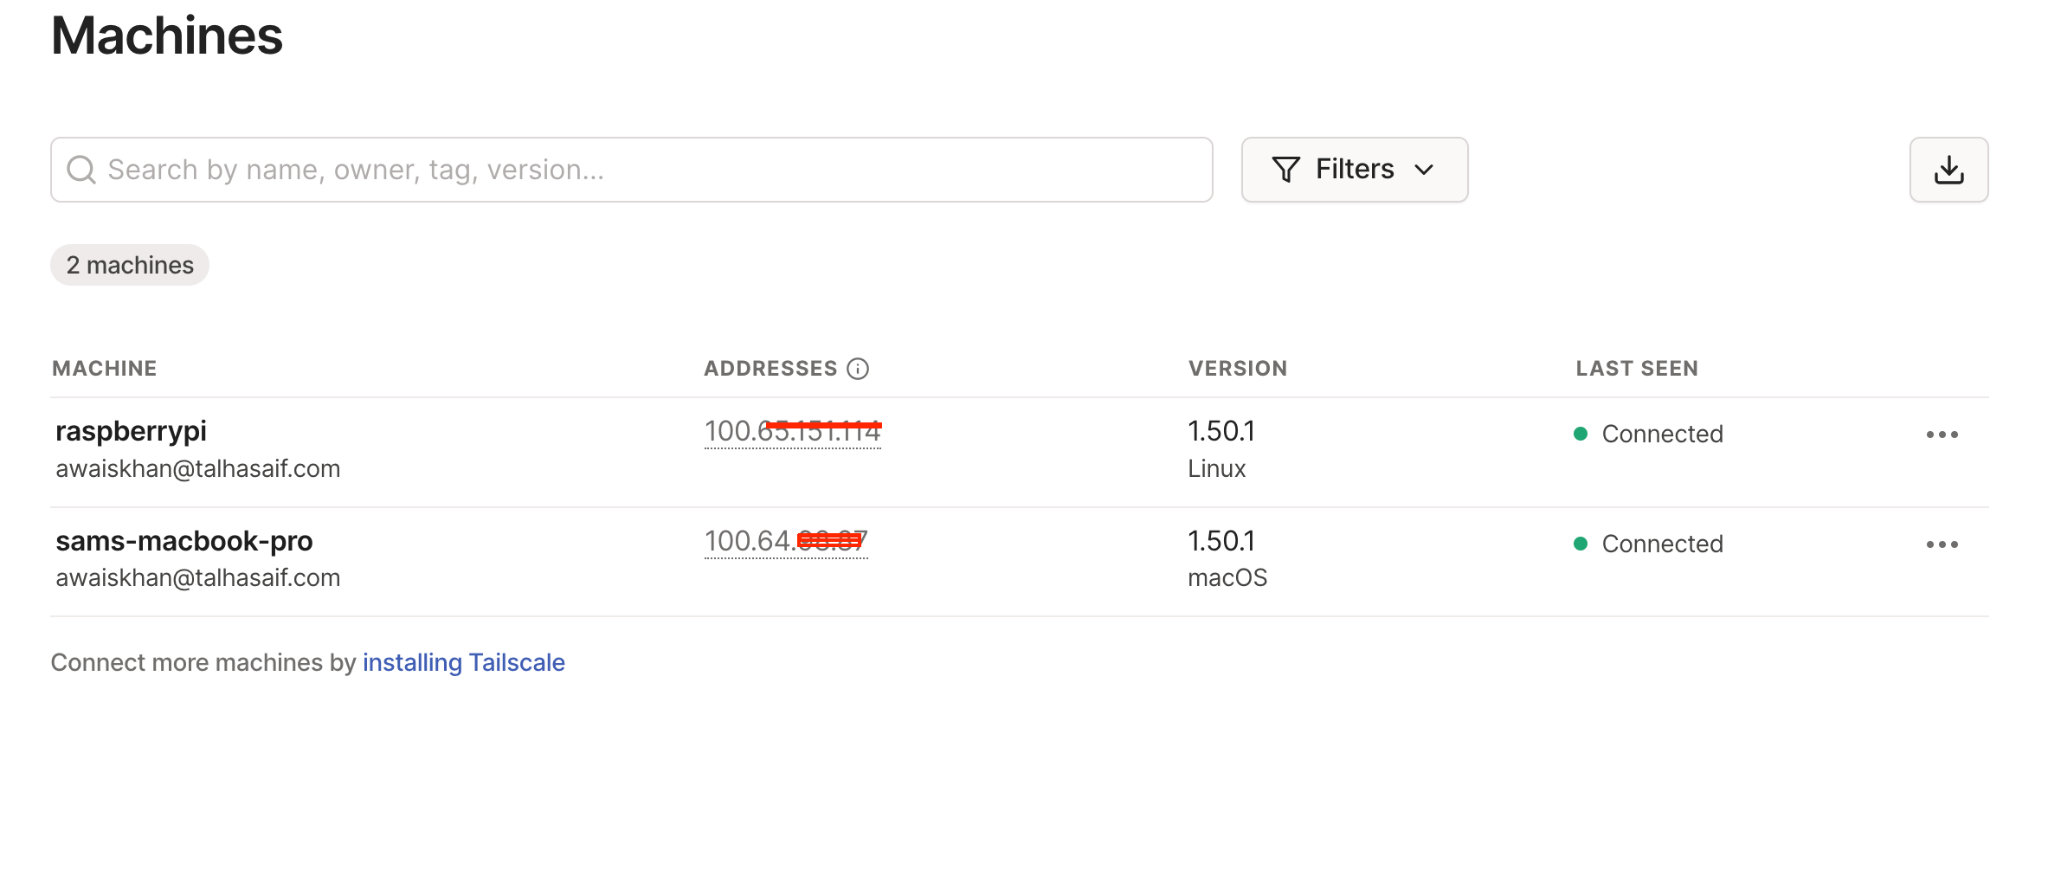
Note: You can join multiple Raspberry Pi devices to the network using the same method. Besides that, you can also add other systems either Laptop or MacBook.
Step 5: Re-Authenticate Device to Tailscale Network
You can re-authenticate Raspberry Pi to Tailscale network by running the following command:

Step 6: Enable the Tailscale SSH Access
Now you have to enable the Tailscale SSH access for Raspberry Pi using the following command:
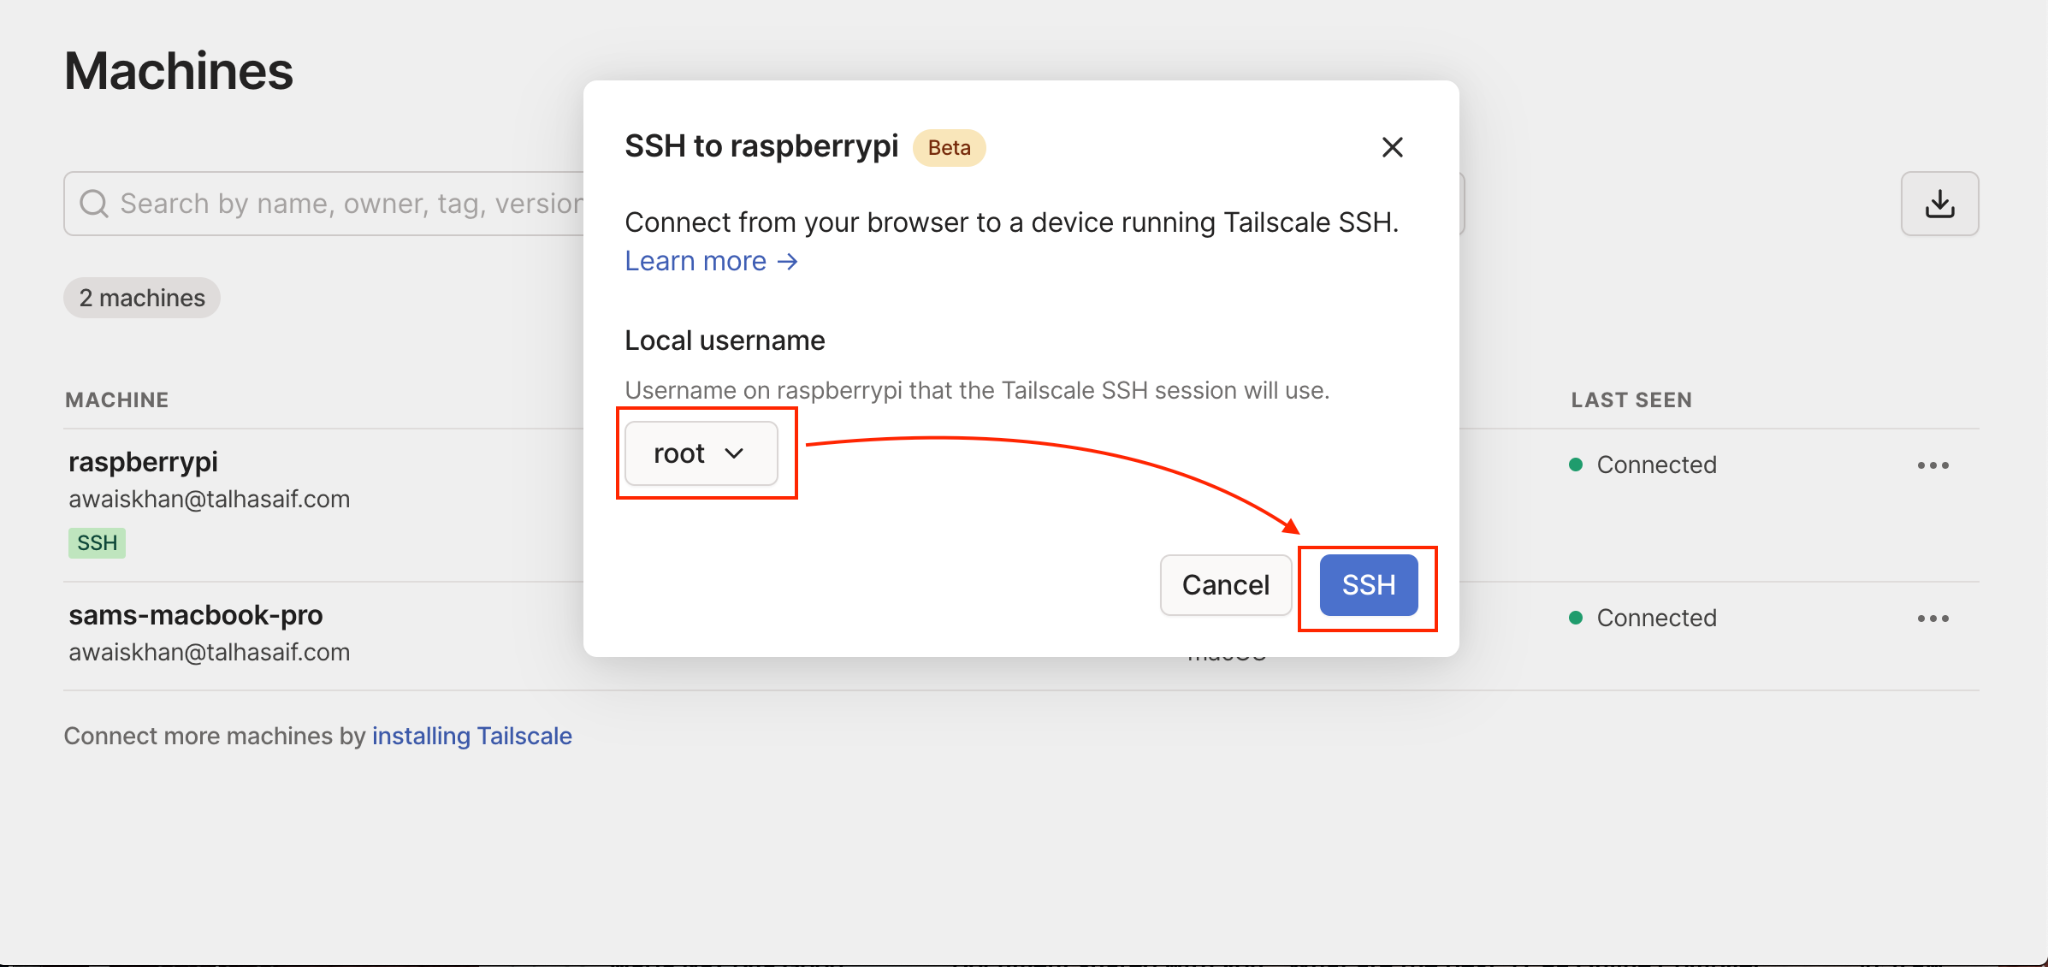
Step 7: SSH into Raspberry Pi as Root
To SSH into Raspberry Pi as root, you can simply select the three horizontal dots (ellipses), then select SSH to machine:

Choose the username as root and select the SSH option to SSH into the Raspberry Pi:
Step 8: SSH into Raspberry Pi as Default User
You can SSH into Raspberry Pi as the default user by selecting the Other option, then choose your username and select the SSH option:
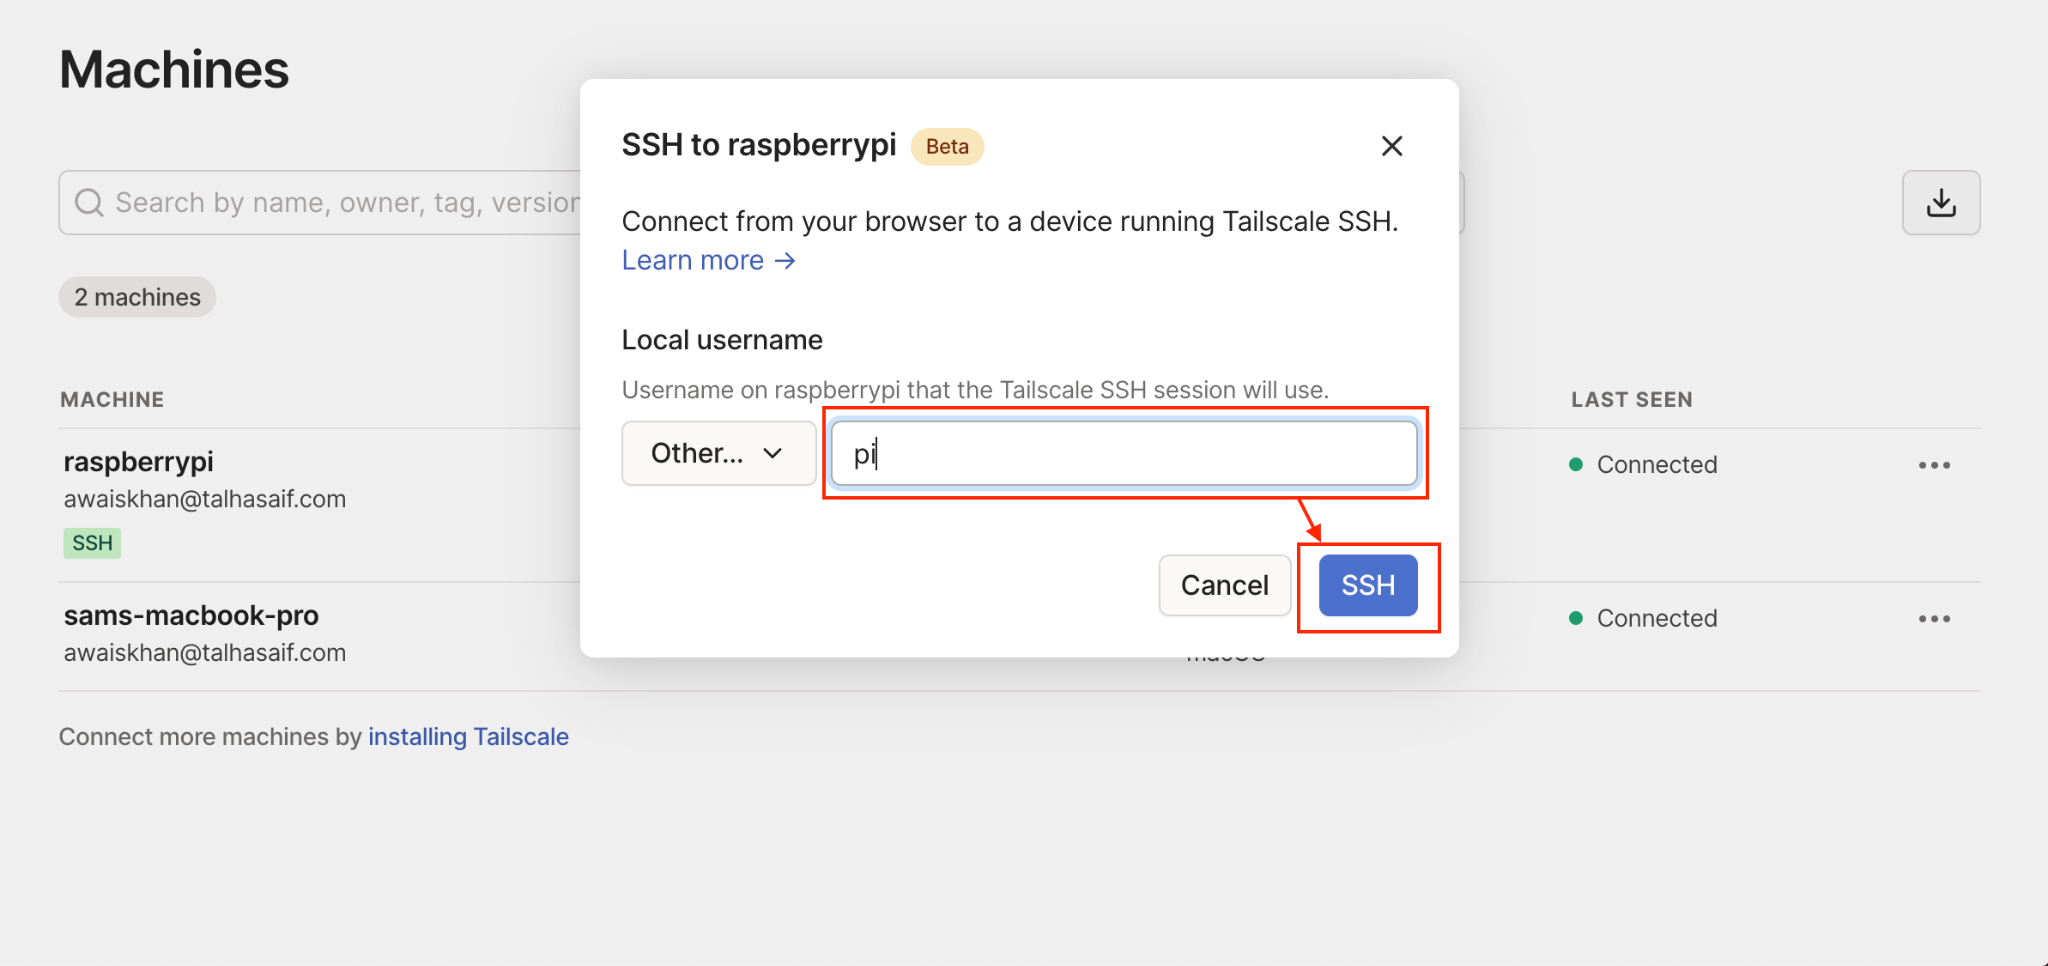
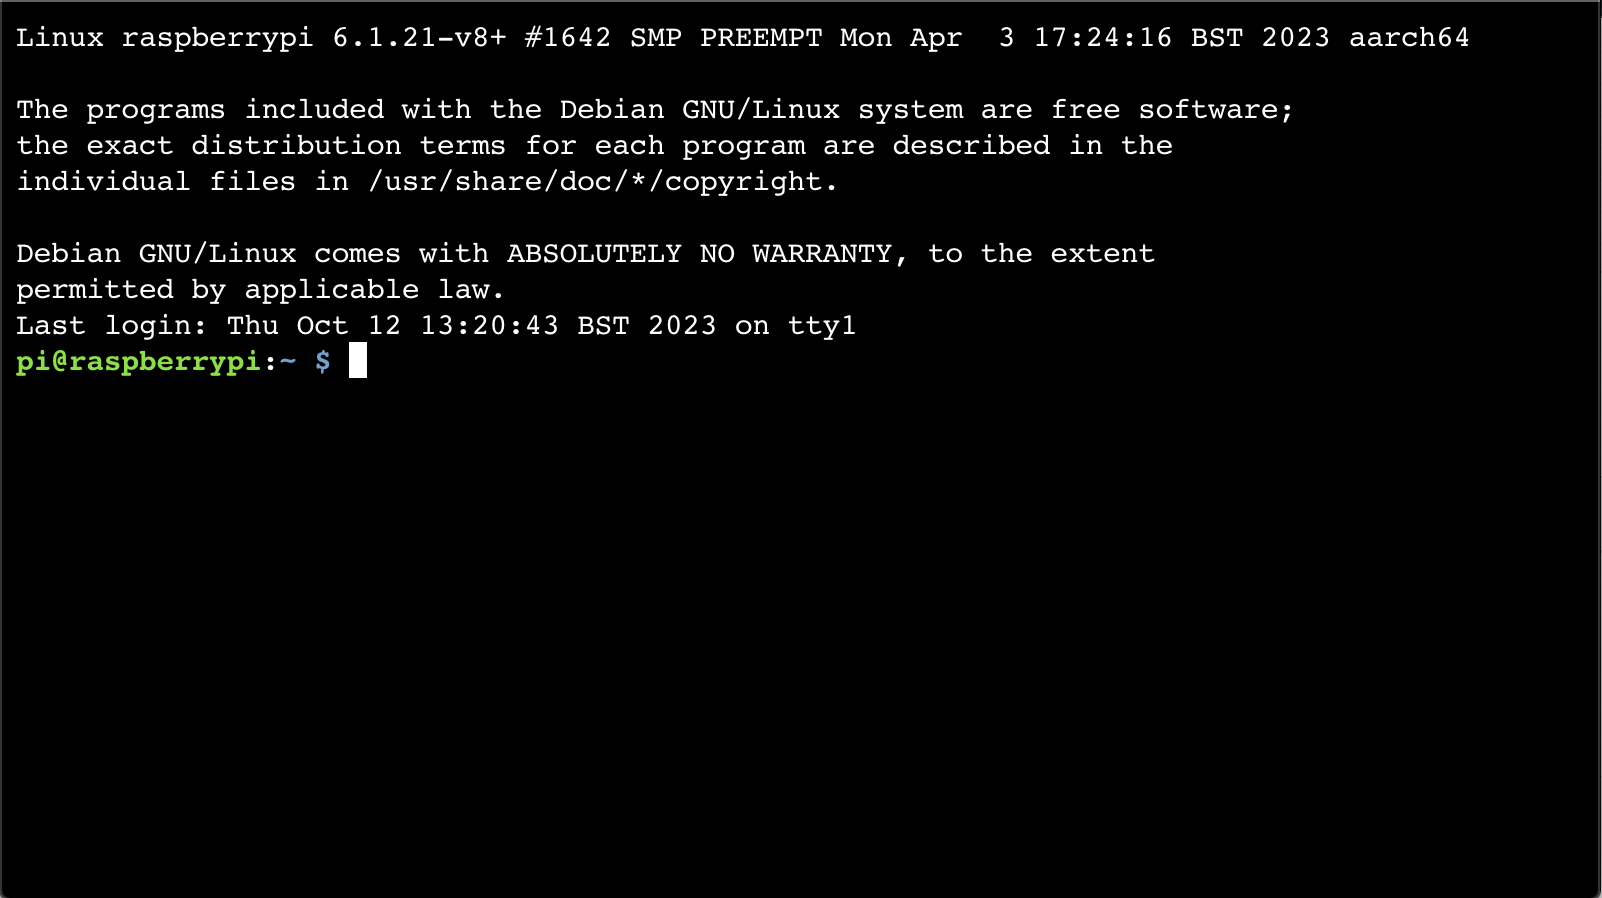
This will SSH into the Raspberry Pi as the default username on the browser:
Conclusion
Tailscale is an effective open-source software that allows you to SSH into Raspberry Pi in a secure manner. It uses the Wire Guard protocol that provides better security compared to traditional SSH service and you can access the Raspberry Pi from any location. You only have to install Tailscale on your Raspberry Pi system from the installation script. After that, run the tailscale up command to get the address. Then enable the Tailscale SSH and enter the address on the browser to SSH to Raspberry Pi as a root user or default system user.