If you are finding such an opportunity then you should install Tightvnc on your Raspberry Pi device. Tightvnc creates a new session on your Raspberry Pi device, allowing other users to access your device connected to the same network.
In this guide, we will show you the way through which you can share your Raspberry Pi screen with Tightvnc.
Share Screen with Tightvnc on Raspberry Pi
To share screen on Raspberry Pi, we will need the services of the VNC package called Vino and some useful commands that need to be executed in the terminal. The detail step-by-step instruction is provided as under and you have to follow them to complete screen sharing on Raspberry Pi:
Step 1: Update Software
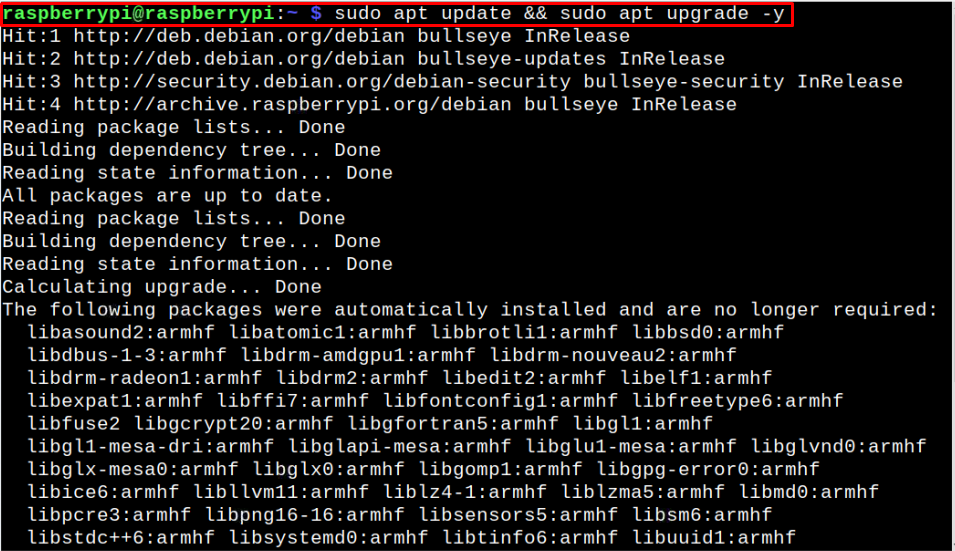
Before moving forwards towards screen sharing, you should first need to ensure that your Raspberry Pi enjoys the latest software updates. You can do this by issuing the below-given command:
Step 2: Install Vino on Raspberry Pi
After ensuring that Raspberry Pi system is up to date, you are now good to install Vino (Virtual Network Server) on Raspberry Pi using the following command:

Step 4: Start Vino Server on Raspberry Pi
After setting things up on Raspberry Pi, you can run the following command to run Vino server on your device:

Step 5: Install TightVNC on Laptop or PC
Now, the next thing is to download and install the TightVNC application on your laptop or PC from the website.
Step 6: Run the TightVNC on Laptop or PC
After the installation, you will need to run it on your system.
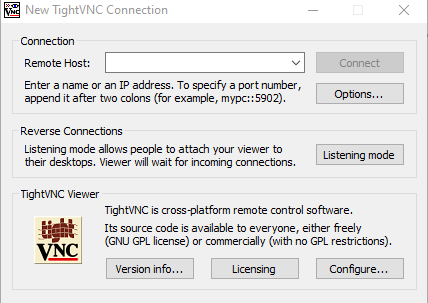
Enter your Raspberry Pi IP address in the “Remote Host” option and if you don’t know the IP address of your Raspberry Pi, you will then need to issue the following command.

Enter the IP address and click on the “Connect” button to access the Raspberry Pi device screen.

There, you will experience an error as shown below.
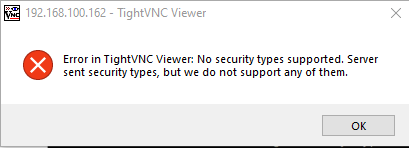
To overcome the above issue, you will require to perform some additional steps to successfully access your device screen on Tightvnc.
Step 1: Open the VNC-server configuration file by issuing the below-mentioned command:
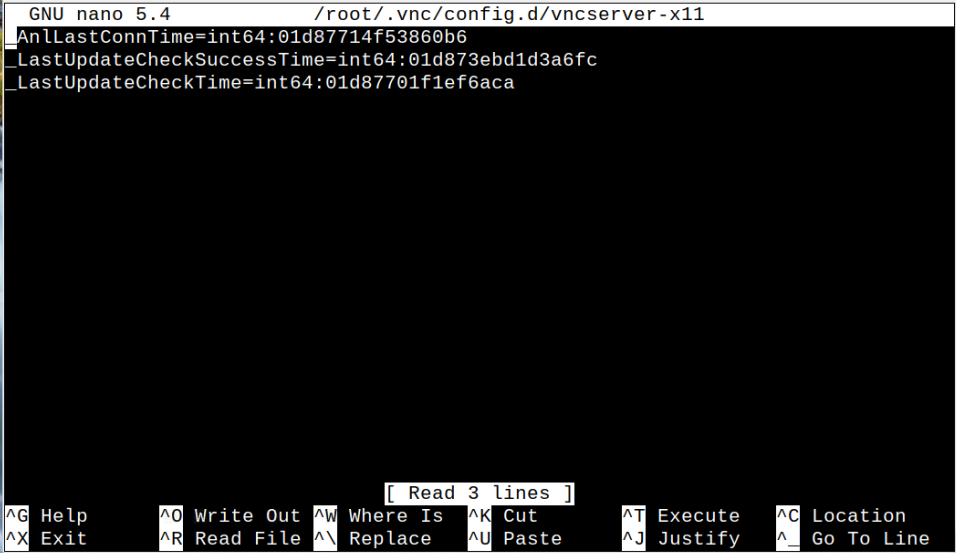
Step 2: Inside the file, remove all the text and add the following lines to the file.
Encryption=AlwaysOff

Save the file using “CTRL+X” keys, add “Y” and press Enter.
Step 3: Now, set the password for login using the following command:
![]()
Type in the password of your choice.

Now copy the password and paste it inside the vnc-server file as shown below.

Save this file and restart the vnc-server to apply the changes.
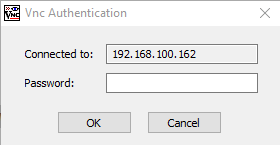
Now, connect to VNC again on your system and connect it using the password you set in Step 3.
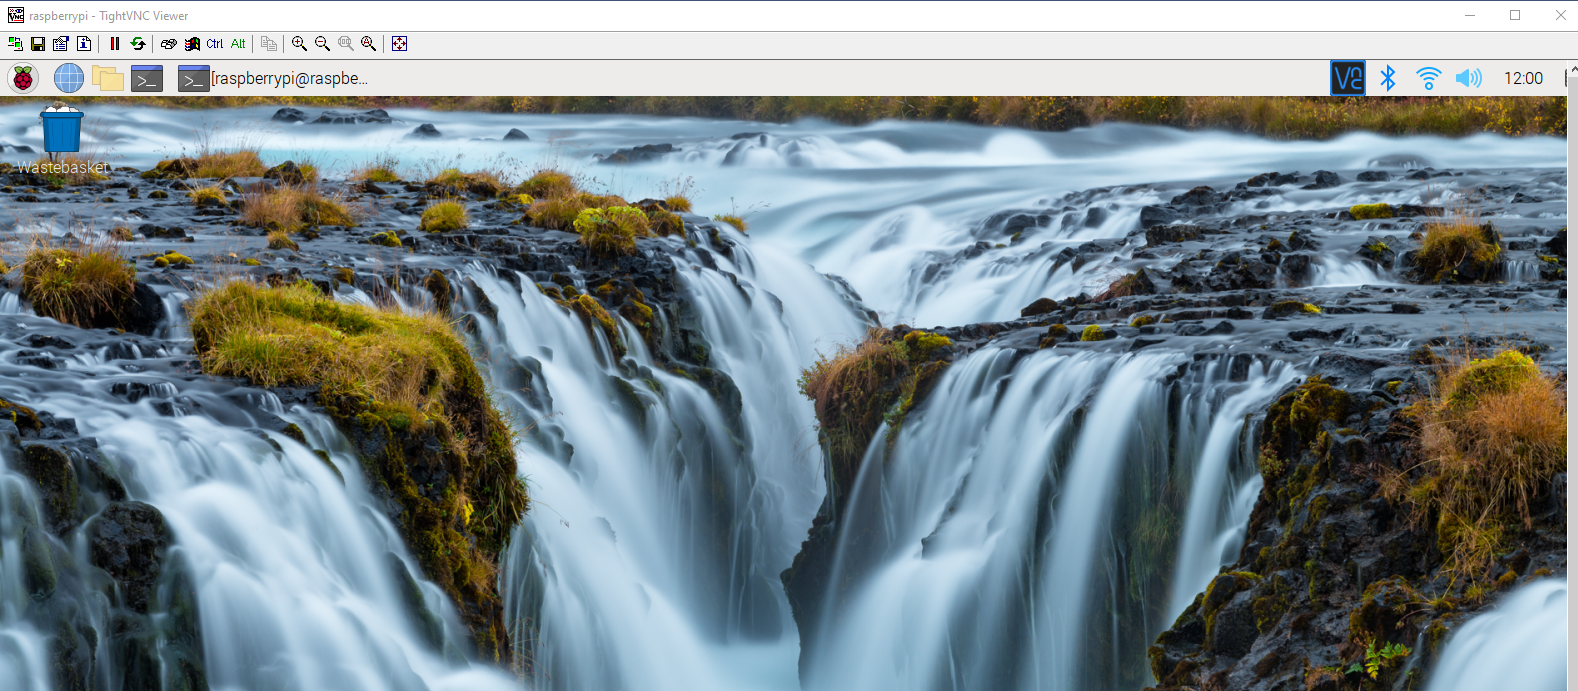
This time, you will be able to see your Raspberry Pi screen on your PC through Tightvnc server.
Conclusion
Tightvnc is a lightweight application that allows you to access your Raspberry Pi screen on your laptop or PC using the IP address of your device. The above steps will guide you in accessing your device screen by installing Vino on Raspberry Pi and Tightvnc on your laptop or PC. After successfully performing the steps, you can then control your device from a remote location as well. It’s important to note that the screen can only be accessed if both source and client are connected to the same network.